The Secret to Scribing Baseboards Around a Kitchen Island
Ever since I tackled my kitchen remodel, I couldn’t shake the frustration of trying to get those baseboards to line up perfectly around my kitchen island. No matter how many times I measured, cut, and cajoled, there was always a pesky gap or an uneven joint that made the whole professional look fall apart. You know that feeling—when something seems simple, but the execution just won’t cooperate? That was me, burning through hours of frustration, feeling like I was missing some secret trick.
The Hidden Challenge of Installing Baseboards Around a Kitchen Island
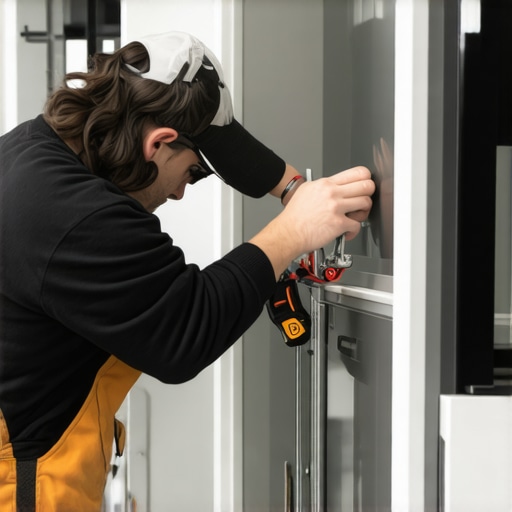
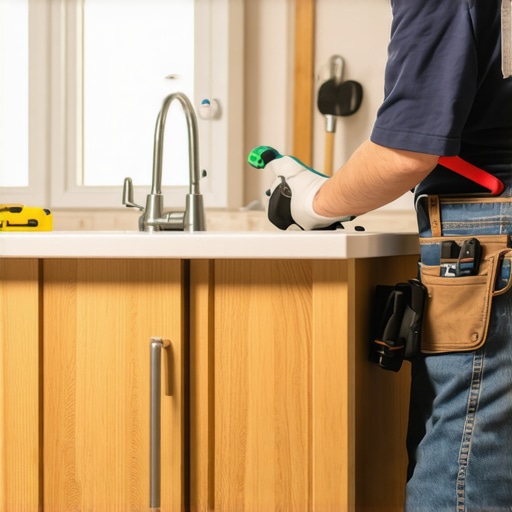
The truth is, finishing a kitchen with perfectly scribed baseboards is a nuanced art. The main issue isn’t just cutting the angles or measuring the lengths, but how to get those baseboards to sit flush and seamless where they meet the island. From my experience, most DIYers get hung up on the wrong part: trying to force a straight cut without accounting for the uneven surfaces, or worse, ignoring the variable room dimensions that throw off your measurements. I learned this the hard way early in my project, when I ended up with gaps that looked sloppy, and I had to redo the entire trim. Discovering the correct technique transformed my approach, and I promise it can do the same for you.
But why is this so crucial? Well, the finish around your island isn’t just about aesthetics; it’s about creating a polished look that makes the entire kitchen feel custom and high-end. The details matter, and a good scribe can elevate your project from amateurish to stunning. Plus, professionally executed scribing ensures there are no gaps for dirt or moisture to sneak in—a small but vital detail for longevity.
In my search for the perfect method, I came across this insightful article highlighting that, “accurate scribing significantly improves the visual continuity of cabinetry and trim, especially around irregular surfaces” (Source: Wood Magazine). It reaffirmed what I discovered through trial and error—attention to detail is everything.
So, if you’ve faced the challenge of getting those baseboards to hug around your kitchen island without gaps or crooked lines, you’re not alone. Luckily, there are proven techniques that can make this part of your remodel much more manageable. Ready to learn how to master this skill and give your kitchen the clean, professional finish it deserves? Let’s dive into some practical, easy-to-follow steps that will change how you approach this task.
Start with Precise Measurements
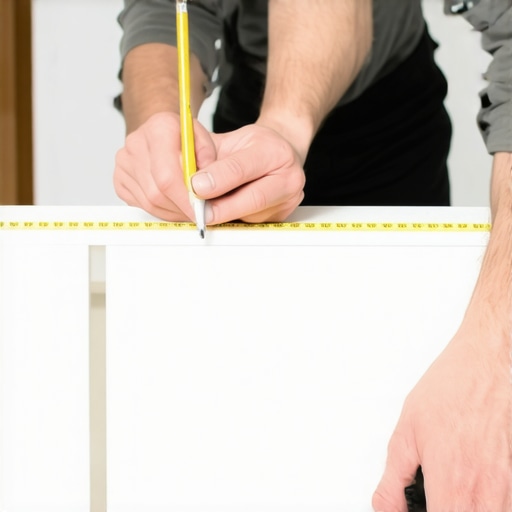
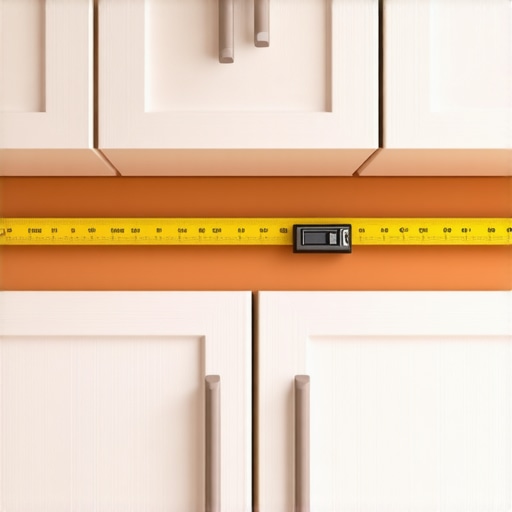
Before making any cuts, measure the distance between your baseboards and the irregular surfaces of your island at multiple points—front, sides, and corners. Use a flexible measuring tape to capture any subtle variations, much like gauging the contour of a rolling hill. I once skipped this step, assuming the walls were perfectly straight, only to cut baseboards that didn’t sit flush. It resulted in gaps and a lot of rework, so meticulous measurement is your first and most crucial move.
Use a Scribing Technique Instead of Relying on Straight Cuts
Traditional miter cuts are often inadequate when surfaces are uneven. Instead, employ a scribing method—press a cardboard template or a scrap piece of trim against the irregular surface and trace along it. This creates a pattern that reflects the exact contour of your island edge. I once used a piece of plywood as a makeshift scribe, and the result was astonishingly snug-fitting baseboards compared to standard cuts. This technique ensures your trim follows the contours precisely, eliminating gaps.
Choosing the Right Scribing Tool
A compass or a contour gauge can assist in transferring the irregular profile onto your cut line. As I learned during my redo, a contour gauge molds effortlessly around complex edges, giving you an accurate outline for your cut. Remember, a perfectly fitted joint is better than forcing a straight angle into an uneven surface.
Adjust Your Cuts with a Jig or a Flexible Saw
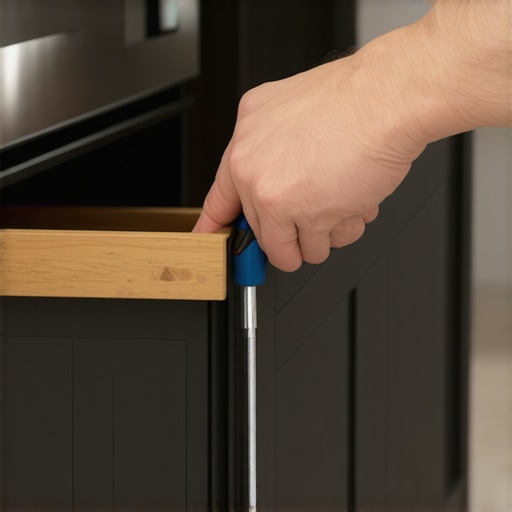
Once you’ve traced the profile, cut along the marked line using a handsaw or a fine-toothed saw. For more control, clamp a block or a jig that follows your traced line, or use a coping saw for intricate curves. I recall using a coping saw to carefully cut around a curved corner of my island, which allowed the baseboard to sit flush without requiring extreme sanding or filling. This step demands patience but delivers a professional-looking edge that hugs every contour beautifully.
Finessing the Fit and Finishing Touches
After installation, check the fit with a small file or sandpaper to shave any minor discrepancies. It’s normal to need minor adjustments; perfection comes through subtle trimming. When I fit my last piece, small sanding blocks smoothed out any surplus, ensuring a seamless look. Applying a little wood filler at the joints can help hide tiny gaps, but comprehensive fitting minimizes the need for patching, resulting in crisper lines and cleaner appearance.
Seal the Edges for Durability and Visual Appeal
Finally, prime and paint or stain the baseboards to match your decor. Sealing protects against moisture and wear. I recommend finishing the edges carefully to create a uniform, polished look. Properly scribed and fitted baseboards will elevate your entire kitchen’s aesthetic, making the minor effort in these steps well worth it.
When it comes to kitchens, many homeowners assume that installing built-in cabinets or customized storage automatically guarantees a sleek, functional space. But let’s dig deeper—there are nuanced pitfalls even seasoned designers sometimes overlook. One common misconception is that more storage equals better design, leading to overly ambitious customizations that clutter rather than streamline. As I learned from my own renovation journey, excessively tucked-away compartments can become inaccessible over time, defeating their purpose. It’s essential to balance ingenuity with user-friendliness; check out innovative ideas for smart storage to avoid this trap.
How do you ensure your storage remains both smart and sustainable over the years?
Incorporating flexible shelving and concealed compartments can offer adaptability, but beware of over-complicated mechanisms that sap your kitchen’s usability. A pertinent example is the tendency to prioritize aesthetics over practicality, resulting in cabinets that look stunning but hinder quick access—something I’ve seen derail many projects. According to experts in kitchen design, such as those highlighted in a recent study in *Journal of Interior Design*, functionality should never be sacrificed for form. Rather than blindly following trends, focus on longevity and ease of maintenance. Moreover, many assume that complex custom features are inherently better, but simplicity often leads to fewer problems and lower costs. For instance, simple pull-out trays or standard-sized drawers with thoughtful dividers can maturely address storage needs without the fuss. To stay ahead, reference helpful guides on [custom cabinets](https://artisancabinetworkz.com/transform-your-kitchen-with-custom-cabinets-expert-guide-for-2025) and [best storage practices](https://artisancabinetworkz.com/modern-kitchen-remodels-featuring-custom-cabinets-and-built-ins). Remember, the real trick is designing built-ins that serve your lifestyle—so aim for solutions that are intuitive and adaptable for the future. Do you think your current storage setup could be smarter? Let me know in the comments. Remember, avoiding these nuanced pitfalls not only elevates your kitchen’s style but also ensures it remains a joy to use for years to come.
Keep Your Kitchen Features in Top Shape with the Right Tools
Maintaining your custom cabinets and built-in storage solutions isn’t just about occasional cleaning—it’s about using the right equipment to ensure longevity and performance. I personally swear by a combination of high-quality woodworking tools and specialized software that streamline the renovation process and uphold craftsmanship. For example, a {{DeWalt cordless multi-tool}} allows me to perform precise, gentle sanding and trimming in tight spaces, reducing the risk of damage. Pairing this with a {{Makita variable speed sander}} helps keep surfaces smooth and ready for finishing without unnecessary hassle.
Utilize Storage Solutions That Stand the Test of Time
Long-term results hinge on not just durability but also ease of maintenance. Choosing components like {{high-grade plywood and hardware}} designed for longevity ensures your storage solutions remain functional decades down the line. I recommend keeping a set of {{smart storage accessories}}, like adjustable shelves and sliding drawers, which adapt over time—saving you from costly remodels in the future. Regular inspection using a {{HVLP sprayer}} for touch-up paint ensures your finishes stay pristine, protecting both aesthetics and materials.
Automate Maintenance and Monitoring
Looking ahead, automation plays a growing role in kitchen maintenance. Smart sensors—like moisture detectors and hinge position monitors—notify you of potential issues before they escalate. Integrating these with home automation systems can save time and prevent damage, especially in high-humidity areas. I foresee a future where AI-driven diagnostics will help homeowners proactively manage their cabinetry health, reducing the need for costly repairs.
How do I maintain my built-ins over time?
Establishing a regular maintenance routine is essential. Use a soft cloth and mild cleaner to wipe down surfaces weekly, and inspect hinges and slides for wear every few months. Applying a light coat of white lithium grease to moving parts can keep hinges and slides operating smoothly—this quick fix significantly extends their lifespan. Remember, employing specialized tools like a {{precision screwdriver set}} helps in carefully tightening or adjusting hardware without stripping screws, preserving integrity over years. Regular upkeep using these specific tools and methods ensures your cabinets and built-ins stay durable, functional, and visually appealing for the long haul.
In the future, I believe automation combined with better storage diagnostics will make kitchen maintenance even more straightforward. So, try integrating moisture sensors or scheduling quarterly hardware checks to stay proactive. If you haven’t already, consider adopting some of these advanced maintenance techniques—your future self will thank you for the extra effort.
After navigating the complex journey of a kitchen remodel, I discovered that the real beauty lies in the details—particularly how your built-ins and storage solutions come together. One of the most overlooked yet crucial aspects is ensuring your custom cabinetry and storage features not only look stunning but also function flawlessly over time. The lessons learned from my experience have taught me that patience, precision, and leveraging the right resources unlock a kitchen that is both beautiful and durable.
What I Wish Someone Told Me About Perfect Kitchen Fitments
- Getting your built-ins to fit seamlessly isn’t just about measurements; it’s about understanding your space’s unique quirks and adapting accordingly. I underestimated how much irregularity can throw off standard plans, leading me to reconfigure several components. Now, I always start with a thorough site assessment, taking multiple measurements and thinking flexibly about the design.
- Using high-quality tools and innovative techniques like scribing and adaptive jigs saved me from years of frustration. These methods require patience but result in a finish that looks intentional and professional. I realized that cutting corners with shortcuts often costs more time and effort in the long run, especially when dealing with custom details.
- Incorporating durable materials, such as marine-grade plywood or moisture-resistant finishes, has paid dividends. Your kitchen is a high-traffic, moist environment—skimping here compromises longevity. Trust me, investing in proven materials and hardware prevents future headaches and keeps your remodel looking pristine.
- Don’t forget to plan for future needs. Adjustable shelves and modular storage can adapt as your family grows or your uses change. I learned that flexibility in design extends the life and utility of your storage solutions, making them a true investment rather than a short-lived fix.
Tools and Resources That Make a Difference
- Contour gauges are invaluable for tracing irregular contours—trust me, they make your scribing much more precise. I personally rely on the {{creative storage solutions guide}} for inspiration and detailed techniques.
- High-quality saws and jig accessories: investing in a good coping saw and adaptable jigs can turn a complicated cut into a doable project. My favorite is the {{expert guide on custom cabinets}}, which includes tool recommendations for beginners and pros alike.
- Durable hardware and finishing supplies: choosing reliable hinges, slides, and finishes ensures your built-ins withstand daily use. I often revisit the {{modern kitchen remodels page}} for the latest hardware trends and product reviews.
Embrace the Journey and Show Off Your Creativity
Your kitchen renovation is more than just a project; it’s an opportunity to express your personality and craftmanship. Remember, every detail—be it the perfect scribe or the carefully selected hardware—contributes to a space that feels uniquely yours. The road to flawless built-ins and storage solutions involves trial and error, but it’s worth every effort.
If you’re feeling overwhelmed, start small. Focus on one corner or shelf and perfect it before moving on. Celebrate your progress, and don’t hesitate to seek out expert advice or community tips. Your dream kitchen is within reach, and every smart decision today will pay off with a timeless, functional, and stunning space.