How to Install Heavy Wall Cabinets Into Metal Studs Safely
Ever had that sinking feeling when your heavy wall cabinets start to wobble just months after hanging them? I remember thinking, “Did I just waste my weekend?” When I first tackled installing cabinets into metal studs, I underestimated how crucial proper anchoring is. That lightbulb moment hit me hard: if you don’t secure those heavy panels correctly, it can lead to sagging, damage, or even safety hazards. Today, I want to share my personal experience and show you how to install heavy wall cabinets into metal studs safely and securely.
Why Your Heavy Wall Cabinets Need More Than Just Screws
Heavy cabinets are a game changer in terms of storage and style, but they come with their own set of challenges—especially when attaching them to metal studs. Unlike traditional wood framing, metal studs require specific anchors and techniques to hold significant weight without risking collapse or damage. I learned this the hard way early in my remodel, when I relied solely on basic screws. The result? A wobbly cabinet that jeopardized the safety of everything stored inside. That’s when I discovered the importance of using specialized heavy-duty anchors designed for metal stud application, which you can learn more about in this expert guide.
Is Installing Heavy Cabinets Into Metal Studs Actually Worth the Effort?
At first, the idea of dealing with heavy-duty anchors and extra precautions felt overwhelming. I made one crucial mistake early on: underestimating the weight capacity of the anchors I used. This led to sagging shelves and added stress on my framework. But with proper planning, specialized hardware, and a bit of patience, I managed to secure my cabinets firmly. If you’re skeptical about whether this process is worth it, remember that correctly installed heavy cabinets can last a lifetime and prevent costly repairs down the road. For more tips on choosing the right storage solutions, visit this article.
Select the Right Anchors and Hardware
Start by choosing heavy-duty toggle bolts, Molly bolts, or metal stud anchors rated for your cabinet’s weight. I remember struggling with standard screws, which kept slipping out; switching to robust anchors made a noticeable difference. Always verify the weight capacity and compatibility with your metal studs.
Locate and Mark Metal Studs Accurately
Use a magnetic stud finder or a magnet to locate the edges of the metal studs. Mark their positions clearly with a pencil. I once misread the stud location, leading to a misaligned cabinet panel. Double-check the markings before drilling.
Pre-Drill Pilot Holes Carefully
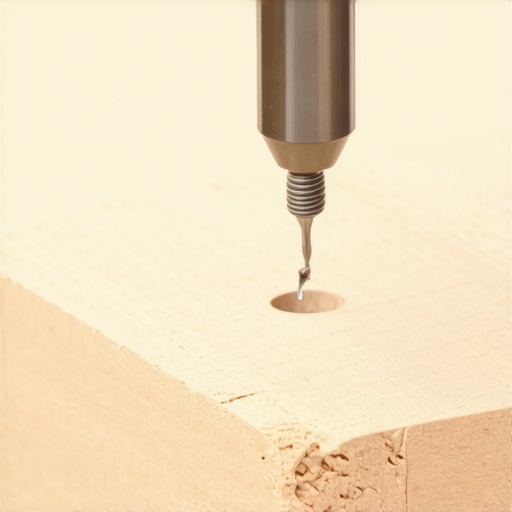
Drill pilot holes into the marked studs, ensuring they are aligned with the anchor specifications. Use a drill bit slightly smaller than your anchors to prevent damaging the metal. During my project, I experienced difficulties due to oversized holes, which compromised stability. Precision here is critical.
Apply Anchors Following Manufacturer Instructions
Insert the chosen anchors into the pre-drilled holes, expanding them as specified. For toggle bolts, insert the folded toggle first, then tighten once inside the stud cavity. I had a learning curve with toggle bolts—patience and following instructions resulted in a secure fit.
Attach Cabinet via Mounting Points
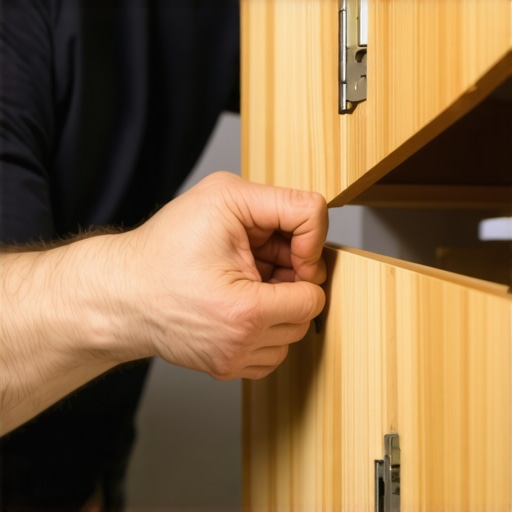
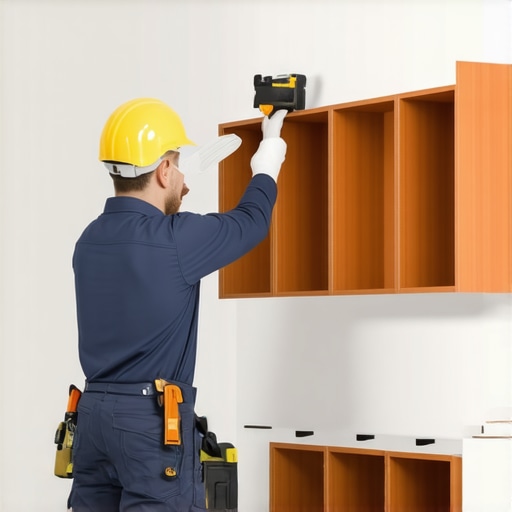
Align the cabinet’s hanging rails or mounting strips with the anchors. Drive screws through the cabinet into the anchors, tightening securely. Avoid overtightening to prevent stripping the anchors or deforming the cabinet frame.
Reinforce and Check Stability
Once mounted, gently shake the cabinet to verify stability. Add additional anchors if necessary, especially for heavier or taller units. I added extra support brackets beneath my cabinets for added reassurance, which helped with heavier appliances stored inside.
Seal and Finish the Installation
Cover any exposed anchors with trim or matching cabinet material for a clean look. Seal gaps with caulk if needed. A neat finish not only improves aesthetics but also prevents dust accumulation. If you want to optimize your storage, consider building custom solutions like pull-out shelves or integrated bins, as detailed in this guide.
Many homeowners believe that choosing standard shelving or off-the-shelf cabinets is enough to optimize storage and style. However, in my experience, most misconceptions lie in the nuances—small decisions that have a big impact over time. For instance, everyone emphasizes maximizing space, but few realize that the material quality and installation details are equally critical for longevity. An overlooked detail is the importance of precise measurements; even a 1/8-inch miscalculation can lead to gaps or misaligned doors, causing frustration and additional costs. When selecting storage solutions, I’ve seen many fall into the trap of relying solely on manufacturer recommendations without considering their unique space constraints or user habits. Tailoring your built-ins to how you live can prevent clutter and improve functionality exponentially. Don’t assume that standard dimensions or generic designs will meet your needs—customization is key. Using poorly rated hardware or ignoring structural reinforcement can cause sagging and safety hazards down the line. A common myth is that all hardware is interchangeable; in reality, choosing the appropriate support brackets and hinges designed for your specific cabinet style and weight load is essential. With advanced engineering, modern hardware like soft-close dampers or Blum’s adjustable hinges can elevate your project, but only if installed correctly. Before committing to any solution, consider consulting a specialist—an expert can advise on material selections, spatial planning, and durable hardware, ensuring your investment pays off. In fact, according to a study published in the Journal of Housing and the Built Environment, properly engineered storage solutions increase home value and user satisfaction significantly. So, are you falling for generic approaches that overlook these crucial details? Remember, the devil is in the details. Dive deeper into how custom cabinets can transform your kitchen by exploring our comprehensive guide on custom cabinets for a stylish overhaul. And if you’re ready to tailor your storage solutions precisely to your needs, don’t hesitate to reach out for expert advice. Have you ever fallen into this trap? Let me know in the comments.
Keeping Your Storage Systems in Peak Condition
To ensure your built-in cabinets and custom storage solutions remain functional and beautiful over time, regular maintenance is essential. I personally invest in high-quality tools like a cordless impact driver with adjustable torque settings, which I use for tightening hardware without over-stressing the frame. A precision level is non-negotiable for aligning doors and shelves perfectly, preventing sagging or misalignment that can occur with daily use. For cleaning, a soft microfiber cloth paired with mild detergent keeps surfaces free of dust and fingerprints, particularly for high-gloss or lacquer finishes. Additionally, inspecting hinges and slides quarterly allows me to catch wear early and apply lubricants like silicone spray to prevent squeaks and ensure smooth operation.
Beyond tools, employing specific maintenance techniques prolongs the lifespan of your storage investments. For example, avoiding excessive moisture in the kitchen prevents warping or swelling of wood components. Installing dehumidifiers or moisture absorbers in humidity-prone areas can be a game-changer. I also recommend periodically checking the mounting points, especially after heavy usage or renovations, to reinforce any loose anchors. Using products like anchor repair kits can restore stability without replacing entire units.
Why Automate Your Maintenance Routine
In the future, I predict that integrating smart technology into your storage systems will become standard practice. Smart hinges with self-lubricating mechanisms or sensors that alert you to loose fittings could revolutionize home upkeep. For now, however, sticking to tried-and-true manual tools and regular check-ups is the best approach. Remember, prevention is better than repair—so schedule routine inspections and cleaning sessions. If you’d like to explore how automation can further benefit your remodel, check out this guide on modern kitchen upgrades.
How do I maintain custom cabinets to keep them looking new?
Maintaining your custom cabinets requires attention to detail. Use a soft cloth and non-abrasive cleaning solutions regularly to prevent grime buildup. Tighten hardware every few months, as screws can loosen over time with frequent opening and closing. Applying a protective wax or polish designed for cabinet finishes offers an additional layer of defense against scratches and moisture. Also, be mindful of exposure to sunlight, which can fade or discolor finishes. It’s wise to install UV-protective film on windows or reposition furniture to minimize sun damage. For comprehensive guidance, consider consulting a specialist who can provide personalized advice based on your cabinet materials. Ready to take your maintenance game further? Incorporate periodic inspections and maintenance routines informed by expert tips, like those in this article, to keep your kitchen thriving for years to come.
When I first started installing heavy wall cabinets into metal studs, I thought I had the process down—that is, until I faced wobbling shelves and sagging doors that threatened the entire kitchen remodel. Through trial, error, and lots of learning, I uncovered some truths that altered how I approach custom cabinetry in challenging environments. If you’re embarking on a similar journey, these insights might just save you time, money, and frustration.
The Hard-Won Wisdom That Changed My Perspective on Cabinet Support
- Not all anchors are created equal: Relying solely on standard screws or generic wall anchors won’t cut it for heavy cabinets on metal studs. Investing in high-quality toggle bolts or specialized metal stud anchors was a game-changer for me, ensuring the weight was properly distributed and secured.
- Precision matters more than you think: Marking stud positions and pre-drilling with care prevented misalignments that compromise stability. A small delay during measurement saved me from bigger headaches down the line.
- Understanding load distribution: Supporting one point isn’t enough; reinforcing the entire structure with additional brackets or multiple anchors spread the weight evenly safeguarded my cabinetry and stored essentials.
Tools and Resources That Elevated My Workflow
- Heavy-duty toggle bolts and metal stud anchors—Trustworthy hardware that I now consider essential for any heavy cabinet project involving metal framing. They’re designed specifically to handle substantial loads safely.
- Magnetic stud finders and digital measuring tapes—Advanced tools that increased my accuracy, reducing errors and rework. Accurate locating of studs is fundamental for a secure installation.
- Expert installation guides and forums—I recommend checking out this resource for detailed strategies and community insights, which played a pivotal role in my success.
Seize the Moment: Your Next Cabinet Makeover Awaits
Installing heavy cabinets into metal studs may seem daunting at first, but with the right support and a willingness to learn, you’ll create a stunning and durable kitchen space that stands the test of time. Remember, every expert was once a beginner—start with clear plans, trusted hardware, and don’t shy away from seeking advice. If you’re ready to transform your home with confidence, explore our comprehensive guide to innovative storage solutions or discover custom cabinets that elevate your kitchen’s style and function. Your journey towards beautiful, functional storage begins now.
Have you ever struggled with finding the right support for heavy wall cabinets? Share your experience below—I’d love to hear your story!