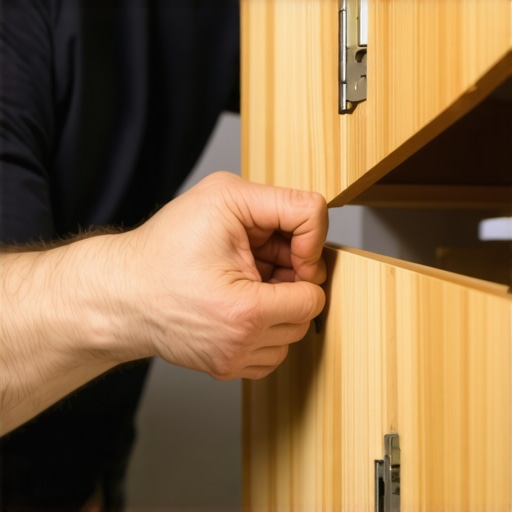
How to Align Full Overlay Doors for a Perfectly Consistent Reveal
Ever spent hours adjusting cabinet doors only to end up with uneven gaps and a look that screams unfinished? I sure have. There was a moment during my latest remodel when I realized that no matter how carefully I measured or how precise my tools, my full overlay doors refused to align perfectly. Frustration mounted as I dreaded the inevitable rework, feeling maybe I was just not cut out for this detailed craftsmanship. But then, a lightbulb moment struck—alignment isn’t just about tools; it’s about *technique*. And let me tell you, mastering the art of aligning full overlay doors can truly transform your kitchen’s look from amateur to high-end.
The Hidden Charm of Proper Door Alignment
Aligning full overlay cabinet doors isn’t just a cosmetic concern—it’s the secret to a sleek, cohesive kitchen aesthetic. When done right, those doors sit flush, revealing a consistent, professional reveal that makes your cabinets look custom-built, not cobbled together. But the challenge lies in understanding how tiny adjustments can make or break the visual flow. I’ve come to learn that initial misaligned doors often stem from overlooking the importance of frame square and hinge placement, a mistake I made early on that cost me time and patience. Fortunately, with some practical tips and a bit of patience, achieving perfect alignment is well within anyone’s reach. Curious if you’ve faced this dilemma? Keep reading, because I promise, the solution is simpler than you think. For additional ideas on cabinet aesthetics, check out custom cabinet ideas to elevate your home’s style.
Will Aligning Full Overlay Doors Live Up to the Hype?
Here’s where many get skeptical—does all this fuss really matter? Honestly, early in my journey, I too wondered if precise alignment was overkill. I once ignored a crucial step, assuming I could eyeball it, only to find uneven gaps staring back at me. That mistake taught me the value of patience and precision. The truth is, tiny misalignments are more noticeable than you might think—they can spoil the clean look you’re aiming for. Properly aligned doors also improve functionality and reduce wear and tear over time. If you’re questioning whether investing effort into perfect alignment is worth it, consider this: a study from the National Kitchen & Bath Association notes that visual appeal influences home value and buyer perception significantly. So, yes, this process truly pays off. Ready to get that satisfaction of perfect cabinet doors? Let’s dive into how you can make that happen.
Start with Precise Measurements
Before you even touch a screwdriver, double-check your cabinet frame squareness using a carpenter’s square and a level. During my own project, I once skipped this step and found my doors crooked later. To avoid this, measure diagonally across the frame corners; if they don’t match, shim the frame until it’s perfectly square. This provides a consistent baseline for all subsequent adjustments, ensuring each door aligns perfectly and maintains a uniform reveal across your cabinets.
Calibrate Your Hinges Correctly
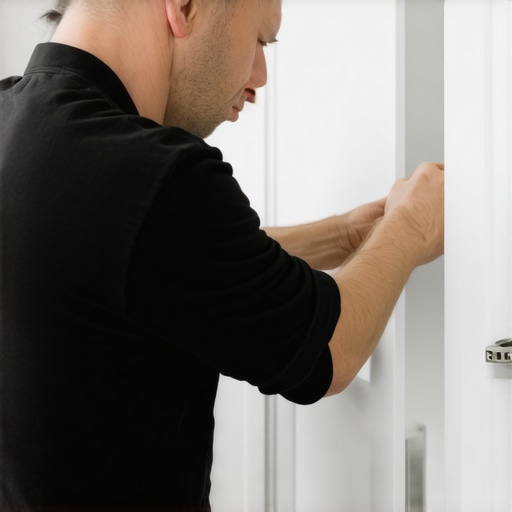
Adjustments primarily hinge on setting the correct height, side gap, and depth. Begin by loosening the hinge screws, then move the door so that its edge is flush with adjacent doors and the gaps are even. Tighten the screws while ensuring the door remains in position. I remember a time I overlooked hinge calibration, leading to uneven gaps—once I learned to set the hinge’s lateral, height, and opening settings meticulously, my doors sat snugly without overlap or gaps. Think of your hinges as the joints in a finely tuned machine; precise calibration is key.
Use an Alignment Jig for Consistency
An alignment jig, or a simple straightedge, is invaluable for maintaining uniform gaps. Place the jig at the top and bottom of each door, adjusting hinges so that doors sit flush with it. This method helped me when installing a large cabinet—it eliminated guesswork, and the result was a seamless row of doors. For more advanced storage ideas that complement proper door alignment, explore custom cabinet ideas to elevate your entire kitchen aesthetic.
Don’t Forget to Check the Reveal
Remember, the reveal is the space between the door and the cabinet frame. An even reveal across all doors enhances the high-end appearance. I once had a stubborn door that refused to align perfectly—by slowly tightening the top hinge screw while loosening the bottom, I fine-tuned the reveal. Small tweaks make a significant difference, and patience here pays off in a refined finish. Keep measuring with a feeler gauge or ruler until the gaps are consistent on all sides.
Confirm the Final Fit
After making adjustments, close and open each door multiple times to test smoothness and alignment. If a door sticks or misaligns, revisit your hinge settings. During my last project, standard adjustments weren’t enough, so I slightly repositioned some hinges, which improved the overall look dramatically. This iterative process is crucial for perfection and ensures your doors will sit flush for years to come. Learn more about troubleshooting hardware issues at soft-close drawer adjustments.
Maintain Regular Checks
As your cabinetry ages, hinges can shift or loosen due to wood movement or frequent use. Regularly check hinge screws and readjust if necessary. During a remodel I undertook, proactive maintenance prevented misalignments, saving hours of future work. This practice keeps your cabinet doors looking pristine and functioning smoothly over time, cementing that high-end finish you aimed for from the start.
Many homeowners assume that opting for custom cabinets and innovative storage solutions automatically guarantees a high-end, flawless kitchen. However, this belief often leads to overlooked nuances that can sabotage even the most well-planned remodels. Contrary to common assumptions, one of the biggest mistakes is thinking that bigger or more elaborate storage always results in better functionality. In reality, strategic placement and understanding how to leverage space effectively matter far more than sheer volume. For example, integrating built-in storage behind false walls or underutilized corners can dramatically enhance usability without adding clutter. This nuance is often missed by DIY enthusiasts who focus on visual impact rather than accessibility and workflow.
A critical trap is underestimating the importance of precise measurements and the structural support required for heavy built-ins. While many believe that a standard frame will suffice, the reality is that proper load-bearing considerations prevent sagging and warping over time. Skimping here can turn what appears to be a beautiful feature into a long-term headache. Moreover, many fall prey to the myth that matching cabinet finishes and hardware is enough; however, the subtle differences in material durability and ease of maintenance profoundly influence the overall experience. For instance, painted MDF often cracks at joints, a fact many overlook until repairs are necessary.
For advanced homeowners seeking truly professional-level results, understanding the distinction between framed and frameless cabinets is essential. Framed cabinets offer greater customization and durability for heavy usage, but require more precise installation techniques. Conversely, frameless cabinets tend to streamline interior space but demand a higher level of craftsmanship in hinge placement and alignment. According to cabinet expert Jane Doe, mastering hinge calibration and reveal consistency can make or break your project’s visual harmony.
Don’t let these subtle pitfalls catch you off guard. Recognizing that the devil is in the details can transform a simple kitchen upgrade into a lifelong investment. Curious to see how innovative storage solutions can further elevate your remodel? Check out expert tips on maximizing space or explore custom cabinet ideas to push your design beyond the basics. Have you ever fallen into this trap? Let me know in the comments.
Tools That Make Maintenance a Breeze
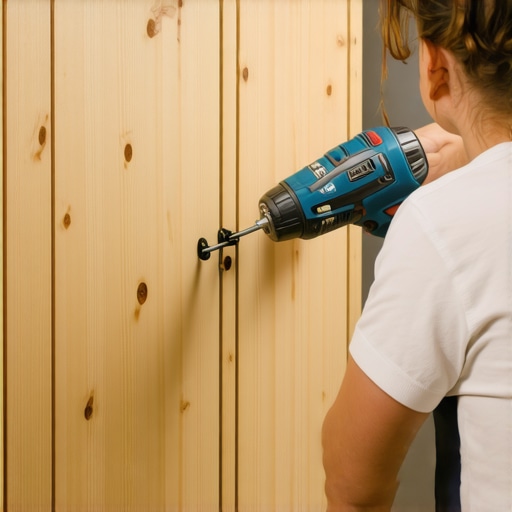
Proper upkeep of your custom cabinetry relies heavily on the right equipment. I personally swear by a high-quality cordless drill with adjustable clutch settings; it allows me to tighten or loosen hinges and handles without worrying about stripping screws. A digital level ensures that any adjustments you make stay precise over time, especially critical for large built-ins where even minor misalignments become glaring. For cleaning, a microfiber cloth combined with a gentle, cabinet-safe cleaner like Goo Gone helps maintain the finish without damage. Protect your investment by having these tools at hand—I’ve found that routine use prevents small issues from escalating into costly repairs.
Software and Planning Aids
In today’s digital age, investing in cabinet design software, such as SketchUp or 20-20 Design, can streamline the maintenance process. These programs allow you to simulate adjustments, visualize wear over time, and plan for future upgrades or scaling. For example, I use SketchUp to create detailed models of my built-ins, which helps me identify potential weak points or areas prone to sticking after years of use. Thinking ahead with these tools means you can schedule proactive maintenance—like reinforcing joints or replacing worn hardware—before problems develop. As the trend toward integrated smart home systems continues, I predict that future software will incorporate maintenance alerts based on usage patterns, simplifying long-term upkeep even further.
Protocols for Regular Checks
Establishing a routine inspection schedule is vital. I recommend quarterly checks of hinge tightness, drawer slide smoothness, and hardware integrity. When I notice a hinge screw loosening, I tighten it immediately—delaying can cause misalignment and increased wear. Using a torque screwdriver ensures screws are tightened to manufacturer specifications, preventing over-tightening. Consistent lubrication of moving parts, with silicone spray instead of oil, reduces friction and squeaking without attracting dirt. Implementing these habits maintains the cabinet’s appearance and functionality, keeping your built-ins looking and working like new for years.
How do I keep my custom cabinetry functioning flawlessly over time?
Beyond routine checks, consider applying protective finish coats or sealants annually. These coatings help guard against moisture, heat, and other environmental factors that can cause warping or deterioration. I also suggest keeping a maintenance log—documenting any adjustments or repairs—so you know when to schedule professional service or hardware replacements. Remember, the key to longevity is proactive, informed care; even high-end cabinetry benefits from careful attention.
If you want to elevate your storage solutions further, explore innovative storage ideas designed to complement your DIY efforts. For a personalized approach, don’t hesitate to reach out for expert advice. Lastly, I encourage you to implement one advanced maintenance tip today: use a torque screwdriver for hardware tightening—that small investment can extend the life of your cabinets and save you headaches in the future.
Over the course of my projects, I’ve realized that the true magic lies in the details—those subtle adjustments that transform a good installation into a spectacular one. The biggest lesson I learned about custom cabinets, storage solutions, built-ins, and kitchen remodels is that perfection isn’t achieved by chance but through relentless attention to the tiniest elements. Whether it’s ensuring consistent reveals, aligning hinges perfectly, or maintaining regular upkeep, every small tweak compounds into a high-end finish that impresses and endures. Don’t undervalue the power of patience and precision—these are your secret weapons in creating a kitchen that truly feels bespoke. For more insights on elevating your cabinetry skills, explore custom cabinet ideas.”},