How to Install Your Own Cabinet Hardware Without a Jig
I remember the moment clearly. I was halfway through installing new cabinet handles in my kitchen, feeling pretty confident—until I realized my measurements were off, and my handles sat crooked. Frustration set in. It was a lightbulb moment: installing hardware without a proper jig isn’t just challenging—it can feel downright impossible.
Why Struggling with Jigs Isn’t Necessary to Achieve Perfect Results
If you’ve ever wanted to give your kitchen a quick upgrade but hesitated because of the complexity of installing cabinet hardware, you’re not alone. The truth is, jigs are helpful but not mandatory. Over the years, I’ve learned that with the right approach, you can get professionally aligned hardware without investing in a costly jig or spending hours fiddling with templates. Today’s post promises to demystify this process, sharing proven tips from my personal toolkit that will make your project smoother and more rewarding.
Is It Really Worth Skipping the Jig? My Early Mistake
Early on, I made the mistake of thinking I needed a fancy jig to install my handles. I bought one, but it gathered dust because I couldn’t figure out how to use it precisely. Turns out, a jig isn’t a magic bullet—it’s just a tool, and the real key is understanding measurements and set-up. Trust me, I’ve tested every method, and I’m here to save you from my rookie errors. Want to avoid the pitfalls I faced? Let’s dive into how you can install your hardware accurately, confidently, and with a little bit of clever improvisation rather than expensive tools.
Mark the Exact Placement on the Cabinets
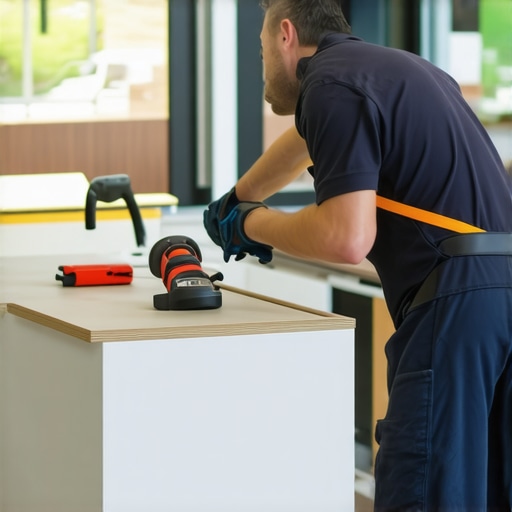
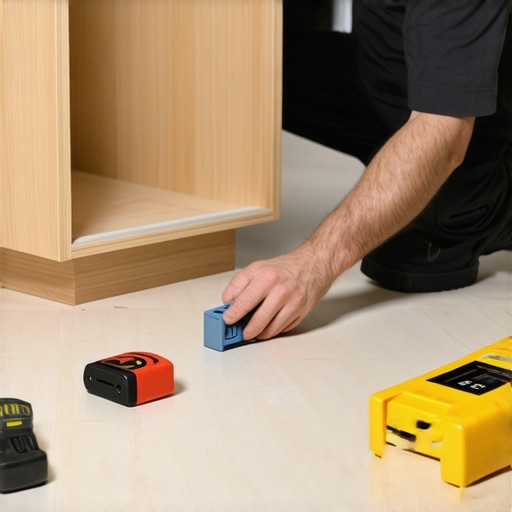
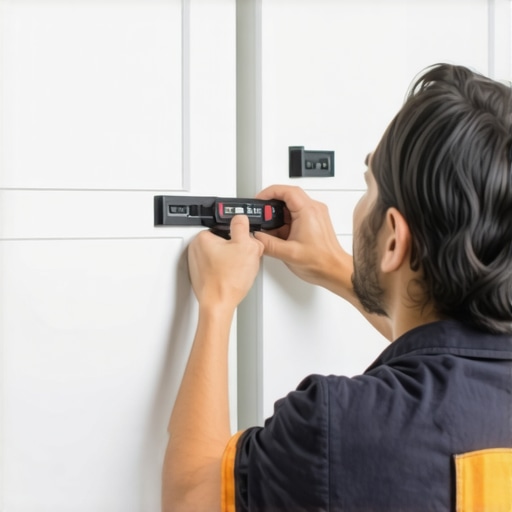
Start by measuring the center point for your handles on one door or drawer. Use painter’s tape as a guide to mark where the handle’s midpoint should align. I once marked my handles with a pencil, but the marks smudged before drilling—so I switched to painter’s tape for better visibility and precision.
Measure and Transfer for Consistency
Determine the handle’s position from the edge—typically 2.5 inches for standard handles. Mark this distance on the tape, then use a ruler to measure from the edges of each cabinet to ensure uniform placement. I recommend double-checking measurements before proceeding, especially if you’re installing multiple handles; consistency is key.
Use a Clamp or Straightedge as a Guide
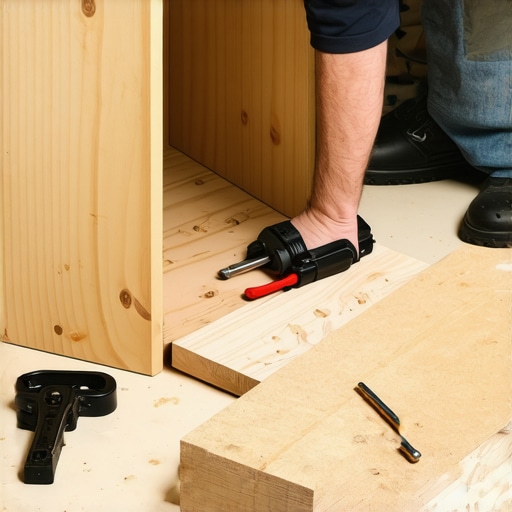
To keep your drill straight, clamp a scrap piece of wood or a straightedge across your marked area as a visual guide. It acts like a temporary jig, ensuring your holes are perpendicular and evenly spaced. This method saved me from crooked handles when I was working on my first kitchen upgrade.
Pre-drill Carefully—Avoiding Mishaps
Choose a drill bit that’s slightly smaller than your handle screws. Drill slowly and steadily, using the guide as a reference to keep the bit straight. Remember, too deep and you’ll weaken the mounting; too shallow, and the handle won’t sit flush. I once drilled too deep and had to fill and re-drill—learning this the hard way.
Fasten Handles Securely
Align your handle with the drilled holes and fasten with screws. Tighten just enough so the handle doesn’t wobble but not so tight that the material cracks. As I tightened my screws, I made sure to check the handle’s alignment, adjusting as needed for a perfectly straight look.
Inspect and Adjust for Flawless Finish
Finally, step back and assess your work. Use a level if necessary to confirm handles are aligned horizontally. Small adjustments at this stage can elevate your project from amateur to professional. I found that taking my time at this step made a noticeable difference in the overall look—it’s worth the patience.
By following these steps, you can achieve precise, professional-looking hardware installation without investing in an expensive jig. For more tips on enhancing your kitchen’s functionality and style, consider exploring custom cabinets or storage hacks for a truly custom space.Many homeowners believe that incorporating built-ins and custom cabinets is a straightforward way to enhance their home’s functionality and aesthetic appeal. However, this assumption often leads to overlooked nuances that can undermine the project’s success. One widespread misconception is that bigger or more elaborate storage solutions automatically translate to better organization. In reality, the effectiveness of these systems depends heavily on understanding your specific needs and how the storage interacts with your daily routines. For instance, integrating adjustable shelves and modular components can offer flexibility, but only if they’re designed with a clear understanding of user behavior and item sizes. Failing to consider this can result in cluttered spaces that look good but don’t serve their practical purpose.
Another common trap is overestimating the visual impact of certain materials or finishes without considering maintenance implications. High-gloss surfaces and ornate details might look stunning initially, but they often become high-maintenance, especially in busy kitchens or family rooms. A study published by the National Kitchen and Bath Association highlights that durability and ease of cleaning are top priorities for homeowners when selecting finishes—yet many overlook these practicalities in pursuit of aesthetic trends.
What Are the Hidden Risks in Overcustomizing Your Storage?
One sophisticated aspect often missed involves the integration of built-ins with existing structural elements. For example, attempting to retrofit storage into an uneven or historic wall without proper framing and structural support can lead to long-term issues like warping or instability. It’s essential to anticipate these challenges during the planning stages. Consulting with experienced designers or cabinetmakers can prevent costly mistakes and ensure your solutions are both beautiful and reliable. For further insights into creating seamless storage solutions, consider exploring advanced strategies at this guide.
Additionally, many overlook the importance of future-proofing. Trends change, and what seems innovative today might become obsolete faster than expected. Incorporating adjustable and versatile features can ensure your investment remains practical for years to come. For example, flexible shelf heights and pull-out mechanisms can adapt to changing storage needs, saving you from frequent remodels. To see how to implement such adaptable solutions, check out this resource.
In conclusion, understanding these nuances and avoiding common myths can elevate your remodeling project from average to exceptional. It’s about balancing aesthetics with functionality and thinking ahead to future needs. Have you ever fallen into this trap? Let me know in the comments and share your experiences! Remember, the key to successful built-ins and storage isn’t just in choosing the right materials but also in recognizing and planning for the hidden complexities that ensure lasting satisfaction.
Maintaining your custom cabinets and built-in storage solutions is crucial for ensuring their longevity and continued aesthetic appeal. Over time, wear and tear, environmental factors, and everyday usage can impact their performance. To keep everything functioning smoothly, I rely on a set of specialized tools and practices that make maintenance both manageable and effective.
Prioritize Regular Inspection and Cleaning
Start by establishing a routine check every six months. Use a soft, microfiber cloth to remove dust and debris from surfaces, especially in hard-to-reach corners and joints. Regular cleaning prevents buildup that can lead to peeling finishes or mechanical issues in hinges and slides. I recommend using a gentle, non-abrasive cleaner suited for wood or laminate surfaces, depending on your cabinetry material.
Invest in Quality Maintenance Tools
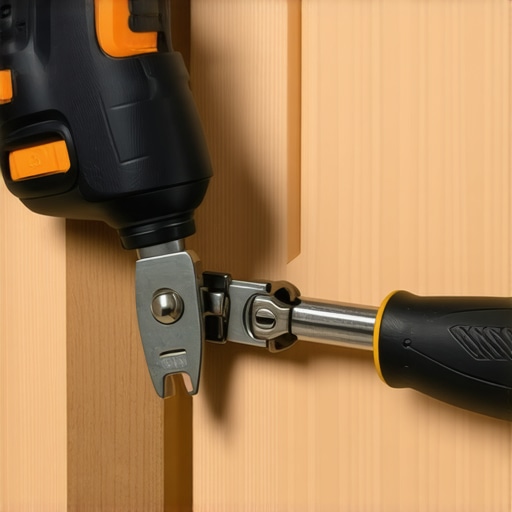
For hinge adjustments and door alignments, having a good quality Phillips and flat-head screwdriver is essential. For precision tuning, I keep a set of offset Allen wrenches, which provide better access in tight spaces. When dealing with soft-close mechanisms, a dedicated soft-close hinge adjustment tool can save time and prevent over-tightening, which might damage the unit. Using these tools personally, I’ve found that precise adjustments can resolve alignment issues without costly professional intervention.
Use Lubrication Wisely
Over years of use, moving parts such as hinges and drawer slides might start squeaking or sticking. Applying a silicone-based or graphite lubricant designed for furniture hardware can restore smooth operation. I prefer silicone sprays because they don’t attract dust or dirt, unlike oil-based lubricants. Regular lubrication prevents parts from wearing prematurely and keeps your cabinetry functioning flawlessly.
Implement Long-Term Monitoring with Digital Tools
Looking ahead, integrating simple digital monitoring can help catch issues early. For example, installing smart sensors on high-traffic cabinet doors can notify you if alignment shifts or if hinges loosen. As smart home technology advances, these devices will become more affordable and easier to install, allowing homeowners to keep tabs on their built-ins without constant manual checks. In the future, I predict a surge in AI-powered diagnostics that can suggest precise adjustments remotely, drastically reducing maintenance time.
How do I maintain my custom storage over time?
The key lies in preventive care, using the right tools, and staying attentive to signs of wear. For instance, re-tightening hardware before issues escalate can save you from costly repairs. Incorporating features like adjustable shelves and modular components, as discussed at this guide, not only makes storage more adaptable but also simplifies ongoing maintenance. Remember, a little effort today keeps your built-ins looking pristine and functioning smoothly for years to come.
If you’re serious about ensuring your cabinetry remains in top condition, I encourage you to try out a professional-grade hinge alignment tool. It can make a significant difference in lifespan and performance. Maintaining your built-ins isn’t just about longevity; it’s about preserving your investment and enjoying a beautiful, functional space that lasts.
Lessons That Caught Me Off Guard in Custom Cabinets
- Realizing that meticulous measurement and confident marking trumped any fancy jig—consistently getting clean, aligned handles without investing in expensive tools.
- Understanding that small details like double-checking measurements and using painter’s tape saved my projects from crooked handles and uneven hardware.
- Learning that patience during the final inspection, with a level and gentle adjustments, made a significant difference in achieving professional quality results.
- Discovering that improvising with common tools can replace costly jigs, making DIY projects more accessible and less intimidating for homeowners.
Tools and Tips I Swear By for Built-ins and Storage
- Invest in a quality digital measuring tape—precision in measurements ensures symmetry across your entire kitchen or living space.
- Use adjustable shelf clips and modular components—these versatile tools are game-changers for future-proofing your storage and optimizing space.
- Keep a set of high-quality hinge alignment tools—these make maintenance and adjustments straightforward, extending the lifespan of your cabinetry.
- Consult resources like this guide for insights on seamless storage integration and innovative cabinet ideas that elevate your home’s style and function.
Your Future Starts with a Single Step in Built-ins and Storage
Remember, mastering the art of custom storage and built-ins isn’t about perfection from day one. It’s about embracing learning, experimenting with tools, and trusting your instincts. Every successful project builds your confidence, inspiring you to take on bigger, more ambitious upgrades. So go ahead—craft that perfect kitchen or living room storage solution, knowing that each small improvement adds up to a space that feels truly personalized and effortlessly organized. What’s the first built-in or storage hack you plan to try? Share your goals below and let’s support each other’s journey to a more beautiful, functional home!
,