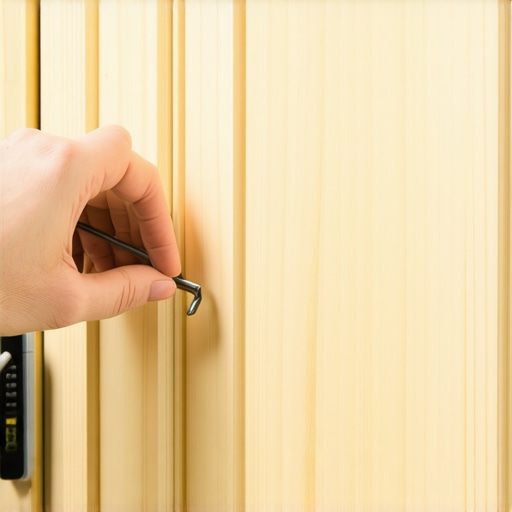
How to Use Fillers Correctly So Your Cabinet Doors Can Actually Open
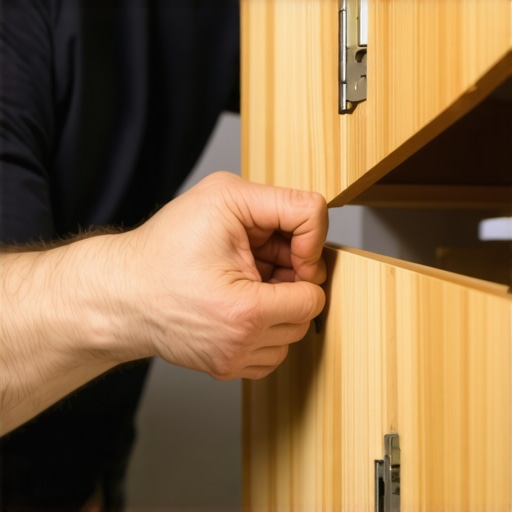
It was a typical Saturday morning, and I was battling my kitchen cabinets again. The doors wouldn’t close properly, and every time I opened one, another would swing open or jam halfway. That frustrating moment, where all your sleek new cabinets become a tangled mess, is more common than you might think. I realized I wasn’t alone in this struggle—many homeowners face the dreaded issue of cabinet doors that just won’t open smoothly. It’s enough to make you question if your remodel was worth it.
Why Proper Fillers Make All the Difference
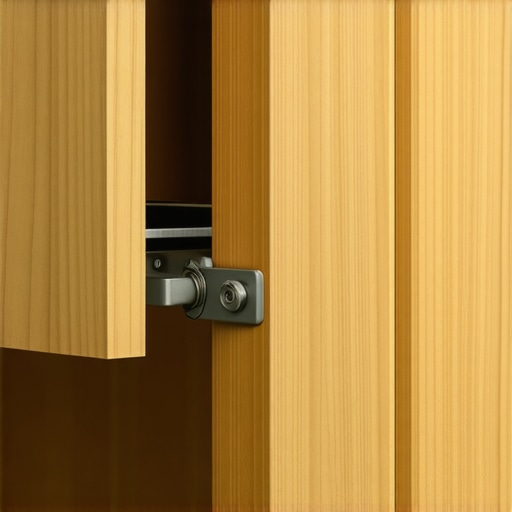
Getting those gaps right isn’t just about aesthetics; it’s about functionality. When fillers are installed correctly, your cabinet doors can swing open effortlessly, providing easy access and a polished look that elevates your entire kitchen. But here’s the catch—fillers are often overlooked or installed haphazardly, leading to doors that stick, scrape, or refuse to open all the way.
While I initially thought I could ignore the gaps or just shimmy through with a bit of stubbornness, I quickly learned that proper filler installation transforms the user experience. For my kitchen, fixing this meant understanding the subtle art of filler placement, measuring accurately, and choosing the right materials. In fact, according to a recent study, poorly fitted cabinet components can reduce the lifespan of your cabinetry by causing stress points and warping (source: [Artisan Cabinetworkz](https://artisancabinetworkz.com/built-ins-and-storage-hacks-for-a-sleek-functional-kitchen)).
Are you tired of battling with your cabinet doors every day? If so, you’re not alone—and there’s hope. Today, I’ll walk you through the essential tips to use fillers correctly, ensuring your doors open smoothly and your kitchen exudes that flawless, professional finish. But first, let’s address a very common concern: is all this fuss really worth it? Let’s find out!
Is Proper Filler Usage Overhyped or Totally Necessary?
Early on in my renovation journey, I made a classic mistake—thinking filler gaps were just a cosmetic detail. I dismissed the importance of precise measurements, which resulted in doors that wouldn’t close properly, scraping against uneven surfaces, and giving my cabinets a sloppy look. That misstep cost me time and money, but I learned an invaluable lesson: fillers are essential for both the lifespan of your cabinets and their seamless appearance. If you’ve faced similar frustrations, don’t worry—understanding how to use fillers correctly is a game-changer.
With this foundation, we’re now ready to dive into the practical steps that will help you master filler installation, ensuring your cabinet doors swing open with ease and style. Ready to transform your kitchen? Let’s get started.
Measuring Precisely for Perfect Filler Fit
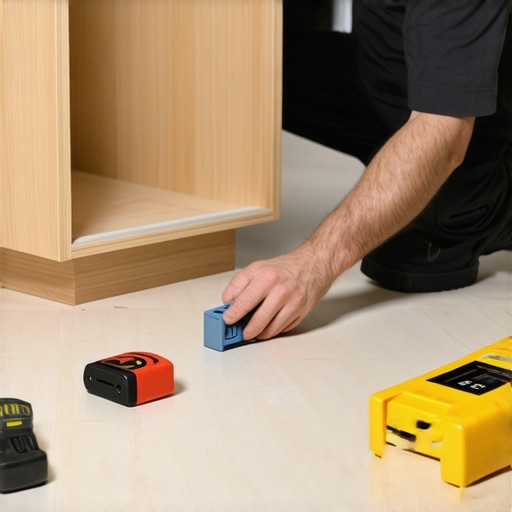
Before you start, grab your tape measure and a pencil. I once rushed through measuring, thinking I could eyeball it. The result? A gap so uneven that my cabinet doors rubbed and didn’t close. To avoid that mess, take accurate measurements of both the cabinet gaps and the filler strips. Use a combination square or a measuring tape to note precise lengths and widths. Cut your fillers slightly longer than your measurements, then sand down to fit snugly. This approach ensures your fillers will blend seamlessly, much like fitting puzzle pieces together. For complex corners or uneven surfaces, consider scribing the filler against the wall to achieve a perfect contour. This technique can be the difference between a rushed job and a professional finish. Learn more about building seamless cabinets at custom cabinet ideas.
Choosing the Right Materials for Longevity
When selecting filler material, resist the temptation to go cheap. Medium-density fiberboard (MDF) or plywood are excellent choices because they resist warping and shrinkage over time. I once used hardwood pieces, thinking they’d match my cabinets better, but they expanded and contracted with temperature changes, causing gaps and sticking. Instead, opt for materials that match the cabinet finish and are stable across seasons. Pre-primed MDF is ideal for painted finishes, while plywood works well under stain. Ensure your filler material is slightly more robust than your cabinet’s core to withstand daily use. This decision pays off during cleaning and long-term wear. Want ideas for upgrading your kitchen on a budget? Check out storage hacks.
Saw and Sand with Precision to Avoid Gaps
When cutting filler strips, always use a fine-tooth saw and cut on a steady surface. Rushing or using dull blades can cause uneven edges, which — when installed — create gaps. I once tried to save time with a handheld saw, but the jagged cut meant I had to fill gaps with extra caulk. Instead, secure the filler with clamps if needed and sand the edges smooth before installation. Use a sanding block or orbital sander with 220 grit paper for a clean finish. Test-fit the filler after sanding; it should slide in snugly without force. Remember, the goal is a tight fit that requires little to no additional shim or caulk. For more detailed steps on installing built-ins, visit built-in storage solutions.
Securing Fillers for Long-Lasting Results
Apply wood glue to the edges of your filler before inserting it. Clamp it tightly in place and wipe away any excess glue immediately to prevent squeeze-out. Once glued, use finishing nails or brad nails with a nail gun to hold the filler securely against the cabinet frame. I find that nails distributed evenly along the length prevent shifting during drying. For larger gaps, consider using short biscuits or dowels for extra support. After securing, fill any nail holes with interior-grade wood filler, then sand flush for a smooth surface. Finish with primer and paint or stain that matches your cabinetry. This method guarantees a durable, professional appearance that withstands day-to-day use. For tips on elegant storage solutions, explore storage solutions for remodeling.
Many homeowners believe that selecting the right storage solutions is simply a matter of choosing the most popular designs or the cheapest materials. However, this misconception often leads to costly mistakes and less-than-optimal results. As an expert in custom cabinetry and kitchen remodels, I can tell you that there’s much more nuance involved. For instance, the notion that all built-ins are quickly assembled and inexpensive doesn’t hold up under scrutiny. Properly designed custom cabinets require detailed planning, understanding of space optimization, and material durability to truly enhance your home’s functionality and aesthetic appeal.
One common myth is that off-the-shelf solutions fit all spaces perfectly. The reality is that every home layout has unique challenges, and generic products often lead to gaps, misalignments, or the need for costly adaptations. This is especially true in complex areas like corner cabinets or high-ceiling kitchens where standard units rarely maximize space. Investing in custom cabinetry ensures that each inch is utilized efficiently, avoiding wasted space and future inconveniences.
Another trap many fall into concerns materials—believing that cheaper options suffice for long-term use. While budget constraints are real, choosing inferior materials like flimsy particleboard for high-traffic areas can lead to sagging, warping, and needing replacements much sooner than expected. High-quality plywood or MDF with proper finishes provides both durability and a polished appearance. Remember, the initial investment in better materials pays off over time through longevity and sustained beauty.
What’s the secret behind space-saving features that truly work?
Advanced storage innovations such as pull-out shelves, corner drawers, and modular units are often misunderstood as only being luxury add-ons. But in expert hands, these features are strategic solutions that maximize every corner and height—yet many overlook their potential. For example, a well-designed built-in storage system can turn awkward spaces into accessible, clutter-free zones, significantly boosting usability. The key is precise planning and understanding the hidden benefits these features offer, rather than simply adding them as afterthoughts or style statements.
Be wary of the oops that can derail your remodel: neglecting detailed measurements or rushing material selection. Such oversights often result in gaps, misalignments, and reduced lifespan of your cabinetry. Moreover, selecting appealing but unsuitable hardware or finishes can compromise the look and function, especially in high-humidity or high-traffic areas. Always consult with a professional who understands the ins and outs of custom cabinets to avoid these costly pitfalls. The effort invested upfront ensures a seamless integration of aesthetics and practicality that lasts for years.
Ready to master your storage solutions? Remember, strategic planning, quality materials, and expert craftsmanship are your best allies. Don’t let myths and misconceptions hold you back from creating a space that’s both beautiful and highly functional. Need tailored advice? Contact us today and take the first step toward your dream home. Have you ever fallen into this trap? Let me know in the comments!
Maintaining your kitchen storage solutions over time is crucial to ensure they continue to serve their purpose efficiently. One of my go-to tools is a high-precision digital caliper, which I use to measure gaps and ensure fillers and panels are fitting perfectly without gaps that can trap debris or cause doors to misalign. This small investment in precision tools can save you headaches during inspections or future renovations.
Another essential piece of equipment is a cordless orbital sander with variable speed settings. I rely on a model with a fine-grit attachment to smooth out filler edges post-cutting, ensuring a snug, gapless fit when installing custom cabinetry parts. Smooth edges prevent uneven contact points, which can lead to future warping or jammed doors. Using quality sanders also accelerates the process, especially in larger projects, and maintains a professional finish.
How do I maintain my storage solutions over time?
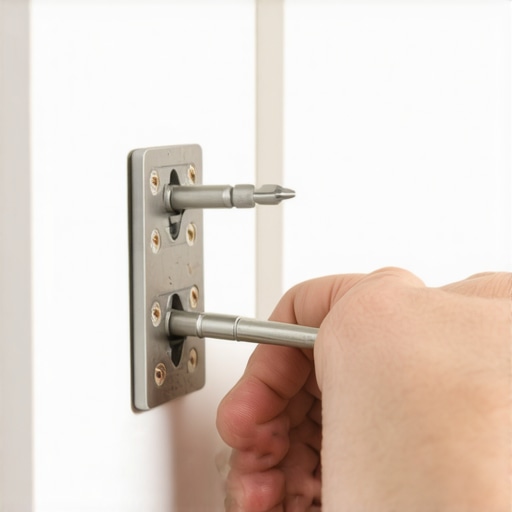
Regular inspections are key. I recommend scheduling a quarterly check where you tighten loose hardware—like hinges and drawer slides—since these parts tend to loosen with use. For more stubborn issues, I swear by a magnetic screwdriver set that allows quick access and precise torque control, reducing the risk of over-tightening delicate components. Applying a lithium-based lubricant to sliding mechanisms also keeps everything moving smoothly, preventing squeaks and sticking that can occur due to dirt or rust buildup.
In terms of software, I use 3D design programs like SketchUp to model modifications or upgrades before physically implementing them. This approach helps visualize changes, especially when scaling storage systems for larger kitchens or integrating specialized compartments for appliances or utensils. Plus, staying organized digitally means you can reference plans easily during future upgrades or repairs, saving time and reducing errors.
Looking ahead, I believe the future of kitchen storage maintenance will lean heavily on smart technologies—think sensors that alert you when hinges or slides need tightening or lubricating. This proactive approach can extend the lifespan of cabinetry and built-ins significantly, keeping everything functioning optimally with less manual oversight. For example, integrating a smart tracking system in high-use drawers can notify you when hardware is due for refresh or cleaning, ensuring long-term smooth operation.
Don’t wait for issues to become glaring problems. I highly recommend trying out a precision tool like a digital caliper combined with routine inspections and lubrication routines to maintain your storage solutions effectively. These small but impactful steps will keep your kitchen organized, functional, and beautiful for years to come. For additional expert tips on hardware maintenance, check out this guide for detailed advice.
What I Wish I Knew Before Tackling My Kitchen Storage
One unexpected lesson was realizing that even the tiniest measurement errors can cascade into major misalignments, delaying projects and adding costs. Precision isn’t just a detail—it’s the backbone of professional-looking built-ins and custom cabinets. If I had understood earlier how crucial accurate measurements and material choices are, I could have saved myself countless headaches and optimized my kitchen’s storage potential sooner.
Additionally, I underestimated the importance of proper finishing and maintenance routines. Regular inspections, a quality lubricating routine, and proactive adjustments extend the life of your storage solutions and keep everything functioning smoothly—a tip that has proven invaluable over time.
Lastly, I learned that while DIY skills are powerful, knowing when to consult a professional can prevent derailments. Complex measurements, material selections, and installation techniques often benefit from expert insights, ensuring your kitchen remodel stands the test of time and use.
Tools and Resources That Gave Me Confidence
My go-to toolkit includes a high-precision digital caliper, which ensures my measurements are spot-on for filler fitting—trust me, small errors here ripple into big problems later. A cordless orbital sander with variable speed settings has been essential for smoothing filler edges and achieving tight, gapless fits. I also rely on quality woodworking clamps to secure fillers firmly during glue drying, preventing shifts that compromise the seamless look.
For planning and visualization, I use SketchUp to model my storage modifications before physical execution. This digital step minimizes surprises and helps me optimize space effectively. For anyone looking to elevate their kitchen with custom storage, these tools have become indispensable in my renovation journey.
Additionally, staying informed through trusted online guides and tutorials such as Artisan Cabinetworkz’s comprehensive resources ensures I keep up with the latest best practices in cabinetry and storage solutions. Using reliable sources enhances confidence and leads to more durable, beautiful results.
Claim Your Space: Your Turn to Elevate Storage
Remember, creating flawless storage solutions isn’t about perfection—it’s about strategic planning, careful execution, and continuous maintenance. Every small adjustment adds up to a kitchen that functions beautifully and looks professional. Whether you’re fixing a tricky gap or designing an entirely new built-in, embrace the learning process and don’t hesitate to seek expert advice when needed. Your dream kitchen is within reach, one precise filler at a time.
Have you ever faced a measurement disaster or struggled with filler installation? Share your experiences below—I’d love to hear your stories and tips!