How to Scribe a Base Cabinet to a Wonky Floor Without a Gap
Have you ever installed a new set of base cabinets only to realize they don’t sit flush against the wall, leaving unsightly gaps or awkward seams? I sure have. The first time I tackled a kitchen remodel, I was eager to get everything perfect—until I saw how uneven my warped, wonky floor made that goal almost impossible. It was a frustrating moment, one where I wondered if all my planning had gone out the window.
Scribing Cabinets to Match an Uneven Floor Without Sacrificing Style
That lightbulb moment led me to discover a simple but powerful technique: scribing. Instead of trying to level the entire cabinet run—an often impractical or costly endeavor—I learned to carefully customize each cabinet’s profile to fit precisely against your uneven surface. And let me tell you, this little trick can make your project look professionally done, even if your floor is less than perfect. Today, I’m going to show you how to scribe your base cabinets seamlessly, ensuring a polished, gap-free appearance that elevates your entire remodel. Want a flawless fit without the headache? Keep reading.
What’s the Big Deal About Scribing?
When I started, I made the mistake of assuming my floor had to be perfectly level before installing cabinets. Turns out, that’s not always feasible—especially on older homes or irregular surfaces. A common misconception is that cabinets must sit level on a perfectly flat floor, but in reality, you can work with the imperfections by customizing each piece. As a DIYer, I found that mastering scribing not only saves time and money but also gives your project a more authentic, handcrafted look. Plus, when done right, it’s a game-changer for achieving a professional result.
If you’re contemplating your cabinet installation, I highly recommend reading more about custom solutions and how smart storage options can transform your space—just check out this comprehensive guide. Remember, early on, I ignored the importance of precision in scribing and paid the price with gaps. Trust me, taking the time to get it right is worth every minute.
Now that I’ve shared my experience, let’s dive into the practical steps that will help you scribe your cabinets perfectly—no matter how uneven your floor might be.
Measure Precisely to Match Your Floor’s Unique Shape
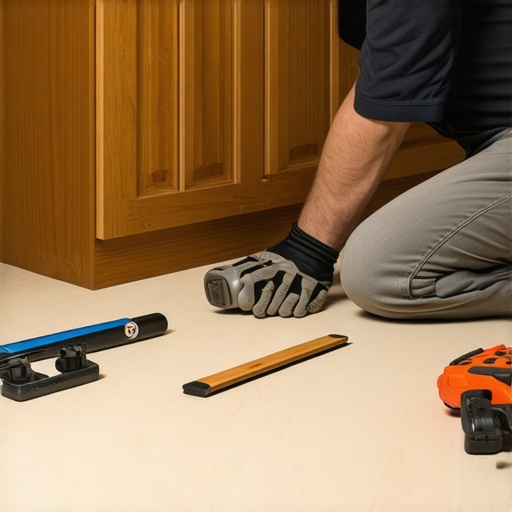
Start by identifying the highest and lowest points along your cabinet run, using a flexible measuring tool like a contour gauge or a scrap piece of cardboard. I remember one time, I took a scrap, pressed it against my uneven floor, and marked the points directly on the cabinet’s side panel. This ensured I wasn’t relying on the floor’s flatness but instead customized each cabinet’s edge accurately. Use these measurements to decide how much material you’ll need to remove or add to each cabinet.
Create a Custom Scribing Template
Next, cut a piece of thin plywood or hardboard to the approximate width of your cabinet face. Clamp this against the wall, aligning it with your measurements. Use a pencil or a marker to trace the wall’s contour onto the template. This method was a game-changer for me—once I traced my wall’s curves, I cut along the line with aJigsaw, giving me a perfect template to transfer onto the cabinet. This way, each cabinet edge matched the wall’s irregularities seamlessly.
Transfer the Scribe Line and Cut Carefully
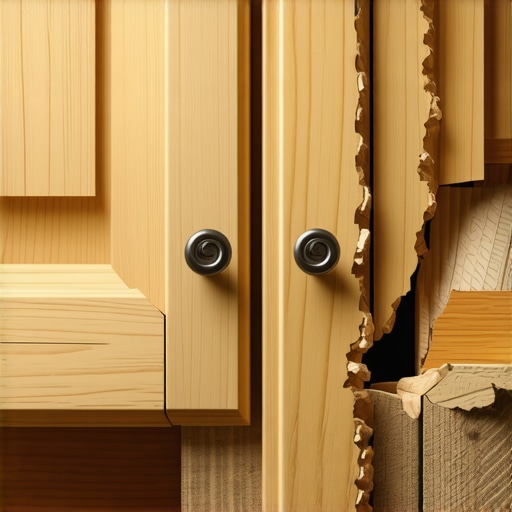
Position the template onto the cabinet side, aligning it with the edge where the cabinet meets the wall. Secure it firmly with clamps or weights, and trace the contour onto the cabinet. When cutting, use a fine-tooth jigsaw or a router with a flush-trim bit for a clean, precise cut. I recommend taking your time—cut slightly outside the line if you’re unsure, then sand or rasp it down for a perfect fit. The key is to work slowly, checking against the wall frequently.
Refine the Edge for a Flawless Fit
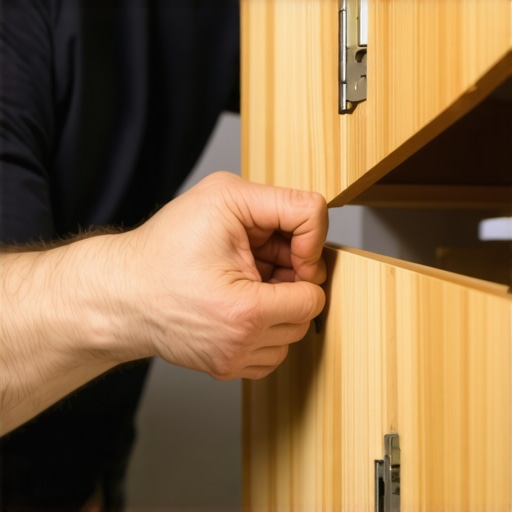
After the initial cut, test the cabinet against the wall. Expect some minor gaps or high spots; that’s normal. Use rasps, sandpaper, or a Surform tool to carefully smooth and adapt the profile. I once had a particular corner where I needed to make incremental adjustments—careful filing and testing kept the fit snug without forcing it. Remember, smaller adjustments are easier to refine than larger ones.
Secure and Finish the Cabinets
Once all cabinets are scribed and fitted, secure them into place with screws or adjustable fittings. Caulk or silicone along the edges fills minor gaps and creates a sealed, professional appearance. When I finished my last cabinet, I applied a bead of caulk and painted over it, which made the entire installation look flawless. For more advanced techniques on customizing your cabinetry, check out this guide. Proper scribing not only ensures a tight fit but also elevates your project’s craftsmanship to a professional level.When it comes to designing your dream kitchen, the common narrative often emphasizes choosing beautiful materials or trendy finishes. However, beneath these surface-level decisions lie subtle nuances that many overlook—nuances that can make or break your project’s success. As an experienced designer, I’ve seen countless homeowners fall into traps by following myths that seem convincing but don’t hold up under scrutiny.
One widespread misconception is that custom cabinets must always be built with perfect symmetry and standard sizes. The truth? **Every space has unique challenges**, and rigid adherence to standard measurements can result in wasted space or difficult adjustments later. Experienced designers know that embracing irregularities—like uneven wall surfaces or sloped floors—requires a nuanced approach, such as custom scribing or adaptable hardware, which can greatly enhance functionality without sacrificing aesthetics.
Another common myth pertains to storage solutions. Many assume that maximizing cabinet volume is solely about adding more shelves or deeper drawers. But in my practice, I emphasize the importance of **smart storage innovations**—like pull-out organizers, adjustable dividers, and built-in accessible compartments—that optimize every inch and reduce clutter. For example, integrated tilt-out trays for spices or corner drawers with lazy Susans are game-changers that elevate your kitchen’s efficiency.
Now, let’s discuss a significant trap that homeowners often fall into: choosing style over practicality. It’s tempting to select glossy finishes or trendy hardware, but without considering maintenance and durability, that style can quickly fade or become impractical. For instance, matte surfaces are more forgiving with fingerprints, especially in high-traffic kitchens. Learn more about durable finishes for busy kitchens in this comprehensive guide.
For those looking to push beyond basics, understanding how advanced details impact installation is crucial. For example, masterfully aligning multiple cabinet fronts involves precise measurements and take into account wall irregularities—an area where even seasoned DIYers can make costly mistakes. An advanced consideration is using internal spacer systems to maintain consistent gaps, which ensures a professional, seamless appearance.
Have you ever fallen into this trap? Let me know in the comments. Remember, the devil is in the details, especially when designing custom cabinetry. Making informed decisions about these nuanced elements can elevate your remodel from mediocre to masterpiece. To explore more about crafting a tailored kitchen space, check out this guide or dive into innovative storage ideas here. Investing in these finer points ensures your kitchen isn’t just beautiful but also brilliantly functional.
Maintaining the quality and longevity of your custom kitchen can seem daunting, but with the right tools and methods, you can keep everything in top shape for years. Personally, I rely heavily on precise measuring devices like digital calipers and laser levels to ensure perfect alignments and fitments, especially when dealing with built-ins or intricate storage solutions. These tools help me identify subtle discrepancies early, preventing costly adjustments later. Additionally, I swear by high-quality clamps and push sticks during assembly, which provide stability and safety while working with delicate materials. When it comes to finishing, I prefer using a dual-temperature spray system, allowing for smooth, even coats without brush marks or drips. These tools not only ensure professional results but also save time and reduce material waste, making your remodel more sustainable and cost-effective.
How do I maintain my custom cabinetry over time?
For ongoing care, regular cleaning with non-abrasive, pH-neutral cleansers prevents buildup of grime and grease, especially in kitchens with high humidity or heat exposure. Inspect hinges, slides, and hardware periodically—tightening screws and applying lubricant as needed keeps everything functioning smoothly. If you notice wear or damage, address it promptly before it worsens; for example, replacing worn soft-close dampers or upgrading to more durable hardware extends your cabinets’ life. I recommend keeping a small toolkit on hand, including a multi-bit screwdriver, touch-up paint, and a sealing wax for minor scratches or chips. As trends evolve, staying updated with the latest in hardware innovations and sustainable finishes ensures your kitchen remains modern and resilient. The trend toward eco-friendly materials is gaining momentum, with manufacturers now offering low-VOC, biodegradable finishes that maintain durability without harming indoor air quality. I predict that in the future, smart cabinetry integrated with IoT sensors—monitoring humidity, temperature, or even usage patterns—will become standard, providing proactive maintenance alerts and optimizing functionality. If you’re interested in exploring advanced maintenance techniques, try installing a moisture barrier beneath your sink area or using UV-resistant sealants for high-traffic surfaces. These small upgrades can significantly extend your cabinets’ lifespan and keep your kitchen looking fresh for years. For detailed guidance on selecting the right hardware and finishes, visit this comprehensive guide.
3 Personal Revelations That Changed My Approach to Custom Cabinets
First, I realized that perfection isn’t about avoiding imperfections but embracing them through precise scribing and fitting, which transforms flaws into features. Second, understanding that every space has its unique quirks pushed me to innovate with tailored solutions rather than forcing standard options. Lastly, I learned that patience and meticulous attention to detail in measurements and cuts lead to a higher-quality, more satisfying result—saving time and frustration in the long run.
Tools and Resources That Elevated My Craft
Investing in a good contour gauge made a difference—it’s invaluable for capturing wall irregularities accurately. I trust this resource for innovative storage ideas that complement custom cabinetry. For hardware and finishing touches, I rely on expert recommendations that ensure durability and style. And of course, the comprehensive guide to custom cabinets remains my go-to starting point for every project.
Your Next Step in Crafting a Dream Kitchen
Remember, the journey to stunning, functional custom cabinets is as much about enjoying the process as it is about the final look. Embrace the nuances, celebrate the small victories, and don’t be afraid to experiment with techniques like scribing to resolve unique challenges. The more you master these fine details, the closer you’ll get to a kitchen that truly reflects your style and needs. So, what aspect of your cabinet project are you most eager to perfect? Share your thoughts below—I love hearing about your progress and plans!