Why Your Cabinet Maker Prefers HDF for Painted Doors Over Solid Wood
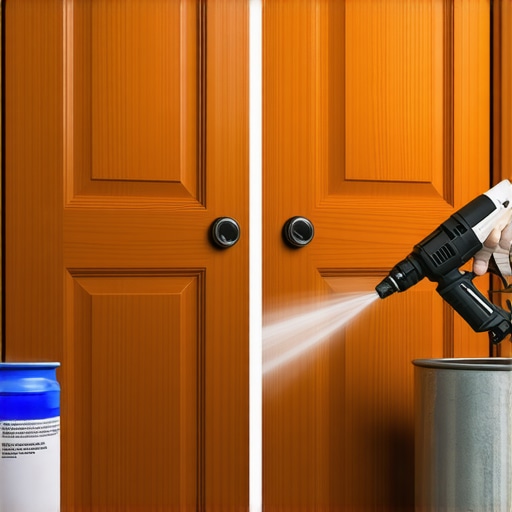
It was a vivid moment in my latest kitchen remodel when I opened a cabinet door and noticed how effortlessly the paint seemed to slide on the surface—yet I felt a strange resistance when I tried to scratch it. That realization hit me: behind those beautiful painted cabinets, there’s a lot more going on than just good looks. I remember thinking, “Why does my cabinet maker keep insisting on using HDF for painted doors instead of solid wood?” From the glossy finish to durability, there’s a compelling reason that professionals prefer HDF—and once I understood this, my entire approach to choosing cabinetry changed.
The Hidden Benefits of HDF for Painted Cabinets
Is HDF Actually Better Than Solid Wood for Your Cabinets?”
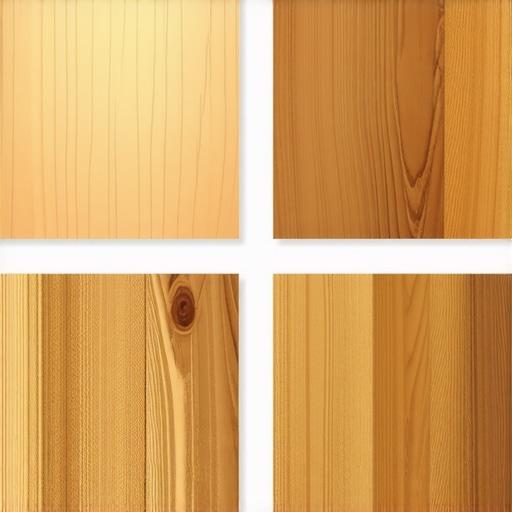
Early in my journey, I made the mistake of assuming that solid wood was always the premium choice for cabinets. I thought about the natural beauty and warmth of real wood, but I didn’t consider how environmental factors and daily wear could affect it over time. I learned that high-density fiberboard (HDF) offers a consistent, smooth surface ideal for painted finishes, resisting warping and cracking better than solid wood. According to industry experts, HDF actually holds paint more evenly, which results in a cleaner, more polished look that lasts—something I wish I knew when selecting materials for my kitchen renovation.
If you’re pondering between solid wood and HDF, now’s the time to ask yourself if durability and finish quality matter more to you than the natural grain. There’s a lot of misinformation out there, and I want to help you make an informed decision that saves money and headaches down the line. For more insights on how to select the best cabinetry materials, you might find this helpful: Expert Tips on Selecting Storage Solutions.
But understanding just the material isn’t enough—we need to consider styling, cost, and, most importantly, how the choice impacts your daily life. If you’ve been frustrated with chipped paint or cabinets that don’t quite match your vision, this post aims to clear things up and guide you toward smarter choices. Ready to explore the practical steps to choosing the right materials? Let’s dive right in.
Lay Out the Blueprint for Built-In Success
Identify Your Space Needs and Goals
Start by measuring your kitchen spaces thoroughly, noting areas where clutter accumulates. For example, I once used a tape measure to identify the dead corners under my sink, revealing opportunities for custom storage. Sketch these areas on grid paper or use digital apps to visualize potential built-ins, ensuring your plans align with how you naturally move through your kitchen. This initial step saves time and money by preventing miscalculations down the line.
Select the Perfect Material for Built-In Durability
Choosing the right materials is crucial. For example, I opted for moisture-resistant MDF when building a custom pantry because it withstands humidity better than regular plywood. When selecting materials, consider the function—areas exposed to heat or moisture need durable, water-resistant options. Keep in mind that the right choice enhances longevity and reduces maintenance. To understand material options better, review this guide: Innovative Storage Solutions for Modern Kitchen Remodels.
Design with Practicality and Style in Mind
Incorporate Adjustable Shelves and Pull-Outs
I installed adjustable shelves in my custom cabinets, which allowed me to store everything from tall bottles to small spices. Using full-extension slides for pull-outs, I could access items at the back effortlessly, reducing clutter and wasted space. When designing, think about accessibility—make sure frequently used items are within easy reach and heavier items have sturdy support. For innovative ideas on maximizing space, consider Maximize Space with Innovative Storage Solutions.
Opt for Seamless Integration with Existing Design
Matching cabinetry styles and finishes creates a cohesive look. I used paint-matched cabinetry fronts to blend custom-built storage seamlessly into my kitchen’s aesthetic. Think about hardware, too—hidden handles or push-to-open mechanisms can give a sleek, modern feel. Remember, well-designed built-ins should look like an intentional part of your space, not an afterthought. Visit Built-ins That Elevate Your Living Rooms for style inspiration.
Execute with Precision and Care
Prepare Your Tools and Workspace
Before cutting or assembling, gather all necessary tools—cordless drivers, level, measuring tape, jigs, and saws. I once started without a level, resulting in a crooked cabinet that took hours to correct. Clear your work area; clutter leads to mistakes. Use clamps and safety gear diligently to ensure a precise fit and safe process. For advanced installation techniques, see Installing Heavy-Duty Shelving.
Follow Step-by-Step Assembly Guidelines
Measure twice, cut once. I double-checked all my dimensions before making cuts, avoiding costly errors. Assemble frame components first, confirming squareness with a carpenter’s square. Attach back panels securely to prevent warping over time. When installing, use shims to level uneven floors, ensuring doors open smoothly—an essential step I learned after my first wobbly cabinet. For tips on leveling, visit Leveling Base Cabinets on a Sloped Floor.
Secure and Finish for Longevity
Anchor Properly to Wall and Floor
Anchoring is vital for safety, especially in earthquake-prone regions. I used toggle bolts to secure tall cabinetry to wall studs, preventing tipping. Check your wall type—metal studs require specific anchors. Use a stud finder to locate optimal attachment points. For details on securing heavy cabinets, see Anchoring Heavy Wall Cabinets.
Apply Final Finishes for Consistent Look
Finish with paint or stain that matches your existing cabinets, sealing all joints to prevent moisture ingress. I used a high-quality primer and paint, sanding lightly between coats for a smooth finish. Proper finishing prolongs your investment and enhances aesthetic appeal. Remember to allow adequate curing time before use, especially in humid environments—learn more at Painted Shaker Doors and Cracking.
Many homeowners and DIY enthusiasts believe they understand how to implement built-ins and storage solutions effectively, but there are several nuanced misconceptions that can trip you up during a remodel. One prevalent myth is that purchasing pre-made or modular cabinets always guarantees the best fit and longevity. In my experience, custom-built solutions tailored to your specific space often outperform standard options, especially when aiming for seamless integration and optimal utilization of unique room dimensions. This is reinforced by industry experts who emphasize the importance of precise measurements and bespoke construction for durability and aesthetic cohesion.
Is it enough to rely on standard sizes, or should you invest in custom craftsmanship?”
“Relying solely on off-the-shelf units can lead to wasted space, awkward gaps, or the need for costly modifications later. Additionally, many assume that surface finishes are purely about appearance, but they also impact the longevity and maintenance of your cabinets. Choosing the right finish—be it paint, veneer, or laminate—can prevent issues such as cracking, peeling, or staining over time. For instance, HDF panels coated properly are known to support better paint adhesion and resist environmental wear, which is often overlooked.
Another common mistake is neglecting the importance of structural support in built-ins, especially when incorporating heavy materials or appliances. Failing to reinforce framing or anchoring properly can lead to sagging or dangerous collapses. To avoid this, consulting structural guides and expert tips—such as how to correctly anchor heavy cabinetry—is essential. Proper anchoring techniques ensure safety and durability, especially in high-traffic or earthquake-prone areas.
Furthermore, many underestimate the significance of thoughtful storage planning. A common oversight is to design for aesthetics over function, leading to inaccessible or inefficient storage spaces. Advanced solutions like pull-out shelves, corner carousels, or vertical dividers maximize usability and should be integrated early in the planning phase. For innovative ideas tailored to maximize space, it’s helpful to explore resources such as modern storage solutions.
Finally, don’t fall into the trap of oversimplifying the customization process. Building or modifying cabinets should be viewed as a holistic project that considers not just the look but also ventilation, accessibility, and future adaptability. These nuances can make the difference between a remodel that feels polished and one that ages gracefully. Remember, even minor details like scribing or leveling can prevent long-term headaches. If you’re unsure about the finer points of construction or design, consulting experienced professionals can save you time and money.
In conclusion, digging into these subtleties—like material choices, structural support, and precise planning—ensures your built-ins are both beautiful and resilient. Have you ever fallen into this trap? Let me know in the comments and share your experiences or questions about your next project.Maintaining your custom cabinets and built-in storage is crucial for ensuring their longevity and continued beauty. Over time, even the most well-built pieces need regular check-ups and care. One tool I swear by is a high-quality digital moisture meter, like the Protimeter Surveymaster, which helps me detect hidden moisture issues behind drywall or within wood panels before they become serious problems. This proactive approach saves money and prevents warping or mold growth.
How do I maintain my built-in storage solutions over time?
Regular cleanup with a microfiber cloth prevents dust buildup and surface scratches—vital for painted HDF panels, which I recommend because of their durability and the smooth finish they provide. For deeper cleaning, I use a mild, pH-balanced cleaner that won’t degrade finishes or hardware—this keeps surfaces looking fresh longer. When checking hardware, I often use a precision screwdriver set, like the Wiha Precision Screwdriver Set, which allows me to tighten or replace pulls and hinges accurately, preventing loose fixtures that can cause operational issues down the line.
Invest in the right software tools for long-term planning
For project planning and maintenance schedules, I rely on SketchUp Pro. Its 3D modeling capabilities help me visualize potential changes and spot areas prone to wear or clutter buildup before they happen, making upkeep much easier. Predicting future needs is also essential: as kitchens evolve, so should your storage solutions. Anticipate scaling by choosing modular hardware and adjustable shelving, which can adapt as your lifestyle changes. Industry experts suggest that integrating smart technology—such as sensor-based lighting or moisture detection—could become standard in future kitchen remodels, providing real-time alerts for maintenance needs.
Why should you routinely check and service your cabinetry hardware?
Over time, hinges and slides can wear out or become misaligned, impacting functionality and safety. I recommend inspecting these components every six months and lubricating them with a silicone-based spray like WD-40 Specialist Defect Remover, which prevents sticking and squeaking without damaging the finish. These small steps sustain smooth operation and extend the life of your investment. Incorporating these maintenance practices not only preserves the appearance but also prevents costly repairs down the line. For example, regularly updating and tightening hardware ensures your cabinets open effortlessly and look professional. Try scheduling biannual inspections with your tools and never neglect simple measures like hardware lubrication—that way, your kitchen remains functional and beautiful for years to come. You might also explore this detailed guide on selecting storage solutions to keep your space optimized: Expert Tips on Selecting Storage Solutions. Remember, a little preventative maintenance now can save big repairs later.
Lessons from My Remodeling Journey: Surprises That Changed Everything
One of the most eye-opening moments in my kitchen remodel was realizing that material choices and precise planning are the real heroes—or villains—of built-in success. I learned that rushing measurements leads to awkward gaps, and overlooking support details can cause sagging that ruins the sleek look I desired. These realizations became my guiding principles, transforming how I approach custom cabinetry. Trust me, embracing attention to detail and resisting the temptation of shortcuts will save you time, money, and frustration in the long run.
For instance, I discovered that integrating smart storage solutions, like adjustable shelves and pull-out organizers, maximizes space and accessibility—saving me from clutter chaos. Additionally, understanding how to properly anchor heavy cabinets prevents unsafe situations, a lesson I won’t forget. These insights are the culmination of trial, error, and a deep dive into expert advice, which I highly recommend exploring through trusted resources.
My Tools for a Flawless Built-In Transformation
After years of trial and error, I’ve come to rely on a few tools and resources that make the process smoother. Expert tips on storage selection have helped me choose durable, supportive materials like moisture-resistant MDF and high-quality hardware. My trusted design software, SketchUp Pro, allows me to visualize custom solutions before committing to cuts—saving headaches during assembly. For maintenance, I swear by a moisture meter from these innovative guides, which help monitor environmental impacts and extend the life of my cabinets. Combining these tools ensures my design not only looks perfect but stays that way for years to come.
Your Next Step Toward a Beautiful, Practical Kitchen
If you’re dreaming of a kitchen that combines style with function, remember that every detail counts—from choosing HDF panels for painted doors to planning for future adaptability. With patience, proper planning, and the right resources, your built-ins can genuinely transform your space into a lasting masterpiece. Don’t hesitate to take that first step—whether it’s sketching your layout, researching materials, or consulting a professional. Your dream kitchen isn’t just possible; it’s within your reach. Ready to start turning your vision into reality? Share your thoughts or questions below—I’d love to hear about your project ambitions and help you avoid common pitfalls.