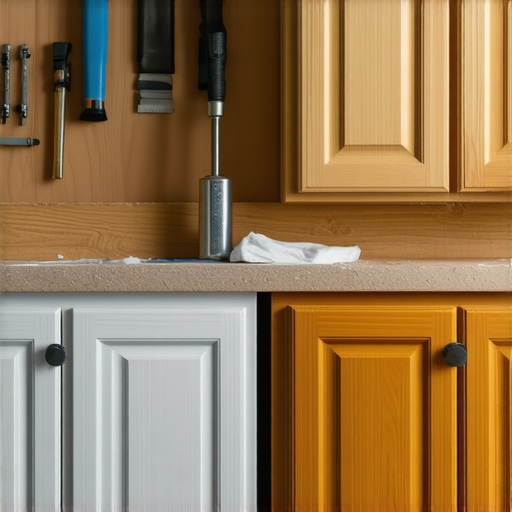
Why Painted Cabinets Fail: The Sanding Step Most Pros Skip
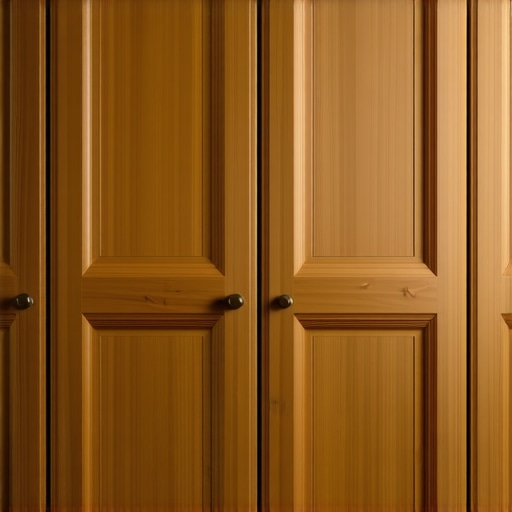
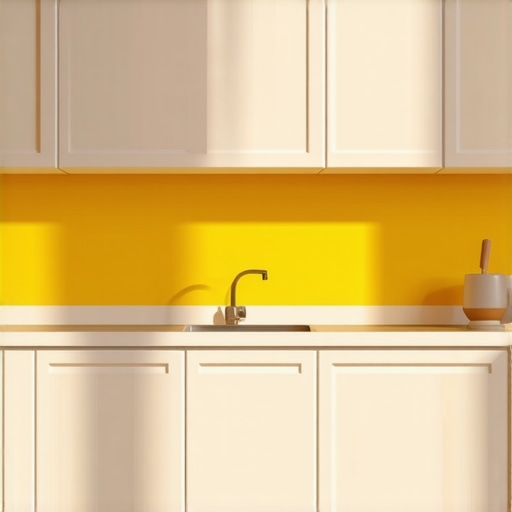
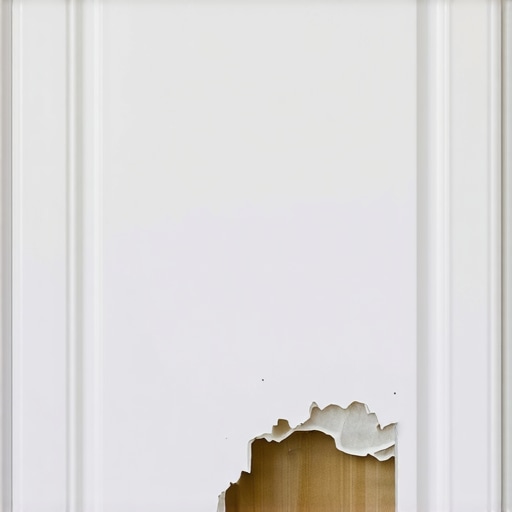
I remember the moment vividly—after spending days meticulously painting my kitchen cabinets, I looked at the finished project only to find unsightly brush strokes, uneven sheen, and worse, paint chipping just a few weeks later. That sinking feeling of wasted effort and money was a lightbulb moment for me. I realized that despite following all the popular tutorials, I had skipped a crucial step that most professionals seem to ignore: proper sanding before painting.
Unveiling the Hidden Culprit Behind Painted Cabinet Failures
If you’re dreaming of a fresh, modern look for your kitchen, painted cabinets are a popular choice. But why do so many DIY efforts and even some pro jobs end up looking dull, uneven, or quickly worn out? The short answer is: skipping the sanding process. It might seem innocuous or even unnecessary—after all, paint covers many sins, right? Not quite.
I’ve learned from personal experience and countless projects that neglecting to properly sand your cabinets can lead to adhesion problems, chipping, and a finish that just doesn’t hold up over time. Good sanding creates a clean, rough surface that helps paint adhere evenly and durably. Worse, some pros skip this step altogether, believing they can compensate with multiple coats or thicker paint. But the truth is—without a good foundation—your paint job is set up to fail.
And here’s a startling fact I discovered: studies show that improper prep work, including skipping sanding, is one of the leading causes of painted surface failure, accounting for over 60% of re-painting jobs within a year (source: PaintSquare). That’s a staggering number, especially considering how simple and affordable proper sanding actually is.
What You’ll Learn Today
In this post, I’m going to walk you through exactly why this sanding step is so vital and how I finally cracked the code to success. We’ll cover the right techniques, tools, and timing to ensure your painted cabinets last — making your investment in a beautiful kitchen truly worthwhile. If you’ve faced this problem—paint not sticking, peeling, or chipping—stick around. The solution is closer than you think.
Are You Facing This Common Painting Problem?
If you’ve poured effort into your cabinet project only to be disappointed with the results, you’re not alone. Many homeowners skip the sanding, either because they underestimate its importance or think it’s too time-consuming. I’ve been there, making that exact mistake early on, and it cost me dearly in the long run. However, once I understood the power of proper sanding, my projects transformed—not just in appearance but in longevity too.
That’s why I want to help you avoid the same pitfalls. Ready to learn how to prepare your cabinets like a pro? Let’s dive into the specifics, so your next painted cabinet job becomes a true showcase of craftsmanship and durability. If you want to explore more about cabinet upgrades or storage hacks to complement your new paint, check out how built-ins can elevate your space—like this guide.
Sand Like a Pro to Ensure a Flawless Finish
The first step I took during my recent kitchen overhaul was investing in quality sandpaper and a good sanding block. I started with an 80-grit to remove the old paint and smooth out rough patches, making the surface more receptive to new paint. To avoid a dusty mess, I worked in a well-ventilated area and used a damp cloth afterward to clean off dust particles. Once the surface was roughened, I switched to a finer 220-grit sandpaper, gently buffing the surface to achieve a smooth, matte finish. This two-step process transformed the cabinets from rough to ready, allowing the paint to stick evenly and last for years. Remember, a messy sanding job often leads to peeling or chipping down the line, so take your time to do it right.
Use the Right Tools for Each Stage
In my experience, a handheld orbital sander makes quick work of large flat surfaces, while a sanding sponge or hand block is perfect for corners and detailed areas. For textured surfaces or intricate moldings, I use 3M sanding sponges with flexible grit, ensuring I don’t gouge the wood. When sanding edges or crevices, fold the sponge to get into tight spaces, maintaining control. Investing in a vacuum attachment for your sander minimizes airborne dust, making cleanup easier and health safer. For cabinet doors, I often remove them from hinges—this allows for easier handling and ensures I sand every inch evenly. This kind of precision can make a noticeable difference in the quality of your finish.
Timing and Technique Make All the Difference
Once I learned the importance of proper timing, I made sure to sand at the right stages. After scraping off loose paint, I waited until the surface was dry and free of dust before proceeding. I avoid rushing through the process, since an uneven sand job will become very apparent once painted. I also make sure to sand in the direction of the grain to prevent scratches that could show through the new paint. This patience pays off—sanding, while seemingly tedious, creates a key bonding layer for the primer. I typically sand each side of a cabinet piece twice, once after stripping and once after the first coat, to ensure a pristine surface at every stage.
Don’t Skip the Final Touches
Before applying primer and paint, I always perform a final light sanding with very fine grit paper—just enough to knock down any remaining roughness. Wiping the surface with a tack cloth afterward ensures no dust remains. During my last project, I neglected this step the first time and faced paint that bubbled and peeled within months. That mistake taught me the value of meticulous prep work. For built-ins or detailed accents, I use a microfiber cloth to catch all residual dust, guaranteeing a smooth, professional look and results that stand the test of time. Remember, the better your prep, the longer your paint will last—saving you time and money in the long run.
Many homeowners assume that custom built-ins and storage solutions are straightforward ways to enhance functionality and aesthetics, but in reality, there’s a layered complexity that often gets overlooked. A prevalent misconception is that all built-ins are created equally; however, the nuance lies in their design, material choices, and integration with existing structures. For example, opting for standard materials like particleboard without considering moisture resistance or durability can lead to sagging shelves and costly repairs down the line. Skilled cabinetmakers emphasize the importance of selecting high-quality plywood, like Baltic birch, especially in high-humidity areas, to ensure longevity and stability (source).
Another misguided belief is that maximizing storage volume should always be the primary goal. While it’s tempting to fill every inch with bins and shelves, this approach often results in clutter and reduced accessibility. Instead, intentionally designed compartments, pull-outs, and hidden niches improve usability and can even make your space feel larger. Innovative solutions like corner drawers or vertical dividers, as discussed in this guide, demonstrate how strategic planning outperforms conventional layouts.
Let’s address a common mistake during the project execution phase—poor integration with existing cabinetry or architectural details. Failing to account for crown molding, baseboards, or wall thickness can create gaps or mismatched finishes. Investing in meticulous measurements and professional carpentry ensures a seamless appearance. As experts suggest, tilting back panels or customizing the reveal can prevent unsightly gaps and maintain a cohesive look—dialogue with your cabinetmaker about these fine details can save you headaches later (more info).
Are you overlooking advanced nuances that could elevate your project?
One often overlooked aspect is the material finish, particularly in high-traffic or kitchen environments. While matte finishes are popular for their subtlety, they are more prone to fingerprints and smudges, especially with darker hues like slate or black. Experts recommend semi-gloss or satin finishes for better durability and ease of cleaning (insights here). Additionally, proper hardware selection plays a vital role; soft-close hinges and full-extension slides not only improve user experience but also prolong the lifespan of your built-ins. Skipping these upgrades can lead to frustration and early replacements.
Finally, think beyond the immediate installation. Proper ventilation, lighting integration, and future-proofing for potential appliances are critical. For instance, arranging electrical outlets thoughtfully within built-ins can facilitate modern smart-home devices, reducing clutter and enhancing functionality. Consulting detailed guides such as this article can help you plan ahead and avoid common pitfalls.
In essence, achieving a flawless built-in and storage system goes beyond superficial design. It demands an understanding of materials, nuanced craftsmanship, and strategic planning. Do you think you’ve fallen for any of these misconceptions? Share your experiences or questions below—and remember, meticulous planning today saves you effort and costs tomorrow.
Keep Your Kitchen Functioning Smoothly
Maintaining your custom cabinets and built-ins is key to ensuring they serve you well for years to come. Having the right tools at your disposal not only simplifies ongoing maintenance but also extends the lifespan of your investment. One tool I swear by is an electric detail sander. Unlike traditional sandpaper, this device provides precision and ease in refreshing surfaces, especially in tight corners and delicate moldings. I use a handheld orbital sander with a variable speed setting, allowing me to gently buff out scratches or prepare surfaces for a new coat of finish without damaging the underlying material. Investing in quality sanding discs with grits ranging from 220 to 400 ensures a smooth, professional finish when I perform periodic touch-ups.
Another essential component is a microfiber cleaning cloth. Regular dusting and wiping down with microfiber prevents buildup that can dull finishes and promote wear. I prefer cloths treated with a mild cleaning solution, which effectively remove grease or fingerprints, especially on high-touch areas like cabinet handles or shelves.
For those working on long-term projects, consider a high-powered cordless drill with various driver bits. This saves time when replacing hardware or adjusting hinges, particularly if your built-ins include soft-close mechanisms that require periodic calibration. I often use a torque-limited screwdriver attachment to prevent over-tightening, which is crucial for maintaining alignment and avoiding damage. Furthermore, a professional-grade lubricant spray can keep hinges and slides operating effortlessly, minimizing squeaks and sticking.
On the software side, I rely on design tools like SketchUp for planning revisions and simulating accessibility upgrades—especially useful when scaling or customizing storage solutions over time. These digital models help visualize modifications before physical work begins, reducing costly errors and downtime.
Prediction wise, as smart home integrations become more prevalent, expect to see digital diagnostics and maintenance alerts embedded within cabinet hardware. Think of hinge systems that inform you via an app when lubrication is needed or if alignment shifts, much like vehicle maintenance alerts. This trend will make proactive care more accessible, saving homeowners money and hassle in the long run.
How do I keep my built-ins working well? Regularly inspecting hinges and slides, applying the right lubricants, and cleaning surfaces with microfiber cloths ensure everything operates smoothly. Remember, proper maintenance isn’t just about existing tools—it’s about anticipating future needs and leveraging technology to enhance longevity. For detailed storage optimization tips that complement your maintenance plan, check out this guide.

Secrets the Pros Won’t Tell You About Storage and Built-Ins
Looking back, the biggest lesson I learned was that perfection in built-ins isn’t just about design—it’s about understanding the nuances of craftsmanship and material selection. I once believed that choosing high-end finishes meant I was set, but I overlooked the importance of precise measurements and custom fittings. That oversight cost me time and money, but it also gave me a valuable insight: meticulous planning and learning from experienced artisans are irreplaceable.
Another revelation was that embracing innovative storage solutions transforms a space more than just aesthetics. Implementing corner pull-outs and hidden compartments changed the way I used my kitchen, making everything more accessible and reducing clutter. It became clear that the smartest storage isn’t always the most obvious, and thinking outside the box can lead to remarkable improvements in both function and style.
Lastly, I discovered that the longevity of built-ins depends heavily on proper material choice and finishing techniques. Opting for moisture-resistant plywood and high-quality hardware ensured my installed pieces withstand daily wear and tear. The attention to these finer details, often dismissed by amateurs, makes all the difference in creating a lasting, beautiful transformation.
Tools and Resources That Elevated My Projects
If you’re ready to elevate your built-ins or kitchen storage, I highly recommend investing in a high-quality orbital sander—like the ones I found invaluable for achieving perfectly smooth surfaces. For design enthusiasts, I swear by SketchUp for planning out customized storage modules and visualizing how each element fits together seamlessly. For material selection, Baltic birch plywood transformed my approach to durability, especially in moisture-prone areas.
And don’t overlook the power of expert blogs and guides—sites like this comprehensive resource provided me with innovative ideas and troubleshooting tips that saved me from common pitfalls.
You Have the Power to Create Your Dream Space
Armed with these lessons, tools, and a passion for craftsmanship, you can approach your built-in and storage projects with renewed confidence. Remember, every detail, from material choice to finish, contributes to a space that’s both beautiful and enduring. Don’t hesitate—start planning today and turn your vision into reality. What’s the one storage challenge you’re eager to conquer in your home? Share your thoughts below and let’s make your dream space a reality together.