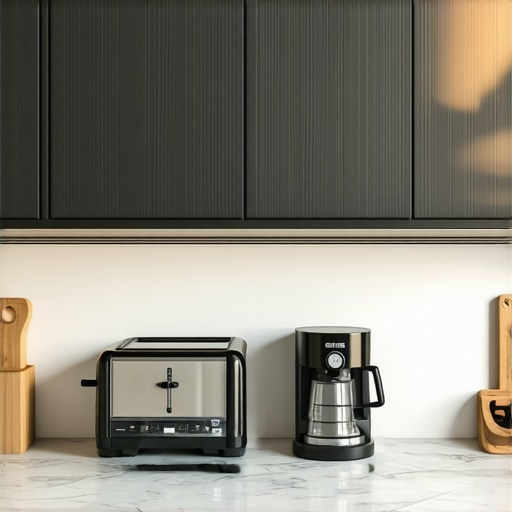
How to Hide Your Toaster and Coffee Maker Without Losing Counter Space
I remember the day I finally realized how cluttered my kitchen had become. There I was, rushing to get breakfast, juggling a steaming pot, a full coffee mug, and trying not to knock over a precarious tower of bread by my chaotic countertop. The culprit? My trusty toaster and coffee maker, glaring at me from every attempt I made to keep my workspace tidy. It struck me—these appliances are essential, but they don’t have to be eyesores or steal every precious inch of my counter.
Transform your kitchen: clever storage solutions that blend form and function
Many homeowners face this familiar dilemma: how to keep appliances accessible yet out of sight. The good news? You don’t need to give up counter space or spend a fortune on remodels. Instead, smart storage options can seamlessly integrate these bulky gadgets into your kitchen design. From custom cabinets to built-in appliances, there are numerous ways to achieve a sleek, clutter-free look while maintaining practical access.
Is hiding appliances really worth the effort?
Early on, I made the mistake of thinking my appliances could simply be tucked away in a cabinet or covered with a towel—only to find out that frequently using them meant constant juggling and repeated unpacking. It’s tempting to think hiding is just a cosmetic concern, but in reality, it can greatly enhance your kitchen’s functionality and mood. Plus, according to a survey by Houzz, 78% of homeowners who upgraded their storage reported a more enjoyable cooking experience, citing less clutter and more counter space as major benefits. If you’ve ever felt that your kitchen is more workspace than a hospitable environment, you’re not alone.
Now that we’ve addressed why hiding these appliances is worth it, let’s explore some realistic, tested strategies that will help you reclaim your countertops without sacrificing convenience. Ready to see how simple changes can make a world of difference? Let’s dive into the practical solutions that transformed my kitchen—and could do the same for yours.
Build Custom Cabinets with Purpose
To begin, assess your kitchen layout and identify your storage needs. I once measured my bulky coffee maker and realized it wouldn’t fit in standard cabinets. I hired a local craftsman to design a custom cabinet with a dedicated compartment for it, which kept counters clear. For detailed guidance on designing your own cabinets, visit this comprehensive guide. Use durable materials like plywood or MDF with a protective finish to withstand moisture and heat.
Plan for Accessibility
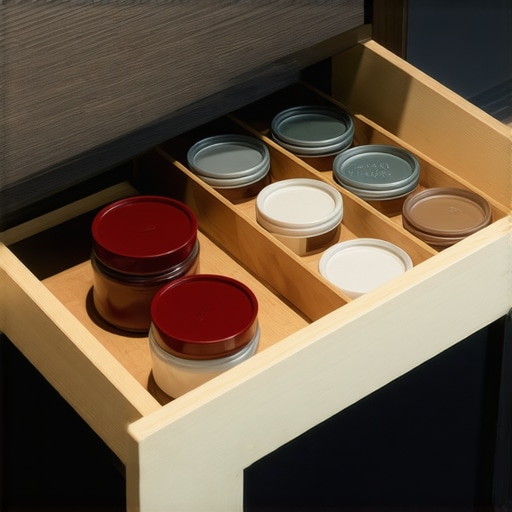
Ensure that frequently used appliances are easy to reach. I installed a pull-out drawer system for my mixer and blender, which made access simple and kept surfaces tidy. Think of it like a secret compartment—accessible, yet out of sight when not needed. When considering built-in solutions, check out these seamless options. Measure door openings accurately so the pull-outs glide smoothly without obstruction.
Utilize Vertical Space Effectively
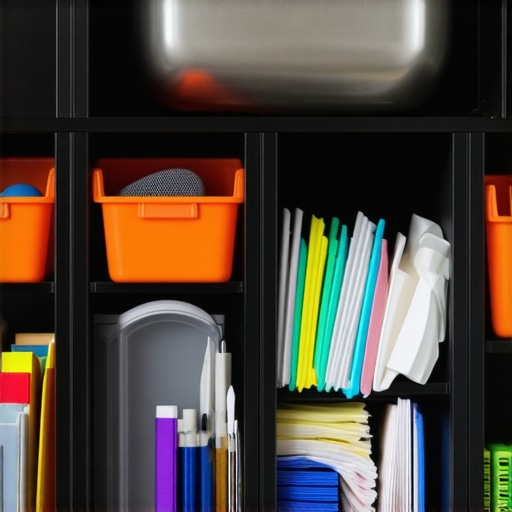
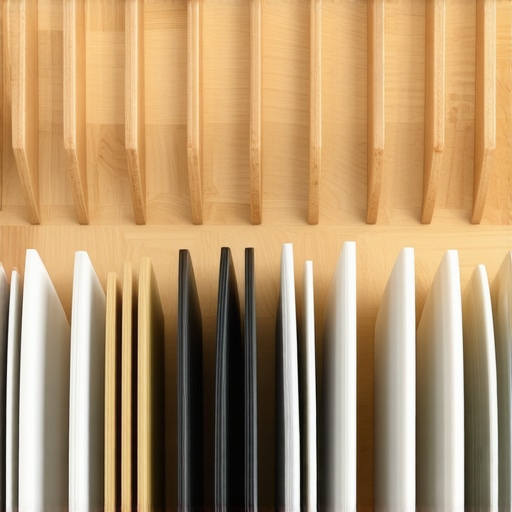
Vertical storage is a game-changer. I added deep vertical organizers for baking sheets and cutting boards, which stood upright like books on a shelf. This method prevents clutter stacking and makes retrieval effortless. For ideas on intelligent vertical storage, see this article. Incorporate adjustable dividers to customize space as your collection grows—think of them as the scaffolding for your kitchen’s new order.
Create Hidden Compartments
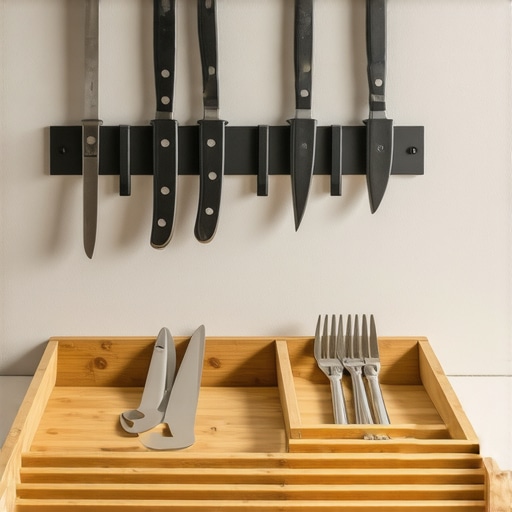
Conceal appliances within drawers or cabinets. I built a false drawer front for my toaster that matched the cabinetry, hiding it when not in use — it looked like a sleek, uninterrupted surface. To achieve this, precise scribing and careful carpentry are required, but the effect is striking. Explore this innovative guide for more ideas. Use soft-close mechanisms to keep everything quiet and smooth during daily use.
Incorporate Pull-Out and Swing-Out Features
Maximize space by installing slide-out shelves and swing-out units in corner cabinets. I replaced a lazy Susan with a pull-out carrousel that accessed hard-to-reach corners easily, like turning a page to reveal a hidden drawer. This mechanism transforms awkward spaces into efficient storage zones. Check out hacks for sleek solutions. Ensure the hardware is durable and properly lubricated for consistent performance, preventing jams and frustration.
Seal and Finish for Longevity
Finish all wood surfaces with a moisture-resistant sealant to prevent warping or swelling, especially in humid environments. I applied a polyurethane sealant after sanding, which kept my cabinets pristine for years. Use quality sealers suited for kitchen use and follow manufacturer instructions carefully. Proper sealing prolongs the life of your custom storage and preserves the aesthetic appeal.
Measure Twice, Cut Once
Precision is vital. When constructing or installing custom features, double-check measurements before cutting or fitting components together. I once misread a cabinet depth, which delayed my project but taught me the value of meticulous planning. Use a tape measure, a level, and right-angle brackets to ensure everything aligns perfectly. For complex layouts, seek professional advice or consultation at this contact page.Many homeowners assume that investing in custom cabinets or integrated storage automatically guarantees a perfect kitchen. However, the reality is complex. One of the most persistent myths is that all custom solutions are inherently better than modular or pre-made options. In fact, without proper planning and understanding of your specific needs, custom can turn into a costly mistake. The key nuance often overlooked is the importance of tailored functionality over aesthetic appeal alone. For instance, designers sometimes focus solely on the finish and style, neglecting the importance of internal hardware, drawer slides, and accessibility considerations that significantly impact daily use. An advanced mistake many make involves installing built-ins without considering future flexibility; kitchens evolve, and static designs can become obsolete faster than expected, leading to unnecessary remodels and expenses. According to industry expert Janice Stewart, overlooking the mechanical components — like soft-close dampers and full-extension slides — causes several post-installation issues, including premature failure and user frustration. Additionally, there’s a trap in choosing materials solely based on appearance, ignoring durability and maintenance. For example, high-gloss finishes look sleek but show fingerprints and scratches more prominently, which could negate their aesthetic benefits over time. When planning your remodel, remember that the devil is in the details. For advanced storage optimization, incorporating modular, adjustable solutions often offers more longevity than rigid custom setups. This flexibility allows your kitchen to adapt with changing needs without extensive rework. To avoid these common mistakes, consult with experienced professionals who can guide you through the intricacies of hardware, material selection, and functional design. For expert tips on selecting the right storage solutions, visit this resource. Re-evaluate your project with a focus on everyday usability; sometimes, what appears perfect on paper doesn’t translate into practical benefits. Remember, the goal of a kitchen upgrade is not just visual harmony but maximizing efficiency and comfort. Have you ever fallen into this trap? Let me know in the comments.Maintaining your custom cabinetry and built-in storage is essential to ensure their long-term functionality and beauty. I personally rely on a few key tools and methods that make upkeep straightforward and effective, even years after installation. One of my favorite investments has been a high-quality cordless drill with a variety of screwdriver bits. It allows me to tighten or adjust hardware, such as handles and hinges, quickly and easily, preventing looser components that can cause functional issues over time. Additionally, I keep a small set of micro-tools like a plastic pry bar and soft brushes, which help me clean dust and debris from tight corners and mechanical components without risking damage. Regular cleaning is another pillar of longevity; I use a damp microfiber cloth for surfaces and a gentle, non-abrasive cleaner for finishes. For door hinges and slides, I apply a small amount of silicone-based lubricant every few months, which keeps everything operating smoothly and prevents squeaks or jams. When it comes to software, I utilize digital planning tools like SketchUp to map out ongoing upgrades or modifications, ensuring my storage stays optimized as needs evolve. Predicting future trends, I believe smart sensors and IoT integration will become standard, alerting homeowners to issues proactively before they result in costly repairs.
How do I maintain custom storage over time?
To keep your custom cabinets and built-ins functioning flawlessly, establish a routine that includes visual inspections for loose hardware, cleaning to prevent buildup, and lubrication of moving parts. Involving professionals periodically for deeper checks can extend lifespan significantly. For example, consulting a specialist through this contact page can help identify potential issues early on. An advanced tip I recommend is installing a small, magnetic screw holder on your drill—a simple yet brilliant accessory that keeps tiny hardware within reach during adjustments or repairs, preventing frustration and lost pieces. Incorporating these tools and habits not only preserves your investment but also makes future updates much easier. Remember, proactive maintenance today can save you from costly remodels tomorrow, so I encourage you to try out a dedicated lubricant application or update your cleaning routines to ensure lasting performance of your custom cabinetry and storage solutions.
What Hidden Lessons Transformed My Approach to Kitchen Storage
One of the biggest revelations during my kitchen remodel journey was realizing that the most effective storage solutions often lie in subtle design tweaks, not just in adding more cabinets. I learned that investing in custom-built compartments tailored to my appliances not only kept surfaces clear but also improved my workflow. The importance of considering future adaptability became clear when I chose modular systems that could grow with my needs, helping me avoid costly remodels down the line.
Another lightbulb moment was understanding the myth that hiding appliances sacrifices convenience. In reality, well-designed hidden compartments, like pull-out drawers and swing-out shelves, make accessibility seamless while maintaining a sleek aesthetic. The key is balancing aesthetics with function — a lesson that enhanced my entire thinking about kitchen efficiency and style.
My Top Tools and Ideas for Seamless Kitchen Transformation
Some tools truly changed the game for me. For example, a quality cordless drill made adjustments to hardware quick and effortless, while micro-tools kept tiny hardware pieces organized during installations. For more advanced guidance, I highly trust expert tips on selecting storage solutions to ensure durability and functionality. When planning your kitchen upgrade, exploring built-in storage options can provide inspiration for maximized space and aesthetic appeal.
Let Your Kitchen Reflect Your Unique Style and Needs
Taking the leap into customized storage might seem daunting, but remember: every small change brings you closer to a space that works for you, not against you. Embrace the process, learn from seasoned professionals, and think beyond traditional solutions. The future of kitchen design is all about adaptable, discreet storage that elevates your home’s efficiency and style, making every day in your kitchen more enjoyable.