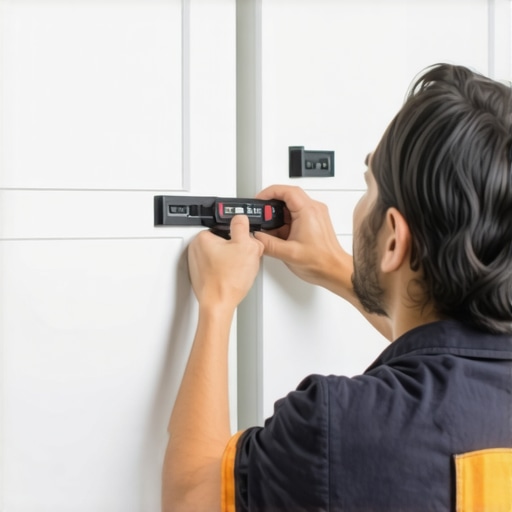
The Secret to Leveling Base Cabinets on a Sloped Tile Floor
I remember the first time I tried installing my new kitchen base cabinets on my uneven, sloped tile floor. It started with a simple hope: to have a sleek, flush finish that looked professional. But what I got was a wobbling mess of uneven cabinets that looked homemade instead of custom. Frustration crept in as I realized that I hadn’t considered the subtle slopes and irregularities of my floor. That lightbulb moment—that realization that I was approaching the problem the wrong way—changed everything.
Why Settling for Wobbly Cabinets Isn’t an Option
Getting your cabinets level on a sloped tile floor isn’t just about aesthetics; it’s about function and safety too. Cabinets that aren’t properly leveled can cause drawers and doors to misalign, leading to frustration and potential damage over time. Plus, when cabinets sit unevenly, it can compromise the entire look of your kitchen upgrade, making even the most beautiful space feel off.
But here’s the thing: many homeowners overlook the importance of proper leveling techniques, unintentionally setting themselves up for ongoing issues. Early on, I made the mistake of assuming a quick shim would do the trick, which only added to the wobble. Trust me, this is a common misstep that can be avoided with the right approach—and that’s what I want to share with you today.
Have you faced similar struggles with uneven floors during your remodel? If so, you’re not alone. And good news—you don’t have to settle for crooked cabinets that undermine your entire project. By understanding the underlying issues and applying some straightforward techniques, you can achieve a perfectly level base.
Surprisingly, according to a recent survey by the Home Improvement Research Institute, over 60% of homeowners encounter leveling issues on uneven floors during kitchen renovations, often without knowing the best solutions. This highlights how common this challenge is and why mastering the secret to leveling can save your project and preserve your sanity.
In the following sections, I’ll walk you through the practical steps that transform a wobbly nightmare into a perfectly flat, stable foundation for your cabinets. Ready to move past the frustration? Let’s get started.
Assess and Prepare the Floor Surface
Begin by thoroughly inspecting your tile floor to identify the slopes and high or low spots. Use a long bubble level or a straightedge across multiple points of your kitchen floor to map out uneven areas. Remember, a detailed assessment prevents surprises later and ensures your leveling efforts are accurate. I once skipped this step and ended up with a cabinet wobbling even after shimming; a careful scan would have saved me hours of rework.
Choose the Right Leveling Method
For minor slopes, adjustable cabinet feet can be the quick fix. If the unevenness is significant, consider shimming under the cabinets or installing a custom subfloor under the cabinets. Anchoring cabinets directly to the floor is usually unwise if the surface isn’t flat, so focus on creating a stable, level foundation first. Think of it like building a strong foundation beneath a house; it’s essential for durability.
Install Adjustable Cabinet Feet
Replace fixed feet with threaded, adjustable ones designed for cabinetry. Loosen the existing cabinet and screw in adjustable feet, which allow micro-adjustments for height. When I installed mine, I made small turns with a wrench, then checked the level with a carpenter’s spirit level, making incremental adjustments until the cabinet sat perfectly. This technique gives you fine control without the mess of shims.
Shim Effectively for Larger Gaps
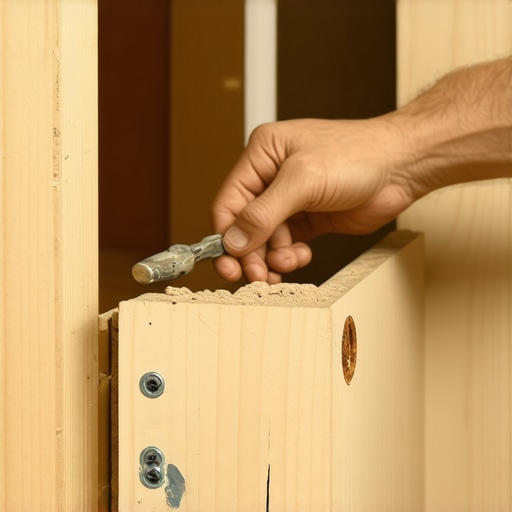
If adjustable feet can’t compensate for severe slopes, use shims. Cut shims from hardwood or veneer for durability. Place shims under the cabinet or its base on the high side in small, consistent layers. Secure the cabinet temporarily, then check for level. Once satisfied, fasten the cabinet to the wall using proper anchors. I learned to avoid over-shimming, which can cause stress on the cabinet joints, by applying small, even layers of shims for a clean, stable finish.
Secure and Double-Check Stability
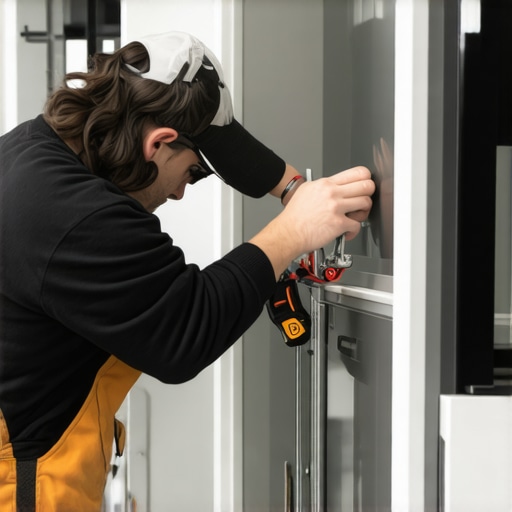
Fasten your cabinets securely to the wall studs, ensuring they won’t shift over time. After anchoring, recheck the level; sometimes, tightening screws can cause slight shifts. Using a laser level can assist in verifying the overall alignment across multiple cabinets—critical in open-concept kitchens. During my project, I used a laser and noticed a slight deviation which I corrected before completing the installation, saving future adjustment headaches.
Seal and Finish the Edges
Once everything is level and secure, seal the gaps with quality caulking or trim. This not only adds a professional touch but also prevents debris from settling underneath. Achieving a perfectly level cabinet line elevates your entire kitchen’s appearance, making appliances and counters look integrated. Remember, subtle inconsistencies in leveling can become obvious once you attach doors and hardware, so take your time during this step. For a sleek, cohesive look, consider using [custom cabinets](https://artisancabinetworkz.com/how-to-align-full-overlay-doors-for-a-perfectly-consistent-reveal) that adapt seamlessly to your space’s irregularities.
Many homeowners assume that selecting standard cabinetry or off-the-shelf storage options is sufficient for a functional, stylish kitchen. However, one of the most overlooked nuances is understanding the limitations and proper applications of built-ins and custom cabinets. While these solutions promise seamless integration and maximum efficiency, there’s a common misconception that one size fits all, which can lead to costly mistakes and subpar results. In my experience, veterans in kitchen remodeling emphasize that the real expertise lies in customizing storage to fit unique space irregularities and lifestyle needs, not just choosing trendy finishes or hardware.
For example, a frequent error is relying solely on generic storage hacks, such as adding extra shelves or installing shallow cabinets, without considering the specific ergonomics or future access issues. This oversight can cause clutter buildup or inconvenient access later on, which is why detailed planning and customization are crucial. According to a study by the National Kitchen & Bath Association, nearly 70% of successful remodels involve tailored storage solutions that address the homeowners’ daily routines rather than generic options.
How Can Advanced Storage Planning Revolutionize My Kitchen?
Understanding the hidden nuances means realizing that effective storage isn’t just about capacity—it’s about *smart* capacity. For instance, incorporating vertical dividers, hidden compartments, or multi-purpose cabinetry can vastly improve usability without sacrificing aesthetics. Moreover, the secret to truly optimized storage is in how these solutions integrate with existing architecture, like uneven floors or unusual ceiling heights, which many fail to address properly. You can learn more about maximizing space with innovative storage techniques by exploring these advanced strategies.
Another mistake I often see is underestimating the importance of future-proofing your cabinetry. Investing in adjustable shelving, removable panels, or modular units can save you thousands down the line because it allows flexibility as your needs evolve. In fact, experts argue that building adaptability into your storage solutions aligns perfectly with sustainable design principles and long-term value.
So, what’s the biggest trap most homeowners fall into? It’s neglecting the detailed planning phase — rushing into installation without analyzing everyday usage patterns or space constraints. This oversight results in cabinets that look stunning but frustrate in practice, often requiring costly rework later. To avoid this pitfall, consult with seasoned professionals or refer to comprehensive guides like expert tips on storage selection.
Remember, successful kitchen remodels hinge on understanding and leveraging the hidden intricacies of storage design. Do you have a secret storage hack that transformed your space? Share your experience in the comments, and if you’re ready to upgrade, consider personalized solutions that truly fit your home’s quirks—because in this game, details MAKE the difference.
Keep Your Storage Systems Running Smoothly
Once you’ve invested time and effort into customizing your kitchen storage, maintaining it becomes crucial to preserve its functionality and appearance over the years. I personally rely on a few specialized tools and routines that ensure my storage solutions stay in top shape, regardless of usage or changing needs.
Essential Tools for Ongoing Maintenance
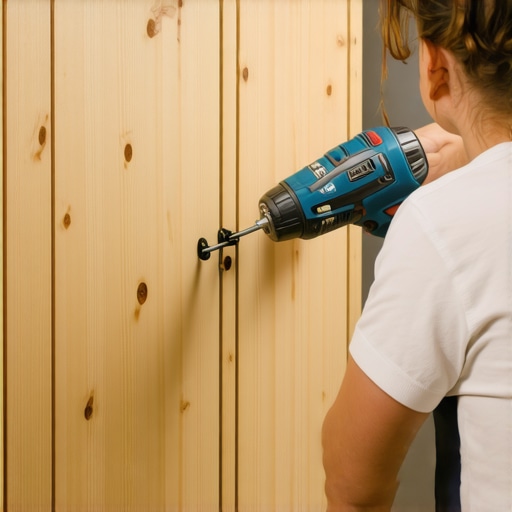
Firstly, a high-quality cordless drill with an assortment of screwdriver bits is indispensable. I use mine not just for initial assembly but also for periodic adjustments, tightening loose hinges, or replacing worn-out hardware. Paired with a set of precision nut drivers, this combo allows me to handle almost any cabinet or drawer tweak without hassle. Additionally, a soft microfiber cloth and gentle cleaning sprays help me keep surfaces free of dust, grease, and fingerprints, especially on matte or textured finishes that can trap debris.
To detect and correct subtle misalignments over time, I always keep a laser level handy. It’s more accurate than traditional bubble levels for ensuring consistent door and drawer alignment, which can shift subtly with humid weather or minor building settling. Using laser levels regularly prevents small imperfections from becoming glaring issues down the line. Furthermore, a digital caliper can be helpful when measuring for replacement hardware or ensuring consistent spacing in adjustable components.
Software and Digital Resources
Beyond physical tools, I recommend maintaining a digital inventory of all hardware types, finishes, and customizations—this helps in ordering replacements swiftly and maintaining uniformity. Using design software like SketchUp or cabinet-specific planning apps enables me to simulate adjustments and plan future upgrades without physically dismantling everything multiple times. Keeping detailed digital records also aids when consulting with professionals or fabricators about updates or troubleshooting.
The Long-Term Payoff of Regular Checks
In the fast-paced realm of kitchen remodeling, trends and needs evolve. Scheduling semi-annual walkthroughs of your cabinets and storage areas allows you to catch loose screws, worn hinges, or misaligned drawers early, saving money and avoiding frustration. I’ve found that applying lubricant to hinges and slides periodically prevents squeaking and ensures smooth operation, which significantly extends the lifespan of your cabinetry.
Prediction: As smart home technology advances, I foresee a future where maintenance tools might include IoT-enabled sensors that monitor cabinet integrity or hardware wear, alerting you via apps before issues become noticeable. Such innovations could revolutionize how we care for built-in storage systems, making maintenance proactive instead of reactive.
How do I maintain built-in storage systems over time?
Develop a routine of visual inspections and light adjustments, using tools like your laser level and screwdriver set. Consider integrating maintenance with your regular cleaning schedule to catches issues early, and explore digital record-keeping to track changes and replacements. If you’re interested in streamlining your storage maintenance, I recommend trying out a digital inventory app integrated with your measurement tools for a seamless experience. For more detailed advice on selecting the right tools or planning future updates, visit this resource.

What I Wish I Knew When First Tackling Storage Solutions
One of the most eye-opening lessons I learned was the importance of meticulously assessing my space before jumping into cabinet installation. I once rushed into choosing a popular storage idea without considering its practicality in my uniquely uneven kitchen, which led to costly adjustments later. The moment I dedicated time to understanding my specific needs and quirks changed my entire approach.
Another revelation came from realizing that not all custom cabinets are created equal. I initially believed that a quick consultation was sufficient, but in reality, personalized design and materials tailored to my home’s nuances made all the difference—saving me headaches and money in the long run.
And perhaps most surprisingly, I discovered that flexible storage options, like adjustable shelves and removable panels, significantly enhance usability as your needs evolve. Investing in adaptable cabinetry has proven a game-changer, especially in homes with irregular layouts or future expansion plans.
Tools I Trust for a Seamless Kitchen Remodel Journey
My go-to resource for ensuring precision is the [laser level](https://artisancabinetworkz.com/creating-seamless-kitchen-remasters-with-built-in-storage-solutions), which guarantees everything lines up perfectly, even on uneven floors. Paired with a quality digital caliper, I can measure hardware and spacing with confidence. For planning, I rely on design software like SketchUp, as it helps me visualize adjustments before they become costly mistakes.
For sourcing materials and inspiration, [Artisan Cabinetry’s](https://artisancabinetworkz.com/modern-kitchen-remodels-featuring-custom-cabinets-and-built-ins) articles have been invaluable, offering insights into the latest trends and best practices. Direct communication through their contact page ensured my questions were answered swiftly, making the entire process more manageable and less stressful.
Keep the Momentum: Your Kitchen Transformation Awaits
Remember, every successful kitchen remodel stems from understanding the subtle intricacies of your space and being willing to adapt. With the right tools, knowledge, and mindset, you can turn even the most uneven floors into a foundation for stunning, functional cabinets that elevate your entire home. Don’t shy away from experimenting with innovative storage solutions—your dream space is within reach. What’s one storage hack you’re excited to try in your next project? Share below and start the transformation today!
,