How to Fix a Sagging Sink Base After a Plumbing Leak
It happened unexpectedly—one day I lifted my kitchen sink, and instead of the solid, sturdy base I remembered, I was met with a sinking feeling (literally). The whole sink cabinet was sagging, warping under the weight, and I realized that a simple plumbing leak had turned into a full-blown structural headache. That moment was a lightbulb for me—plumbing issues don’t just stop at the leak; they often cause long-term damage if ignored.
Why a Sagging Sink Base Is More Than Just an Aesthetic Problem
Most homeowners overlook the importance of a sturdy sink base, assuming it’s just a matter of replacing a few screws or tightening some bolts. But when a leak causes the base to sag, it can lead to uneven countertops, misaligned cabinets, and even water damage behind the walls. I learned this firsthand when I noticed water seeping into the cabinetry after my leak was forgotten about for a few weeks. The damage isn’t always visible at first, which makes it all the more crucial to address sagging immediately.
Have You Faced This Problem Before?
If your sink base is sagging or if you had a plumbing leak that you now regret ignoring, you’re not alone. Many homeowners underestimate the damage a leak can do over time. My early mistake was thinking I could just patch the leak without inspecting the cabinet structure, which only worsened the problem. Trust me—taking a proactive approach and fixing the base now saves headaches later.
According to the National Kitchen & Bath Association, proper support in cabinetry helps prevent water damage and prolongs the lifespan of your kitchen fixtures (source: this guide). Now, let’s go through the essential steps to repair that sagging sink base, restoring both function and peace of mind.
Assess the Damage Before Repairing
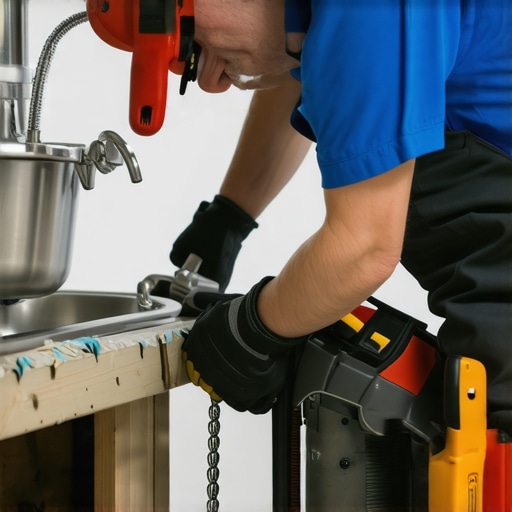
Start by removing the sink and inspecting the cabinet’s underside to identify water damage or broken supports. Use a flashlight to look for rot or warped wood. In my experience, I found soft, crumbling plywood supporting the sink, which needed immediate reinforcement. Proper assessment saves time and prevents ineffective repairs.
Remove and Clear the Cabinet
Empty the cabinet completely, disconnect plumbing, and unscrew any loose supports. Think of this step as clearing the workspace before building. A cluttered area makes it hard to see structural issues clearly, potentially leading to missed problems.
Reinforce the Support Framework
Install New Support Pieces
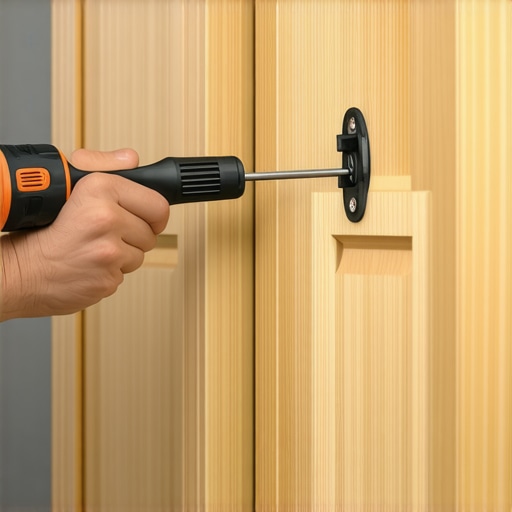
Cut pressure-treated plywood or solid wood to match the original support dimensions. Secure these with corrosion-resistant screws, ensuring a tight fit. I used a cordless drill for precision. This step is akin to strengthening the foundation of a house—solid support prevents future sagging.
Use Adjustable Feet for Uneven Floors
If the floor is uneven, install adjustable feet on cabinet legs to level the base. I did this during my project, which prevented wobbling and reduced strain on supports. Think of it as giving your cabinetry a custom fit, similar to tailored furniture, ensuring stability.
Seal and Protect the Repaired Area
Apply a waterproof sealant or paint on the new supports and interior surfaces to prevent future water damage. This step is like waterproofing a deck—shielding the structure from moisture prolongs its lifespan and maintains integrity.
Reconnect Plumbing and Test Stability
Reinstall the sink, reconnect plumbing, and check for leaks. Gently press on the cabinet to test for wobbling. If it feels solid, you’ve successfully restored stability. Remember, a stable base is crucial for installing new built-ins or custom cabinets later, which can dramatically enhance your kitchen’s functionality and style—see how innovative storage solutions can transform your space here.
Many homeowners assume that selecting standard cabinetry or quick-fix storage options guarantees a flawless kitchen overhaul, but in my experience, there’s a deeper layer of nuance that often gets overlooked. One common misconception is that all custom cabinets are created equal, leading many to opt for semi-custom or stock solutions without understanding the long-term implications. Contrary to popular belief, the quality of materials and craftsmanship profoundly impacts durability, especially in high-moisture environments like kitchens. For instance, using inexpensive MDF in a humid area can lead to warping and damage over time, as highlighted in a study by the National Kitchen & Bath Association, which emphasizes the importance of moisture-resistant materials in cabinetry. Another advanced mistake many make is neglecting proper support and leveling during installation, which can cause uneven doors and hardware failure down the line. Ensuring your contractor understands the intricacies of load distribution and support framing is essential, and it often isn’t covered in basic tutorials.
Why do most people fail to plan for future storage needs?
They tend to focus solely on current requirements, ignoring how lifestyles evolve. For example, a family might initially need simple cabinets but later require specialized storage for appliances, bakeware, or even pet supplies. Incorporating modular and adjustable built-ins or innovative storage solutions ensures longevity and adaptability, as discussed in the article on smart storage ideas. Bottom line: rushing into an aesthetic choice without considering function and future-proofing can lead to costly upgrades down the line. Be aware of these pitfalls before finalizing your design—an investment in quality and planning pays off. If you want to explore advanced storage strategies that maximize space and efficiency, check out the comprehensive guide on innovative storage solutions. Don’t let common myths trap your project—proper research and expert advice can make all the difference. Have you ever fallen into this trap? Let me know in the comments.
Keep Your Kitchen Running Smoothly with the Right Tools
Maintaining a functional and beautiful kitchen requires more than just good design; it hinges on using the right tools and following precise methods. I personally swear by a high-quality cordless drill with adjustable torque settings—this allows me to tighten or loosen cabinet screws without overdriving or damaging the material. A digital moisture meter is invaluable for checking wood’s dryness before installation or repair, preventing warping—a mistake I learned the hard way. For measuring, I rely on a premium laser distance measurer; it ensures precise placement of built-ins and custom cabinets, which is vital for a seamless look.
How do I maintain my kitchen’s support structures over time?
Regular inspections are key. Every few months, I examine support brackets, cabinet screws, and hinges for looseness or corrosion. Applying a food-safe silicone sealant around plumbing fixtures prevents leaks that can cause long-term damage. When it comes to long-term results, maintaining a clean and dry environment is critical—moisture encourages mold, rot, and hardware corrosion. Using rust-resistant hardware and moisture barriers in construction significantly extends the life of your cabinets and support frames. For ongoing support, I recommend investing in a professional-grade torque screwdriver—this helps re-tighten hardware to the manufacturer’s specifications, maintaining stability without over-tightening risks.
Tools I Recommend for a Hassle-Free Remodel
Besides the essentials, I find a pneumatic brad nailer indispensable for quick, clean attachment of trim and backing panels. It saves time and provides a precise finish. A quality multi-tool oscillates at variable speeds, which I use for detailed adjustments, trimming, and removing old adhesive or caulk without damaging surrounding surfaces. For software, I utilize CAD-based design programs, enabling me to visualize custom storage solutions before physical work begins—this is especially critical when planning built-ins to optimize space and aesthetic flow. Check out the advanced storage ideas to get inspired for your next project.
Why Planning Maintenance Pays Off Long-Term
Staying consistent about maintenance prevents small issues from becoming costly repairs. For instance, periodically tightening cabinet screws preserves structural integrity, avoiding sagging and misalignment. Using a quality lubricant like silicone spray on hinges and slides prevents squeaks and ensures smooth operation. I also recommend routine cleaning with gentle, non-abrasive cleaners to extend the finish’s lifespan. The future of kitchen maintenance points toward smart monitoring—integrating sensors for humidity, leaks, or structural shifts—making proactive care easier and more accurate. As this technology becomes more affordable, it will be easier to keep your kitchen supporting your lifestyle without surprise breakdowns.
Want to elevate your maintenance routine? Try applying a high-grade silicone lubricant to cabinet hinges and sliders today—it’s a simple step that yields durable smoothness and prevents squeaks. And remember, consistent support and timely repairs save money and preserve the beauty of your remodel for years.
The Hardest Lesson I Learned About Kitchen Renovation
One inevitable truth I discovered is that overlooking support structures during a kitchen remodel can lead to unexpected setbacks, especially when water damage causes cabinetry to weaken over time. Early in my project, I underestimated the importance of thorough inspection before reinstallation, which resulted in costly adjustments later. Learning to assess support framing meticulously has been instrumental in ensuring long-term stability and avoiding future headaches.
My Mistake With Material Choices and Why It Matters
I initially chose cheap, moisture-prone MDF for supports, thinking it was a quick fix. However, I soon saw warping and rot setting in—reminding me why quality, moisture-resistant materials are critical, especially in high-humidity environments. Investing in durable materials not only pays off in longevity but also in peace of mind, reducing the need for recurrent repairs.
The Power of Proper Support and Leveling in Custom Cabinets
From my experience, meticulously leveling supports and framing during installation is vital. Small misalignments can cause doors and drawers to misfit or bind over time. Ensuring support structures are solid and level from the start has saved me countless adjustments down the line, emphasizing the value of attention to detail in custom cabinetry projects.
Never Ignorize Small Signs of Water Damage
Early signs like soft wood or slight warping can be easy to dismiss but often precede major failures. Regularly inspecting hidden supports and immediately addressing any moisture intrusion can prevent sagging and structural deterioration. This proactive approach is essential for maintaining both aesthetics and functionality in your kitchen.
Listening to the Experts and Sharing My Journey
Consulting experienced carpenters and reading trusted guides has transformed my understanding of cabinetry support systems. I encourage others to seek advice and share their experiences, as collective knowledge accelerates mastery and success. Remember, every challenge is an opportunity to learn and refine your approach, turning setbacks into stepping stones for a better remodel.