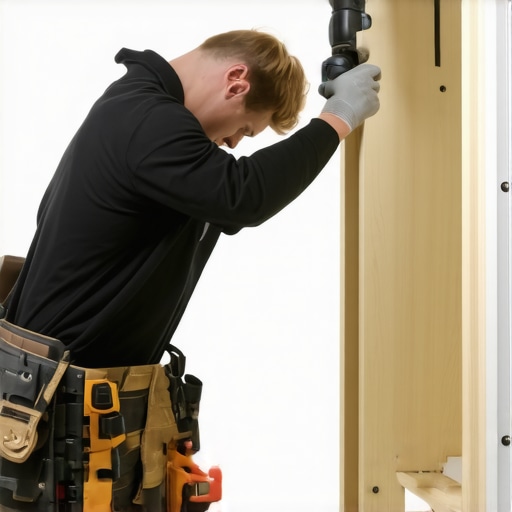
The Best Way to Anchor Cabinets to Metal Studs in Modern Condos
I remember the first time I tried to hang a set of custom cabinets in my recently renovated condo. I assumed that screwing into metal studs was straightforward—after all, they’re just metal, right? But minutes into the project, I realized my old drill couldn’t handle the job, and I was left with wobbly cabinets and a growing sense of frustration. That lightbulb moment made me realize just how tricky it can be to securely anchor heavy cabinetry to metal framing, especially in modern condos where space and design are everything.
Why Finding the Right Method Matters More Than Ever
In tight condo spaces, every inch counts. Securely anchoring your cabinets isn’t just about avoiding wobbles—it’s crucial for safety, long-term durability, and a polished look that lasts. Using the wrong approach can lead to loose cabinets, damage to the drywall, or, worse, the entire structure failing over time. Modern condos often feature metal stud framing because of their lightweight strength and fire-resistant qualities. However, this can make traditional anchoring methods ineffective unless you know the right techniques.
From personal experience, I’ve learned that the secret lies in understanding how to properly connect cabinetry to these metal supports. For many DIYers and even seasoned remodelers, this is a common stumbling block. But don’t worry—I’ve gathered some practical insights to help you navigate this challenge efficiently and confidently.
If you’re thinking, “Is this really a big deal?”—trust me, it is. A poorly anchored cabinet can jeopardize your entire remodel and pose safety hazards. I’ve seen too many projects where a slight oversight resulted in cabinets that shifted or, worse, fell off the wall months later. To avoid this headache, I recommend checking out this comprehensive resource on custom cabinets that can transform your kitchen: the ultimate guide to custom cabinets.
Before I dive into the best methods, I want to share one mistake I made early on—relying solely on standard toggle bolts for metal studs. It seemed logical at first, but I quickly learned that these often lack the strength to support heavy cabinets over time. This lesson taught me the importance of selecting appropriate anchors designed specifically for metal framing. Now, let’s explore how you can do the same and set your cabinets up for success.
Identify Suitable Anchors for Metal Studs
Start by selecting heavy-duty threaded toggles or screw anchors specifically designed for metal framing, such as self-drilling screws with metal-appropriate anchors. I once attempted to use standard plastic anchors, but they failed within months—causing my cabinet to wobble. Instead, I opted for structural toggle bolts, which provided the strength I needed for heavy cabinetry. Remember, choosing the right anchors is crucial—don’t cut corners here.
Measure and Mark Your Wall Positions
Use a level and tape measure to mark the exact points where your cabinet stud locations align with your desired cabinet placement. Double-check these measurements before drilling. I once marked wrong spots, which led to re-drilling and delays. Accurate measurement ensures your cabinets hang perfectly and reduces frustration during installation. Consider using a stud finder compatible with metal framing for precise detection—this simple tool saves time and avoids guesswork.
Pre-Drill Pilot Holes in the Metal Studs
Using a drill with a metal-appropriate bit, create pilot holes at your marked points. I recommend a cobalt drill bit to handle the tough metal. Don’t apply excessive force; let the drill do the work—to prevent overheating or damaging the bit. Pilot holes facilitate easier anchor insertion and ensure precision. A clean, centered hole helps anchors grip securely, preventing future wobbling or pulling out under load.
Insert the Anchors and Test Their Hold
Gently tap the anchors into the pilot holes if necessary. Before hanging the cabinet, give each anchor a gentle tug to verify they hold firmly. During one project, I skipped this step, and one anchor loosened after just a few days—causing my entire cabinet to tilt. Confirming secure attachment at this stage prevents costly adjustments later. For added confidence, consider using a level to ensure the brackets align perfectly during installation.
Attach Cabinet Brackets to Anchors
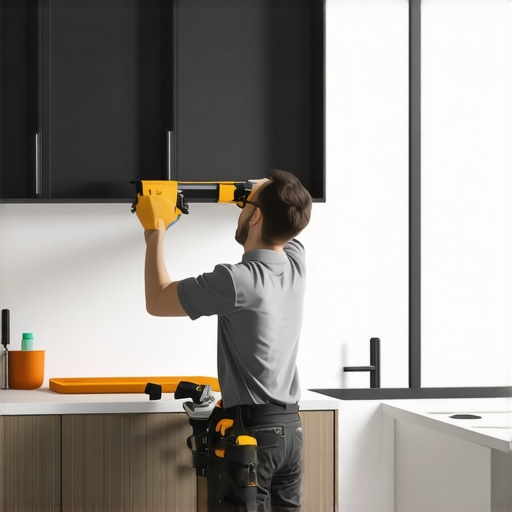
Position your cabinet brackets against the wall, aligning them with your pre-marked spots. Use lag screws or appropriate fasteners to secure brackets to the anchors. Tighten evenly to avoid twisting or misalignment. In my experience, uneven tightening led to stress cracks in the drywall nearby—highlighting the importance of balanced fastening. Confirm the brackets are level before proceeding to hang the cabinets.
Hang and Secure the Cabinets
Lift the cabinet into position, ensuring it rests squarely on the brackets. Use a helper if necessary—working alone increases risk of dropping or misaligning units. Once in place, tighten all screws firmly, but avoid overtightening to prevent damage. I once cracked a cabinet panel by over-tightening, which underscored the need for patience and careful torque control.
Check Alignment and Stability
Double-check the entire installation with a level and measure to ensure all cabinets are flush and secure. Shimming or minor adjustments may be necessary if you notice unevenness. This final step guarantees your cabinets will not only look professional but also support your storage needs effectively. Remember, precise installation prolongs the lifespan of your cabinetry and maintains safety over time.
When it comes to custom kitchens and built-in storage, many homeowners and even experienced renovators fall prey to misconceptions that can compromise the project’s success. A common myth is that opting for the most popular materials or styles guarantees longevity and timeless appeal. However, the reality is nuanced. For instance, many believe that standard cabinetry handles work universally, but in high-moisture kitchens, brushed nickel or stainless steel finishes resist fingerprints better and age gracefully—an insight backed by industry experts recommending hardware that combines durability with style._
How do advanced storage solutions influence the longevity of your kitchen design?
In my experience, strategic integration of innovative storage transforms a cluttered space into a sleek, functional environment. Yet, many overlook the importance of proper weight distribution and load-bearing considerations, especially with custom-built islands or wall cabinets. According to a study published by the National Kitchen & Bath Association, poorly designed storage can lead to structural issues within five years, emphasizing the need for professional assessments beyond aesthetic choices.
One frequent
To ensure your custom kitchen remains functional and beautiful for years to come, investing in the right tools and maintenance routines is essential. Over time, even the highest quality cabinetry and storage solutions can benefit from regular care, which not only prolongs their lifespan but also keeps them looking brand new. In my experience, having a dedicated set of precision tools makes all the difference, especially when troubleshooting or performing minor repairs yourself.
Invest in Quality Maintenance Tools
First and foremost, I recommend keeping a high-grade cordless drill like the DeWalt DCD791D2. It’s lightweight yet powerful enough to handle fastening cabinet hardware, installing new pulls, or adjusting hinges without the fuss of cords. Complement it with a set of precision screwdrivers for delicate hardware and a microfiber cloth to clean surfaces without scratching. Why these tools? Because they are reliable, ergonomically designed, and versatile, making routine maintenance straightforward.
Master the Art of Proper Alignment
Consistency in cabinet alignment is vital for a sleek appearance. Thanks to digital levels like the Stanley FatMax, you can quickly detect slight misalignments and adjust them accordingly. I personally use the digital level every few months, especially after seasonal shifts, to ensure everything stays perfectly level. This simple practice prevents issues such as doors sticking or drawers not closing smoothly, saving time and frustration.
Leverage Software for Long-Term Planning
For those considering scaling or adding storage, I recommend planning with room design software like SketchUp. It allows you to visualize modifications before committing financially or physically. I’ve used it to experiment with built-in shelves and custom cabinet layouts, which clarified exactly how much space I could optimize. In the future, I predict more homeowners will turn to such tools for precision planning, reducing costly mistakes.
Maintain Storage Solutions for Continuous Performance
To keep your storage solutions functional, regularly lubricate hinges, slides, and locks with a silicone-based spray like Barrière Silicone Spray. This prevents squeaks, facilitates smooth operation, and minimizes wear over time. I do this every six months, especially on high-use drawers and pull-outs, ensuring they glide effortlessly. For deeper cleaning, I recommend using a damp cloth and mild cleaner, avoiding abrasive chemicals that can degrade finishes or hardware.
Prepare for Future Upgrades by Staying Informed
Trends like integrated smart storage and automation are shaping modern kitchens. Staying informed through blogs, like this one, and industry updates can inspire upcoming upgrades that incrementally enhance your space. As an example, integrating motion-activated LED lighting beneath cabinets can dramatically improve usability—see how it’s transforming kitchens in this article.
Finally, I encourage you to adopt one advanced maintenance tip: regularly check and tighten all fasteners and hinges using the multi-bit screwdriver set. This proactive approach prevents small issues from snowballing into costly repairs, ensuring your custom cabinetry and storage solutions continue to serve you beautifully and efficiently. Remember, consistent care is the key to sustaining a stunning and functional kitchen for the long haul.
Uncovering Hidden Pitfalls in My DIY Kitchen Journey
One of the toughest lessons I learned was realizing that not all anchors are created equal, especially when working with metal studs. My initial reliance on standard toggle bolts proved costly, as I underestimated their load capacity. That lightbulb moment pushed me to research and invest in heavy-duty anchors specifically designed for metal framing, transforming my project from shaky to solid.
The Power of Precision in Fastening
I discovered that pre-drilling pilot holes isn’t just a tedious step—it’s essential for a secure fit. Using cobalt drill bits and carefully marking measurement points saved me from misalignments and future wobbling. Every successful install reinforced how proper preparation and patience elevate the entire remodel experience.
Embracing the Knowledge of Industry Experts
Seeking advice from seasoned professionals through industry resources made a significant difference. Their insights on load distribution and the importance of quality hardware became my go-to strategy. It reminded me that continual learning and consultation can turn a daunting project into a rewarding achievement.
How to Make Your Built-ins Last for Generations
Long-term success in custom cabinetry hinges on not just clever design but also rigorous maintenance routines. Regularly tightening fasteners, lubricating hinges, and re-evaluating your hardware ensure your kitchen remains beautiful and functional. Think of maintenance as investing in the future of your space—an ongoing act that pays dividends in longevity and satisfaction.