The Heavy-Duty Pull-Out Trash Can That Won’t Bend Your Door Over Time
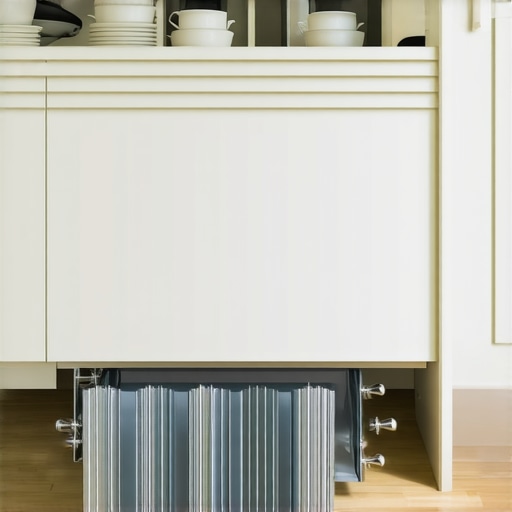
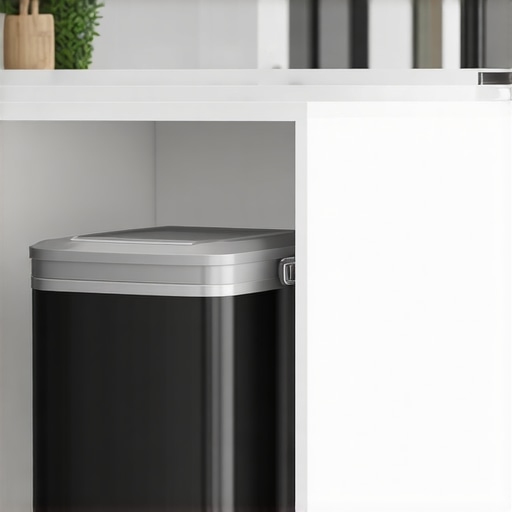
It was a typical Saturday morning when I opened my kitchen cabinet to throw away some used tea bags, only to hear a sickening squeal. My heavy-duty pull-out trash can, which I’d installed just months earlier, was leaning forward at a precarious angle, threatening to pull the whole door down with it. I realized then that my frustration with trash cans was a common problem I’d underestimated for too long. If you’re tired of your pull-out trash can sagging, jamming, or worse—damaging your cabinetry—then you’re not alone. Today, I want to share how I finally resolved this issue and what to consider so your trash can doesn’t become a door-wrecking nightmare over time.
The Hidden Struggles of Heavy-Duty Pull-Out Trash Cans
Are All Pull-Out Trash Cans Created Equal, or Are Some Actually Worth the Hype?
When I first decided to upgrade my kitchen storage, I was sold on the idea of a heavy-duty pull-out trash can. The description promised durability, smooth operation, and a sleek look that would blend seamlessly with my custom cabinets. What I didn’t realize—until I faced the damage myself—was that not all models are built to withstand the test of time or the weight of everyday use. My early mistake was choosing a unit based solely on price, overlooking the quality of the slides and the mounting hardware. That oversight turned into a costly lesson, and I learned the hard way the importance of selecting the right system. If you’re contemplating a similar upgrade, I highly recommend exploring expert guides on heavy-duty pull-out trash cans that won’t wobble when full. It’s essential to balance durability with functionality to avoid this frustrating repeat. What’s more, unsupported weight and weak mounting can cause significant stress on your cabinet doors, leading to warping or even collapse over time. Recognizing these risks early can save you money and heartbreak down the line. But how do you make sure your next purchase is truly heavy-duty? And how can you ensure it won’t bend or damage your doors over time? That’s where understanding the nuances of installation and quality matter most. Let’s look at some practical steps to prevent your trash can from becoming a permanent obstacle in your kitchen—because nobody wants to be the neighbor with sagging cabinet doors.
Brace the Mounting Hardware for Heavy Loads
Start by inspecting the mounting hardware of your pull-out trash can. Use heavy-duty screws and anchors rated for the weight of a full bin. I once replaced flimsy screws with automotive-grade lag bolts during my kitchen overhaul, which dramatically improved stability and saved me from future headaches with sagging doors. When installing, drill pilot holes precisely to prevent splitting the cabinet sides and ensure a tight fit.
Reinforce the Cabinet Frame for Added Support
Think of your cabinet frame as a foundation—if it’s weak, everything atop it wobbles. To strengthen it, install steel cleats or brackets behind the cabinet, especially if you’re dealing with older, softer wood. I used metal L-brackets on the inside of my cabinets, securing the base and sides, which provided a sturdy anchor point that prevented wobbling even when the trash can was full.
Optimize Slide Mechanisms for Smooth Operation
The slides are the runners that carry your trash bin in and out. Choose high-quality, full-extension ball-bearing slides designed for heavy loads. When installing, ensure they are perfectly aligned—misalignment causes binding and uneven weight distribution. I once spent extra time aligning the slides with a level and a measuring tape, which paid off with effortless gliding and no more jamming.
Add a Support Cleat Underneath
For additional reinforcement, attach a wooden or metal support cleat along the bottom inside of the cabinet. This acts as a bridge, distributing weight evenly and guarding against sagging over time. During my remodel, I cut a scrap piece of hardwood, secured it with screws to the cabinet bottom, and noticed that my pull-out stayed level even when loaded to capacity.
Balance and Test Before Finalizing
Once everything is installed, load the bin gradually to test stability. If you notice any wobble or sag, revisit the screws and supports. I recommend turning the trash can out and in multiple times, observing the door alignment. Properly supported hardware will ensure your pull-out system endures daily use without damaging your cabinetry.
Consult Experts or Reference Trusted Guides
If you’re unsure about your setup, consider consulting professional cabinet makers through our contact page. For comprehensive insights, explore resources like this detailed guide on heavy-duty pull-out systems. Correct installation and reinforcement are critical for longevity, especially in busy kitchens where misuse is common.
Many homeowners assume that choosing custom cabinets or built-ins automatically guarantees a perfect, hassle-free kitchen. However, a common misconception is that once the design is finalized, the project will run smoothly. In reality, the nuances lie in the details of installation, material quality, and understanding the complexities of space planning. For example, a beautifully designed built-in can turn into a nightmare if there’s inadequate ventilation or improper support, leading to sagging shelves or misaligned doors. Experts emphasize that accurate measurements and advanced planning are crucial to avoid these pitfalls. Interestingly, some believe that high-end, expensive materials will inherently resist issues like warping or moisture damage, but this isn’t always true—particularly if they are not installed correctly or if certain environmental factors are overlooked. A study by the National Kitchen & Bath Association highlights that up to 35% of client complaints stem from installation errors rather than design flaws, underscoring the importance of skilled craftsmanship.
Why Do My Custom Cabinets Still Fail Despite Heavy Investment?
Understanding the hidden nuances requires recognizing that the success of your cabinetry hinges on more than aesthetics. Proper framing, support systems, and hardware choices can make or break the longevity of built-ins. For instance, integrating innovative storage solutions, like smart shelving or concealed compartments, can maximize space but must be carefully tailored to your specific needs and usage patterns. Overlooking detailed factors such as moisture barriers or load distribution can lead to expensive corrections down the line. To ensure your investment pays off, collaborating with experienced professionals who understand these intricacies is vital. They can guide you through the subtleties of material selection and installation techniques, such as reinforcing cabinet frames or choosing the right hinges. Want to delve deeper into custom cabinetry pitfalls and best practices? Check out our comprehensive guide on the latest trends and techniques for designing lasting, beautiful kitchens. Don’t forget—every misstep in planning can compound over time, but with expert insight, you’ll be well-equipped to avoid common traps. If you’re looking to upgrade your space with confidence, reach out through our contact page for personalized advice, or explore more on how to optimize your kitchen’s storage with smart storage ideas. Remember, the devil is in the details when it comes to custom cabinets and built-ins—miss one, and the entire project can falter.Maintaining your custom cabinetry and built-in storage is essential for their longevity and continued beauty. Over the years, I’ve found that investing in the right tools and developing a solid maintenance routine can make all the difference. One indispensable tool I highly recommend is a high-quality microfiber cleaning cloth paired with a gentle wood cleaner. This combo allows me to regularly wipe down surfaces without risking scratches or damage, especially on high-gloss finishes that are prone to smudges and fingerprints. For more stubborn grime or fingerprints, I use a soft plastic scraper to gently lift residue without scratching the surface, ensuring my cabinets stay pristine over time.
How do I maintain custom cabinetry and built-ins over time?
Beyond regular cleaning, periodic inspections of hardware, hinges, and slides are crucial. I keep a small set of precision screwdrivers and a silicone-based lubricant handy to tighten loose screws or lubricate moving parts, which prevents squeaks and ensures smooth operation. For hardware, I often use a magnetic parts tray to keep screws and small components organized during maintenance sessions. This simple setup minimizes frustration and keeps my workflow efficient. Additionally, I utilize a digital moisture meter to monitor humidity levels in my kitchen, especially during seasonal changes, since fluctuations can cause wood to expand or contract, leading to misalignments or warping. Ensuring consistent humidity helps preserve the structural integrity of the cabinetry.
Tools I recommend for lasting results
For long-term care, I rely on a few specialized tools. An orbital sander fitted with fine-grit pads is useful for smoothing out any minor scratches or blemishes that may develop, preventing them from worsening over time. For deeper cleaning, I employ an ultrasonic cleaner with gentle cleaning solutions to remove grime from hinges and intricate moldings without disassembly. Looking ahead, I believe the trend toward smart home integration will extend into cabinetry maintenance, with sensors monitoring humidity and wood condition in real-time, alerting homeowners before problems arise. Embracing these innovations will make ongoing care more proactive and less reactive.
Level up your maintenance routine with this trick
To keep your cabinets looking as stunning as day one, try installing tiny, discreet magnetic strips inside cabinet doors to hold microfiber cloths and small touch-up supplies. This way, you can quickly address smudges or scratches during idle moments, maintaining a showroom finish. When paired with regular inspections and gentle cleaning, this simple addition helps preserve your investment for years to come. For expert guidance tailored to your specific project, don’t hesitate to contact professionals through our contact page. Investing in high-quality maintenance tools and establishing a routine will ensure your custom pieces remain functional and beautiful, matching the high standards of your original design.”}
What I Didn’t Know About Structural Support in Custom Cabinets
One of my biggest lightbulb moments came when I realized that the strength of my cabinetry depended heavily on proper framing and reinforcement. It’s tempting to focus solely on aesthetic appeal, but overlooking the foundational support can lead to sagging and long-term damage. Ensuring your cabinet frames are reinforced with steel brackets or additional support beams can be the game-changer that keeps everything aligned and functional for years.
Why the Details of Hardware Matter More Than I Thought
I learned firsthand that high-quality hinges, slides, and mounting hardware aren’t just luxury upgrades—they’re essentials. Cheap hardware can cause doors to misalign or sag, especially if you use your cabinets daily. I replaced standard hinges with soft-close, heavy-duty options and saw immediate improvements in durability and smooth operation, reinforcing that investing in hardware pays off in the longevity of your custom units.
How Precision in Installation Saves Future Headaches
Misaligned cabinets and uneven doors became a recurring frustration until I adopted a meticulous installation routine. Using a laser level and measuring tapes, I ensured every component was perfectly aligned before securing. This attention to detail prevented issues before they appeared and taught me that proper measurements and patience during installation are vital for lasting beauty and functionality.
Personal Lightbulb Moments in Maintenance and Care
Routine maintenance isn’t just about aesthetics—it preserves the integrity of your custom cabinets. I discovered that gentle cleaning with the right products, combined with regular hardware inspections and lubrication, extends the lifespan of delicate mechanisms. Also, monitoring humidity levels with a digital moisture meter helps prevent warping, a common threat in high-humidity environments, ensuring your investment remains pristine.
When Investing in Quality Equipment Makes the Difference
From orbital sanders to ultrasonic cleaners, I realized that the right tools could make maintenance tasks more effective and less time-consuming. Using quality tools empowered me to address minor issues early before they turned into costly repairs. It’s a reminder that in the world of custom cabinetry, having a well-stocked toolkit supports both initial craftsmanship and ongoing upkeep.
Ideas for Smarter Storage Solutions That Saved My Space
Throughout my remodel, I found that innovative storage hacks—like hidden compartments and pull-out shelves—not only optimized space but also reduced clutter. Exploring [smart storage ideas](https://artisancabinetworkz.com/smart-storage-ideas-to-maximize-your-kitchen-space-this-year) opened my eyes to how thoughtful design enhances usability and preserves craftsmanship beauty. Remember, a well-designed built-in can be both functional and a conversation piece.
Don’t Forget the Finishing Touch of Personal Care
Adding small touches like magnetic touch-up supplies inside cabinet doors or discreet lighting strips made a big difference in maintaining my kitchen’s appearance over time. These simple upgrades empower you to act quickly on small blemishes, preventing them from becoming glaring flaws. Taking care of your cabinetry regularly transforms a good remodel into a lasting legacy of craftsmanship.