The Trick to Installing Heavy Upper Cabinets Without a Second Pair of Hands
I’ll never forget that frustrating moment in my kitchen remodel when I tried to hang a massive upper cabinet alone. The weight was almost overwhelming, and as I struggled to hold it in place, I wondered if I’d bitten off more than I could chew. It was a lightbulb moment—realizing that there had to be a better way to tackle heavy cabinet installation without calling in reinforcements that weren’t always available.
Overcoming the Heavy Lift: My Personal Solution
After some trial, error, and a few scraped knuckles, I discovered that with the right tools and technique, installing heavy upper cabinets solo is entirely feasible. Today, I want to share that experience with you, so you don’t have to go through the same initial frustrations. Whether you’re remodeling your kitchen or just upgrading your storage, these tips will help you confidently manage those heavyweight cabinets on your own.
Is This Really Possible Without a Second Set of Hands?
Let me address the elephant in the room: skepticism. I was there too, convinced I’d need a helper or a fancy lifting system. Early on, I made a critical mistake—trying to lift and hold the entire cabinet without proper support, which almost ended with a dropped unit and a bruised ego. Trust me, I learned the hard way that proper preparation and planning are key to solo installation projects. Once I started utilizing techniques like adjustable clamps, custom supports, and strategic positioning, everything changed. If you’re curious how to do this for your own project, let’s explore the step-by-step process together, starting with the right tools for the job.
Set Up Your Support System
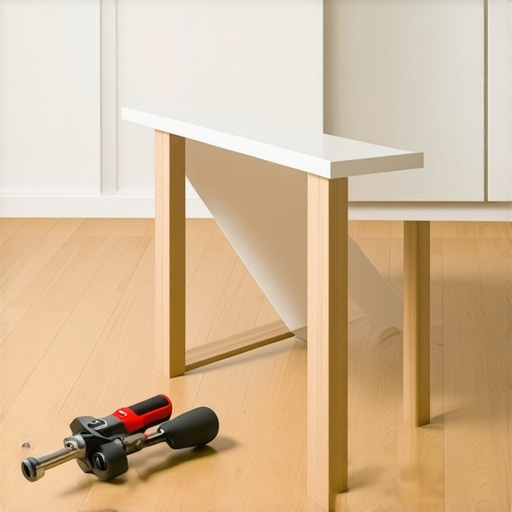
Start by clearing your workspace and gathering essential tools: adjustable clamps, a sturdy ladder, a helper if available, and protective gear. I once used a pair of adjustable clamps to temporarily hold a 70-pound upper cabinet as I secured it, which prevented it from slipping. As you prepare, consider installing temporary braces or supports that can hold the cabinet at eye level—think of them as training wheels for your project. The right setup minimizes the risk of accidents and keeps the cabinet steady while you work.
Measure and Mark Precisely
Accurate measurements are critical. Use a level and a pencil to mark the stud locations and the desired height on the wall. When I installed my first cabinet, I snapped a chalk line across the wall at the marking height, ensuring perfect alignment. Double-check your measurements before drilling or anchoring; a misplaced screw can cause uneven gaps or structural issues. Remember, precision here saves you headaches later on and contributes to a polished finish.
Secure Temporary Supports
Before lifting the heavy cabinet, set up temporary supports or props. I often used a simple sawhorse placed at waist height, which acted as a stable platform for the cabinet’s bottom edge. For overhead support, consider using a combination of L-brackets and clamps fixed temporarily to the wall studs. This approach is akin to giving your cabinet a pair of training wheels—it’s easier to handle a well-supported piece. These supports allow you to lift, align, and fasten the cabinet without needing an extra hand.
Lift and Position Carefully
With your supports in place, lift the cabinet with controlled strength, keeping your back straight and bending at the hips—avoid twisting your torso. If the cabinet is too heavy or large to manage alone, use leverage: place a furniture dolly or a sturdy piece of plywood underneath it to glide it into position. I once laid a cabinet on a sheet of plywood, then wheeled it into place using my garden cart—this method reduced strain and increased control. Align the cabinet with your markings as you slowly lower it onto the supports.
Lock It in Place
Once the cabinet is correctly positioned, temporarily clamp it to the wall to prevent shifting. Use a level to verify perfect alignment before final fastening. As I secured my first upper cabinet, I used a portable level attached with clamps, which helped me confirm it was perfectly horizontal. Now, drill into the studs through the cabinet’s back and secure with strong, appropriate screws. This step solidifies the support, allowing you to remove temporary braces later. For extra security, consult articles like this resource on cabinet anchoring techniques.
Final Checks and Adjustments
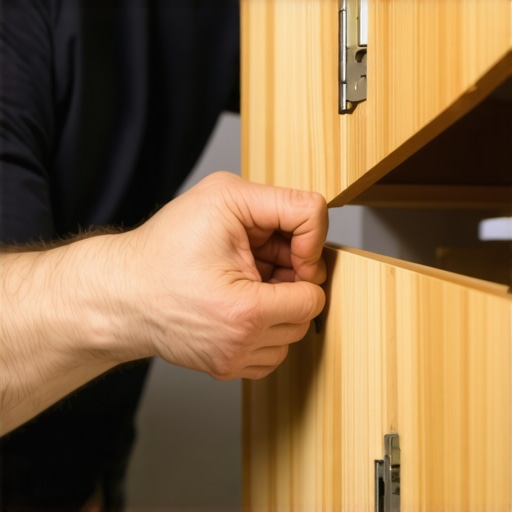
After fastening, remove supports and check the cabinet’s level again. Use shims to correct minor misalignments if necessary. I learned this the hard way when a slight tilt caused my doors to hang unevenly; shims made a world of difference. Tighten all screws securely, then install the cabinet doors and handles. A neat trick I picked up involved temporarily attaching door hinges with painter’s tape to avoid misalignment during final assembly.
By following these detailed steps, you can confidently install heavy upper cabinets on your own, saving time and money while customizing your space. For more ideas on transforming your kitchen with custom solutions, visit this article.
When reimagining your kitchen or living space, it’s easy to fall for common misconceptions about built-ins and custom storage. Everyone talks about maximizing space, but what many overlook are the subtle nuances that can make or break your project’s success. One prevalent myth is that standard measurements and off-the-shelf solutions can fit every unique space perfectly. In reality, every room has quirks—sloped floors, uneven walls, and non-standard ceiling heights—that demand a tailored approach. For instance, installing built-in shelves without accounting for wall imperfections often results in crooked lines and uneven gaps, which can be structural or aesthetic pitfalls. To avoid this, professionals emphasize precision scribing and custom fillers, techniques that ensure a seamless, high-end finish. You can explore more advanced tips on creating seamless installations in our comprehensive guide.
Another misconception revolves around the idea that built-ins are inherently cost-effective. While they provide long-term value, rushing into a DIY build without understanding the materials and hardware intricacies can lead to costly mistakes—like using particleboard in high-moisture areas, which may swell or sag over time. Professionals recommend investing in higher-grade plywood or solid wood for durability, especially in moisture-prone zones. This nuance is often missed by novices who prioritize initial savings over longevity, resulting in frequent repairs and replacements. For smarter material choices, check out expert storage tips.
The most insidious trap is underestimating the importance of detailed measurements and planning. Many assume that a rough estimate suffices, but in high-stakes projects like built-in cabinetry, small measurement errors can cascade into misaligned doors, uneven gaps, and compromised structural integrity. This is especially true when installing heavy cabinetry or integrating appliances into custom niches. Advanced installers use laser levels, scribing tools, and precise CAD layouts to preempt these issues. Overconfidence in shortcutting this phase often results in aesthetic and functional setbacks, costing more time and money. Remember, thorough planning is your best investment; you can find more insights on this process at our ultimate guide.
What about the clever little details that differentiate a professional finish from a novice attempt? For example, the importance of scribing cabinets to uneven walls or incorporating integrated storage features often gets ignored. Skipping these steps leads to visible gaps and a less polished look. Moreover, integrating features like hidden charging stations or pull-out spice racks can dramatically improve functionality, but only if planned meticulously. These advanced touches are where truly expert craftsmanship shines, transforming a simple built-in into a bespoke statement. Learn how to elevate your project with our design ideas.
In summary, understanding these nuanced distinctions—material choices, precise measurements, planning for irregularities—sets apart amateur projects from professional-grade results. By recognizing and addressing these common pitfalls, you can achieve a seamless, durable, and visually stunning space. Have you ever fallen into this trap? Let me know in the comments.
Keeping your custom cabinets and built-in storage functioning flawlessly over time requires more than just initial installation; it demands routine maintenance, the right tools, and a proactive approach. One essential aspect is understanding how to preserve the integrity of your cabinetry, especially when integrating high-quality materials and complex hardware. Regularly inspecting hinges, drawer slides, and soft-close pistons ensures smooth operation and prevents costly repairs down the line.
Tools I Recommend for Ongoing Maintenance
In my experience, having a dedicated toolkit tailored for cabinet upkeep makes a significant difference. A high-quality microfiber cloth is indispensable for dusting and cleaning, preventing buildup that can damage surfaces. I always keep a set of precision screwdrivers—both Phillips and flat-head—to tighten or replace hardware without stripping screws. For lubricating hinges and slides, I prefer silicone spray lubricants; they are clean, effective, and don’t attract dust. Additionally, a small level helps verify the cabinet’s alignment periodically, especially after foundational shifts or renovations.
When it comes to cleaning, what should you avoid?
Steer clear of abrasive cleaners or harsh chemicals—they can damage finishes or strip protective coatings. Instead, use a mild soap solution or specific cabinet cleaners that are pH-balanced. Regularly wiping down surfaces with a damp cloth and drying with a soft towel prevents moisture buildup, which can cause swelling or warping, particularly in wood cabinetry. For stubborn stains or water rings, a gentle application of mineral oil or specialized polish restores shine and provides a protective barrier.
Future Trends: Smarter Maintenance Technologies
Looking ahead, the integration of smart home systems will revolutionize how we maintain built-ins. Imagine sensors that monitor humidity, temperature, and even hardware wear—alerting you via mobile app when a hinge needs tightening or lubrication is due. Such technologies will extend the lifespan of your cabinetry, minimize surprises, and keep your kitchen looking pristine for years to come. Companies are already developing AI-driven maintenance systems that coordinate with your routine cleaning schedule, making upkeep effortless. Keep an eye on innovations like these, as they promise to make homeowners’ lives easier—and your investment more durable.
How do I maintain built-in storage solutions over time?
Consistency is key. Schedule regular inspections—once every 6 to 12 months—to check for loose hardware or uneven shelves. Tighten any squeaky hinges or slides with your precision screwdrivers, and apply lubricant as needed. Clean surfaces with gentle cleaners to preserve wood finishes, and replace worn weatherstripping or foam seals around doors for optimal insulation and noise reduction. For deeper cleanliness, occasionally remove hardware and clean underneath to prevent dust accumulation. Incorporating smart monitoring systems could be your next step; they can notify you proactively about potential issues, saving you money and stress down the line.
If you’re interested in transforming your storage solutions into a seamless, long-lasting feature, consider exploring the ultimate guide to custom cabinets. This resource offers expert advice on selecting durable materials and hardware designed for longevity.
Remember, a well-maintained cabinet not only preserves its aesthetic appeal but also ensures functionality for years. Use quality tools consistently, stay vigilant for early signs of wear, and embrace innovative maintenance solutions as they emerge. Start today by inspecting your hinges and lubricating them with a silicone spray—small steps that make a big difference.

What I Wish I Knew About Overcoming Common Built-In Pitfalls
- One of the most powerful lessons I learned was that patience and meticulous planning trump brute strength. Rushing to finish can lead to misaligned doors or insecure fastening—issues I struggled with early on. Taking the time to double-check measurements and test supports beforehand saved me from many headaches and costly fixes later.
- Expect the unexpected when working with irregular walls or ceilings. I once assumed my new cabinets would fit perfectly, only to find gaps due to uneven surfaces. Learning to use scribing techniques and custom fillers was a game-changer, making my installations look flawless and professional — and they can for you too.
- Don’t underestimate the importance of choosing the right materials. Using high-quality plywood over cheaper options not only increased durability but also ensured my built-ins maintained their shape under daily use. Investing wisely today pays dividends in both appearance and longevity.
- Finally, mastering subtle finishing details like precision shimming and seamless scribing transforms a good build into a stunning masterpiece. These touches might seem minor but elevate the entire look — that’s a lesson I grappled with, but now swear by.
Tools and Resources That Made My Projects Easier
- My favorite toolkit includes a quality cordless drill, a set of precision screwdrivers, and a laser level— indispensable for ensuring accuracy and reducing installation time. Expert tips confirm the importance of these tools in achieving a high-end look.
- For planning, I leaned on a good digital measuring tape app and detailed CAD layouts, which helped visualize the final result before cutting a single piece. The effort saves resources and prevents mistakes—an approach I recommend strongly.
- When in doubt, I turn to reputable sources like this comprehensive guide for understanding material choices and installation techniques that stand the test of time.
- Finally, I rely on quality lubricants and hardware, ensuring my custom cabinets stay smooth and secure over the years. Regular maintenance tools, like silicone spray and magnetic screw guides, keep me ahead of potential issues and help maintain that pristine finish.
Your Next Step Starts Today
Building confidence in installing built-in cabinets on your own is a journey—one that combines patience, knowledge, and the right tools. Every successful project adds to your skillset and transforms your space into a personalized sanctuary. If you’re ready to elevate your kitchen remodel or custom storage game, start by planning with care and embracing the learning process. Remember, every expert was once a beginner, and your efforts will lead to a home that’s both beautiful and uniquely yours. Are you prepared to take your built-in projects to the next level? Share your thoughts below and join a community of passionate DIYers making their remodeling dreams a reality.