The Secret to Hanging Floating Vanities So They Never Sag
Have you ever installed a sleek floating vanity only to find it sagging and drifting downward after just a few months? I sure have. There was a time when I thought I nailed the mounting process—until gravity revealed my mistake. What’s frustrating is how visible, well-designed vanities can become a nightmare when they don’t stay put. That lightbulb moment hit me hard: the secret isn’t just in the brackets or the wall, but in how you actually anchor the piece.
Why Floating Vanities Often Sag—And How You Can Fix It
Many folks overlook the importance of proper wall anchoring, especially when it comes to heavy or wide vanities. I learned this the hard way, after installing what I thought was a sturdy floating unit only to see it slowly pull away from the wall. The real issue? Overloading the mounting points or using inadequate hardware. This isn’t just a cosmetic problem; it affects the stability, safety, and overall look of your bathroom upgrade.
One of the biggest mistakes I made early on was relying on standard drywall anchors. Turns out, drywall just isn’t designed to hold substantial weight over time. According to home improvement experts, using the correct wall anchors, like heavy-duty toggles or lag bolts into wall studs, is essential for lasting support. Not doing so can lead to sagging, cracks, and, worst of all, safety hazards.
So, how do you ensure your floating vanity stays perfectly level and securely attached? That’s exactly what we’ll cover. But first, have you faced this problem with your own installations? If so, keep reading—because the solution is simpler than you think and can save your bathroom project from future headaches.
Mark Your Wall to Find precise Placement
Start by measuring the height and position for your vanity, ensuring it’s level and visually balanced. Use a pencil and a level to draw guide lines, similar to sketching out a blueprint for a bookshelf you might build in your living room. I recall the time I misaligned mine and had to re-drill after realizing the template was skewed. Double-check measurements before moving on.
Locate Wall Studs for Heavy Support
Use a stud finder to identify sturdy wall points. Imagine anchoring a hammock; you need strong trees to hold weight. For my project, I marked multiple studs along the lines, ensuring I had enough support points to clamp the vanity securely. Remember, drywall alone isn’t enough for heavy fixtures.
Choose the Proper Hardware
Select lag bolts or heavy-duty toggle anchors designed for stud mounting. I went with heavy-duty toggles, which expand behind the drywall, similar to how a tent stake anchors a tent into the ground—a firm grip that holds under tension. Never rely on simple drywall anchors for substantial weight, as I learned from a failed first attempt.
Prepare the Wall and Mounting Brackets
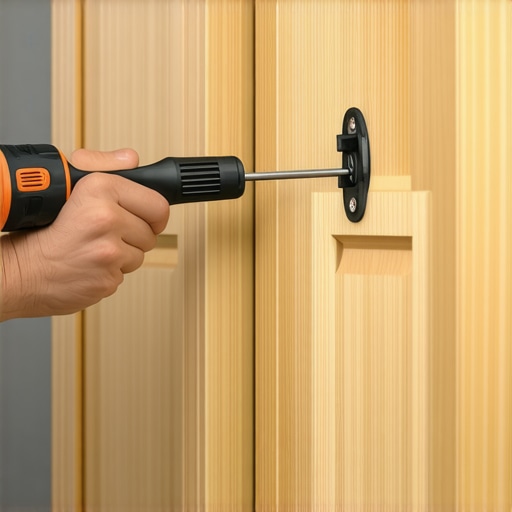
Drill pilot holes into your marked stud spots, taking care to keep the drill straight and clean. Think of it like drilling into a piece of wood—precision counts. Attach mounting brackets to the wall with the chosen hardware, ensuring they are level and flush against the wall. I used a spirit level across the brackets to confirm they aligned perfectly, preventing future sagging.
Position the Vanity Carefully
With an assistant, lift the vanity into place, mating it with the mounted brackets. It’s like positioning a large picture frame; patience is key. Once in place, check for levelness again—any tilt will affect the overall look. Tighten all bolts securely, tightening in a criss-cross pattern like tightening lug nuts on a car wheel for even pressure.
Final Checks and Adjustments
Stand back and verify the level and stability. If the vanity wobbles or isn’t perfectly level, loosen the bolts slightly and adjust. Remember, small tweaks make a big difference. After securing everything, inspect the wall behind for any signs of stress or cracking. In my case, a minor adjustment saved me from future repairs.
Enhance Support with Additional Reinforcement
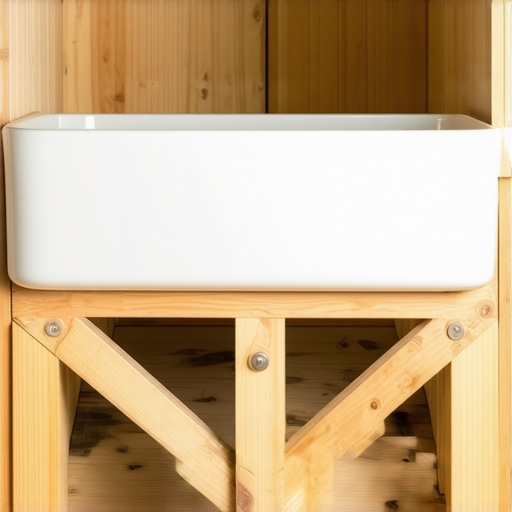
If your vanity is extra wide or heavy, consider adding a horizontal support or cleat underneath. Think of it as adding a footer to a bookshelf to distribute weight evenly. This extra step can prevent sagging over time and is especially useful in humid environments like bathrooms.
For more detailed ideas on maximizing your kitchen space with custom storage, explore smart storage solutions designed specifically for such projects.
Many homeowners assume that selecting high-quality materials or a trendy design guarantees a successful kitchen remodel. However, one common misconception is believing that custom cabinets and built-ins are simply about aesthetics and initial installation. In my experience, the real challenge lies in understanding the nuanced details that influence durability, functionality, and long-term satisfaction. For instance, many think that standard hardware suffices for heavy-duty use, but advanced considerations—like the type of hinges or the weight distribution—can make or break your investment. Overlooking these details often results in sagging doors or misaligned drawers, which consumer reviews and expert analyses confirm as typical pitfalls.
What Advanced Strategies Can Elevate Your Custom Cabinet Game?
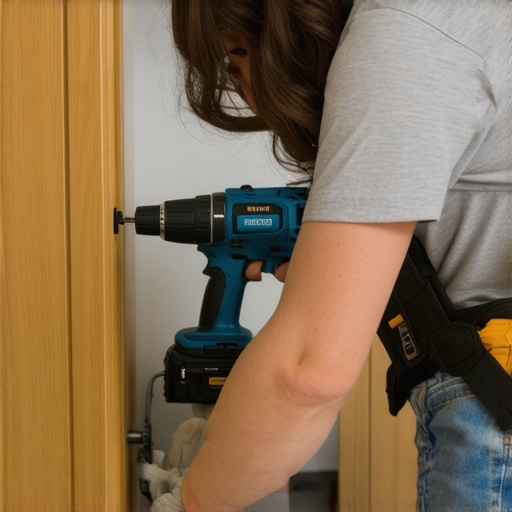
Incorporating silent-close hinges, for example, isn’t just about convenience; it enhances the lifespan of the cabinet by reducing wear and tear. Similarly, understanding the importance of proper scribing—adjusting cabinetry to adapt to uneven walls—can prevent gaps that compromise aesthetics and functionality. According to a recent study by the National Kitchen and Bath Association, meticulous attention to these finer details reduces callback visits and boosts homeowner satisfaction. Don’t settle for a cookie-cutter approach; instead, dig deeper into the intricacies that differentiate a good kitchen from an exceptional one. Want to explore more expert tips? Check out expert advice on selecting optimal storage solutions, or reach out through our contact page to start transforming your space today. Have you ever fallen into this trap? Let me know in the comments.Maintaining your custom cabinets and built-in storage solutions requires the right tools and a consistent approach. I rely heavily on a high-quality cordless drill like the Makita XFD10Z, which offers both power and precision without the cord clutter—perfect for adjusting hinges or tightening hardware during routine checkups. An oscillating multi-tool, such as the Fein MultiMaster, is invaluable for trimming, sanding, or making fine adjustments in tight spaces, especially when dealing with intricate moldings or scribe fits. Additionally, a digital level ensures your installations stay true over the years, preventing misalignments that can cause hanging doors or drawers to bind.
For ongoing maintenance, I recommend checking hardware every six months and applying a small amount of furniture wax or lubricant like Wright’s Wood Butter to hinges and sliding mechanisms. This simple upkeep reduces wear and prevents squeaking, ensuring your built-ins function smoothly for years. Keeping detailed records of your hardware types and installation dates also helps when troubleshooting or upgrading parts down the line.
In terms of software, if you design your storage solutions digitally (using SketchUp or similar programs), regularly updating your plans based on usage insights can help optimize space and identify potential issues before they arise. Software-driven space planning allows for precision and can adapt your designs as your needs evolve.
Looking ahead, the trend leans toward smart cabinetry with integrated sensors that alert you when maintenance is needed or when hardware begins to wear—think of it as a health monitor for your home’s most important storage assets. This future-focused approach will make maintenance even more effortless and proactive.
**How do I keep my custom installations functioning long-term?** Regular inspections combined with the right tools—like a quality cordless drill and multi-tool—are key to preserving the beauty and utility of your built-ins.
For those ready to elevate their maintenance routine, try applying a high-quality lubricant to hinges and slides every few months. This small step can dramatically extend the life of your hardware and keep everything operating seamlessly. Want personalized advice or troubleshooting help? Reach out through our contact page and let’s ensure your storage solutions stand the test of time.
The Hardest Lesson I Learned About custom cabinets,built-ins,kitchen remodel,storage solutions
One of the most impactful lessons I encountered was realizing that no matter how beautiful or high-quality your cabinetry, improper support can undermine the entire project. I once designed a stunning built-in with gorgeous shelves, but failing to reinforce the structure led to sagging within a year—an eye-opener that reinforced the need for structural integrity over aesthetics alone.
Common Myths About durable kitchen upgrades That Held Me Back
I once believed that thick veneers or high-gloss finishes could compensate for weak framing. It wasn’t true. Durable upgrades depend on the foundational support and correct hardware, not just surface appearance. This myth often causes homeowners to overlook critical reinforcements, leading to costly repairs or replacements.
What Industry Experts Won’t Focus On in Your Renovation
Many professionals emphasize trendy materials or fast installations, but what truly elevates a kitchen is attention to detail—like properly anchoring heavy appliances or reinforcing corner joints. My personal lightbulb moment was understanding that these seemingly small fixes have a huge impact on longevity and functionality, which you can explore further through advanced storage solutions tips.
Secrets That Elevate Your Cabinets from Good to Great
Incorporate silent-close hinges, use precise scribing to match uneven walls, and select hardware designed for heavy use. These details, often overlooked, are game-changers. Recently, I discovered that adding a concealed support cleat under wide cabinets prevents sagging and maintains perfect alignment over time, and you can find more about such strategies in our hacks for sleek functionality.
Why Long-Term Maintenance Might Be Your Most Valuable Investment
Consistent inspections and the right tools, like a digital level and specialized lubricants, significantly extend your cabinetry’s lifespan. A simple routine of checking and tuning hardware keeps everything running smoothly. For detailed maintenance routines, our smart storage ideas can guide you through creating a lasting upgrade.