How to Install a Pull-Out Spice Rack in a Three-Inch Gap
Have you ever found yourself elbow-deep in your cramped kitchen cabinets, desperately reaching into a narrow, impossible-to-reach space—only to knock over a jar of spices in frustration? I’ve been there. That lightbulb moment hit me when I realized how much space I was wasting—even in the tightest corners. Our kitchens are the heart of the home, but often the most overlooked areas are those tiny gaps that seem too small to utilize effectively. It was a realization that prompted me to find a practical solution: installing a pull-out spice rack in a slim, three-inch gap. And trust me, this tweak has revolutionized my cooking and organization.
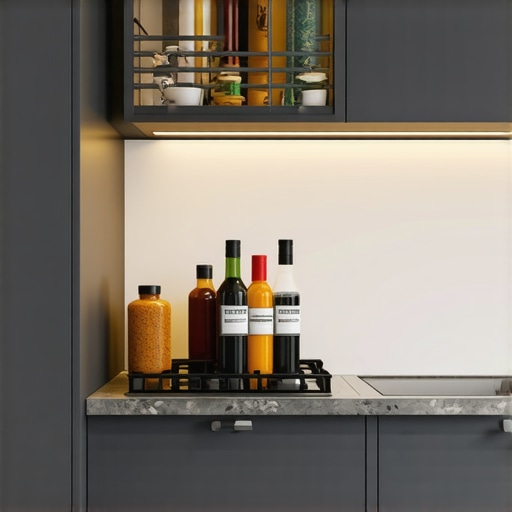
Today, I want to share the journey of how I transformed that awkward three-inch space behind my stove into a functional, accessible spice haven. If you’ve ever felt that your kitchen organization is more chaos than control, keep reading. We’re going to dive into step-by-step tips to help you install a custom pull-out spice rack tailored precisely for those tiny, tricky gaps. Not only will this make your spices more accessible, but it will also free up valuable cabinet space and reduce clutter. If you’re tired of losing time digging through cluttered cabinets or knocking over jars every time you cook, this guide is perfect for you.
Why The Right Storage Solution Changes Everything
Imagine the difference a simple, well-designed pull-out rack can make. No more bending, reaching, or knocking over spice jars. Plus, this approach maximizes every inch of your kitchen—especially those hard-to-reach, three-inch gaps that often go unnoticed. I learned early on that improperly measuring or choosing the wrong installation method can lead to wasted effort or even damage to your cabinets. One mistake I made was assuming these narrow spaces weren’t worth the effort—big mistake. A little research and careful planning proved otherwise. For more inspiration, check out smart storage ideas to maximize your kitchen space.
Is This Really Worth the Hassle?
At first, I was skeptical—would a tiny pull-out really make a difference? The answer is a resounding yes. Early on, I tried to squeeze a standard spice rack into a tight corner, only to find it bulky and ineffective. I realized that custom solutions are often the best way to go, especially for small gaps. Sadly, I also made the mistake of underestimating the importance of precise measurements, which led to a lot of frustration. Confidence in planning and understanding the full scope of custom cabinet solutions transformed my approach and my kitchen’s functionality. If you’re considering tackling this project yourself, know that detailed planning and the right tools are your best allies.
Now that we’ve acknowledged the importance of smart storage, let’s get into the nitty-gritty of installing your own pull-out spice rack tailored for that elusive three-inch gap. Keep reading, because with a few simple steps, you’ll turn a cluttered blind spot into your new favorite kitchen feature.
Measuring the Narrow Gap Accurately
Start by removing the existing cabinet shelf, then use a tape measure to determine the depth, width, and height of the three-inch gap. I once juggled my tape and a marker, accidentally knocking over a jar—resulting in a sticky mess—but the precise measurement saved the rest of the process. Double-check these dimensions from multiple angles to account for any cabinet warping or irregularities. This step ensures your custom rack will fit snugly and function smoothly.
Selecting and Preparing Materials
Choose half-inch plywood or MDF for the rack sides and shelves; these are sturdy yet lightweight. I prefer MDF because it’s smooth and easy to paint, which matches my kitchen aesthetic. Cut the pieces slightly smaller than your measured dimensions to allow for swelling and finishing. Sand all edges thoroughly to prevent splinters and ensure smooth sliding. Think of this phase as preparing a canvas before painting—precision and smoothness matter to avoid future snags.
Assembling the Pull-Out Mechanism
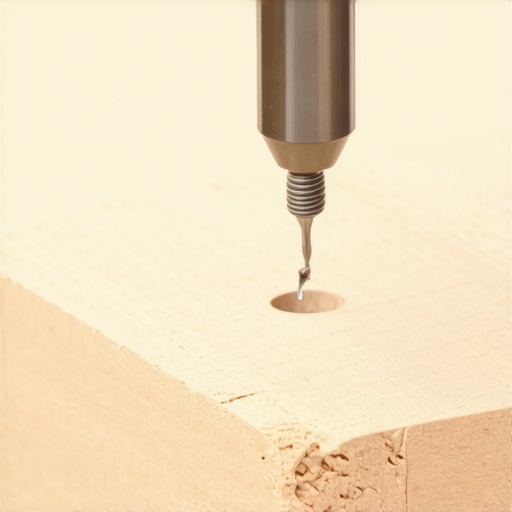
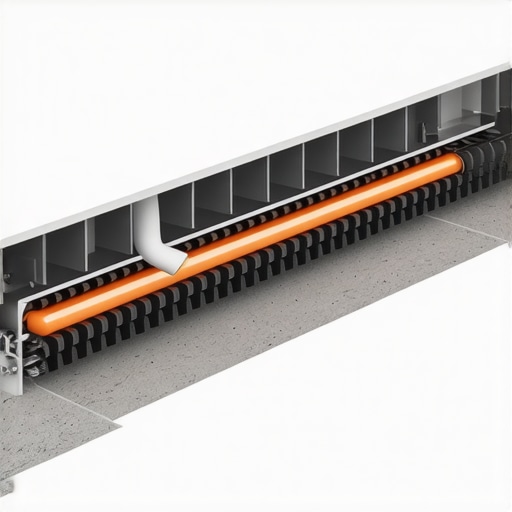
Install full-extension ball-bearing drawer slides onto your sides, following the manufacturer’s instructions. Mark and drill pilot holes to prevent splitting the wood. I remember assembling my first slide-in with trembling hands—I nearly dropped a screw—so working slowly and double-checking alignments saved me from a shaky installation. Attach the slides to the sides, then secure the shelves within the frame. This mechanism allows the rack to glide effortlessly, even in that tight space.
Mounting the Frame into the Cabinet
Position the assembled rack inside the cabinet to check for fit—tight but not forced. Use clamps to hold it in place, then mark the screw positions on the cabinet sides. Drill carefully to avoid damaging the surrounding wood. Screw the frame into the cabinet, ensuring all screws are flush to prevent any obstruction to sliding. This step transforms your rough-cut pieces into a fully functional pull-out system that maximizes every inch of your narrow gap.
Adding Finishing Touches for Smooth Operation
Install soft-close mechanisms if you desire a quieter, more controlled close. Apply a coat of primer and paint that matches your cabinetry, using a brush or roller for a smooth finish. Once dry, slide the unit in and out to test for smoothness. I once painted a rack without proper drying time, and the paint stuck to my clothes—so patience in this step ensures durability and a great look. These finishing touches seal the project, making your custom spice rack a seamless part of your kitchen.
Ensuring Accessibility and Safety
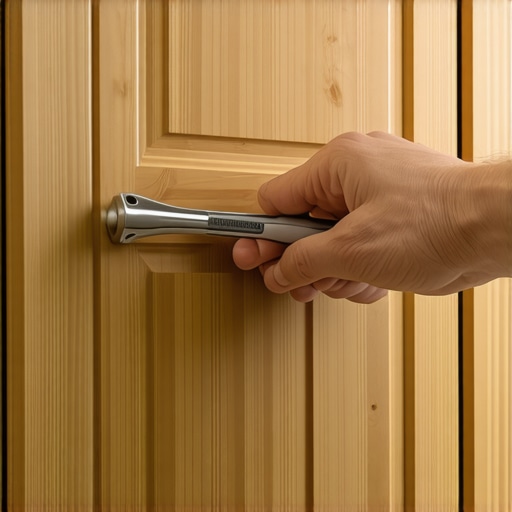
Attach handles or knobs for easy grip—especially helpful if you’re reaching into that tiny corner regularly. Consider adding safety stops to prevent the rack from pulling out completely, avoiding accidental spills or injuries. Remember, the goal is convenience without compromise. When I installed my first handle, I found myself smiling every time I reached for my spices, a simple upgrade that made a big difference.
Many homeowners assume that opting for built-in cabinets and clever storage systems automatically guarantees a flawless kitchen makeover. However, the reality is far more nuanced. A common misconception is believing that all custom solutions are equal in quality and longevity. In fact, poorly planned or misunderstood details often lead to costly mistakes and frustration later on. For instance, many people overlook the significance of precise material selection and proper installation techniques, which are critical for ensuring durability and smooth operation over time.
One prevalent myth is that higher-end materials always translate to better outcomes. While quality matters, choosing the wrong type of wood or finish without considering the kitchen’s humidity levels or usage patterns can cause warping, cracking, or premature wear. A tip from seasoned experts is to prioritize materials that suit both your aesthetic and functional needs—something I’ve learned through years of kitchen remodels.
Additionally, many underestimate the importance of clearance and accessibility in their storage design. For example, implementing corner cabinets with traditional lazy Susans may seem convenient but often results in wasted space and difficulty retrieving items. Instead, integrating inventive storage, such as corner drawers or pull-out trays, maximizes every inch and enhances usability. For inspiration on advanced storage layouts that prevent wasted space, you can explore smart storage solutions for small kitchens.
Are Soft-Close Hinges Worth the Extra Cost?
This is a question I frequently encounter. Many assume that soft-close mechanisms are merely a luxury, but in my experience, they significantly extend the lifespan of cabinet doors and improve user experience. Studies indicate that soft-close hinges reduce impact stress on cabinet joints, decreasing the likelihood of misalignment or damage over time. Opting for high-quality hardware can therefore be a wise investment, especially considering their role in the overall durability of your custom cabinetry. For more insights into hardware choices, visit expert tips on selecting storage hardware.
Another often overlooked nuance involves the sequencing of the installation process. Too many homeowners or even contractors focus solely on aesthetic design without assessing the practical requirements of daily usage. For instance, positioning upper cabinets too high or not accounting for appliance dimensions can hinder access and frustrate users. Experienced remodelers plan with workflow in mind, ensuring everything from appliance reachability to lighting is optimized. This depth of planning is what elevates a good kitchen to a truly functional one.
In conclusion, understanding the subtleties behind built-in systems and storage solutions is vital for avoiding common pitfalls and achieving a lasting, functional kitchen. Careful material selection, innovative layout design, and hardware investment go hand in hand with detailed planning. Always remember that a kitchen is a workspace as much as it is a design statement. Want to dive deeper into creating seamless built-ins that truly serve your needs? Check out creating seamless kitchen restorations. Have you ever fallen into this trap? Let me know in the comments.
Maintaining your built-in cabinets and innovative storage solutions is crucial for ensuring their longevity and consistent performance. Over time, even the highest quality materials and hardware can experience wear or minor issues. That’s why having the right tools and knowledge at your disposal can make all the difference in keeping your kitchen organized and functional.
Invest in Quality Maintenance Tools
Personally, I rely on a comprehensive set of tools that prioritize precision and ease of use. A high-quality cordless drill with multiple speed settings allows me to tighten or loosen hardware without causing damage. I always keep a set of calibration screwdrivers—specifically #2 Phillips and flat-head sizes—to adjust hinges and drawer slides accurately. For fine-tuning soft-close mechanisms, I use a soft-close damper adjustment tool, which I highly recommend because it simplifies the process and prevents overtightening. These tools enable me to perform routine adjustments, ensuring hardware continues to operate smoothly, especially in high-traffic areas or when incorporating new accessories.
Implement Regular Inspection and Cleaning Routines
Scheduling quarterly inspections helps me spot early signs of wear, such as loose hinges or misaligned drawers. Regular cleaning with mild, non-abrasive cleaners prevents dust buildup that can hinder sliding components. Applying lubricant—specifically silicone-based sprays—on drawer tracks and hinges alleviates squeaking and ensures effortless operation. I prefer using a dedicated product like White Lithium Grease for its staying power and smooth application. Consistent upkeep not only prolongs the life of your installations but also maintains their aesthetic appeal.
Predicting the Future of Built-In Storage Maintenance
With advancements in smart hardware, the future may see self-adjusting hinges and sensor-based alignment systems that alert you when adjustments are needed. This technology could drastically reduce downtime and maintenance efforts, making the upkeep of your cabinetry more proactive than reactive. Exploring integrated monitoring solutions now can prepare you for these innovations and ensure your storage stays impeccable over decades.
How do I maintain my built-in storage over time?
Establish a routine inspection schedule, clean and lubricate moving parts regularly, and invest in quality hardware and tools designed for longevity. Remember, addressing small issues before they escalate can save you time and money in the long run. For example, maintaining smooth drawer slides with a silicone spray extends their lifespan significantly and keeps your kitchen functioning seamlessly. For further insights into advanced storage solutions, check out expert tips on selecting storage hardware. Take the time to integrate some of these tools and routines today—your future self will thank you, especially when your cabinets operate flawlessly year after year.
Over time, I realized that the most overlooked areas in my kitchen, especially tiny gaps behind appliances or within corner cabinets, hold incredible potential. One lightbulb moment was understanding that innovation often begins with small adjustments—like turning that awkward three-inch space into a sleek, accessible spice drawer. Embracing these overlooked spots taught me that patience and precision are critical. For example, measuring multiple times and considering material expansion can save a lot of headaches later, ensuring your custom-built solutions last for years. Moreover, I discovered that investing in quality hardware—not just the aesthetics but the durability—makes all the difference in maintaining smooth operation over time.
Another key lesson was realizing that DIY projects, when approached with a strategic plan and the right tools, can rival professional craftsmanship. I learned to be adaptable, sometimes rerouting the plan based on unexpected cabinet irregularities or space limitations. This flexibility, combined with thorough research—like exploring expert tips on selecting storage solutions—helped me avoid costly mistakes. The takeaway? Custom storage isn’t just about saving space; it’s about understanding how every inch can enhance your kitchen’s functionality and your daily routine.
Finally, I saw that the journey of creating perfect built-ins is a continuous one. Maintaining and fine-tuning your storage solutions with regular inspections and small adjustments keeps everything operating seamlessly. Whether it’s lubricating sliding mechanisms or updating hardware finishes, these small acts preserve your investment and keep your kitchen looking and functioning like new. In the end, embracing these subtle lessons transformed my approach from haphazard to methodical, proving that sometimes, the smallest spaces conceal the biggest opportunities.