The Best Way to Mount Heavy Floating Shelves to Drywall
I still vividly recall the day I installed my first heavy floating shelf in the living room. Excited to showcase my favorite books and vintage decor, I drilled into the drywall, confident I could handle it myself. Moments later, I watched in horror as the shelf wobbled, then suddenly crashed to the floor—almost taking my prized collection with it. That lightbulb moment hammered home: mounting heavy shelves isn’t just about drilling holes; it’s about knowing how to do it safely and securely, or else risk damage, mess, or worse, a falling hazard.
The Challenge of Mounting Heavy Floating Shelves
If you’ve ever tried to hang a substantial shelf, you probably grappled with a common question: how can I keep it all up without risking it falling? This dilemma is more than just an annoyance—it’s about safety, aesthetics, and making the most of your space. Heavy shelves can elevate your room’s style, provide crucial storage, and even serve as focal points. But without the proper technique, all that potential can come crashing down—literally.
Will It Hold? Addressing Your Biggest Worry
Honestly, I used to think that if I found a sturdy wall, I was good to go. My early attempts were careless—using regular screws, ignoring wall type, and neglecting weight capacity. Turns out, I had been making a critical mistake early on that could have been dangerous. If you’re worried about whether your drywall can handle the weight, you’re not alone. The good news is, with the right mounting methods, you can secure heavy shelves safely, transforming your space without fear.
Understanding the proper mounting techniques saves you frustration, potential damage, and even injury. Plus, it opens up endless decorating possibilities—think about that large, statement-making shelf or a wall full of curated collectibles. If you’ve faced the challenge of securing heavy items into drywall, stick with me—we’re about to dive into proven strategies that will make your shelves strong, safe, and stylish.
Select the Right Wall Anchors and Hardware
Start by choosing wall anchors suited for the wall type; toggle bolts work well for drywall, but if you’re mounting into studs, heavy-duty screws suffice. In my experience, using 3-inch toggle bolts with a high load capacity ensured my shelf stayed secure even after filling it with dense books. Always opt for corrosion-resistant hardware to prevent rust and ensure longevity.
Identify Wall Studs Accurately
Use a stud finder to locate the studs behind your drywall. Mark these positions clearly. I once attempted to mount a large shelf without locating studs, relying solely on drywall anchors—resulting in a wobbling shelf. Marking the studs prevented this, providing a secure foundation for the mounting brackets.
Prepare the Mounting Surface
Measure and mark the exact height and position where the shelf will sit. Use a level to ensure your markings are straight; a misaligned shelf looks chaotic. When drilling, start with a small pilot hole to prevent the wall from cracking. I learned this the hard way when a big hole caused the drywall to weaken, making the support less reliable.
Use a Level and Guide for Precision
Especially for long shelves, a level is critical. Clamp a straight edge as a guide, or use a laser level for ultimate accuracy. During my last project, I cranked a level across the wall, guaranteeing my brackets were perfectly aligned, which made installation seamless and professional-looking.
Mount the Brackets Securely
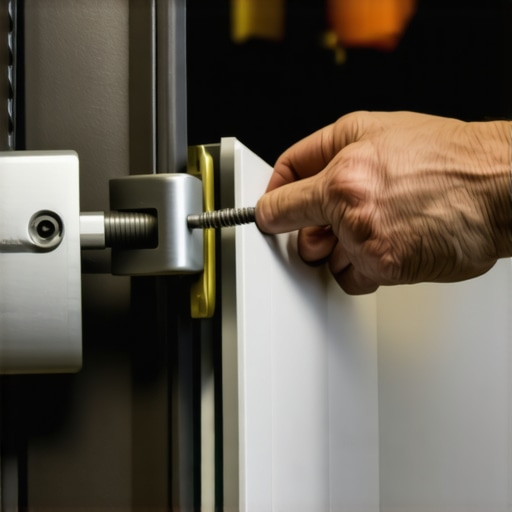
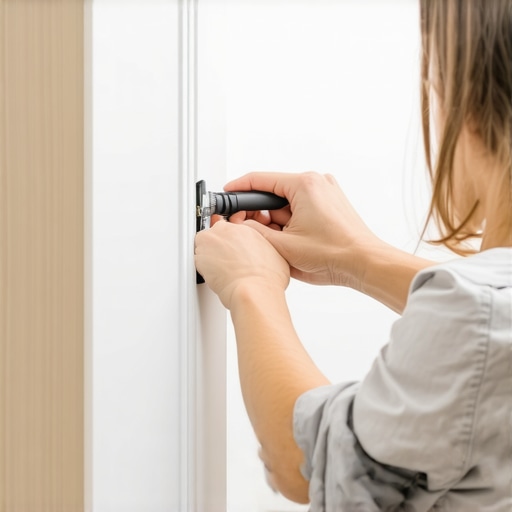
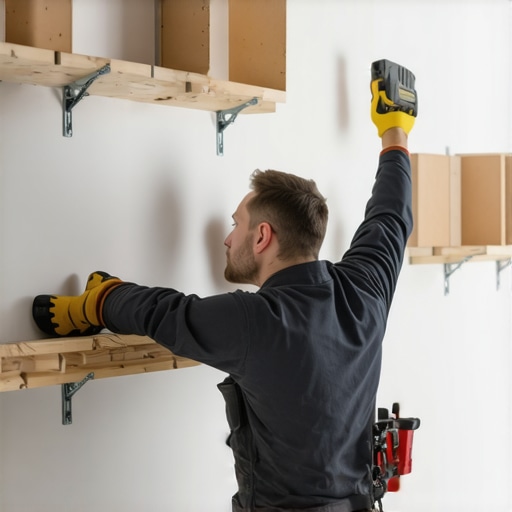
Fasten brackets into the studs using appropriate screws—ideally, 3-inch wood screws. For added stability, use a drill with torque control to prevent overtightening. In one messy attempt, I stripped a screw head because I rushed; now I always tighten steadily. Confirm each bracket is level before fully tightening.
Double-Check Your Measurements
Before drilling into the brackets, re-measure the distance to ensure the shelf will hang evenly. If the shelf is heavy, consider using a French cleat system, which distributes weight more effectively. I installed a shelf with this technique and was amazed at how sturdy and level it remained, even after several months.
Install the Shelf and Test Stability
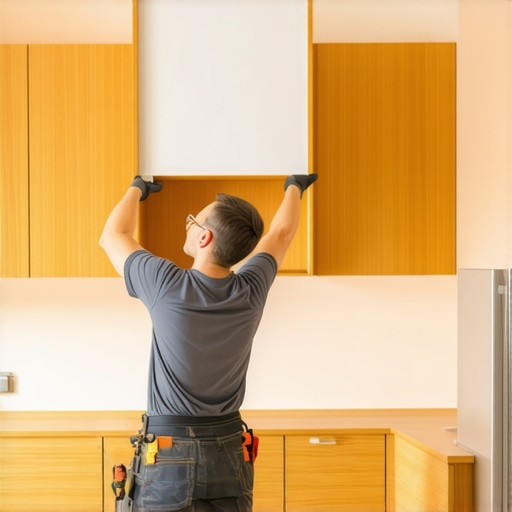
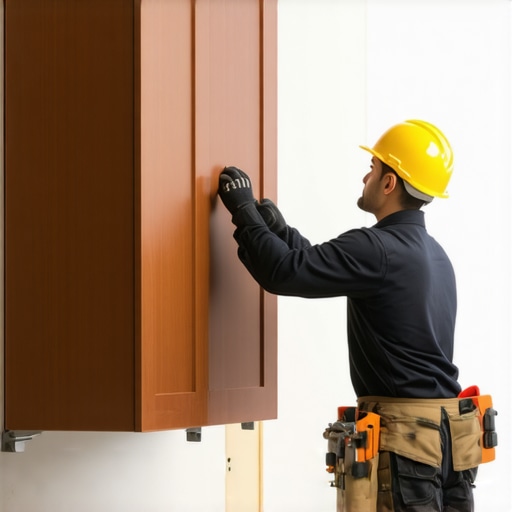
Place the shelf onto the mounted brackets carefully. Press down gently to check for wobbling or shifting. Secure the shelf with screws through the bottom of the brackets if adjustable. I once added a few small brackets underneath to reinforce the support, which provided peace of mind for heavier items.
Final Checks and Adjustments
Ensure the shelf remains perfectly level after all screws are tightened. Use shims if necessary to make micro-adjustments. Remember, taking the time for these final tweaks guarantees safety and a polished look—avoiding a wobbling, dangerous setup.
Many homeowners and designers fall prey to common myths when planning custom cabinets and built-in storage solutions, often leading to costly mistakes or underwhelming results. While it’s tempting to assume that choosing high-end materials or following popular trends guarantees success, the reality is far more nuanced. Let’s dig deeper into some overlooked aspects and misconceptions that can trip up even seasoned remodelers.
The Myth of One-Size-Fits-All Solutions
One prevalent misconception is that a standard measurement or generic design will suffice for every kitchen or room. In fact, every space has unique quirks—whether it’s irregular wall angles, uneven floors, or specific user habits—that demand a tailored approach. Relying solely on off-the-shelf solutions often results in awkward gaps, awkward access points, or wasted space. Expert designers emphasize the importance of meticulous space analysis, including techniques like custom scribing, which ensures seamless integration with architectural features here.
The Trap of Overusing Niches and Decorative Elements
It’s tempting to add decorative moldings, intricate corbels, or numerous niches to make your cabinets stand out. However, overdoing these elements can sacrifice practicality and clean aesthetics. Excessive ornamentation may also hamper the functionality—hindering access or creating difficult-to-clean niches. A smarter approach balances form and function, focusing on sleek lines and user-friendly storage for inspiring ideas.
Is a Built-In Kitchen Near Impossible to Maintain?
This is a question I often get from homeowners considering extensive upgrades. The truth? When designed carefully, built-ins can be both stunning and easy to maintain. Incorporating features like accessible lighting, removable panels, and strategic storage minimizes cleaning headaches and maximizes longevity. The key lies in planning for accessibility and serviceability from the outset here.
Beware the Hidden Cost of Material Choice
Choosing cheaper materials might seem like a smart way to cut costs, but it can backfire dramatically. Particle board and low-grade plywood may warp, swell, or degrade under humid conditions, especially in kitchens and bathrooms. Conversely, investing in high-quality plywood or solid wood offers durability and a better appearance over time. Studies show that initial savings on inferior materials often lead to increased maintenance and replacements, negating any budget benefits here.
Advanced Techniques That Elevate Your Design
For the discerning homeowner, integrating innovative hardware, like soft-close mechanisms and hidden hinges, can vastly improve user experience. Additionally, pre-planning for electrical outlets, charging stations, and smart storage features enhances both functionality and aesthetic appeal. For example, concealed charging stations not only declutter countertops but also future-proof your kitchen for tech upgrades here.
Remember, even the most beautiful cabinets can lose their charm if installed without attention to detail or practical considerations. So, before diving into your next project, take a moment to challenge these common myths and ensure your choices align with both your style and lifestyle.
Have you ever fallen into this trap? Let me know in the comments, and share your stories or questions about maximizing your storage and cabinetry investments.
Maintaining your custom cabinetry and built-in storage isn’t just about wiping down surfaces occasionally; it requires deliberate care, the right tools, and a strategic approach to ensure longevity and consistent performance. Having invested in high-quality materials and expert craftsmanship, you want to protect that investment by keeping everything functioning smoothly over time. In this section, I’ll share my trusted methods and tools that help me and my clients sustain beautiful, durable storage solutions for years to come.
Consistent Care Using Specialized Tools
One essential tool I rely on is a high-quality microfiber cleaning cloth combined with a gentle, pH-balanced cleaner designed specifically for wood surfaces. Unlike generic sprays, these protect the finish while removing dust, grime, and fingerprints. For stubborn spots or grease buildup—especially around kitchen cabinets—I use a soft-bristled brush with a gentle cleaner to reach into corners and crevices without scratching surfaces.
To maintain hinges and sliding mechanisms, I keep a small container of appliance-grade silicone lubricant on hand. This helps prevent squeaks and ensures smooth operation, especially in high-use areas. Applying this with a precision needle-tip applicator allows me to dab lubricant precisely where needed, conserving product and avoiding over-application.
Tools to Keep Everything Level and Secure
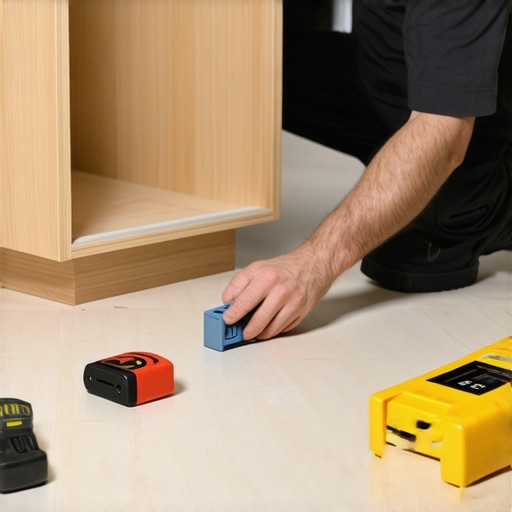
Regularly checking the alignment of installed cabinets and shelves prevents long-term issues such as door misalignment or unstable shelving. For this, I use a digital laser level—I’ve found that a model with a magnetic mount and a detailed digital readout (like the Bosch Laser Distance Measure) provides both accuracy and convenience. This tool is indispensable for verifying that everything remains perfectly plumb, especially after settling or vibrations from nearby construction.
When it comes to securing heavy built-ins, I prefer using impact drivers with adjustable torque settings. They give me full control while tightening screws, preventing overdriving, which can warp or crack delicate materials. Paired with specially designed screw bits for cabinetry, these tools streamline the process and reduce damage risk.
Long-Term Strategies for Durability
Beyond tools, adopting a routine maintenance schedule is vital. I recommend inspecting hardware annually, tightening any loose screws, and replacing worn-out fasteners proactively. Additionally, applying a coat of furniture wax or oil every few years restores luster and creates a moisture barrier—especially critical in humid environments that can warp plywood or paint finishes.
Another crucial aspect is addressing environmental factors. Installing dehumidifiers in kitchens and laundry rooms helps prevent wood swelling and warping, preserving the precise fit of your built-ins. If you’re interested in modern storage solutions that adapt easily to future needs, check out smart storage ideas for 2025.
Future Trends in Maintenance and Tools
Looking ahead, automation and smart gadgets are beginning to play a role even for home maintenance. Wireless sensor systems that alert you to humidity levels or hardware loosening are on the horizon, making upkeep more proactive. Using apps and Bluetooth-enabled tools, I foresee a future where routine checks are logged automatically, and minor issues are flagged before they become costly repairs. Stay tuned for these innovations—they’ll make keeping your bespoke kitchen and cabinetry effortless and worry-free.
To start, I recommend adopting a regular cleaning routine with specialized care tools and investing in a reliable laser level for ongoing adjustments—these small steps dramatically extend the lifespan of your investment. Want to ensure that your storage solutions stay flawless over time? Visit this guide for expert maintenance tips tailored to your unique space.
The Hard-Won Wisdom Only Time Can Teach
One of the most valuable lessons I learned was the importance of never underestimating wall support. Initially, I believed a few screws into drywall would suffice for heavy shelves, but that approach proved risky. The moment a shelf wobbled dangerously, I realized that understanding wall integrity and proper anchoring is crucial—it’s a lightbulb moment I wish I’d embraced sooner. Additionally, I’ve discovered that even meticulously measured installations can falter if the hardware isn’t tailored to the specific weight and wall type. Combining these insights has transformed my approach from guesswork to confidence.
Tools and Resources That Changed My Game
I’ve come to rely on a few expert tools and sources that ensure secure mounting every time. A high-quality stud finder with deep scanning capabilities, such as the Bosch Digital Multi-Scanner, has been indispensable for accurately locating studs. [Here](https://artisancabinetworkz.com/expert-tips-on-selecting-storage-solutions-for-a-perfect-kitchen-upgrade), I found tips on choosing the best hardware for different wall types, guiding me to select toggle bolts for drywall and heavy-duty screws for wood studs. For precise leveling, a laser level like the Bosch GLL 55 Professional has saved me from misaligned shelves. Lastly, the detailed guides on [custom cabinetry and storage solutions](https://artisancabinetworkz.com/custom-cabinets-ideas-that-transform-your-homes-style) have inspired me to plan not just for aesthetics but for durability and ease of maintenance.
Turning Challenges Into Opportunities for Growth
My biggest realization is that every obstacle is an opportunity to refine skills and deepen understanding. Mounting a heavy shelf isn’t just about hardware—it’s about architecture, physics, and patience. The process taught me the value of thorough preparation: double-checking measurements, understanding wall compositions, and using the right tools. It’s empowering to know that investing time in these details prevents future headaches and safety hazards. If you’re venturing into similar projects, remember that embracing these lessons transforms a simple task into a satisfying achievement, elevating your space and confidence simultaneously.