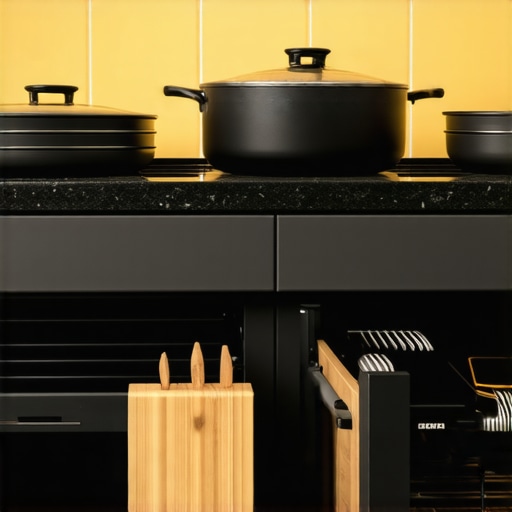
How to Fix a Sagging Pot and Pan Drawer with a Center Support
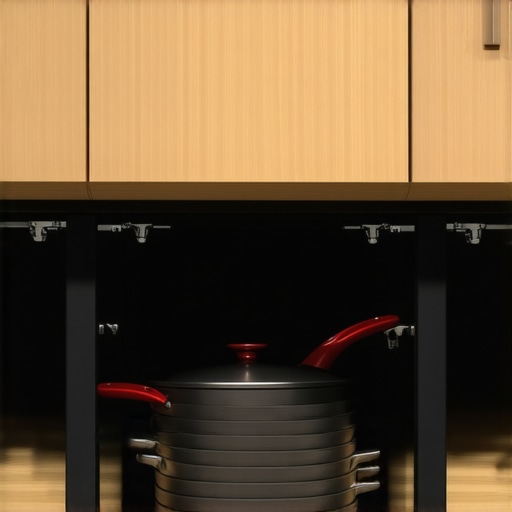
It happened right in the middle of a chaotic Tuesday night dinner. I reached for my favorite heavy cast-iron skillet, and instead of the usual smooth glide, I heard a sickening, wooden groan. The bottom of my heavy-duty drawer had finally given up, bowing so low it was literally grinding against the cabinet frame beneath it. I stood there, spatula in hand, staring at a pile of expensive cookware that was now essentially trapped in a wooden grave. It is a classic kitchen heartbreak: we design these deep drawers as smart storage ideas to maximize your kitchen space, but then we overload them until the physics of thin plywood simply says no more. Today, I am going to show you exactly how to reinforce those bottoms so they never fail you again.
Your Heavy Cookware is Killing Your Cabinets
Most people do not realize that even high-end cabinets often come with a hidden weakness—the drawer bottom. If you look closely, many are just a thin sheet of material slotted into a narrow groove. When you stack three Dutch ovens in there, you are asking for trouble. I learned this the hard way years ago when I tried to fix a similar issue by just slapping some wood glue in the seams. It was a disaster. The glue did not hold, the bottom eventually splintered, and I ended up having to replace the entire drawer box. That is why I am a huge advocate for why solid oak drawers are worth the extra cost, but if you are already stuck with sagging ones, we have to get creative. A center support rail is the professional way to stop the sag before the wood snaps entirely.
Is a Simple Strip of Wood Really Enough to Save It?
You might be thinking that there is no way a narrow piece of wood can hold up forty pounds of iron. I get the skepticism—I was there too. But the secret is not just the wood; it is about redistributing the load and stopping the trampoline effect that happens when the bottom sags. By installing a center support, you effectively cut the span of the drawer bottom in half. According to a report by the Kitchen and Bath Design News, homeowners interact with their kitchen storage units over 50 times a day, which means that structural fatigue is inevitable without proper reinforcement. It is a small addition that yields massive results for the longevity of your kitchen.
Why Most Quick Fixes Fail Miserably
Before we dive into the process, let me warn you: do not just reach for the duct tape or random screws. If your drawer is already failing, your drawer slides might not stay closed correctly because the weight has warped the whole geometry of the box. I have seen folks try to screw through the bottom into a support block, only to have the screw heads pop right through the thin laminate. We need a solution that mimics the way we recommend plywood cases over particle board for heavy loads—solid, integrated, and built to last. Have you ever opened a drawer only to find the bottom literally falling out from under your pots? Reach out and let me know, because I promise you, you are not alone in this kitchen struggle. Let’s get that drawer back on track.
Clear the Decks to See the Damage
Before you can fix the physics of a failing drawer, you have to strip it down to the bare bones. Take every single pot, pan, and lid out. I once tried to ‘inspect’ a sagging drawer while it was still half-full of heavy lids; the bottom chose that exact moment to fully give way, dumping a stack of cast iron right onto my toes. It was a painful reminder that gravity does not wait for a convenient time. Once the drawer is empty, flip it over. You are looking for the ‘dado’—that narrow groove where the bottom panel sits. If the wood has bowed, the panel has likely slipped out of this track entirely. This is why expert tips on selecting storage solutions for a perfect kitchen upgrade always emphasize structural integrity over just aesthetic appeal. If your panel is flapping in the wind, your drawer is currently a basket with no floor.
Push the Bottom Back into its Track
You cannot reinforce a drawer that is already warped out of shape. You need to coax that thin plywood panel back into the grooves on all four sides. Think of it like setting a broken bone; it has to be perfectly aligned before you apply the splint. I usually use a bit of gentle pressure and a rubber mallet to tap the sides of the drawer box until the bottom snaps back into its home. If you find that the wood is too warped to stay put, it might be a sign of poor material choices. Knowing how to tell if your cabinet maker is using low-grade plywood is crucial here, because high-quality sheets have a ‘memory’ that helps them return to flat, whereas cheap particle board just crumbles. Once it is seated, you are ready for the real work.
Build a Backbone for Your Heavy Pots
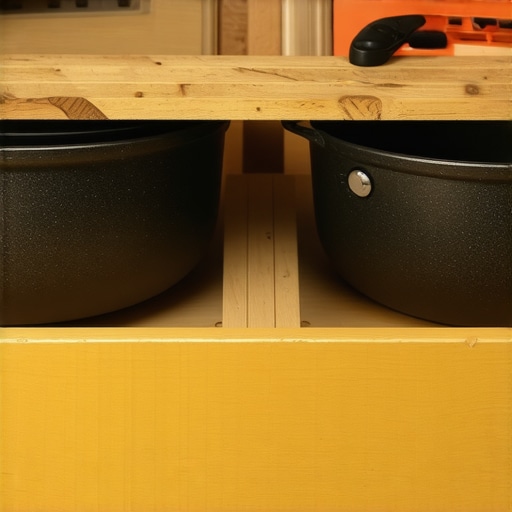
The secret weapon in my shop is the center support rail. This is a solid strip of wood—ideally oak or maple—that runs from the front of the drawer box to the back, directly underneath the bottom panel. It acts like a bridge girder. By supporting the center, you prevent the plywood from ever being able to bow downward again. This is the hallmark of innovative storage solutions for modern kitchen remodels. I remember helping a neighbor with a drawer that had literally exploded during a dinner party; she was reaching for a stockpot, and the bottom fell out, sending a 10-pound bag of flour into a cloud that covered her entire kitchen. We didn’t just glue it back; we installed two of these rails, and she’s been stacking heavy stoneware in there for three years without a single creak.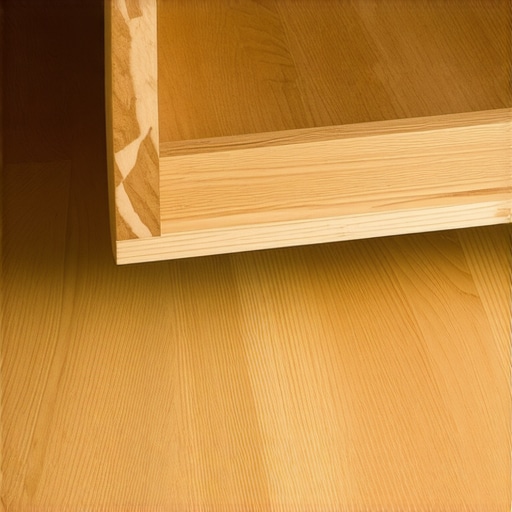
Secure the Rail Without Splitting the Wood
When you install this rail, you have to be precise. The strip should be exactly the same height as the gap between the bottom of the drawer panel and the bottom edge of the drawer sides. If it is too tall, your drawer will sit unevenly on its tracks; too short, and it provides zero support. Use a high-quality wood glue along the top edge of the rail where it meets the sagging panel. However, glue is a helper, not the hero. You need mechanical fasteners at the front and back of the drawer box to lock that rail in place. But be careful: why you should never use standard wood screws for cabinet installation applies here too. Standard screws are often too thick and will split the thin grain of your drawer front. I use specialized trim screws or small cleats to ensure a rock-solid connection that won’t fail under the weight of a dozen Dutch ovens.
Check the Slides for Collateral Damage
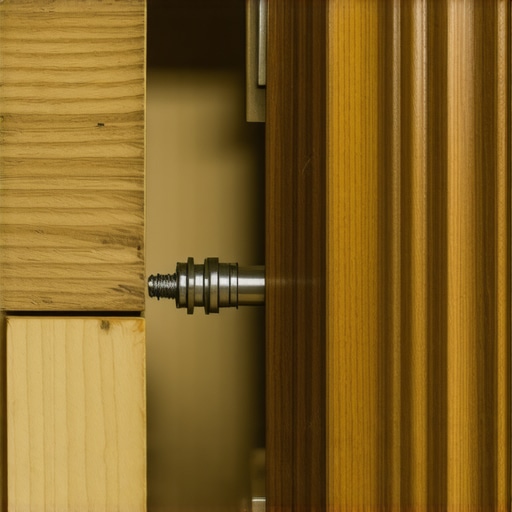
Once the bottom is reinforced, do not just slide it back in and call it a day. The extra weight that caused the sag in the first place often wreaks havoc on the hardware. If your drawer slides won’t stay closed or they feel crunchy when you pull them, the ball bearings might be compressed or the tracks slightly bent. Take a second to wipe the tracks clean and ensure the screws holding the slides to the cabinet are still tight. A reinforced drawer is only as good as the hardware carrying it. By the time you are done, that drawer bottom should feel as solid as a countertop, ready to handle whatever heavy-duty cooking adventures you throw its way.
Most people think that once they have added a brace to their drawer, the job is done. I have fallen into this trap myself, thinking that more wood always equals more strength. But here is the contrarian truth: over-reinforcing a drawer can actually accelerate the failure of your entire cabinet system. Everyone says plywood is the ultimate fix, but in my experience, adding too much mass without upgrading your hardware is a recipe for a mechanical nightmare. When you beef up a drawer to hold sixty pounds of cast iron, you are not just testing the wood; you are testing the torque on the cabinet carcass itself. This is where transforming your kitchen with custom cabinets becomes a structural game, not just an aesthetic one.
The Static Load Trap Most DIYers Ignore
The biggest ‘oops’ factor I see is ignoring the difference between static and dynamic loads. A drawer might hold your heavy pots while it is sitting still, but the moment you pull it open, that weight shifts. According to the Woodwork Institute’s North American Architectural Woodwork Standards (NAAWS), the integrity of a drawer depends heavily on its resistance to ‘racking’—that side-to-side wobble that happens when a drawer is heavy and pulled unevenly. If you reinforce the bottom but don’t address the drawer slides that won’t stay closed, the extra weight will eventually pull the screws right out of the cabinet walls. It is a domino effect of failure that starts with a simple brace and ends with a stripped-out cabinet side. This is why I always tell people that custom cabinets as a game-changer only work if the hardware matches the ambition of the build.
Why Do My High-End Soft-Close Slides Still Feel Gritty?
If you have reinforced your drawers and they still feel like they are dragging through sand, you have likely hit the ‘weight ceiling’ of your slides. Most standard kitchen slides are rated for 75 to 100 pounds, but that includes the weight of the drawer box itself. When we add thick plywood bottoms and heavy oak rails, we eat into that capacity before we even put a single fork inside. Have you ever fallen into this trap where the ‘fix’ actually made the drawer harder to use? Let me know in the comments, because I have spent many Saturday mornings undoing my own over-engineered mistakes.
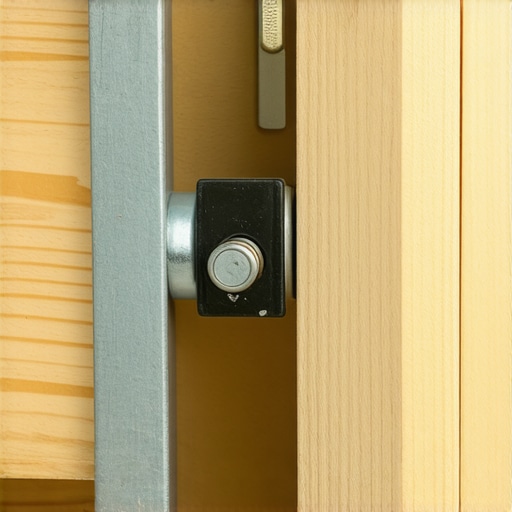
The secret nuance that professionals know is that frameless cabinets offer more storage, but they also require more precise hardware alignment because they lack the rigid face frame to hide structural movement. If you are doing a kitchen remodel using built-ins, you have to look at the ‘B-side’ of the plywood. Knowing how to tell if your cabinet maker is using low-grade plywood is essential here; if the core has voids, your reinforcement screws won’t have anything to bite into, and the whole ‘backbone’ you just built will eventually pull loose. Always aim for a balance between weight and rigidity to ensure your innovative storage solutions actually stand the test of time.
Keep Your Hardware From Eating Itself
Once you have reinforced your drawer bottoms, the real challenge begins: preventing the mechanical parts from wearing out under the new, heavier load. When you stack cast iron or heavy stoneware, you are significantly increasing the friction on your drawer slides. I always keep a bottle of dry PTFE lubricant in my kitchen junk drawer. Unlike oil-based sprays, dry lubricants won’t attract flour dust or pet hair, which can create a grinding paste that destroys ball bearings. If you notice a change in the sound of your kitchen drawers, it is likely that your soft-close slides are failing due to debris rather than mechanical failure. A quick blast of compressed air and a wipe-down can save you from a hundred-dollar hardware replacement.
The Small Tool That Saves Every Kitchen Remodel
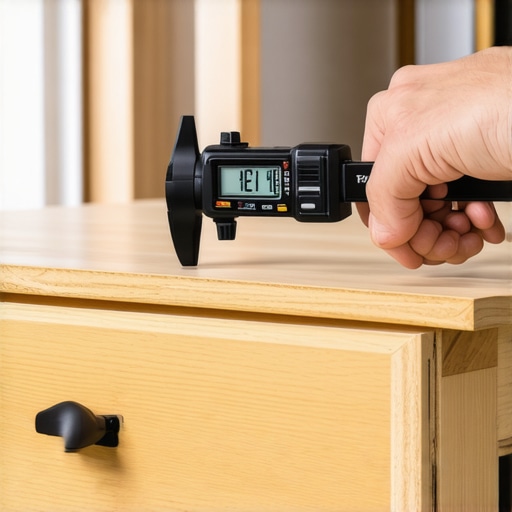
I cannot stress enough how much a simple digital caliper has changed my approach to custom cabinets ideas. Most DIYers eyeball the gaps between their drawers, but when you are dealing with heavy loads, even a 1/16th of an inch misalignment can cause the drawer box to rub against the frame. This friction eventually leads to the inset cabinet gap issues we see after seasonal humidity changes. By measuring the exact distance from the slide to the cabinet wall on both sides, you ensure that the load is distributed perfectly evenly. According to the Architectural Woodwork Institute (AWI) Quality Standards, a high-quality drawer should maintain a consistent clearance of no more than 1.5mm to function optimally under load. If your measurements are off, your reinforced drawer will eventually warp the entire cabinet carcass.
How do I keep these heavy drawers gliding for decades?
Maintenance is not just about cleaning; it is about adjusting for the environment. Wood is a living material that breathes. During the humid summer months, your drawer boxes will swell, potentially causing that slow-close drawer to slam or stick. Every six months, I recommend taking five minutes to check the tension on your hinges and slides. If you have chosen modern kitchen remodels with built-ins, you likely have access to 3D adjustable hardware. Use those adjustment screws! A tiny turn can realign a drawer that has started to sag under the weight of your favorite Dutch oven collection. This proactive approach is what separates a kitchen that looks good for a year from one that stays perfect for twenty.
The Future of Smart Storage Weight Management
Looking ahead, I predict we are going to see a massive shift toward weight-sensing hardware in innovative storage solutions. Imagine a drawer slide that alerts your phone when you have exceeded its 100-pound limit, preventing the exact kind of drawer bottom failure I experienced on that chaotic Tuesday night. We are already seeing high-end European manufacturers experiment with electromagnetic dampening that adjusts the resistance of the soft-close mechanism based on the weight of the drawer. For now, we rely on solid engineering and regular maintenance, but the ‘smart cabinet’ is closer than you think. If you want to avoid a future catastrophe, I challenge you to pull out your heaviest drawer today, empty it, and check the tightness of the mounting screws—it takes two minutes and could save your cabinet floor. Ready to take your kitchen to the next level? You should see how custom cabinets can be a total game-changer for your home’s functionality.
The Hardest Lesson I Learned While Trying to Over-Engineer My Pantry
Over the years, I have realized that the biggest mistake DIYers make isn’t using too little support, but rather ignoring the ‘ghost sag.’ Even if a drawer looks flat when it is empty, you must check the dado grooves for tiny piles of sawdust or splintering wood. This is the first sign that the structural integrity is waving a white flag, and if you catch it early, you save the entire box from a catastrophic blowout. Another lightbulb moment for me was realizing that material quality beats thickness every time. I have seen 1/4-inch Baltic birch outperform 1/2-inch particle board in every stress test. When you are looking for a perfect kitchen upgrade, always prioritize the ply count over the sheer bulk of the wood. Finally, remember that weight is dynamic; a drawer holding a heavy cast iron stack that shifts every time you open it requires much more lateral stability than a stationary shelf. This is why high-quality built-ins and storage hacks are essential for a truly functional space.
The Gear That Keeps My Kitchen Structurally Sound
I never step into a kitchen repair without my digital calipers. Precision is your best friend when you are trying to ensure that your new support rails are flush to the millimeter, preventing that annoying crunch or drag when the drawer closes. I also swear by dry PTFE spray for all my hardware maintenance. Unlike oil-based lubricants, it won’t attract flour dust or kitchen grime, keeping your slides smooth even under extreme loads. Lastly, I always keep a stash of high-grade plywood offcuts. They are the perfect resource for creating custom cleats or internal braces that match the strength of your custom cabinets without adding unnecessary bulk.
Building a Kitchen That Works as Hard as You Do
At the end of the day, reinforcing your cabinetry is about more than just preventing a mess; it is about the peace of mind that comes with a kitchen that actually supports your lifestyle. When your storage is solid and your drawers glide without effort, your entire cooking experience changes. Don’t let a failing bottom panel derail your vision for innovative storage solutions. With the right backbone and a bit of proactive maintenance, your drawers will be ready for decades of heavy lifting. If you ever notice your slow-close drawers still slam after you have added weight, take it as a friendly reminder to check your hardware ratings and realign your slides. You have the tools and the knowledge—now it’s time to make that kitchen bulletproof. What is the heaviest piece of cookware currently living in your ‘danger drawer’? Let me know in the comments below!