The Hardware Mistake That Makes Expensive Cabinets Look Cheap
I remember standing in my neighbor’s newly renovated kitchen, clutching a glass of lukewarm Chardonnay. She’d spent a fortune—easily fifty grand on the heart of her home. The counters were a pristine quartz, the backsplash was hand-fired zellige tile, and the paint was a perfect, moody sage. But as I reached for a coaster, the cabinet door didn’t just open; it clanked. The gap between the doors was wide enough to park a small bike in, and one door sat a quarter-inch higher than its neighbor. I felt that familiar pit in my stomach because I’d made the exact same mistake three years earlier during my own first big remodel. It’s the ‘hardware gap’—that tiny, often overlooked detail that screams ‘cheap’ even when you’ve paid for luxury. Today, I’m going to show you how to avoid this heartbreaking error so your custom cabinets as a game-changer actually live up to the hype.
The Tiny Gaps That Destroy Your Kitchen’s Luxury Vibe
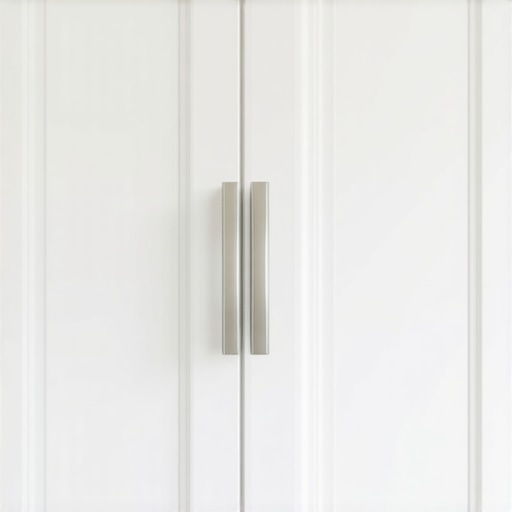
When you’re deep in the weeds of a kitchen remodel, you spend hours debating the shade of white for the doors or the specific profile of the crown molding. But let me tell you from hard-won experience: the most expensive wood in the world looks like a DIY disaster if the doors are crooked. My first big fail was thinking that all hinges were basically the same. I used basic wood screws to mount everything into a soft pine frame, and within six months, the weight of the heavy shaker doors caused the hinges to sag and the screws to strip. You absolutely have to know why you should never use standard wood screws for cabinet installation if you want your project to withstand daily use. The real secret to that seamless, high-end look is all about precision and adjustability. Most people don’t realize that European hinges are the only way to get a zero-gap look. These hinges allow for three-way adjustment, meaning you can tweak the door left, right, up, down, in, and out until every line is laser-straight. According to the National Kitchen & Bath Association (NKBA), cabinetry and hardware are the two most significant factors in a kitchen’s perceived value and longevity. If your hardware is off, your investment is essentially bleeding value every time a door fails to close flush.
Do I really need to spend more on ‘invisible’ parts?
It’s incredibly tempting to cut corners on the things people can’t see. Why pay more for a hinge that stays hidden behind a door? But if you’ve ever had a drawer that wouldn’t stay shut or a door that constantly bumped into its neighbor, you know the daily frustration. I’ve seen countless homeowners get frustrated because they didn’t realize how to adjust European hinges when doors are crooked, leading them to believe their cabinet maker did a poor job when it was really just a simple alignment issue. If you want a kitchen that feels solid and expensive, you have to look past the surface. This includes checking the quality of the boxes themselves before you even think about the hardware. You need to know how to tell if your cabinet maker is using low-grade plywood, because cheap, thin boxes won’t hold even the highest-quality hardware for long. Have you ever felt like your cabinets looked great in the catalog but just felt ‘off’ once they were installed in your home? Tell me about your hardware headaches below, and let’s get those doors leveled properly. [image_placeholder]
Stop fighting with your cabinet doors once and for all
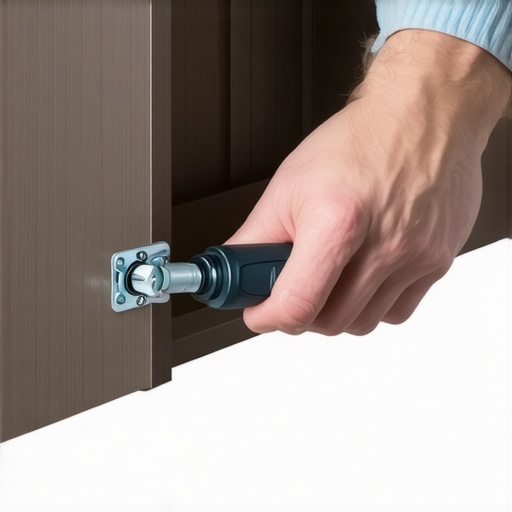
Adjusting a cabinet door is like tuning a guitar; one tiny turn changes the entire tension of the room. When I first encountered European hinges, I was baffled by the three different screws staring back at me. I once spent four hours on a single set of pantry doors in a tight corner, sweating through my shirt because they kept hitting each other in the middle. I finally realized that adjusting European hinges when doors are crooked is a logical sequence: you fix the height first, then the depth, then the side-to-side gap. If you skip this, your beautiful custom cabinets will never feel truly finished. You also need to watch out for the dreaded ‘clank’—if you don’t know how to fix cabinet doors that hit each other, you’ll eventually chip that expensive paint you spent weeks picking out. Precision here is what separates a showroom finish from a weekend DIY project.
Why every inch of your kitchen island should work for you
A kitchen island shouldn’t just be a giant block of wood in the middle of your floor; it needs to be a functional hub. One of my clients wanted a massive six-foot island but forgot to account for the dishwasher swing. We nearly had a disaster on our hands until we mapped out the ‘landing zones.’ This is why you must learn how to plan a kitchen island that doesn’t block the dishwasher path before the cabinets are bolted to the floor. To make the space even more efficient, I always recommend innovative storage solutions like integrated pull-outs. My personal favorite is the ‘appliance garage’—specifically, the hidden toaster dock which keeps your counters clear of cord clutter while keeping breakfast accessible.
Build a kitchen that actually stays organized
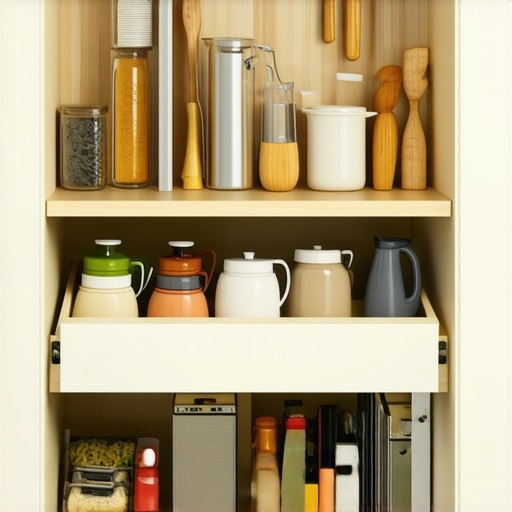
The internal structure of your cabinets is where the real longevity lives. I’ve seen beautiful kitchens rot from the inside out because of a simple slow leak under the sink. This is exactly why plywood box construction still wins over furniture board in wet areas like the kitchen or laundry room. Plywood handles moisture better and holds screws tighter over time. Beyond the material, think about how you actually move when you cook. Most people settle for standard drawers, but built-ins and storage hacks like vertical dividers for baking sheets or a heavy mixer lift can save your back and your sanity. I remember a project where we used smart storage solutions for small kitchens to turn a tiny 10×10 galley into a chef’s dream just by switching to frameless cabinets that offer more storage. It’s about being surgical with your space, ensuring every utensil and spice jar has a dedicated, logical home.Let’s talk about the myth that “standard” is always safe. In the world of custom cabinets ideas that transform your homes style, the biggest lie is the 12-inch depth. We’ve been building uppers at 12 inches deep since the Eisenhower era, but our dinner plates have grown by 25% since then. I’ve seen homeowners spend a fortune on a perfect kitchen upgrade only to realize their oversized Italian pasta bowls prevent the cabinet doors from closing. This is why 15-inch deep upper cabinets are replacing the standard 12-inch—it’s a small shift that fundamentally changes how you use your vertical space. If you are sticking to “standard” just because that’s what the big-box stores sell, you are missing out on the primary benefit of going custom.
Why your 12-inch uppers are secretly failing your dinner parties
Another advanced trap involves the beauty of inset doors. They look incredibly sleek, sitting flush within the frame, but they are notorious for seasonal movement. I once had a client in a coastal home who couldn’t open half her drawers in August because the humidity caused the wood to swell. You have to anticipate the inset cabinet gap and re-aligning doors after seasonal humidity changes. A true pro doesn’t just install; they design for the expansion and contraction of natural materials. According to the National Kitchen & Bath Association (NKBA), functional accessibility and material tolerance are the most cited reasons for long-term project satisfaction. If your installer isn’t talking about humidity expansion, they might be leaning on luck rather than expertise. One of the most overlooked details in a kitchen remodel using built-ins and creative storage is the electrical plan. Most people realize they need outlets, but they hate seeing that white plastic rectangle cut into the side of a beautiful walnut island. I always tell my clients to learn how to hide an outlet in your kitchen island without cutting the stone. Using pop-up chargers or tucking them into the apron of the cabinet keeps the lines clean while maintaining code compliance. Have you ever fallen into this trap of choosing beauty over functional clearance? Let me know in the comments below. 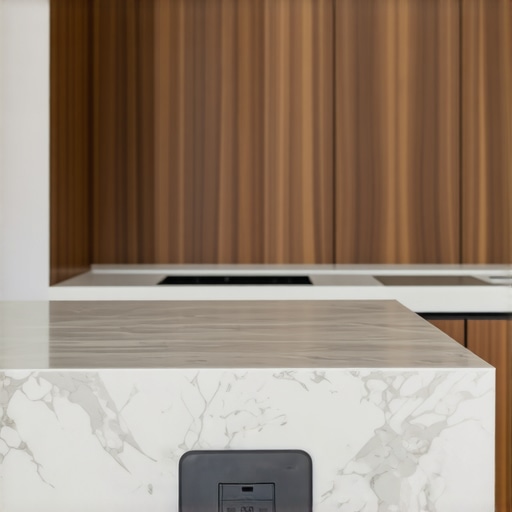 I keep a small ‘maintenance kit’ tucked away in my utility drawer, and it isn’t for loose change or rubber bands. It’s my secret weapon for ensuring my investment doesn’t just look good on move-in day, but stays functional for the next twenty years. Most people think that once the custom cabinets expert guide is followed and the installers leave, the work is done. But wood is a living material, and hardware is a mechanical one. If you aren’t prepared for the ‘settling’ period, you’ll be calling for repairs within eighteen months.
The tiny toolkit that keeps my kitchen from falling apart
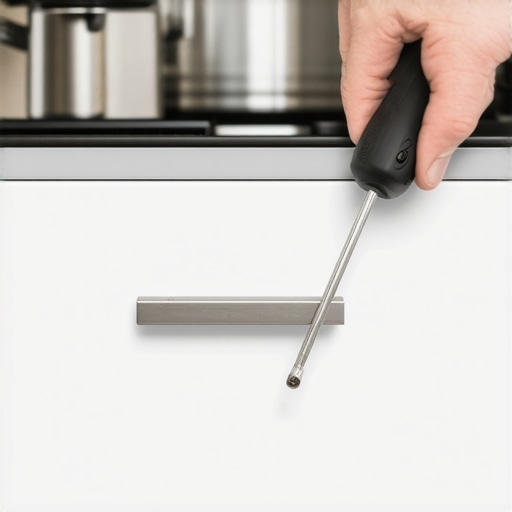
The first thing I tell everyone to buy isn’t a fancy cleaner; it’s a PoziDriv (PZ2) screwdriver. Most homeowners use a standard Phillips head on their cabinet hinges, which is the fastest way to strip the screw and ruin the adjustment. High-end hardware manufacturers like Blum explicitly state in their technical documentation that PoziDriv bits are required to prevent cam-out and ensure the torque is distributed correctly. I also keep a can of dry PTFE spray. If you find why your soft-close slides are failing, it’s usually not a broken mechanism but a buildup of kitchen grease and dust. A quick cleaning and a hit of dry lube will make those drawers glide like they’re on ice again. For those who went with the trendy aesthetic, you probably noticed that why black cabinet hardware shows every speck of dust is a daily battle. I’ve found that a microfiber cloth dampened with just a drop of mineral oil keeps the finish deep and rich without the fingerprint magnets of standard waxes. 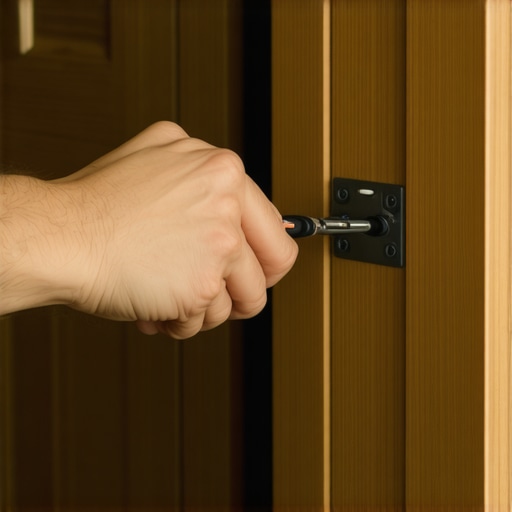
How do I maintain my custom cabinets over the long haul?
Maintenance is less about deep cleaning and more about ‘tension checks.’ Every six months, I walk through my kitchen and literally listen to the doors. A slight click or a slow return usually means the soft-close piston needs a tweak. You need to understand why soft-close hinges fail and the simple tension adjustment that fixes it in ten seconds. If you ignore it, the door eventually starts to hang at an angle, putting undue stress on the cabinet frame. This is also the time to check your sink base. I am a firm believer that why you need a waterproof liner in your sink base cabinet cannot be overstated. One tiny drip from a p-trap can swell a cabinet floor overnight. If you catch it early because you were doing your bi-annual check, you save yourself a $2,000 floor replacement.
Why the next generation of kitchens will be ‘smart’
Looking ahead, I predict we are moving toward ‘active’ cabinetry. We are already seeing the rise of smart storage ideas to maximize your kitchen space this year, but the next step is sensor-integrated wood. Imagine a cabinet that sends a notification to your phone if it detects moisture under the dishwasher, or lighting that adjusts its color temperature based on the time of day to keep your built-ins and storage hacks looking their best. We are moving away from static boxes and toward furniture that breathes and reacts to the environment. If you’re planning a remodel now, think about how you can future-proof by adding extra electrical runs behind your uppers. Go ahead and check the tension on your most-used drawer tonight—if it feels ‘mushy,’ use that PoziDriv to give it a quarter-turn. If you need help figuring out which hardware you currently have, feel free to contact us for a quick identification guide.
Three Hard Truths About Living Through a Kitchen Overhaul
I’ve learned the hard way that a high-end finish is 90% preparation and 10% execution. First, never assume your walls are square; they rarely are, and if you don’t account for that, your custom cabinets will reveal every shim and gap. Second, lighting is essentially the ‘makeup’ of the room—poor placement can make even the most expensive rift-sawn oak look flat and dated. Finally, remember that hardware isn’t just an accessory; it’s the mechanical engine of your kitchen. If that engine is misaligned, the whole investment eventually feels broken. #IMAGE_PLACEHOLDER_E#
The Non-Negotiable Kit for a Pro-Level Finish
If you want to move beyond the amateur level, stop using bulky wood corbels that get in the way of your knees and start asking why we use steel brackets instead of wood corbels for island overhangs. I also never finish a sink base without ensuring you know why you need a waterproof liner in your sink base cabinet because I’ve seen too many expensive projects ruined by a single, undetected leaky pipe. For your daily toolkit, ditch the standard Phillips head and get a dedicated PZ2 bit; your hinges will thank you by never stripping again. If you’re currently feeling overwhelmed by choices, looking at modern kitchen remodels featuring custom cabinets and built-ins can help you visualize how these technical components come together into a cohesive, high-value design.
Go Build Something That Lasts
Your kitchen is far more than a resale value metric; it’s the command center where your daily life happens. Don’t let the fear of a ‘crooked door’ or a complex layout stop you from pursuing a kitchen remodel that actually changes how you feel in your home. You now have the insider knowledge to spot a low-grade box and the specific tools to keep your hinges from sagging over time. Take the process one adjustment at a time, and never be afraid to demand precision from your installers. We specialize in creating seamless kitchen remasters with built-in storage solutions that stand the test of time, and you can always contact us if you hit a roadblock in your planning. Have you ever noticed a tiny gap in your cabinet doors that drove you crazy once you saw it? Let me know in the comments below.