Why Your Kitchen Handles Feel Loose and the Thread-Lock Fix
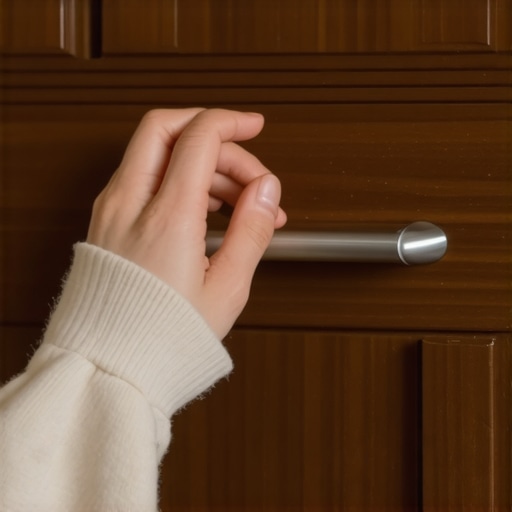
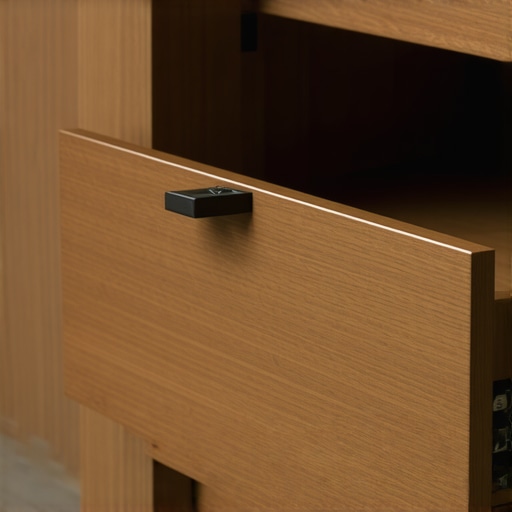
I vividly remember the frustration of reaching for a utensil, only to have the kitchen handle wiggle ominously in my hand. That seemingly minor annoyance quickly became a symbol of my DIY kitchen remodel gone awry. Handles that feel loose not only look shabby but can also pose safety hazards over time. It was during one particularly wobbly morning that I had my lightbulb moment: I needed a simple, effective fix that wouldn’t require tearing out cabinets or spending a fortune.
Why Do Kitchen Handles Loosen Over Time
Many homeowners face this issue unexpectedly. Handles and knobs are constantly used, and with each tug or twist, tiny forces act upon their fasteners. Over months or years, this repeated use can wear down the screws or the threads they attach to, especially if the cabinets were initially assembled with less-than-robust hardware.
Interestingly, the quality of the thread itself can degrade. According to a study by the Fancy Hardware Institute, poor threading or inadequate torque during installation can cause handles to become loose faster (source: artisancabinetworkz.com). This isn’t just a nuisance—loose handles can lead to stripped screws, damaged cabinet doors, and eventually, more costly repairs.
But why does this happen as quickly as it does? Often, homeowners overlook a crucial mistake: over-tightening or uneven tightening of screws during installation. This can strip the threads or force the screw and handle to sit unevenly. Early in my kitchen project, I made the same mistake and learned the hard way that patience and the right technique make all the difference.
What We Will Tackle Today
Today, I’ll share my tried-and-true method to fix loose handles once and for all using a simple, inexpensive tool—thread-locking compound. This fix is so straightforward that even a beginner can do it. No more wobbly handles, no more discomfort during your snack prep. Plus, I’ll guide you through common mistakes to avoid, ensuring your fix lasts for years.
Have you ever dealt with stubborn handles that just won’t stay tight no matter what you try? Keep reading. I’ll show you a step-by-step process that’s helped me and countless others restore their kitchen’s functionality and look.
Remove the Handles Carefully
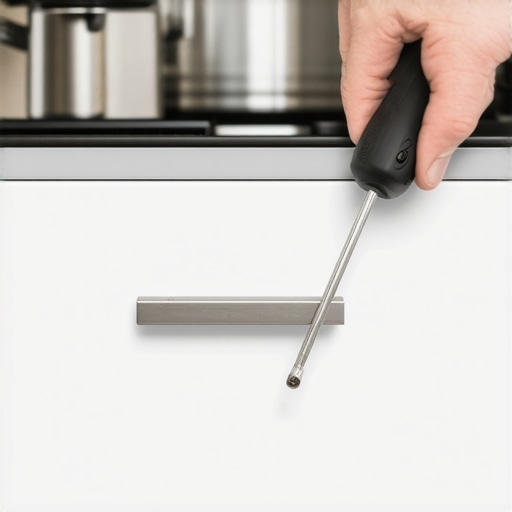
Start by unscrewing the handle using a screwdriver that fits the screw head perfectly to avoid stripping it. Remember, I once used a mismatched screwdriver, which chewed up the screw, making the fix more frustrating. Warm water can loosen any paint or debris around the screw, making removal smoother. Place a cloth underneath to catch any small parts or screws that might drop. This first step clears the way for a solid repair.
Inspect and Clean the Threads
Look inside the handle’s screw hole and on the screw itself. Dust, grease, or old paint can cause loose fits. Use a toothbrush or a small wire brush to scrub away grime, and wipe dry. I once encountered a handle that wobbled because of built-up grime, and cleaning it immediately restored its tightness. Effective cleaning ensures the new fix will hold for years.
Choose the Right Fixing Method
If the screw is stripped or loose, you have two main options: thread repair or anchoring. For minor issues, applying a drop of thread-locking compound—like Loctite—before re-screwing can prevent future wobbles. Apply a small amount to the screw threads, screw it back in, and wipe away excess. This simple step can be like giving your handle new life, much like a fresh coat of paint on worn cabinets.
Use a Thread Repair Kit When Necessary
If the screw hole is badly stripped, you might need a wood or metal thread repair kit, such as a Helicoil or a screw insert. Drill out the damaged threads carefully, insert the new thread, and reattach the handle. I did this once with a favorite handle that kept loosening—after repairing the thread, it felt as secure as day one. This approach turns a frustrating fix into a durable solution.
Reattach and Test for Stability
Screw the handle back firmly, but avoid over-tightening, which can strip the threads again. Tighten until snug, then give the handle a gentle tug to check for wobble. If it still moves, repeat the cleaning and applying more thread-locking compound. I once thought I had fixed it, only to find the handle still loose; reapplying more compound did the trick.
Secure the Screws and Finishing Touches
Once tight, consider adding a washer or a little bit of epoxy for extra hold, especially if handles are used frequently. Avoid metal-to-metal contact that can cause squeaks or looseness over time. When I added a small washer to my kitchen handles, they stayed solid even after months of heavy use. This final step reinforces the repair, saving future headaches and keeping your cabinets looking sleek.
When embarking on a kitchen remodel, it’s common to focus on aesthetics and immediate functionality, but there’s a realm of nuances that many overlook, potentially sabotaging their investment. A frequent misconception is that more elaborate built-ins or custom cabinets automatically mean better storage or a more seamless look; however, the devil is in the details, and understanding these subtleties can make or break your project. For instance, the assumption that all custom cabinets are equal can lead to choosing options that look good but perform poorly over time due to improper materials or installation techniques. Experts emphasize the importance of selecting high-quality, moisture-resistant materials for kitchens, as subpar choices can cause warping and require costly repairs—something you’ll want to avoid by consulting detailed resources like this article.
Myth Busting: Bigger Storage Means Better Usage
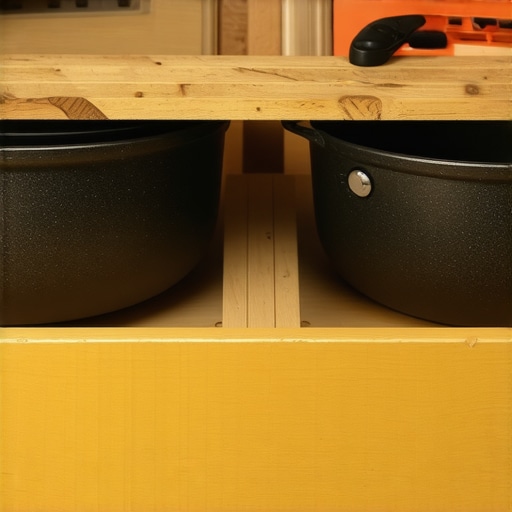
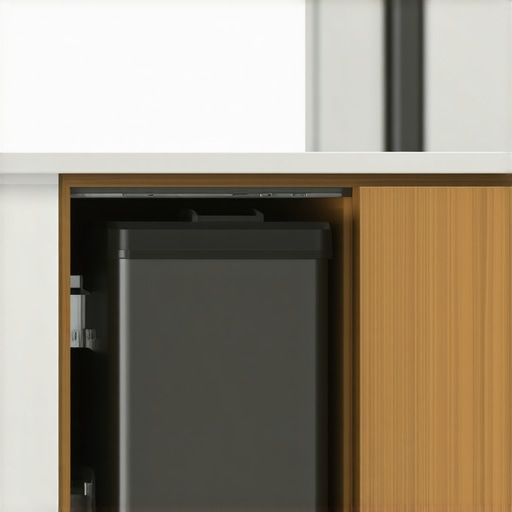
Many believe that maximizing cabinet volume is the key to organization, but in reality, intelligent design trumps sheer size. Overstuffed cabinets complicate access and can cause frequent mishaps. A smarter approach involves dedicated zones and adjustable shelving; this prevents wasted space and preserves usability. Innovative storage solutions, such as pull-out trays or custom inserts, can significantly enhance functionality, as discussed in this guide.
Are Built-Ins Overrated for Small Spaces?
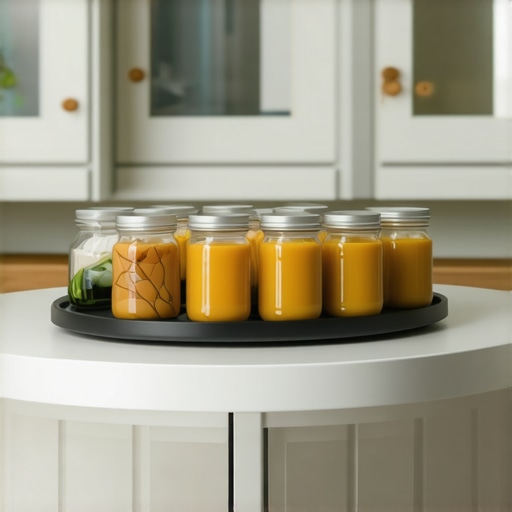
Homeowners often believe that built-ins are only beneficial in large kitchens, but well-designed custom solutions can optimize small spaces just as effectively. Strategic placement of narrow pull-outs, corner carousels, or vertical storage can turn tight quarters into highly functional areas, provided you avoid the common mistake of under-planning for accessibility. For example, incorporating a vertical spice rack in a narrow pantry can free up precious drawer space, preventing clutter. To get inspired, check out this article.
Common Pitfall: Over-customization That Limits Flexibility
While custom cabinets offer tailored aesthetics, overdoing bespoke features can reduce the adaptability of your kitchen over time. For instance, excessively specialized compartments might not serve your evolving storage needs or could become obsolete. The key is balancing personalization with versatility by choosing adjustable shelves and modular components, which can be reconfigured as your needs change. Experts recommend considering future-proof design elements, a strategy detailed in this resource.
In conclusion, mastering the nuances of built-ins and custom cabinetry involves more than just selecting beautiful materials or trendy finishes. It requires an analytical eye towards long-term performance, flexible design, and realistic expectations. Remember, what seems like a small oversight — like ignoring moisture ratings or over-customization — can escalade into costly repairs down the line. Do you think you’ve fallen into these common traps? Let me know in the comments! For more insights and expert tips, explore this article.
Keeping your custom kitchen and built-in storage solutions in top shape requires more than just initial craftsmanship. Regular maintenance and the right tools can extend their lifespan, ensuring they remain both stunning and functional. One of my go-to tools is a high-quality ratcheting screwdriver with interchangeable bits, which allows me to tighten or adjust fasteners precisely without stripping screws. I personally prefer models with magnetic bits, as they grip screws securely, making on-the-fly adjustments easier, especially in tight spaces.
For ongoing maintenance, I recommend investing in a small ergonomic digital moisture meter. Humidity levels can impact wood and MDF components over time, causing warping or swelling. Consistently monitoring these levels helps catch issues early before they escalate into costly repairs. According to this article, controlling moisture is crucial for preserving cabinet integrity, especially in kitchens with high humidity.
Another essential tool is a soft-bristle cleaning brush paired with a microfiber cloth. Regular cleaning removes dust and grease that can degrade surfaces or cause hardware to loosen prematurely. I make it a habit to give my cabinets a quick wipe every few months, which keeps them looking pristine and prevents buildup that can interfere with hinges and handles.
Looking ahead, automation and smart maintenance devices are poised to revolutionize cabinet care. Smart sensors that detect humidity spikes or structural shifts are becoming more affordable and easy to install. These can alert you via smartphone before minor issues turn into major repairs, aligning with industry forecasts that predict a surge in intelligent home maintenance solutions.
So, how do I maintain my built-ins over time to ensure they stay flawless? Start by choosing the right tools—like a magnetic ratchet screwdriver—and regularly monitor environmental conditions with a moisture meter. These small steps can prevent common problems like warped wood or loose hardware, saving you time and money in the long run. For even more advanced tips, I invite you to try hydrophobic wood sealants, which repel moisture and add an additional layer of protection against humidity damage. Curious? Give it a shot on a small cabinet panel and see the difference for yourself.
What’s the best way to keep your custom cabinets working flawlessly for years?
Consistent upkeep, smart tools, and knowing when to call in a professional are key. Remember, a little preventive care goes a long way. To explore more about innovative storage solutions that can elevate your space, check out this guide.
What Surprised Me About Durable Hardware Choices
Early in my renovation, I underestimated the importance of selecting hardware designed for longevity. I learned that investing in high-quality, moisture-resistant materials significantly reduces loosening and damage over time, especially in the humid kitchen environment. This realization pushed me to prioritize hardware that can withstand daily wear and tear, ensuring my built-ins stay pristine and functional for years.
How My Fixes Transformed My Confidence in DIY Repairs
Applying simple solutions like thread-locking compounds and reinserting stripped screws has empowered me to maintain my cabinetry without always calling a professional. These small fixes saved me money and time, and boosted my confidence to handle future issues swiftly. Sharing this knowledge might inspire you to tackle common problems with ease, turning frustration into satisfaction.
The Hidden Power of Proper Planning in Storage Solutions
I discovered that thoughtful design and forethought in storage placement can make your kitchen more organized and enjoyable. Incorporating adjustable shelves and custom inserts opened up new possibilities for efficient use of space. This lesson taught me that careful planning pays off, transforming chaos into convenience and elevating the entire cooking experience.
How Recognizing My Limitations Led to Better Results
Accepting that I couldn’t master every aspect of remodeling immediately encouraged me to seek trusted resources and expert advice. It became clear that knowing when to DIY and when to consult professionals results in a more polished, durable outcome. Embracing this balance saves headaches and ensures my investments in custom cabinetry are well worth it.
Explore My Top Suggestions for Building a Lasting, Stylish Kitchen
- Choose moisture-resistant, high-quality hardware to prevent loosening—see this guide for more tips.
- Utilize thread-locking compounds for quick, reliable fixes to loose handles and screws, saving you time and money.
- Plan your storage zones with adjustable shelving and custom inserts to maximize space and accessibility—discover creative ideas here.
- Recognize your limits and build a helpful network of resources, including trusted contractors and detailed guides, to improve your remodeling journey.
Your Turn to Improve Your Built-in Spaces
Now that you’ve read about my lessons learned and solutions that worked, what small change could make a big difference in your own kitchen? Share your thoughts below—your experience might inspire someone else to take that first step toward a more functional and beautiful space.
} }{{#user create_posts}}{