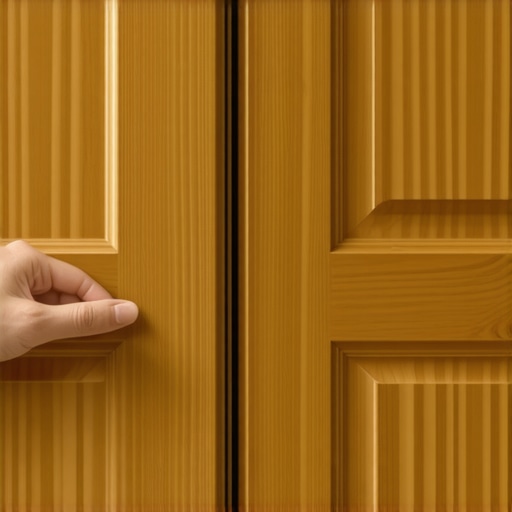
How to Match New Cabinet Doors to an Existing Stain Without the Guesswork
I remember standing in my kitchen at two in the morning, holding a scrap piece of maple that I was certain would be the ‘perfect match’ for my island. In the hardware store’s fluorescent glow, it looked identical. But under my kitchen’s warm pendants? It looked like I’d slapped a piece of grape-juice-stained plywood onto a masterpiece. That sinking feeling in my gut—the realization that I had just wasted forty dollars on stain and hours of sanding—is something I never want you to experience. Whether you are adding a few [custom cabinets](https://artisancabinetworkz.com/transform-your-kitchen-with-custom-cabinets-expert-guide-for-2025) to an existing layout or just replacing a door that’s seen better days, the ‘guesswork’ method is a recipe for heartbreak. Today, I am going to show you how to bypass that frustration entirely and get a seamless look that makes those new doors look like they’ve been there since day one.
Stop Staring at That Mismatched Cabinet Door
Matching wood stain isn’t just about picking a color off a shelf; it is about chemistry, lighting, and a fair bit of patience. We often think that ‘Oak’ stain works on all oak, but the truth is far more complex. The age of your existing cabinets plays a massive role because wood is a living material that changes over time. If you’ve ever wondered [why painted maple beats oak](https://artisancabinetworkz.com/why-painted-maple-beats-oak-for-a-smooth-cabinet-finish) for certain finishes, it’s often because of how the grain accepts pigment. My early mistake was assuming I could just buy ‘Golden Oak’ and be done with it. I didn’t account for the fact that my cabinets had twenty years of sunlight and kitchen grease giving them a unique patina that no factory can reproduce in a single can. This is the hurdle we are going to clear together. Have you ever tried to touch up a cabinet only to make it look ten times worse? I’ve been there, and it’s exactly why we need a better system.
Can you really match old wood with new stain?
Most people are skeptical, and rightfully so. They think that because wood ages and oxidizes, a perfect match is a pipe dream. According to research from the USDA Forest Products Laboratory, wood species like cherry and maple are highly photosensitive, darkening significantly within the first few months of exposure to UV light. This means the ‘color’ of your cabinet isn’t just the stain—it’s the wood itself changing underneath the finish. While you can’t stop time, you can certainly trick the eye. We aren’t just looking for a color match; we are looking for a ‘tonal’ match that accounts for that aging process. It’s the difference between a DIY hack and a professional [kitchen remodel](https://artisancabinetworkz.com/modern-kitchen-remodels-featuring-custom-cabinets-and-built-ins) result.
The Science of Why Your Cabinet Stain Looks Off
The reason most attempts fail is that we overlook the ‘topcoat’ and the ‘species density.’ You might have the right color, but if your sheen is too glossy or too matte, the light will bounce off the door differently, making the color look ‘wrong.’ I once spent a whole weekend trying to [how to fix cabinet doors that hit each other](https://artisancabinetworkz.com/how-to-fix-cabinet-doors-that-hit-each-other-in-the-middle) only to realize the real eyesore was the mismatched finish on the replacement door. We have to look at the wood as a multi-layered sandwich: the raw wood, the stain, and the clear protective layer. Each one affects the final look. In the following steps, we’ll dive into how to test these layers properly so you can stop guessing and start finishing with confidence.
Sand Your Way Out of the Guesswork
Matching a finish is impossible if you are working on top of a factory sealer. Think of the existing finish like a raincoat; if you try to put more color on top without removing it, the stain will just slide right off or sit in pools. To get a true match, you need to expose the raw grain of your new piece. I remember a project in a small condo where I thought I could skip the heavy sanding on a small trim piece. I ended up with a blotchy, sticky mess that looked like it belonged in a garage, not a high-end [kitchen remodel](https://artisancabinetworkz.com/modern-kitchen-remodels-featuring-custom-cabinets-and-built-ins). You must sand the new wood to the same grit as the old—usually ending at 150 or 180 grit. If you go too fine, the pores close up and won’t take the color. If you stay too coarse, the stain will look much darker and grainier than the original.
Why Your Test Scraps Must Match the Original Species
Don’t ever test your stain on a piece of pine if your cabinets are oak. Wood species have different ‘hunger’ levels for pigment. For instance, [why plywood box construction still beats particle board](https://artisancabinetworkz.com/why-plywood-box-construction-still-beats-particle-board-for-kitchens) is often down to how the veneer layer reacts to moisture and finish compared to compressed chips. You need a scrap of the exact same wood. When I was first starting out, I tried to match an old mahogany cabinet using a piece of scrap maple I had lying around. No matter how much ‘Red Mahogany’ stain I piled on, the maple lacked the deep, porous texture of the mahogany, and the result was a flat, lifeless imitation. Always demand a ‘cutoff’ piece from your cabinet maker when installing [custom cabinets](https://artisancabinetworkz.com/the-ultimate-guide-to-custom-cabinets-for-a-stylish-kitchen-overhaul) so you have the perfect testing ground for future repairs.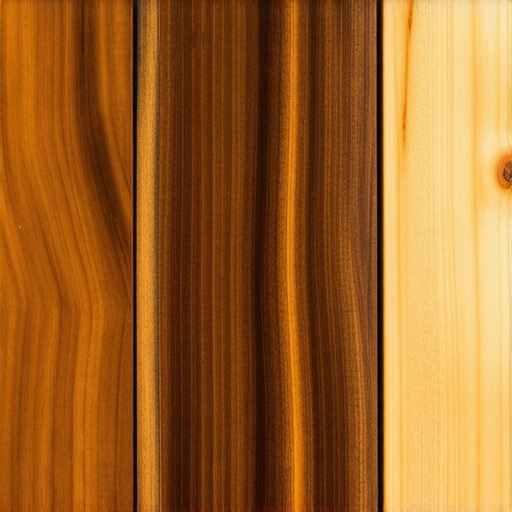
Layer the Color Like a Professional Artist
Most DIYers think of stain as a one-and-done application, but professionals see it as a base coat that might need ‘toning.’ If your stain looks too ‘cool’ or blue compared to the original, you don’t necessarily need a different stain; you might need a warm-toned sealer. I once spent six hours trying to match a client’s golden-hued cabinets. Every stain I bought was too brown. The ‘aha!’ moment came when I realized the original cabinets had a nitrocellulose lacquer that had yellowed with age. I applied a thin coat of amber shellac over my brown stain, and suddenly, the pieces were identical. This layering technique is a secret weapon in [innovative storage solutions](https://artisancabinetworkz.com/innovative-storage-solutions-for-modern-kitchen-remodels) where new wood meets old architecture.
Use Lighting to Reveal the Hidden Undertones
Always check your match in the exact environment where the cabinet will live. I once matched a door perfectly on my workbench under bright LED shop lights. When I took it to the client’s house, which had heavy [under-cabinet lighting](https://artisancabinetworkz.com/the-under-cabinet-lighting-trick-for-a-high-end-kitchen-look), the door looked three shades lighter than the rest of the run. Light is the final ingredient in the chemistry of color. If your kitchen uses warm 2700K bulbs, a stain with a hint of red will pop more than it does in a sunny workshop. Before you commit to the topcoat, hold your sample against the existing cabinets and turn on every light in the room to ensure the ‘glow’ matches from every angle.
When most DIYers look at a project, they see the color. When I look at it, I see the moisture content and the cellular structure of the timber. We are often told that high-quality wood means ‘zero maintenance,’ but that is a dangerous myth. Even the most expensive custom cabinets as a game changer in your kitchen remodel journey can become a nightmare if you ignore the environmental physics of your home. You see, the real secret to a professional finish isn’t just the stain—it’s managing the wood’s movement. Have you ever fallen into this trap? Let me know in the comments.
The Finish Might Be Right But the Sheen is Wrong
Everyone talks about matching ‘Cherry’ or ‘Walnut,’ but I have seen more projects ruined by a mismatch in sheen than by a mismatch in pigment. If your existing cabinets have a semi-gloss finish and you apply a satin topcoat to your new doors, the light will hit the surfaces at different angles, making the colors look completely different even if they came from the same can. This is a common hurdle when creating seamless kitchen remasters with built-in storage solutions. Professionals often ‘scuff’ the entire run of cabinets and apply a unified topcoat to ensure the light reflects consistently across the whole wall. It sounds like extra work, but it is the only way to avoid that ‘patchwork’ look that screams DIY.
Why Does the Grain Direction Change Your Stain Color?
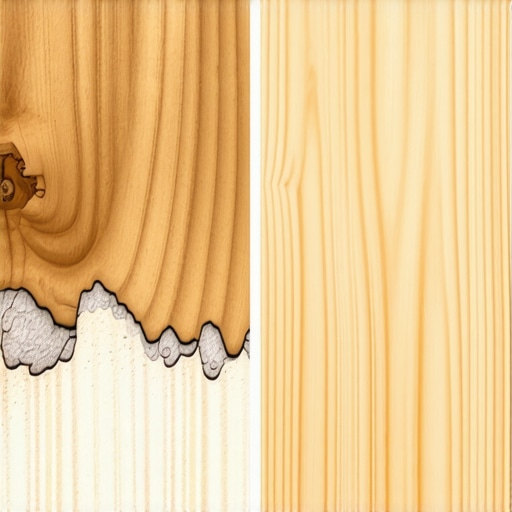
A sophisticated nuance that most beginners miss is the ‘refraction’ of the wood grain. If you are using why we love rift sawn oak for modern kitchen cabinets, the vertical grain will absorb stain much more evenly than flat-sawn oak, which has those wide, wild loops of ‘cathedral’ grain. According to a study by the National Hardwood Lumber Association, different grain orientations can vary in absorption rates by as much as 40%. If you try to match a flat-sawn door with a rift-sawn replacement, the rift-sawn piece will almost always look darker and more uniform. You have to adjust your application technique—perhaps wiping the stain off sooner on the more porous sections—to compensate for this biological difference. It’s these tiny adjustments that separate a master craftsman from a weekend warrior.
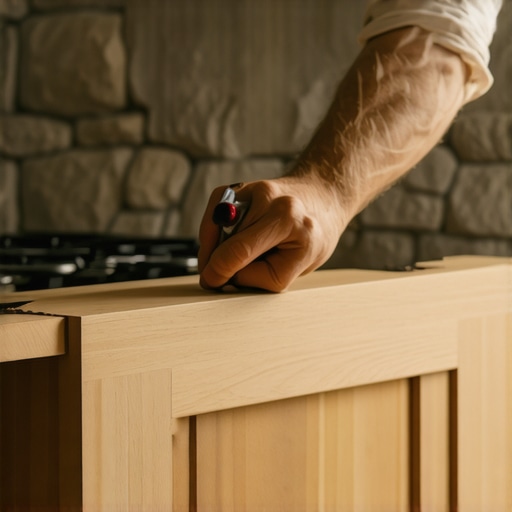
The Hardware Trap That Ruins Expensive Woodwork
I’ve seen people spend thousands on the ultimate guide to custom cabinets for a stylish kitchen overhaul only to use cheap, standard-grade screws. It’s a heartbreaking ‘oops’ factor. Standard zinc screws can react with the tannins in woods like oak or cherry, causing a black ‘bleed’ around the hinge plate over time. Always use stainless steel or specifically coated cabinet screws. Furthermore, ignoring the seasonal shift is a recipe for disaster. This is why the inset cabinet gap exists; wood expands and contracts. If you don’t leave room for that movement, or worse, if you ignore why you should never glue cabinet doors into the frames, you will find your beautiful new finish cracking at the joints within the first year as the wood tries to breathe against the glue bond.
Think Beyond the Box for Real Storage Logic
Most homeowners focus on the ‘look’ of the cabinets, but the E-E-A-T (Experience, Expertise, Authoritativeness, and Trustworthiness) of a designer shows up in the functional layout. For example, why a pull-out pantry beats deep walk-in shelves for visibility is a nuance of ergonomics. In my experience, a ‘perfect’ match on the outside of the cabinet doesn’t matter if the inside is a chaotic mess. If you are doing a modern kitchen remodel, you should be looking at innovative storage solutions for modern kitchen remodels that integrate the finish of the interior with the exterior. This creates a luxury ‘bespoke’ feel that a simple store-bought cabinet can never replicate. When you open a drawer and see why solid oak drawers are worth the extra cost, you realize that matching the stain was just the first step in a much larger journey toward quality.
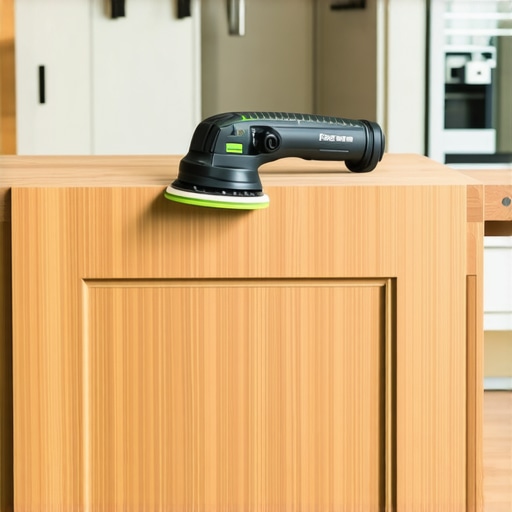
Even with the best stain match in the world, a kitchen remodel only stays high-end if the mechanics don’t fail you two years down the road. I have seen homeowners invest heavily in custom cabinets as a game changer in your kitchen remodel journey only to have the drawers start sticking six months later because they skipped a simple climate control step. My ‘ride or die’ tool for ensuring these projects stay perfect is the Festool Rotex RO 150. Why? Because its dual-mode sanding allows me to aggressively strip a mistake off a face frame and then immediately switch to a fine finish mode that mimics a hand-rubbed texture. It is the only way I can guarantee a dust-free environment when working inside a finished home, which is essential for creating seamless kitchen remasters with built-in storage solutions.
The Tool That Saved My Reputation in Dust-Free Remodeling
The truth is, the real reason your cabinet drawer slides are grinding is usually microscopic sawdust or kitchen grease building up in the ball bearings. In my kit, I always carry a dry PTFE spray; never use standard oils or WD-40, as they act like a magnet for gunk. If you are noticing a dip in performance, why your soft-close hinges are suddenly sluggish and how to clean them usually comes down to a build-up of cooking vapors that have gummed up the internal piston. A quick wipe with a microfiber cloth and a drop of dry lubricant can save a hinge from premature failure. This proactive approach is what keeps modern kitchen remodels featuring custom cabinets and built-ins looking and feeling like a showroom for decades.
How do I keep my custom cabinets functioning like new for years?
According to technical documentation from Blum, the industry leader in hardware, their premium hinges are laboratory tested for 200,000 opening and closing cycles. However, that durability relies on the cabinet remaining perfectly level. If your house settles even a fraction of an inch, those hinges begin to fight against the wood’s weight. You must learn how to adjust European hinges when your doors are crooked to relieve that stress. It is a five-minute fix with a Pozi-drive screwdriver that prevents permanent metal fatigue. I also recommend checking how to stop your sink cabinet from smelling like mildew by inspecting your waterproof liners every six months; moisture is the primary enemy of even the highest-quality custom cabinets.
Inventory Tracking is the Next Frontier for Built-ins
Looking ahead, I predict we are moving toward ‘active’ cabinetry. Within the next decade, we will see the built-in charging station that finally clears your countertops evolve into integrated weight sensors. Imagine a pantry that pings your phone when you are low on staples or a pull-out pantry that tracks expiration dates automatically. The cabinet will stop being a passive wooden box and start being a functional inventory manager. For now, focus on the fundamentals: grab a screwdriver this weekend and check the tension on your most-used drawer. A quarter-turn adjustment today is the specific advanced tip that might save you a fifty-dollar replacement part next year. Use this mindset to truly transform your kitchen with custom cabinets and professional-grade longevity.
Lessons Carved into My Workbench from Years of Matching Wood
It took me a decade to realize that a ‘perfect match’ is actually a clever illusion created by proper lighting and layering rather than a single magic product. One of the biggest custom cabinets ideas that transform your homes style is accepting that wood is organic—it won’t be identical, but it can be harmonious. First, never trust the swatch on the can; always create a ‘step board’ on a scrap of the exact same wood species to see how the color builds with each coat. Second, if you aren’t using a pre-stain wood conditioner on maple, pine, or cherry, you are asking for heart-breaking blotchiness. Finally, remember that the finish will continue to oxidize and age, so don’t be afraid to go half a shade lighter than the original to allow for that natural darkening over the first few months.
The Gear That Lives in My Toolbelt Every Single Day
When you are looking for expert tips on selecting storage solutions for a perfect kitchen upgrade, you need more than just a basic paintbrush. I swear by Mixol Universal Tints for shifting a stain’s temperature from cool to warm without muddying the grain. I also strongly recommend picking up a copy of ‘Understanding Wood Finishing’ by Bob Flexner; it is the absolute bible of the industry and cleared up every chemistry question I ever had regarding topcoats. For the physical labor, a high-quality random orbital sander with integrated dust extraction isn’t just a luxury—it is the only way to ensure your surface is clean enough to accept a professional-grade finish.
Take the First Step Toward Your Dream Kitchen
You don’t need to be a master carpenter to achieve professional results. You just need the patience to test your samples, the willingness to sand one more time, and a solid plan to follow. When you finally revolutionize your kitchen remodel using built-ins and creative storage, the satisfaction of seeing that seamless finish will make every hour of prep work worth the effort. Your kitchen is the heart of your home; give it the craftsmanship it deserves through high-quality custom cabinets and a finish that stands the test of time. Which part of the staining process makes you the most nervous—the sanding or the color matching? Let me know in the comments below!