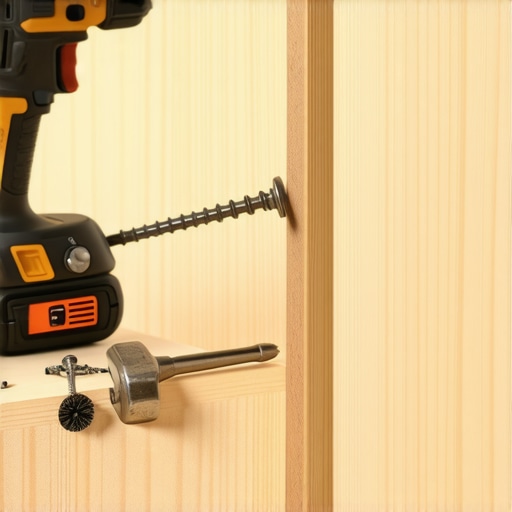
Why We Stopped Using Nails for Cabinet Backing and Switched to Screws
I stood there with my hands on my hips, staring at a stack of ceramic plates that had nearly become floor tiles. It was three years into my career, and I’d just finished what I thought were some of my best custom cabinets. Then, the ‘pop’ happened. The thin brad nails I used to secure the backing had simply given up under the weight. It was a humble, messy realization that changed my entire building philosophy forever. I realized that speed is the enemy of longevity in a high-end kitchen remodel.
The Structural Flaw I Ignored for Too Long
Back then, I prioritized speed over everything else. I thought a pneumatic nailer was the mark of a pro, zipping through assemblies in minutes. But a cabinet is only as strong as its weakest joint. When you use nails, you’re relying on simple friction to hold that back panel in place. Over time, as houses settle and humidity shifts, those nails lose their grip. I learned the hard way that the cabinet screw mistake that causes heavy drawers to fail often starts at the very foundation of the box—the backing. By switching to screws, we ensure the back panel acts as a structural diaphragm, keeping the whole unit square and rigid for decades. Today, I am going to show you exactly how this one change transforms innovative storage solutions from temporary furniture into heirloom-quality cabinetry.
Aren’t screws just extra work for no reason?
You might be thinking that pre-drilling and driving screws is a waste of time. I certainly used to think so, until I saw the data. According to the Forest Products Laboratory, the withdrawal resistance of a screw is significantly higher—often by over 200%—compared to a nail of similar diameter in plywood or solid wood. This is crucial when you are installing built-ins and storage hacks that need to support heavy mixers or dozens of canned goods. If you have ever pulled a cabinet out of the box only to find the back hanging off, you know exactly what I’m talking about. Have you ever had a cabinet back fail on you after you thought the job was finally done? It is a gut-wrenching feeling that I never want to experience again, and once you see the difference in stability, you won’t either.
Getting the Box Square Before the First Screw
A cabinet box without a square back is like a car with a bent frame; no matter how nice the wheels are, it will never drive straight. In the world of a kitchen remodel, if your box is even an eighth of an inch out of square, your doors will never hang level, and you will find yourself searching for how to align inset cabinet doors that wont close flush later. I start by laying the cabinet face-down on a flat assembly table. I use a dedicated squaring jig—essentially a large, perfect L-shaped bracket—to lock the corners at exactly 90 degrees. I remember a kitchen in Richmond where I rushed this part on a 48-inch wide base cabinet. I thought it looked ‘good enough.’ Once the heavy stone countertop was installed, the weight caused the box to rack slightly because the backing wasn’t perfectly seated. I spent the next four hours on my back under a sink trying to shim the drawer slides. It was a miserable lesson in why the real reason your cabinet drawer slides are grinding often goes back to those first five minutes of assembly.
Stop Splitting Your Wood With a Countersink Bit
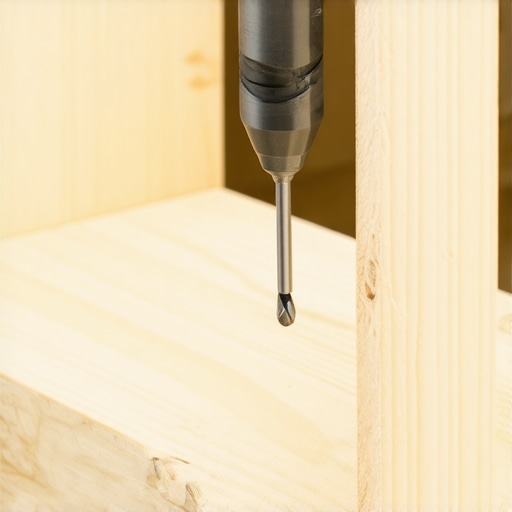
One of the biggest mistakes I see is driving a screw directly into the edge of a plywood panel without a pilot hole. Plywood is made of layers, and a screw acts like a wedge, forcing those layers apart and weakening the joint. Think of it like trying to fit a size 12 foot into a size 10 shoe; something is going to give. I always use a countersink bit. This tool drills the pilot hole for the screw threads and carves out a little ‘nest’ for the screw head to sit in. This ensures the screw head is flush or slightly below the surface, which is vital for creating seamless kitchen remasters with built-in storage solutions. If the head sticks out even a fraction, your cabinet won’t sit tight against the wall, creating a gap that catches dust and ruins the high-end look of your custom cabinets.
The Specific Pattern for Maximum Rigidity
When attaching the back, I don’t just put screws in the corners. I follow a 6-inch spacing rule along the perimeter and any internal partitions. This creates a structural diaphragm. This is especially critical for heavy-duty setups like a kitchen remodel where you might be installing a how to fix a sagging pot and pan drawer with a center support mechanism. I also apply a thin bead of wood glue before the back goes on. The glue provides the surface-to-surface bond, while the screws provide the mechanical clamping force. This combination is why why plywood box construction still beats particle board for kitchens is a hill I will die on. Particle board simply doesn’t have the internal fiber strength to hold onto a screw thread under the sheer weight of a fully loaded pantry. By using the right storage solutions and fastening techniques, you’re not just building a box; you’re building a foundation for the entire room.
The Solid Wood Myth That Ruins Your Shelves
In the world of custom cabinets, there is a pervasive belief that ‘solid wood’ is always the superior choice for every component. I used to be a purist myself, until I saw a set of 48-inch solid maple pantry shelves bow like a stack of wet noodles after six months. The hard truth is that for long spans, high-grade plywood is actually the more engineered, stable choice. According to the Architectural Woodwork Institute (AWI) standards for shelf deflection, a 3/4-inch plywood shelf with a solid wood nosing can carry significantly more weight without permanent deformation compared to a solid board of the same thickness. This is because the cross-grain construction of plywood fights the wood’s natural urge to cup and sag. If you are planning modern kitchen remodels featuring custom cabinets and built-ins, don’t let the ‘solid wood’ marketing trap lead you into choosing a material that will fail under the weight of your ceramic collection. This is exactly why we recommend plywood shelves over solid wood for long spans in every high-performance kitchen we build.
Stop Bolting Down Your Butcher Block Like It’s Concrete
One of the most expensive ‘oops’ factors I encounter is the improper installation of wood countertops. Wood is a living, breathing material; it expands and contracts with the seasons. A common trap during a kitchen remodel is bolting a butcher block top directly to the cabinet frames with rigid fasteners. When the humidity spikes, that wood wants to grow. If it has nowhere to go because it’s pinned down, it will either rip the screws out of the cabinet or, more likely, split right down the middle. This is the butcher block mistake why you should never bolt it directly to cabinets. I always use oversized holes and fender washers, or ‘figure-eight’ fasteners, which allow the top to slide a fraction of an inch as it breathes. It’s a nuance that separates a weekend warrior from an expert installer of expert tips on selecting storage solutions for a perfect kitchen upgrade.
Why does my high-end cabinet paint bubble near the stove?
It’s a heart-breaking sight: you’ve invested in beautiful storage solutions and custom finishes, only to see the paint peel near the range or dishwasher. Most people blame the paint quality, but the real culprit is usually heat and moisture ingress. Modern ‘euro-style’ cabinets have very tight tolerances, and if your installer didn’t use heat shields on the gables adjacent to your oven, the repeated thermal cycling will break the bond of even the best catalyzed lacquer. This is also why your cabinet paint bubbles near the stove and how to prevent it. High-end builds require more than just aesthetic choices; they require an understanding of the micro-environments within your kitchen. Have you ever fallen into this trap of choosing material based on ‘prestige’ rather than performance? Let me know in the comments, because I’ve seen it happen to the best of us.
The One Tool I Won’t Walk onto a Jobsite Without
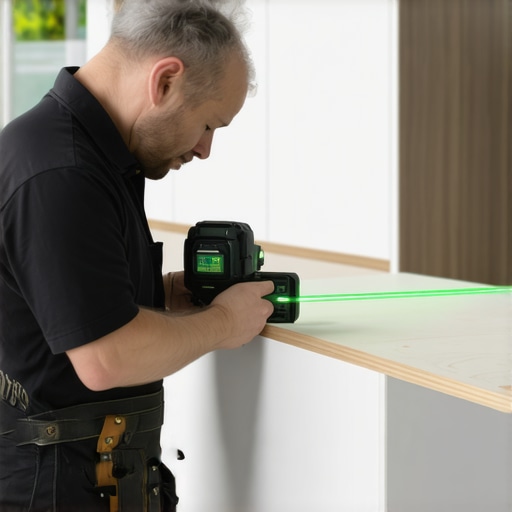
For years, I relied on a four-foot bubble level and a prayer. I thought that if the bubble was between the lines, the job was done. But when you’re dealing with custom cabinets that span an entire wall, a sixteenth of an inch error at the start becomes a massive gap by the end. Now, I never start a kitchen remodel without my Bosch GLL3-330CG 3-line laser. It throws a perfectly level 360-degree green beam around the entire room. This precision is the only way to ensure that your creating seamless kitchen remasters with built-in storage solutions actually look seamless. If your base cabinets aren’t perfectly level, your stone countertops will eventually crack under the uneven stress. This level of accuracy is why why every base cabinet needs adjustable feet on uneven concrete, especially in older homes where the floors resemble the rolling hills of the countryside.
How do I keep my custom cabinets working like new for twenty years?
Maintenance is the part of the kitchen remodel journey that most people ignore until something squeaks. High-end innovative storage solutions are mechanical systems, and like a car, they need a tune-up. Every six months, I tell my clients to grab a screwdriver and check their hinge tension. According to the NKBA (National Kitchen & Bath Association) guidelines, cabinet doors can shift slightly due to the weight of the door and seasonal humidity. Learning how to adjust european hinges when your doors are crooked is a ten-minute task that prevents permanent damage to your cabinet frames. Additionally, kitchen grease is the silent killer of hardware. It acts as a magnet for dust, which creates a grinding paste inside your drawer tracks. This is the real reason your cabinet drawer slides are grinding and why a quick wipe-down with a damp cloth can save you hundreds in replacement parts later.
Smart Hardware is the Next Big Wave
Looking ahead, I see a massive shift toward ‘active’ cabinetry. We are moving beyond simple storage solutions and into integrated tech. I am already seeing a high demand for built-ins and storage hacks that include motorized lifts and touch-to-open sensors. Imagine a kitchen where you don’t even need handles because a light tap with your elbow opens the trash pull-out when your hands are covered in flour. This isn’t just sci-fi anymore; it’s the future of custom cabinets as a game changer in your kitchen remodel journey. We are also integrating the built in charging station that finally clears your countertops, turning dead space into functional tech hubs. The goal is to make the cabinetry work for you, rather than you working around the cabinetry.
If you want to ensure your kitchen stands the test of time, I challenge you to do a ‘hardware audit’ this weekend. Open every drawer and door; if you hear a click or feel a catch, don’t ignore it. Check out why your soft close slides are failing and the quick cleaning fix to get them back to that factory-smooth glide today.
Lessons I Learned the Hard Way So You Dont Have To
Over the years, I’ve realized that the difference between a good kitchen and a great one is found in the decisions you make when no one is watching. First, never sacrifice structural integrity for a trendy look; a beautiful finish won’t hide a sagging shelf for long. Second, always prioritize access. I’ve seen beautiful custom cabinets that were impossible to use because the layout didn’t account for how a real cook moves. Third, pay attention to the small stuff. Avoiding the hardware mistake that makes expensive cabinets look cheap is often as simple as choosing solid brass over plated zinc. It is these tiny pivot points that define the longevity of your build.
A Few Essentials That Make a Professional Difference
If you are tackling a kitchen remodel or installing your own built-ins, these are the resources I swear by. I always keep a Starrett Combination Square in my apron; it is the only tool I trust for marking dead-accurate joinery. For bonding, I rely on Titebond III because its waterproof nature is vital when you are implementing smart storage ideas to maximize your kitchen space this year near sinks or dishwashers. Finally, I highly recommend the Architectural Woodwork Standards manual. It is the bible of the industry and provides the technical data you need to ensure your storage solutions are built to last a lifetime.
Building Something That Outlasts the Trends
Embarking on a kitchen remodel can feel overwhelming, but remember that you are building more than just a room—you are crafting the backdrop for your family’s daily life. Take your time, double-check your levels, and never settle for good enough when it comes to the foundation of your custom cabinets. When you focus on high-quality innovative storage solutions, you create a space that remains functional and beautiful for decades. What is the one storage feature you simply can’t live without in your new kitchen? Let me know in the comments below!