The Proper Way to Shim a Cabinet on a Slanted Slab Floor
I still remember the sinking feeling in my gut when I set my first custom-built base cabinet onto my garage’s concrete slab. To the naked eye, that floor looked as flat as a billiard table. But as soon as I let go of the box, it lurched forward like a drunk sailor. I’d spent forty hours in the shop obsessing over square corners and tight joinery, yet here I was, staring at a massive gap between the cabinet back and the wall. It was a classic rookie mistake: assuming the ground beneath me was actually level. Most people think their concrete floors are flat, but the reality is that almost every slab is poured with an intentional pitch to handle drainage. If you don’t account for that slope, your drawers will drift open, your doors won’t align, and your beautiful countertops will eventually crack under the uneven stress. Have you ever stepped back from a project only to realize the whole thing is leaning? Tell me I’m not the only one who has felt that frustration.
Stop Blaming Your Spirit Level for the Slope
Look, I’ve been there—shoving scraps of cedar shingles under a cabinet leg and hoping for the best. My biggest mistake early on was using soft wood shims that eventually compressed under the weight of a heavy countertop. It took six months for the cabinet to settle, and by then, the mitered joints on my trim were already pulling apart. Today, we’re going to fix that. We’re talking about the right way to shim a cabinet so it stays plumb for decades, not just until you leave the room. Whether you are dealing with built-ins and storage hacks for a sleek functional kitchen or a heavy workshop setup, the foundation is everything. If the base is wonky, the rest of the build is just a house of cards. This is why I always tell my neighbors that every base cabinet needs adjustable feet on uneven concrete to avoid the headache of traditional shimming.
Does a tiny slope actually matter that much?
You might be tempted to just ‘eyeball it’ and move on, but physics isn’t that forgiving. According to the International Residential Code (IRC), garage floors must be sloped toward the main drain or door to prevent liquid pooling—often at a rate of 1/8 to 1/4 inch per foot. Over a standard six-foot run of custom cabinets, you could be looking at a discrepancy of over an inch. That is more than enough to make your hardware grind and your drawers slide out on their own like they’re haunted. We are going to walk through how to find the high point of your floor, how to scribe your base, and why plastic shims beat wood every single time when you’re working on concrete.
Map out the peaks and valleys of your floor
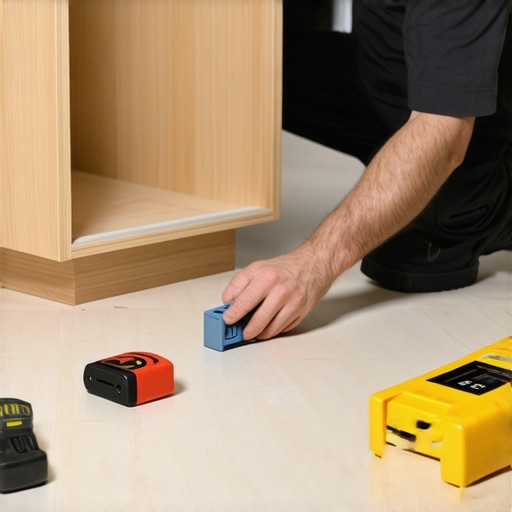
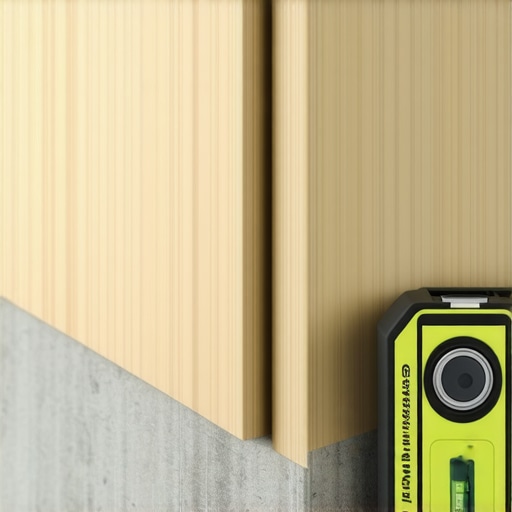
Before you even think about driving a screw into a stud, you need to understand the topography of your floor. Think of your concrete slab like a mountain range; there is always a summit and several base camps. I start by dragging a six-foot level across the area where the cabinets will sit. You are looking for the highest point in the room. This ‘summit’ is your reference point for the entire run. If you start at a low point and work your way up, you will eventually find yourself trying to bury the bottom of a cabinet into the concrete, which is physically impossible. In a custom cabinets as a game changer in your kitchen remodel journey, this initial survey is the difference between drawers that glide and drawers that grind.
Locate the summit and set your benchmark
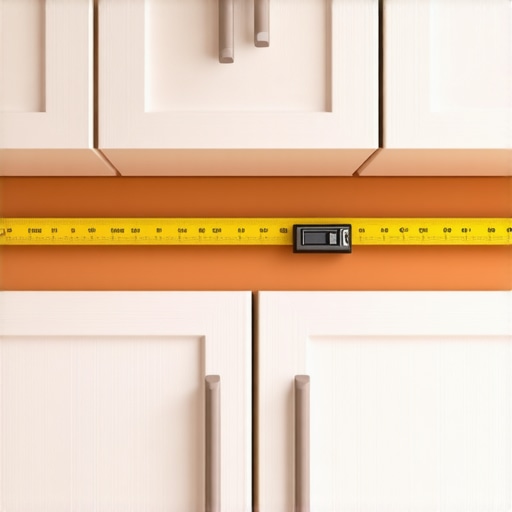
Once you find that high point, mark it on the wall. From there, use a laser level or a long spirit level to strike a perfectly level line across the wall at the height of your cabinet tops. This line is your north star. I remember a particularly grueling install in a 1950s garage where the floor dropped nearly two inches over eight feet. I didn’t find the high point first and ended up having to uninstall three heavy units because the fourth one wouldn’t clear the floor. It was a messy, loud afternoon of regret that taught me to never skip the mapping phase. If you are aiming for a stylish kitchen overhaul, your benchmark line must be flawless.
Scribing is the professional secret to a flush fit
Shims are great for internal leveling, but if you want that high-end look where the cabinet seems to grow out of the floor, you have to scribe. Scribing is the process of transferring the curve or slope of the floor onto the base of the cabinet and then cutting away the excess material. It’s like tailoring a suit to fit a specific body type. For those working with complex transitions, such as learning how to scribe a pantry end panel to a stone backsplash, the logic remains the same: the cabinet must adapt to the house, not the other way around. I use a simple carpenter’s compass to trace the floor’s profile onto the cabinet’s toe-kick or side panel, then use a jigsaw or a power planer to follow the line. 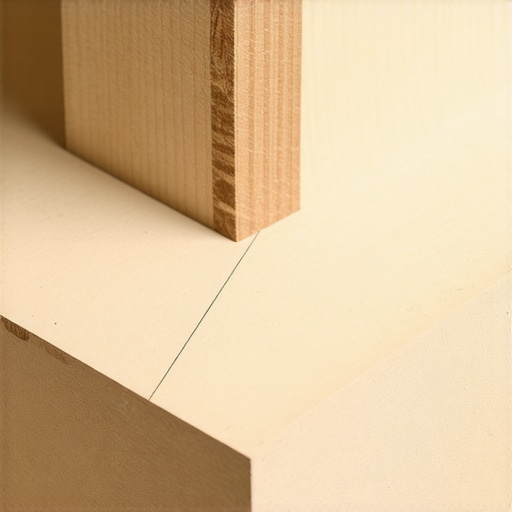
Keep your compass steady and your blade sharp
When you scribe, set the compass to the width of the largest gap between the cabinet and the floor. As you pull the compass along the floor, the pencil marks the exact ‘negative’ of the slope onto your wood. It’s a nerve-wracking cut the first time you do it because there is no ‘undo’ button once the wood is gone. I once over-cut a maple end panel and had to spend the rest of the day fabricating a custom piece of trim to hide my shame. Precision here ensures that the weight is distributed across the entire base of the unit rather than just on a few thin points. This structural integrity is why plywood box construction still beats particle board for kitchens; it handles the stress of scribing and heavy loads without crumbling.
Ditch the cedar shingles for composite shims
If scribing feels too advanced or you are installing units with pre-finished toe kicks, you will be relying on shims. But please, stop using those soft cedar shingles from the roofing aisle. Wood shims absorb moisture from the concrete and compress over time, especially when supporting heavy stone countertops. I only use high-density plastic or composite shims. They don’t rot, they don’t shrink, and they are incredibly easy to snap off flush once the cabinet is secured. In any modern kitchen remodel featuring custom cabinets, using the right shim material is a small detail that prevents massive headaches five years down the road. You want a foundation that is as solid as the concrete itself, ensuring your doors never go out of alignment due to settling.
Once you have mastered the floor, you hit the next wall: the myth that ‘more storage’ always equals a better kitchen. Most designers will try to sell you on the deepest cabinets possible to maximize volume, but in my experience, standard 24-inch depths are often a graveyard for small appliances. The real pro move is customizing depth to the specific items you use daily. If you have ever lost a mixer or a large platter in the back of a dark corner, you will appreciate the cabinet depth secret for storing large pizza stones and trays. Efficiency isn’t about total volume; it is about retrieval speed. In a smart storage ideas to maximize your kitchen space this year layout, the focus shifts toward ‘active’ zones that minimize movement.
The heavy-sink trap that ruins your plumbing
I frequently see homeowners drop thousands on a beautiful cast-iron or stone farmhouse sink without realizing it is essentially a lead weight. A standard cabinet box, even a high-quality one, isn’t naturally designed to handle that much lateral and vertical stress over a decade. If you don’t learn how to reinforce a sink base cabinet for a 100-pound cast-iron sink, the front rail will eventually bow. This subtle shift breaks the waterproof seal of your countertop, allowing moisture to seep into the wood. This vulnerability is exactly why plywood box construction still wins over furniture board in wet areas; plywood has the structural integrity to hold the heavy-duty cleats required for these massive sinks. 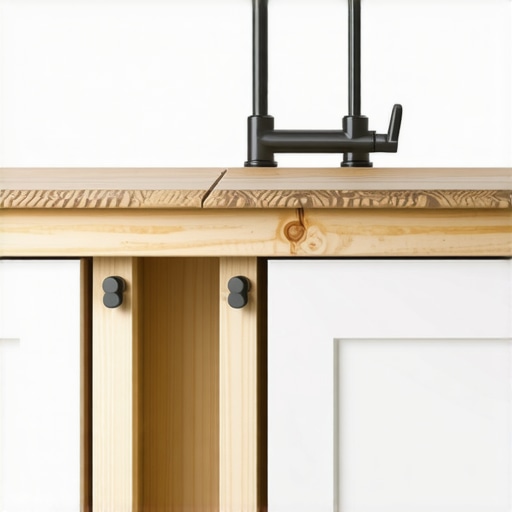
Why do your high-end hinges fail after only two years?
It is rarely a manufacturing defect. The National Kitchen & Bath Association (NKBA) planning guidelines emphasize that improper weight distribution and lack of plumb alignment are the leading causes of premature hardware failure. If your cabinet isn’t perfectly plumb—even if it is ‘level’—gravity is constantly pulling the door against the hinge pin at an angle it wasn’t engineered to resist. You might notice why your soft-close slides are failing and assume it is just a cleaning issue, but it is often structural torque from a box that is slightly out of square. For a truly perfect kitchen upgrade, you have to treat the hardware like a precision engine that requires flawless alignment. Have you ever fallen into this trap and blamed the manufacturer? Let me know in the comments.
Stop relying on the $20 laser level
If you are serious about a modern kitchen remodel, you need a green-beam self-leveling cross-line laser. I personally use the Bosch GLL series because the human eye can track a green laser much better than red in a bright, sunlit room. When you are trying to match the height of your upper cabinets to a floor-to-ceiling pantry, that crisp green line across the room is your only path to sanity. I have seen too many DIYers use cheap spirit levels that are off by 1/16th of an inch; by the time you reach the end of an eight-foot run, your cabinets are nearly an inch out of sync. High-end storage solutions require professional-grade measurement tools, or you are just guessing.
How do I maintain my custom cabinets over time?
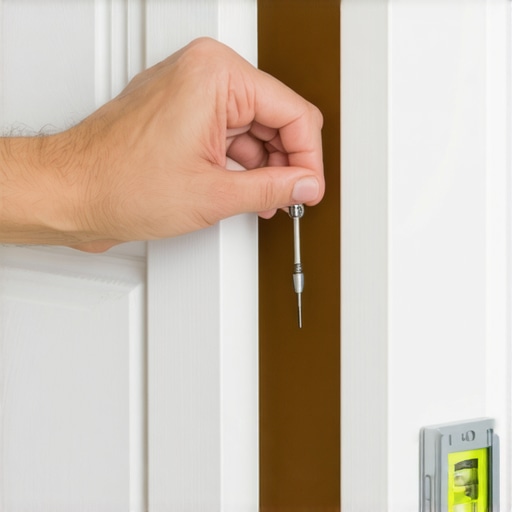
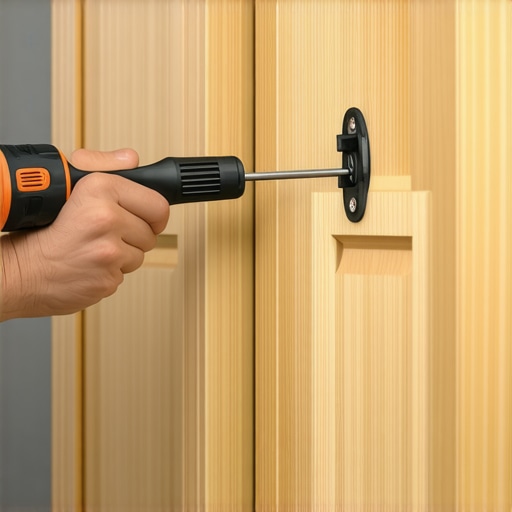
Maintenance isn’t just about wiping down the doors. It is about environmental control. Wood is a living material that reacts to the air around it. According to the Architectural Woodwork Institute (AWI), the gold standard for woodwork stability is maintaining a consistent relative humidity between 25% and 55%. If your home swings wildly from bone-dry winters to swampy summers, your wood will expand and contract, leading to the dreaded inset cabinet gap. To keep everything functioning, you must learn how to align inset cabinet doors that wont close flush by adjusting the hinge plates every spring and fall. A quarter-turn of a Phillips head screw is often the only thing standing between a perfect fit and a door that won’t stay shut.
The future of storage is integrated and invisible
I predict we are moving away from the ‘kitchen as a showroom’ and toward ‘the invisible kitchen.’ We are seeing a massive surge in smart storage ideas to maximize your kitchen space this year that involve motorized lifts and push-to-open sensors. This trend toward handle-less design means that the structural integrity of your boxes is more important than ever. If the box isn’t square, the electronic push-to-open mechanisms will fail within weeks. We are also seeing built-ins and storage hacks for a sleek functional kitchen that incorporate hidden charging docks and built-in tablet mounts. As we move into 2025, expect your custom cabinets to act more like high-tech furniture than just wooden boxes on a wall.
Address the grinding before it breaks the slide
One of the most overlooked maintenance tasks is cleaning your drawer slides. If you notice the real reason your cabinet drawer slides are grinding, it is usually a build-up of kitchen grease and household dust that has turned into a sticky paste on the ball bearings. I recommend a quick spray of a dry-film lubricant—never WD-40, which attracts more dust—once a year. This keeps the glide smooth and prevents the soft-close mechanism from burning out. If you want to dive deeper into long-term durability, I highly recommend looking at the ANSI/KCMA A161.1 standards for cabinet performance; it is the benchmark we use to ensure our builds can handle the weight of modern life. I challenge you to go into your kitchen right now, find your widest drawer, and check the slide for debris. It is a five-minute fix that can save you a $50 replacement part later.
The Hard Truth About Floor Slopes and Your Sanity
After years in the workshop, I realized that the biggest mistake isn’t a bad cut; it’s a bad start. Here are a few lightbulb moments I wish someone had told me decades ago:
- Trust the laser, not the floor: Even if a slab looks perfect, the laser level will show you the truth every single time.
- Plastic is permanent: Cedar shims are for roofs, not for supporting the weight of a kitchen. High-density composite shims are non-negotiable for longevity.
- Level vs. Plumb: A cabinet can be level horizontally but not plumb vertically. If it’s not both, your doors will never hang right.
- The 1/16th inch rule: Small errors at the start of a run become massive gaps by the time you reach the pantry.
Precision is what separates a DIY look from modern kitchen remodels featuring custom cabinets and built-ins. If you take the time to map the floor, the rest of the install feels like putting together puzzle pieces rather than fighting a losing battle against gravity.
Build Your Pro Toolkit Without Breaking the Bank
You don’t need a truck full of industrial machinery to get professional results. I personally rely on these specific resources to ensure every custom cabinets as a game changer in your kitchen remodel journey remains successful for the long haul. First, always keep a set of composite shims and a sharp scribe tool—a simple compass works wonders for tracing uneven walls. Second, I highly recommend checking the ANSI/KCMA A161.1 standards for anyone wanting to understand structural load limits of their boxes. Finally, if you ever feel stuck or need a second opinion on a layout, don’t hesitate to contact us for expert guidance. These tools provide the safety net you need when a project starts to feel overwhelming.
Start Your Custom Build with Confidence
Setting that first cabinet can feel like a high-stakes gamble, but now you have the blueprint to handle whatever wonky floor your house throws at you. Remember that a beautiful home isn’t built in a day; it’s built one leveled shim at a time. Whether you are dealing with seasonal shifts or learning how to align inset cabinet doors that wont close flush, your patience is your greatest asset. Go out there and turn that uneven concrete into the foundation for something spectacular. Have you ever found a massive floor slope halfway through an install that ruined your day? Let me know your ‘disaster’ stories in the comments below!