The Best Way to Paint Oak Cabinets Without the Grain Showing
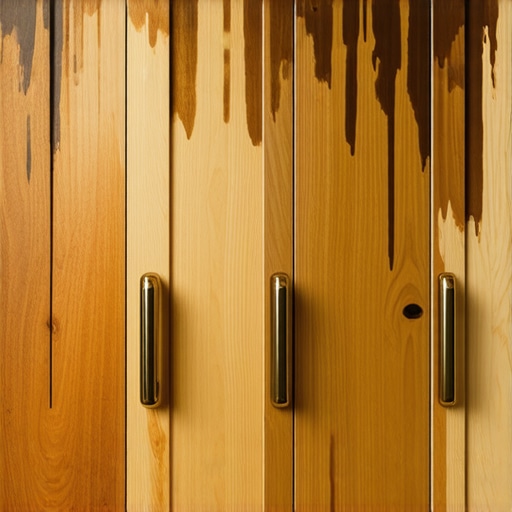
I stood in my kitchen with a brush in one hand and a gallon of ‘off-white’ in the other, feeling like a total failure. My 1990s honey oak cabinets didn’t look refreshed—they looked like I had slapped thick frosting on a textured sponge. Every single pore and deep valley of that heavy oak grain was shouting through the paint. It was a mess. I realized then that if I wanted that sleek, high-end look of custom cabinets as a game-changer in your kitchen remodel journey, I had to stop treating paint like a magic wand.
Stop Settling for That Bumpy Oak Texture
I have been right where you are. You want that smooth, modern vibe you see in magazines, but you are working with old-school oak. Most DIY blogs tell you to just ‘sand and paint,’ but they are leading you straight into a project you will regret in six months. If you do not address the deep, cavernous grain of oak, you will never get that flat, factory-style finish. One of the biggest blunders I made early on was thinking a thick coat of primer would act like a filler. It does not. I ended up learning the hard way why using standard interior paint on your kitchen cabinets is a five-year mistake. Standard latex paint is too flexible; it sinks into the wood’s pores rather than bridging them. To get a glass-smooth surface, you need a specific workflow that starts long before the first color hits the wood.
Is it actually possible to hide the grain completely?
I get it—you are skeptical. You have seen those ‘DIY fails’ where the cabinets look like orange peel. But here is the truth: with the right grain filler and a bit of patience, you can absolutely make oak look like maple or MDF. According to the Painting and Decorating Contractors of America (PDCA), proper surface preparation accounts for nearly 70% of the final appearance and longevity of any professional coating project. Today, we are going to fix your kitchen. We are walking through the process of filling those ‘valleys’ so your home feels like a stylish kitchen overhaul without the five-figure price tag of total replacement. Have you ever tried painting your cabinets only to be crushed when the texture still showed through? I want to hear about it. Before we dive into the sandpaper, we have to master the proper way to prep Indianapolis kitchen cabinets before the first coat of paint. If you skip the de-greasing, no amount of filler will stick.
Scrub Every Inch to Avoid a Paint Disaster
You cannot skip the cleaning. I spent four hours on a single set of doors once, thinking I was being thorough, only to find a hidden layer of bacon grease near the stove that caused my primer to bead up like water on a waxed car. This isn’t just about dust; it is about chemical bonds. You need a heavy-duty de-greaser to strip away years of cooking oils. If you don’t, your grain filler will sit on top of the grease and eventually peel off like a bad sunburn. This meticulous cleaning is exactly why your Indianapolis kitchen cabinet paint quote includes a mandatory de-greasing step. It is the invisible insurance policy for your finish. Knowing the proper way to prep Indianapolis kitchen cabinets before the first coat of paint is the difference between a project that lasts ten years and one that fails in ten months.
Meet the Miracle Paste That Fills the Gaps
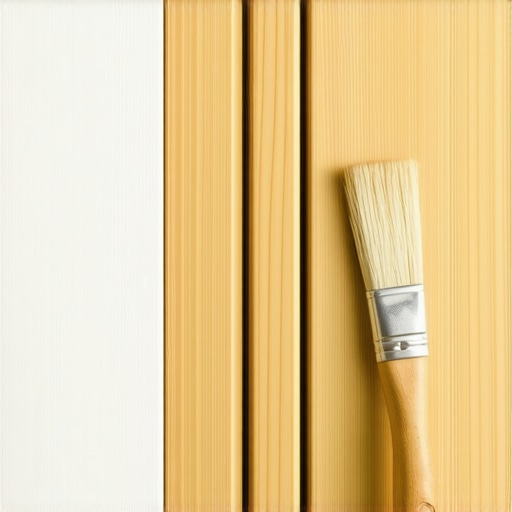
Think of grain filler like a ‘crumb coat’ on a cake. When bakers want that perfectly smooth fondant look, they first fill in the holes of the sponge with frosting. In our world, grain filler is that frosting. It is a thick, paste-like substance designed to be forced into the open pores of the wood. This step is a non-negotiable part of modern kitchen remodels featuring custom cabinets and built-ins where a flat look is desired. Unlike the best wood species for painted cabinets that will not crack at the joints, such as maple or poplar, oak’s deep grain will swallow your paint whole if you don’t bridge it first.#IMAGE_PLACE_HOLDER_B#
My First Grain-Filling Fail and How to Avoid It
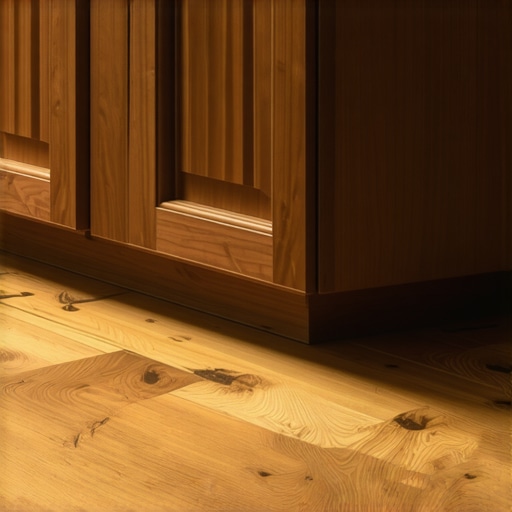
The first time I tried this, I slathered the filler on like I was icing a literal cake, leaving a thick layer over the entire door. I thought more was better. Big mistake. I spent the next three days sanding through a rock-hard crust that I never should have applied in the first place. The trick is to apply the filler with a plastic spreader or a flexible putty knife and then scrape off 95% of it while it is still wet. You only want the filler to remain inside the grain, not on the surface of the wood. It should look like a hazy film on the flat parts but a solid color inside the ‘valleys’ of the wood. This creates the foundation for custom cabinets as a game-changer in your kitchen remodel journey because it levels the playing field for your paint.
Sand the Surface for a Glass-Like Feel
Once that filler is dry—usually a few hours depending on the humidity—you need to sand it back with 220-grit paper. This isn’t a heavy-duty sanding session; it is a refinement. You are leveling the filler so it is perfectly flush with the wood. If you feel any bumps or see any remaining ‘shadows’ of grain, you might need a second pass. I’ve found that two thin coats of filler are always better than one thick, messy one. This precision is what transforms standard storage into something that looks like high-end stylish kitchen overhaul material.
Lock it Down with the Right Primer
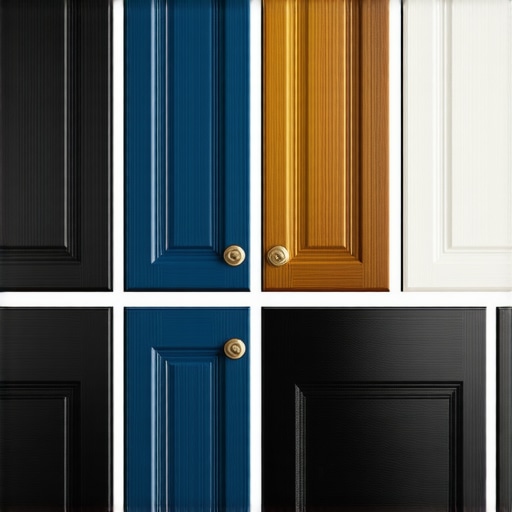
After your grain is filled and the dust is vacuumed away, you must use a high-build, oil-based or shellac-based primer. Do not use water-based primer here. Water-based products can actually raise the grain of the wood, undoing all your hard filling work. A shellac-based primer will seal in the wood tannins and provide a hard, sandable base for your topcoat. This also helps you understand why your white cabinets are turning yellow and how to prevent it, as the primer acts as a barrier against the natural oils in the oak that bleed through and discolor your finish over time.Even with a perfect paint job, your kitchen can still feel dated if the functionality is stuck in the 1990s. Everyone tells you that more cabinets equal more value, but in my experience, more cabinets often just lead to more cluttered junk drawers. The real secret to custom cabinets as a game-changer in your kitchen remodel journey isn’t the quantity; it is the specific engineering of the interior. For years, the Lazy Susan was the gold standard for corners, but it is actually a massive space-waster that frequently jams. This is why you should skip the lazy susan and install lemans pull-outs instead. You get significantly more usable surface area, and nothing ever falls off into the dark abyss behind the cabinet frame.
Ditch the Deep Shelves for Massive Drawers
A common mistake I see homeowners make is sticking with standard base cabinets for everything. If you are reaching into the back of a 24-inch deep cabinet to find a lid, you have already lost. For a truly stylish kitchen overhaul, you need to transition your base units to drawers. Modern hardware allows these drawers to hold over 100 pounds, making them the best way to organize heavy dutch ovens in a deep drawer. When you pull a drawer out, you see everything from a bird’s-eye view. No more kneeling on the floor with a flashlight. #IMAGE_PLACE_HOLDER_C#
Why does your kitchen island feel like a bottleneck?
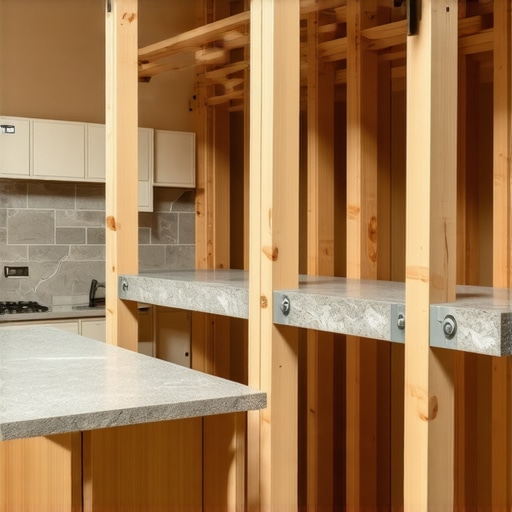
Many DIY designers try to squeeze in an island without respecting the ‘buffer zone.’ The National Kitchen & Bath Association (NKBA) recommends at least 42 inches of clearance in a single-cook kitchen and 48 inches for multiple cooks. If you go narrower, you will find yourself constantly bumping into open dishwasher doors. This is exactly why your kitchen island seating feels cramped and how to fix it before you bolt the cabinets to the floor.
Avoid the Dishwasher Against the Wall Trap
Here is a nuance that even some ‘pro’ contractors miss: why you should never place a dishwasher directly against a wall. If you put the dishwasher in a corner against a side wall, you cannot stand next to it while loading. You are trapped. You need a filler or a small cabinet to provide ‘elbow room.’ This kind of foresight is what separates innovative storage solutions for modern kitchen remodels from a standard cookie-cutter layout.
The Hidden Cost of Bad Workflow
Your kitchen should be built around ‘zones’ rather than the old-school work triangle. You need a prep zone, a cleaning zone, and a storage zone. Using expert tips on selecting storage solutions for a perfect kitchen upgrade means thinking about where the salt and oil live relative to the stove. Have you ever fallen into the trap of choosing looks over layout? Let me know in the comments. If you are ready to stop guessing and start building a space that actually works, check out our contact page to get a professional perspective on your layout.
Stop Guessing When You Drill
Once you have your cabinets painted and looking like a million bucks, the fastest way to ruin them is by eyeballing your handle placement. I have seen beautiful custom cabinets as a game-changer in your kitchen remodel journey get butchered because someone thought they could ‘just wing it’ with a tape measure. I personally swear by a dedicated cabinet hardware jig. I use the Kreg Cabinet Hardware Jig because it locks into place, ensuring every single pull is identical to the millimeter. This is the best way to drill holes for new cabinet hardware because it eliminates human error and the heart-sinking realization that your handles are staggered. Trust me, your eyes will catch a 1/16th-inch deviation every time you walk into the room. 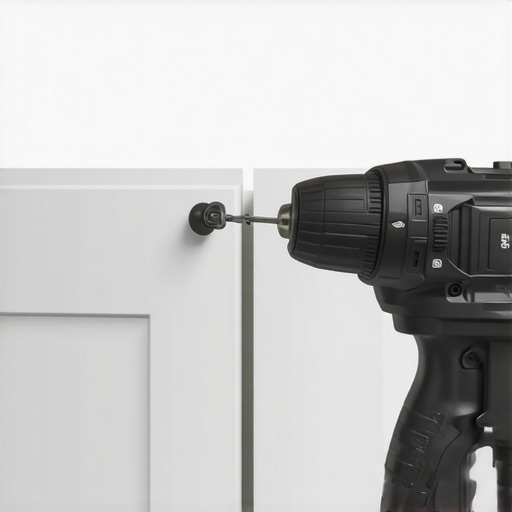
Fix Those Wonky Doors in Minutes
Wood is a living material; it shifts with the seasons. A door that was perfectly level in July might look slightly tilted by January. You do not need a contractor for this; you just need to master how to adjust European hinges for a perfectly level door-reveal. These hinges have three adjustment screws that control height, depth, and side-to-side positioning. According to technical documentation from Blum Inc., a leading manufacturer of functional furniture fittings, most high-quality hinges allow for a 3mm range of adjustment in all directions. If you notice a gap widening at the top of your pantry, a simple quarter-turn on the middle screw usually solves it. Learning the 5-minute hinge adjustment for fixing wonky cabinet reveals is the single most useful skill for any homeowner who wants to maintain a stylish kitchen overhaul.
How do I maintain my high-end cabinets over time?
Maintenance isn’t just about cleaning; it’s about lubrication and protection. If you start hearing a metallic ‘sand’ sound when you open a drawer, it is a sign of trouble. You need to know why your soft-close slides grind and the quick lubrication-fix before the ball bearings fail completely. I typically use a dry Teflon spray because it doesn’t attract dust or pet hair like traditional grease does. When it comes to the exterior, especially if you followed my advice on the proper way to prep Indianapolis kitchen cabinets before the first coat of paint, you want to be gentle. Avoid harsh chemicals. If you have moved toward the modern trend of dark accents, you must know how to clean matte black cabinet hardware without scratches—use a damp microfiber cloth and nothing more. Chemical cleaners can strip the finish right off.
The Stealth Move for a Silent Home
We often focus on the look, but the ‘feel’ of a kitchen comes from the acoustics. There is nothing high-end about a cabinet door that bangs shut like a screen door. I always suggest the secret to a quiet kitchen dampening your cabinet doors by using high-quality silicone bumpers. It is a $10 upgrade that makes your kitchen feel twice as expensive. This attention to detail is what defines the transform-your-kitchen-with-custom-cabinets-expert-guide-for-2025. Looking forward, I predict we will see more ‘hidden’ tech, such as wireless charging pads built directly into the underside of the stone or touch-to-open sensors replacing handles entirely. For now, go grab a screwdriver and check your hinge reveals; it’s the easiest way to give your kitchen an instant ‘tune-up.’
The One Truth About Grain Filler Professionals Rarely Admit
Filling grain isn’t a one-and-done miracle; it’s a test of character. After years of tackling modern kitchen remodels featuring custom cabinets and built-ins, I’ve realized that the ‘perfect finish’ is actually found in the shadows. Here is what I wish someone had told me before I started. First, light is your best friend and worst enemy. Always check your grain filling with a raking light—a flashlight held at a low angle across the door. What looks smooth under overhead lights will show every valley once the paint dries and catches a side-shadow. Second, the ‘haze’ is normal. Don’t panic when your doors look cloudy after sanding the filler; that film is the sign of a level surface. Finally, never rush the dry time. Even if the container says it’s ready in 30 minutes, give it two hours. Moisture trapped in the grain is the leading cause of paint failure and can prevent a stylish kitchen overhaul from lasting.
Tools That Make the Difference Between Amateur and Pro
I don’t believe in buying every gadget at the hardware store, but these items are non-negotiable for a professional result. The LeMans pull-out is a mechanical masterpiece for any project. If you are tired of losing Tupperware in the dark corners of your base units, understanding why you should skip the lazy susan and install lemans pull-outs instead becomes very clear once you feel the smooth glide of a heavy shelf. I also keep a stash of high-quality silicone bumpers in my bag; they are the secret to a quiet kitchen dampening your cabinet doors and instantly elevate the luxury feel of the room. Finally, stick to 220-grit sanding sponges for your final pass because they conform to profiles better than flat blocks, ensuring you don’t sand through the edges of your custom cabinets as a game-changer in your kitchen remodel journey.
#IMAGE_PLACEHOLDER_FINAL#
The Finish Line Is Closer Than You Think
It is easy to get overwhelmed by the dust and the decisions, but remember that every sanded door and every filled grain is a step toward a home that truly reflects your style. Using built-ins and storage hacks for a sleek functional kitchen isn’t just about utility; it is about creating a space where you actually want to spend time. Don’t be afraid to take it one cabinet at a time. The transform-your-kitchen-with-custom-cabinets-expert-guide-for-2025 is simply a roadmap, but you are the driver. If you find yourself stuck or need a professional eye to finalize your layout, head over to our contact page and let’s chat about your vision. Have you ever tried to fill oak grain before, or are you planning to take the plunge this weekend? Let me know your biggest worry in the comments below!