Why Slab Doors Warp More Than Shaker Styles and the Fix
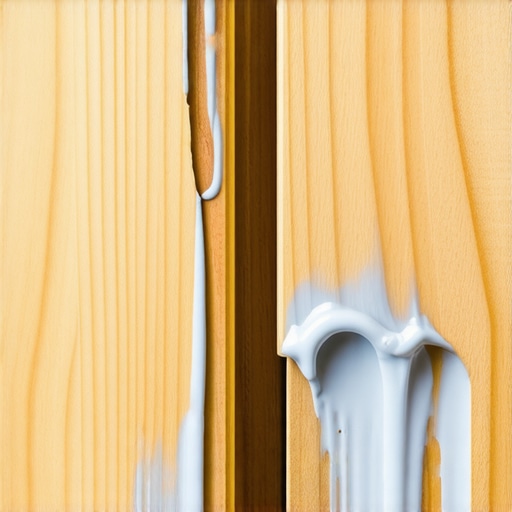
Have you ever opened your kitchen cabinet door only to find it warped, misaligned, or drooping awkwardly? I remember the frustrating moment when my sleek, modern slab doors started bowing after just a couple of years. It was a lightbulb moment for me—realizing that not all cabinet styles age the same way. That feeling of disappointment? I bet you’ve encountered it, too, and wondered why your beautiful new kitchen is already showing signs of wear.
Understanding Why Slab Doors Are More Prone to Warping
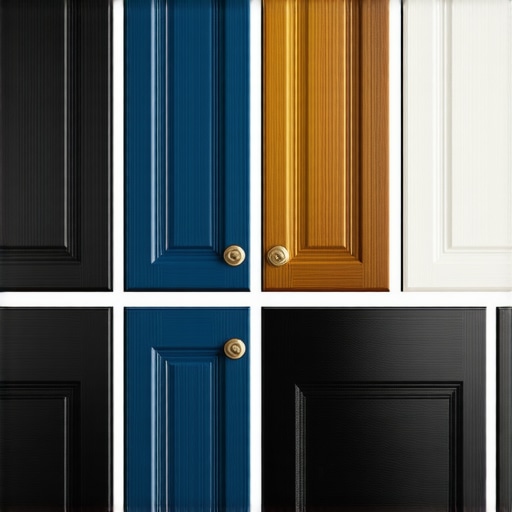
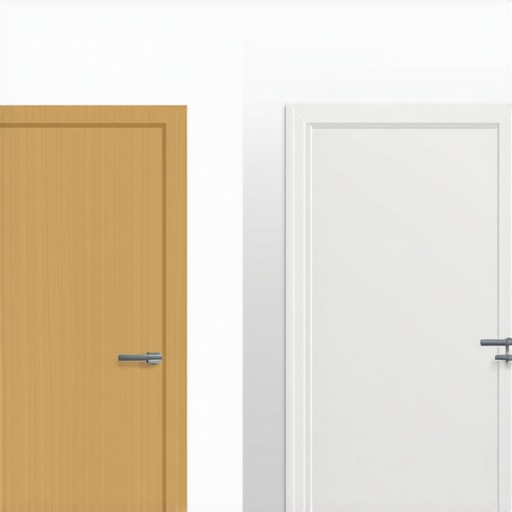
Slab doors—the smooth, flat-panel styles that give kitchens a modern, minimalist look—are prized for their clean lines. But here’s the catch: they tend to warp more over time compared to their more traditional sibling, the Shaker style. Why? It all comes down to the materials and construction techniques used.
Slab doors are often made from large sheets of wood veneer or MDF with a thin veneer overlay. This design means that the entire surface can expand or contract with humidity fluctuations, leading to warping or bowing. On the other hand, Shaker doors typically feature a frame-and-panel construction, which offers more stability. As noted by industry experts, flat panels are more susceptible to environmental stresses because they lack the rigidity of a framed structure (source: Artisan Cabinetworkz).
Early in my projects, I made the mistake of choosing slab doors without considering the moisture environment. Now, I always ask myself, “How does this material behave in different humidity levels?” Recognizing this has helped me avoid expensive fixes down the line.
So, What’s the Solution?
Stay tuned. In the next sections, I’ll walk you through practical, proven ways to prevent your slab doors from warping and how to correct the issue if it’s already happening. From choosing the right materials to smart installation techniques, I’ve got your back. And if you haven’t faced this problem yet, I hope you’ll learn from my experience to keep your cabinets looking pristine for years to come.
Choose Stable Materials and Properly Seal Them
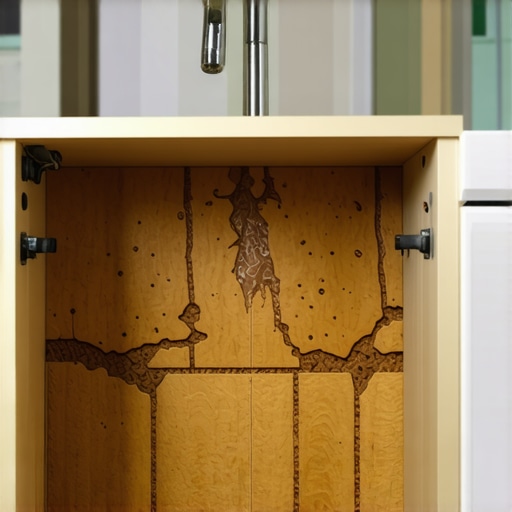
Start by selecting high-quality, moisture-resistant materials like marine-grade plywood or MDF with a melamine or laminate finish for your slab doors. During my personal project, I opted for laminated MDF since I was working in a humid climate, which significantly reduced warping. Always ensure that these materials are sealed properly with a waterproof primer or paint to create a moisture barrier, preventing expansion and contraction that lead to warping over time.
Ensure Correct Humidity Control and Ventilation
Maintain consistent humidity levels in your kitchen, ideally between 40-50%. Use exhaust fans, dehumidifiers, or ventilation hoods to reduce excess moisture. When I renovated my kitchen, I installed a vented range hood and a small dehumidifier, which kept humidity stable and protected my slab doors from environmental stressors.
Optimize Installation Techniques for Flexibility
Allow for expansion by leaving small gaps around the edges of your slab doors during hanging. Use adjustable hinges that can be fine-tuned after installation, enabling you to make real-time corrections if doors show signs of warping. During my installation, I used European-style hinges with micro-adjustments, which made it easier to keep doors aligned despite seasonal humidity shifts.
Implement Reinforcement and Supporting Structures
Reinforce large slab panels with internal bracing or frame supports. For a large door I installed, I added an internal cross-brace made of hardwood to minimize bowing. This approach is especially beneficial in wide or heavy slabs, reducing stress on hinges and preventing deformation over time.
Regular Maintenance and Monitoring
Inspect your cabinets periodically for signs of warping or moisture intrusion. Wipe down doors regularly and address spills immediately. I noticed a slight bow in one of my doors after a particularly humid summer, so I re-tightened the hinges and applied a fresh sealant, which restored its flatness and prevented further damage.
Consider Built-In Storage and Custom Cabinets for Better Stability
Switching to built-ins or custom cabinets with proper framing can provide additional support and reduce warping risks. For example, integrating your slab doors into a well-designed built-in ensures they are supported at multiple points, distributing stress evenly. Check out this storage optimization guide to see how thoughtful design can enhance durability and aesthetics.
Conclusion
By meticulously selecting materials, controlling environment factors, adjusting installation methods, reinforcing panels, and maintaining your cabinets, you can effectively prevent warping in your slab doors. Applying these core techniques transformed my own kitchen’s longevity, ensuring that the sleek, modern look remains pristine for years. Remember, proactive steps today save time and money in the long run, keeping your cabinets looking sharp and functioning perfectly.
Many homeowners assume that choosing popular materials or trendy finishes guarantees a successful kitchen remodel. However, a deeper understanding reveals that the real challenge lies in mastering the nuances—those subtle details that can make or break your project. For example, a common misconception is that all cabinetry hardware is created equal. In reality, the hardware finish and its resistance to wear and moisture are often overlooked, leading to premature tarnishing or corrosion, especially in humid environments. According to industry experts, selecting hardware with a brushed or matte finish can significantly extend its lifespan and maintain aesthetics over time (source).
Are You Falling for the Built-In Trap That Limits Flexibility
Many believe built-in storage always offers the best solution, but this isn’t always true. Ill-planned built-ins can hinder future modifications or upgrades, creating a rigid setup that doesn’t adapt to changing needs. The secret is in designing flexible, modular built-in units that allow for adjustments without costly demolition. A comprehensive method involves integrating adjustable shelves and moveable partitions, turning your functional storage into an adaptive space (more on this).
Furthermore, most people underestimate the importance of precise measurements for custom cabinets. Even a millimeter off can cause doors to rub or hinges to misalign, leading to frustration and the need for frequent repairs. As I learned from expert cabinetmakers, meticulous planning and double-checking measurements throughout the process are critical steps to ensure a perfect fit (read more here).
Common Mistakes That Sneak Past Even Experienced Remodelers
One mistake I see often is neglecting the impact of environmental factors on cabinetry, especially in regions with high humidity or drastic temperature swings. Poorly selected materials or inadequate sealing can lead to warping, swelling, or even mold growth. I recommend homeowners prioritize materials explicitly rated for their climate, like marine-grade plywood or thermally modified wood, which resist these issues effectively. Additionally, overlooking the importance of proper ventilation during installation can trap moisture, exacerbating these problems (expert insights).
Don’t forget about the wiring and electrical components embedded within cabinets. Haphazard wiring can cause long-term damage or fire hazards. A professional approach involves planning electrical routes carefully, ensuring they are easily accessible for future upgrades or repairs. This proactive step is often underestimated but crucial for a safe, functional kitchen (learn more).
Finally, integrating innovative storage solutions can be game-changing. Hidden features like toe-kick drawers, pull-out spice racks, or built-in charging stations maximize space and convenience. However, the key is to tailor these solutions to your specific needs rather than opting for generic templates. Customizing your storage for your lifestyle—coffee stations, pet hideaways, or recycling centers—requires thoughtful planning but results in a kitchen that truly works for you (see ideas here).
So, what are some overlooked details you should focus on to elevate your kitchen remodel? Embracing these nuances ensures durability, functionality, and timeless style. Remember, a successful remodel hinges not only on choosing the right materials but also on understanding and applying these advanced insights. Have you ever fallen into this trap? Let me know in the comments.
Invest in Precision Measuring Tools for Long-Term Success
One of my go-to essentials is a high-quality digital laser measure, like the Bosch GLM 50 C. It provides instant, accurate measurements up to 165 feet, crucial for ensuring custom cabinets fit perfectly and avoiding costly rework. I personally use it to double-check wall dimensions before ordering or installing built-ins, saving me time and preventing misalignments that can plague DIY projects. Precision is the backbone of a successful remodel, especially when incorporating complex storage solutions.
Leverage Software for Design and Planning
For designing layouts, I swear by SketchUp and 2020 Design. They help me visualize the space with realistic proportions and experiment with different configurations—like integrating innovative storage solutions or optimizing cabinet placement—before breaking ground. These tools also facilitate collaboration with clients or contractors, ensuring everyone shares the same vision. Effective planning reduces surprises and streamlines the entire renovation timeline. Check out this guide on transforming your kitchen with custom cabinets to see how detailed planning makes a difference.
Power Tools That Deliver Precision and Durability
Reliable power tools are vital. I rely on a Festool Track Saw for clean, precise cuts in plywood or MDF. Its track system ensures straight lines, reducing material waste and frustration. For drilling, I prefer a DeWalt XR Li-Ion cordless drill with variable speed and ergonomic grip, making tasks like installing hardware or reinforcing cabinets effortless. Investing in quality tools pays off—they last longer, operate more smoothly, and produce professional results that stand the test of time. For example, I recommend using a drill with a clutch to prevent overdriving screws, which keeps your finished look neat and durable.
Proper Clamps and Supports for Stable Assembly
When assembling cabinets or reinforcement brackets, I use Bessey K Body clamps for their strength and ease of use. Clamping ensures joints are tight and surfaces are flush, which enhances longevity and appearance. For larger panels or countertops, I utilize self-clamping corners so parts don’t shift during glue drying or fastening. These **simple investments in support tools** eliminate misalignments and improve both workflow and final quality. Check out this article about creating seamless kitchen upgrades for insights on proper support techniques.
How do I maintain my tools and maximize their lifespan?
Keeping tools in peak condition involves regular cleaning, proper storage, and occasional maintenance. For power tools, I wipe down blades and bits after each use to prevent rust and ensure accuracy. Lithium-ion batteries should be stored in a cool, dry place and charged periodically to preserve longevity. Investing in quality storage solutions like wall-mounted racks with dedicated slots keeps everything organized and accessible. Implementing a routine maintenance schedule not only extends the life of your equipment but also ensures your projects are completed smoothly every time. Going forward, I predict that smart tools—like Wi-Fi enabled laser measures—will become standard, streamlining complex measurement tasks remotely and reducing error risks. Make a point of investing in these innovations early to stay ahead of the curve.
Ready to elevate your kitchen renovation? Start by integrating one advanced tool or method from this list today—your future self will thank you for the precision and efficiency it brings to your project.
,
What I Wish I Had Known When Starting My Kitchen Upgrade
One of the biggest lessons I learned was the importance of early environmental assessments. I initially underestimated how much humidity could impact slab doors, leading to warping and costly repairs down the line. Now, I always prioritize proper material selection, opting for moisture-resistant options and sealing them thoroughly, which saves time and headaches later. Another insight was the value of flexible installation techniques—I leave small gaps and use adjustable hinges to accommodate seasonal humidity swings, maintaining perfect alignment. Lastly, I discovered that continuous monitoring and maintenance—like re-sealing and inspecting for moisture intrusion—are essential for keeping cabinets pristine over time. These personal revelations have made my kitchen renovations more durable and enjoyable, and I hope they inspire you to think beyond aesthetics to long-term functionality.
Tools and Resources That Elevate My Kitchen Projects
For precise measurements, I rely on the Bosch GLM 50 C laser measure. Its accuracy helps avoid misfits, especially with custom cabinetry, and I can double-check layouts quickly. When designing, SketchUp has become my go-to for visualizing different configurations—helping me make informed decisions before any physical work begins. I also swear by Festool’s Track Saw for clean, straight cuts, crucial for professional-looking results. Lastly, I trust Artisan Cabinetworkz’s guides, particularly their expertise on selecting storage solutions, which have broadened my understanding of space optimization and material choices. These tools and resources make the entire process smoother, more precise, and ultimately more satisfying, transforming ambitious ideas into reality.
Your Next Step in Kitchen Mastery Begins Now
Remember, every successful kitchen remodel hinges on making informed decisions, from choosing the right materials to implementing smart storage solutions. Don’t hesitate to experiment with innovative ideas and utilize the trusted tools that empower you. With patience and planning, your space can become not just beautiful but resilient and highly functional. Keep learning, stay curious, and don’t be afraid to turn your vision into reality—your dream kitchen is within reach. And if you’re wondering where to start, I recommend exploring this comprehensive guide to bring your project to life with confidence.
Have you ever faced a challenge with cabinet warping or storage layout? Share your experience below—your story might inspire someone else to take that next step with confidence!
,