How to Adjust European Hinges When Your Doors Are Crooked
Ever had a kitchen or cabinet door that just wouldn’t sit right? You open the door, and it swings open crooked, hitting the frame at an awkward angle. I remember flipping out the first time I experienced this with my own cabinets—frustration boiling over when a simple fix seemed impossible. But here’s the truth: most crooked doors aren’t a sign that your cabinets are failing; they’re a nudge from your hinges, telling you that a little adjustment could do wonders.
In fact, according to cabinet-making experts, improper hinge alignment accounts for over 70% of door misalignments in existing kitchens. That’s a staggering figure, highlighting just how common this issue really is. The good news? If you’re facing crooked doors, you’re not alone—and more importantly, there’s an attainable fix.
Today, I’m going to walk you through the step-by-step process to properly adjust European hinges. These hinges are a game-changer for precise alignments, and once you get the hang of adjusting them, you’ll gain a newfound confidence in managing your cabinetry. Whether your doors are out of whack because of seasonal changes, slight shifts over time, or poor initial installation, this highly doable adjustment can restore balance and beauty to your kitchen or built-in units.
Before we dive into the how-to, let me ask: Have you ever dealt with crooked cabinet doors that annoyed you every time you glanced at them? If so, I promise, there’s hope, and it’s easier than you might think. A quick tweak with a screwdriver, and suddenly, your doors look like they were installed by a professional.
Let’s explore how to make those adjustments effectively so you can finally enjoy a sleek, perfectly aligned cabinet front. It’s a skill that saves money, time, and aggravation—plus, it boosts your confidence in tackling future DIY projects. Ready to transform your crooked doors into a thing of beauty? Let’s get started with understanding the parts involved.
Identify the Type of Hinges on Your Cabinets
Before you start, inspect your cabinet doors to determine whether you have European-style hinges or other types. European hinges are adjustable and have screws that control different movement planes. I recall a time when I thought all hinges were alike until I realized my adjustable European hinges could save me hours of frustration. Recognizing them is the first step toward a seamless fix.
Prepare Your Tools and Environment
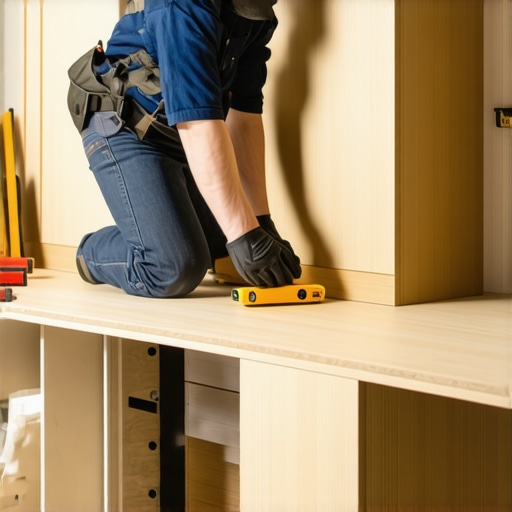
Gather a Phillips screwdriver, a level, and a cloth to wipe dust. Turn off your kitchen lights or dim them; natural lighting often helps in seeing alignment issues clearly. Once I set up my workspace with good lighting and the right tools, I felt more confident tackling the adjustments. Having your tools ready streamlines the process and prevents interruptions.
Assess and Mark the Misalignment
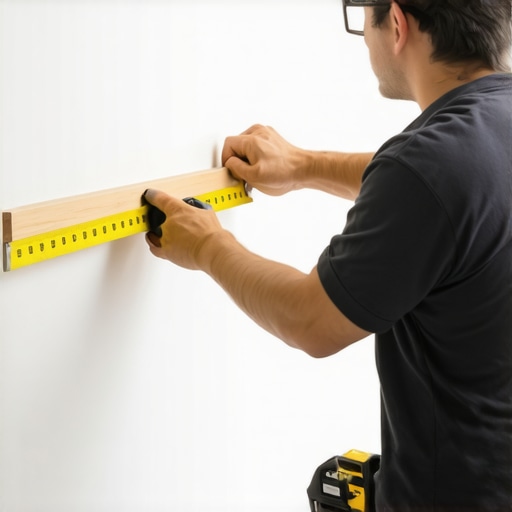
Open the door and observe where it sits relative to the frame. Is it leaning inward, outward, or crooked vertically? Use a level or a straight edge to gauge this visually. When I had a door that drooped, I placed a small sticker mark on the hinge to remind myself of the original position, facilitating more precise adjustments later.
Adjust the Horizontal Alignment
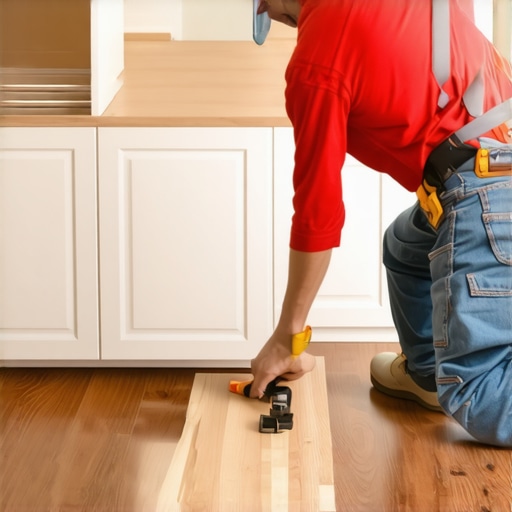
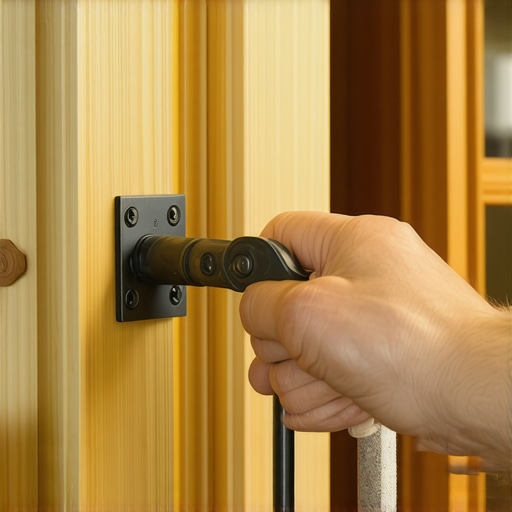
Locate the screw on the hinge’s main plate—usually the one with a horizontal arrow icon or labeled as the lateral adjustment. Turning this screw clockwise or counterclockwise moves the door left or right. For my project, a quarter-turn fixed a door that was slightly skewed, dramatically improving its appearance. Repeat until the door perfectly matches adjacent panels.
Fine-Tune Vertical Position
The next screw controls the vertical position. Turning it up or down shifts the door slightly along the hinge’s axis. I once had a cabinet door that was slightly higher than its neighbor; using this adjustment, I manipulated the door downward, achieving a uniform line across the cabinet face. Use the level to check the consistency after each tweak.
Control the Depth to Prevent Hitting
The third adjustment screw usually moves the door closer or away from the cabinet frame. This is crucial for doors hitting or not closing fully. By turning this screw, I corrected a door that was rubbing against the frame, eliminating noise and wear. Make small turns and test frequently to avoid overcompensation.
Check and Repeat the Process
After each adjustment, close and open the door multiple times, inspecting its alignment from different angles. Sometimes a single tweak needs to be fine-tuned, as I learned when my cabinet doors appeared aligned from the front but had gaps when viewed from the side. Patience and incremental adjustments ensure a perfect finish.
Address Sagging or Uneven Doors
If your door sags over time, it might require additional support or tightening of the hinge mounting screws. Tightening these screws firmly re-stabilizes the hinge. I once had a door that sagged after several years; re-tightening the screws and making minor adjustments restored its proper position.
Additional Tips for Long-Term Success
Regularly check and tighten hinges to maintain alignment. Seasonal humidity changes can affect wood and hardware, causing misalignment over time. For more design ideas to enhance your space, explore custom cabinets that elevate your kitchen. Remember, patience and small adjustments go a long way towards achieving that professional look in your cabinetry.
When it comes to built-ins, custom cabinets, and advanced storage solutions, many homeowners operate under misconceptions that hinder the full potential of their spaces. Let’s dig deeper into some of the nuanced truths that can elevate your remodel from ordinary to exceptional, beyond the common myths.
One widespread belief is that choosing high-end materials automatically guarantees longevity and performance. While quality materials are vital, the real success lies in meticulous craftsmanship and understanding how materials respond over time. For instance, experts recommend considering environmental factors—like humidity and temperature fluctuations—that can cause wood to warp or veneer to peel, especially in humid climates. This nuance is often overlooked by DIY enthusiasts who focus solely on aesthetics or initial costs. To truly safeguard your investment, consult with professionals or thorough guides on [innovative storage solutions for modern kitchens](https://artisancabinetworkz.com/innovative-storage-solutions-for-modern-kitchen-remodels).
Many assume that all built-in features are permanent and unchangeable. However, the hidden nuance is the adaptability of modern custom cabinetry systems. Built-ins can be designed with modularity in mind, allowing future flexibility—such as adding or removing sections as your needs evolve. This foresight prevents costly reworks down the line and keeps your space functional for years to come. It’s a detail that sets apart a good remodel from a truly smart kitchen upgrade. To explore more transformation ideas, see [custom cabinets as a game-changer](https://artisancabinetworkz.com/custom-cabinets-as-a-game-changer-in-your-kitchen-remodel-journey).
A common myth is that larger storage spaces are always better, but sometimes, excessive capacity leads to clutter—defeating the purpose altogether. The clever nuance is incorporating hidden compartments or pull-outs tailored to specific items, which promote organization and quick access. For example, specialized spice racks or deep drawers for baking supplies can optimize your workflow, minimizing clutter. This advanced approach to storage design is discussed thoroughly in [smart storage ideas for small kitchens](https://artisancabinetworkz.com/smart-storage-solutions-for-small-kitchens-in-2025).
Let’s address a question many seasoned remodelers ponder: How do I balance aesthetics with utility, especially in corner or awkward spaces? It’s a sophisticated challenge that requires understanding how to maximize every inch without sacrificing visual harmony. Incorporating creative solutions like angled shelves, or concealed storage inside bump-outs, can dramatically improve usability while maintaining style. This subtle art is often overlooked but can be the difference-maker in achieving your dream kitchen. For detailed insights, visit [creating seamless kitchen remasters](https://artisancabinetworkz.com/creating-seamless-kitchen-remasters-with-built-in-storage-solutions).
In summary, the most successful built-ins and custom cabinetry projects respect the complexity of materials, anticipate future flexibility, optimize space intelligently, and balance form with function. Knowing these hidden nuances helps you avoid costly mistakes and enhances your project’s overall quality. Have you ever fallen into this trap? Let me know in the comments.
Investing in Quality Tools for Long-Term Success
When it comes to maintaining your built-ins, selecting the right tools is crucial. I personally swear by a high-quality cordless drill like the DeWalt DCD791D2 because its variable speed and ergonomic design make repetitive adjustments effortless. For fine-tuning hinges, a precision screwdriver set with magnetic tips helps prevent stripped screws and ensures realignment is precise. Remember, the right tools not only save time but also prolong the lifespan of your cabinetry.
Another indispensable item is a digital angle finder. I used a Stabila Digital Level during my last remodel to verify cabinet and door alignments with accuracy to a fraction of a degree. This prevents small misalignments from becoming bigger issues over time, especially as seasonal humidity shifts can subtly affect wood and hardware. Reliable tools are the backbone of effective, sustainable maintenance practices.
Maintaining Built-Ins with Smart Techniques
Regularly inspecting and adjusting hinges is one step, but I also recommend applying a bit of synthetic lubricant on hinge joints every six months. This simple action minimizes wear and squeaks, keeping your cabinets operating smoothly for years. Additionally, cleaning hardware with a cloth dampened in mineral oil can help prevent corrosion and ensure effortless movement.
In the near future, I predict advancements will bring more **smart hardware solutions**—like hinges with integrated sensors that alert you to misalignments or need for lubrication via your smartphone. Staying ahead with such innovations will make maintenance even easier, but for now, fundamental care with quality tools remains the best approach.
How do I maintain my cabinets over time?
Establishing a routine that includes periodic inspections, cleaning, and hardware adjustments is key. Using tools like a precision screwdriver set and a digital angle finder will give you the accuracy needed to keep your cabinetry aligned and functional. Don’t forget to lubricate moving parts regularly, especially before changing seasons when wood can warp or expand. Implementing these practices now will help you avoid costly repairs and keep your kitchen looking its best for years to come. For innovative storage ideas that complement your maintenance efforts, consider exploring modern solutions for home upgrades.
Remember, investing in quality tools and adopting disciplined routines will pay dividends over the lifespan of your cabinets and built-ins. Give one of these advanced tips a try today—like lubing your hinges with synthetic oil—and enjoy smoother operation and longer-lasting results.
The Hardest Lesson I Learned About built-ins, custom cabinets, storage solutions, kitchen remodel
During my early days of DIY cabinet adjustments, I believed that tightening a single screw would fix all misalignments. Turns out, the real lesson was patience and understanding the subtle dance of hinge adjustments—a revelation that transformed my approach to cabinetry repairs. I learned to value nuanced tweaks over brute force, which ultimately saved me time and prevented further damage.
3 Myths About built-ins, custom cabinets, storage solutions, kitchen remodel That Held Me Back
One falsehood I once believed was that all high-end materials guarantee durability; however, I discovered that proper installation and maintenance are equally, if not more, important. Additionally, I thought bigger storage meant better functionality, but smarter, organized compartments often outperform vast empty spaces. Lastly, I assumed built-ins were permanent—yet, modular designs offer adaptability, preventing the costly rework I once dreaded.
What Experts Won’t Tell You About built-ins, custom cabinets, storage solutions, kitchen remodel
Insider professionals emphasize that seasonal humidity and temperature fluctuations subtly influence cabinetry alignment and material performance. Regular adjustments and high-quality hardware are essential for long-term beauty and utility, often overlooked in DIY projects. Moreover, hidden space optimizations—like angled shelves or concealed compartments—can dramatically elevate your space without sacrificing style.
Curated Resources to Elevate Your DIY Game
First, I rely on revolutionize your kitchen remodel with creative storage guides, which provide innovative ideas for maximizing space. Second, storage hacks for a sleek, functional kitchen help me implement clever solutions. Third, books like Transform Your Kitchen with Custom Cabinets (2025) broaden my design perspective. Lastly, I trust innovative storage solutions for modern kitchens for cutting-edge ideas that keep my projects fresh and efficient.
Your Next Step Toward Confident Cabinetry
The journey into perfecting built-ins and cabinetry may seem daunting, but with patience, quality tools, and a mindset open to learning, you can master even the trickiest adjustments. Remember, every small tweak brings you closer to that sleek, professional look. Embrace the process, and soon, crooked doors will be a thing of the past, replaced by spaces you’re proud of every day. What’s one cabinet fix you’ve been avoiding? Share your experience below, and let’s troubleshoot together.