The Cabinet Shim Secret: How to Get Perfectly Level Tops on Uneven Floors
I’ll never forget the moment I installed a brand-new set of kitchen cabinets, only to find the countertops looked like they were straight out of a funhouse mirror—wavy, uneven, and frustratingly out of sync with my vision of a sleek, modern space. That lightbulb moment hit me hard: uneven floors are more common than you’d think, and they can throw even the most carefully planned remodel into chaos.
The Hidden Challenge of Uneven Floors in Custom Cabinet Installations
If you’ve ever been deep into a kitchen remodel or DIY project, chances are you’ve faced the nightmare of cabinets that don’t sit level. It doesn’t just look bad—uneven tops can cause squeaky doors, misaligned hardware, and make your entire space feel off-kilter. The good news? There are reliable ways to tackle this issue head-on, ensuring your cabinets and countertops sit perfectly and look amazing.
Are You Wasting Time and Money on Tricks That Don’t Last?
Early in my journey, I made a common mistake: relying solely on shims and hoping for the best. That quick fix might seem tempting, but it often leads to instability and headaches down the line. Did you know that improper leveling can even compromise the longevity of your cabinets? According to industry experts, a methodical approach can save you time and prevent costly re-dos. If you’re tired of crooked countertops ruining your space, stick around. We’ll explore proven techniques from real-world experience to get your cabinets perfectly level, regardless of the uneven floors beneath them.
Facing this problem yourself? You’re not alone, and the solution might be simpler than you think. Ready to transform that frustrating wobbly mess into a seamless, professional finish? Let’s dive into the practical steps that will make uneven floors a thing of the past.
Start with a Precise Floor Assessment
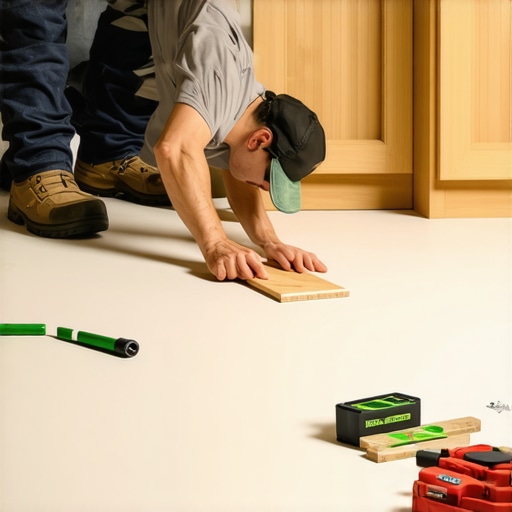
Before installing your cabinets, I vividly recall the time I laid out a new kitchen—using a long spirit level across the floor revealed unevenness ranging from 1/8 inch to over 1/4 inch. Measure with a laser level or a long straightedge to identify high and low spots. Mark these areas clearly with painter’s tape—think of it as mapping the terrain of your installation site. This step lets you visualize exactly where adjustments are necessary, preventing surprises later.
Install Adjustable Feet for Flexibility
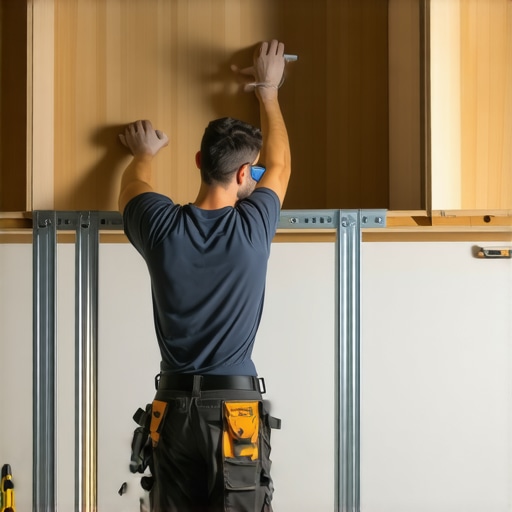
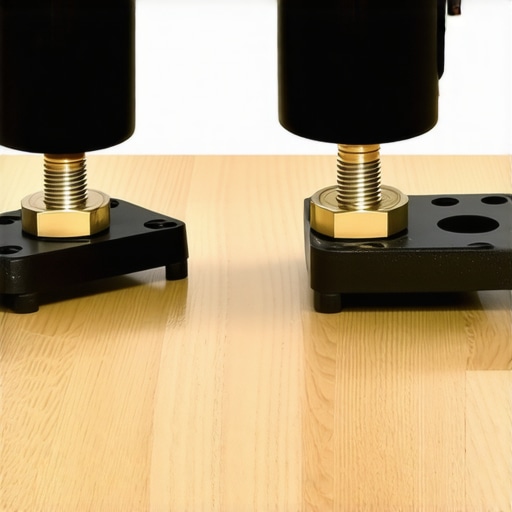
Using base cabinets with adjustable leveling feet is like giving yourself a secret weapon against uneven floors. When I remodeled my own kitchen, I selected cabinets with sturdy, lockable feet. Place the cabinets without finalizing hardware—this allows for mobility if further adjustments are needed. Once in place, tweak each foot individually, turning them to level the cabinet base to the reference plane you’ve established. This granular control ensures that the overall cabinet alignments are accurate, creating a seamless look.
Use a Level and Shim Strategically
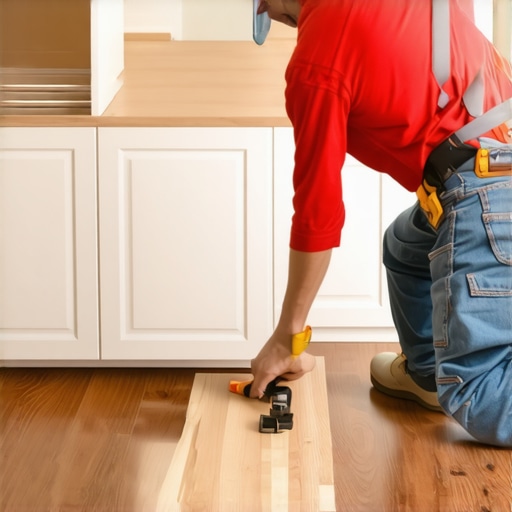
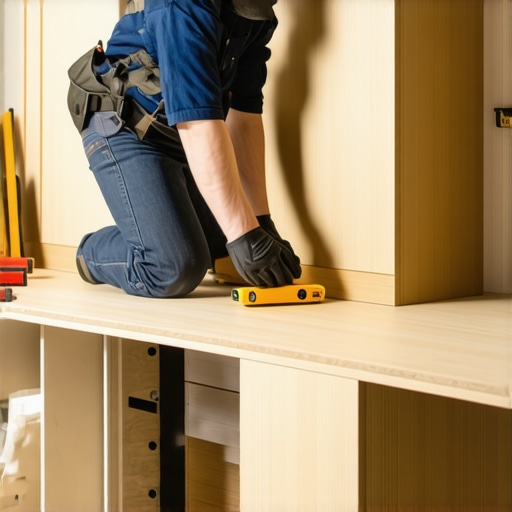
After initial positioning, lay a long level atop the cabinet to verify horizontality. In a real-world project, I found that small gaps under the cabinet’s bottom edge indicated unevenity. Insert shims—thin wedges made from plywood, MDF scraps, or commercially available shims—between the floor and the cabinet’s adjustable feet. Taper shims to match floor contours, much like contouring a landscape, ensuring a firm and level base. Secure shims temporarily with construction adhesive if necessary, especially on irregular surfaces.
Automate Dry Fitting with a String Line
When aligning multiple cabinets, a string line acts like a guide wire, keeping everything on the same plane. I stretched a taut string at the height of the countertop, running it along the cabinet fronts. This visual aid highlighted discrepancies, allowing fine-tuning of each cabinet before final fastening. Think of it as creating a railway track—you want all your cabinet fronts to run parallel and straight.
Secure Cabinets Before Final Adjustments
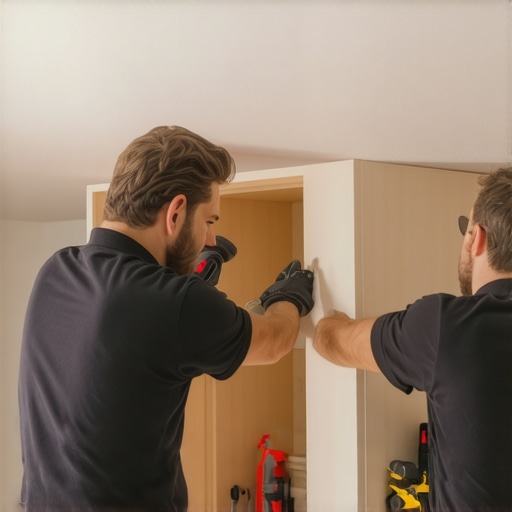
Once satisfied with leveling, secure the cabinets temporarily using clamps or screws. Check again with a level while tightening—over-tightening can shift the cabinet, undoing your efforts. When installing the countertops afterward, this stable foundation will prevent them from appearing crooked, even over some unevenness beneath.
Address Persistent Floor Slopes with Creative Solutions
If your floor’s unevenness exceeds what shims can effectively handle, consider elevating the entire cabinet run or building a custom platform. For example, on a sloped concrete slab, I built a raised subframe, akin to constructing a foundation, to create a level base. This method distributes weight evenly and offers a clean, professional appearance. For more innovative approaches, check out expert tips on custom cabinetry.
 Many homeowners assume that choosing custom cabinets automatically guarantees a perfect kitchen, but there are nuanced pitfalls more experienced remodelers are quick to avoid. A common misconception is that custom always equates to higher quality; in reality, without proper oversight, custom projects can fall prey to poorly executed joinery or overlooked details like wood grain direction, which significantly affect durability and aesthetics. For instance, experts emphasize that the grain orientation in cabinet doors impacts not only visual harmony but also structural integrity, a nuance often overlooked by novices. Moreover, the myth that all built-in storage solutions are equally effective can lead to costly mistakes. Tailoring storage to specific needs and understanding the subtle differences in hardware and materials is crucial to maximize functionality. Have you ever fallen into this trap? Let me know in the comments.
Why does ignoring the grain direction compromise my cabinets’ longevity?
Academic research suggests that incorrect grain alignment increases susceptibility to warping and cracking over time, especially in high-humidity environments. Ensuring that the wood grain runs parallel to the cabinet’s stress lines enhances durability and maintains visual consistency. This detail, while seemingly minor, is a hallmark of expert craftsmanship and often separates a high-end installation from a mediocre one. Additionally, many DIYers underestimate the importance of precise door hinge placement and consistent reveal gaps, which can subtly ruin the seamless look of custom cabinetry. These advanced nuances are why consulting with seasoned specialists or thoroughly reviewing detailed plans is essential before starting your remodel. For comprehensive guidance, visiting trusted resources like The Ultimate Guide to Custom Cabinets can be invaluable. Understanding these subtle differences empowers you to make informed decisions that elevate your space and ensure lasting satisfaction.
Maintaining your custom cabinets, built-ins, and storage systems isn’t just about keeping them looking good—it’s about ensuring they function flawlessly for years to come. The right tools and routine methods can make upkeep straightforward and effective, saving you time and money in the long run. In this section, I’ll share the equipment I personally rely on, along with practical maintenance strategies to keep your kitchen and storage solutions in top shape.
My Go-To Digital Levels for Precision Alignment
One of the most invaluable tools I use is a high-quality digital laser level. Unlike traditional bubble levels, a laser level offers accurate, consistent readings over larger spans, which is essential when adjusting multiple cabinets or built-ins. I prefer models like the Bosch GLL 3-330CB because they project bright, adjustable laser lines that help me quickly identify all out-of-level elements, especially in complex layouts. Regularly checking the alignment with this device ensures your cabinets remain perfectly plumb and level over time, even as the house settles.
Power Sanders for Refreshing Finishes
Over years, cabinet surfaces may accumulate scratches or fade. I recommend investing in an orbital sander such as the DeWalt DWE6421, which simplifies refreshes—whether you’re sanding down worn paint or preparing surfaces for a new finish. Using a sander myself, I can remove surface imperfections smoothly and evenly, ensuring your cabinets retain a professional, high-end appearance without the need for full replacement. Remember to use appropriate grit sandpapers, typically starting with 120 grit for finishes and finishing with 220 for a silky surface.
Specialized Cleaners for Longevity and Appearance
Keeping your cabinetry boards and hardware clean prevents buildup that can cause premature wear. I favor gentle, non-abrasive cleaners like Sugru’s Cabinet & Wood Cleaner, which safely remove grease, fingerprints, and dust without damaging finishes. Regular cleaning with these solutions helps preserve the integrity of your cabinetry’s surface and hardware, maintaining a fresh look and smooth operation.
Routine Inspections and a Maintenance Schedule
Beyond tools, establishing a routine inspection schedule is crucial. Every six months, I recommend checking for loose hinges, drawer slides, and hardware. Tighten any loose screws and apply silicone lubricant to hinges and slides to ensure smooth operation. For example, I use a small torque driver to maintain consistent screw tension, which prevents hardware from loosening prematurely. This proactive approach prevents small issues from turning into costly repairs, keeping your investment protected.
Looking Toward the Future of Cabinet Care
As the trend moves toward smart home integrations, expect to see tools that monitor cabinet condition via sensors or app-connected diagnostics, offering real-time alerts for issues like moisture intrusion or hardware wear. Incorporating such technology could revolutionize maintenance, allowing you to address problems before they manifest visibly. Staying updated on these innovations can empower you to extend the lifespan of your built-ins.
How Do I Keep My Storage Systems Performing Long-Term?
Effective maintenance isn’t just about tools—it’s about adopting habits. Regularly inspecting, cleaning, and adjusting your cabinets and storage solutions ensures optimal performance over time. For detailed advice on selecting the best storage solutions for your needs, check out expert tips on choosing your storage upgrade. Don’t hesitate to try out a high-quality digital level as your first step—it’s a game-changer for ensuring your cabinetry stays perfectly aligned. With consistent care and the right tools, you’ll enjoy a kitchen that functions beautifully for years to come.
What I Wish I Knew Before Starting My Kitchen Overhaul
One of the toughest lessons I’ve learned in my remodeling journey is that no matter how perfect your plan, the devil is in the details—especially when working with uneven floors. I used to think that choosing high-quality, custom cabinets was enough to achieve a sleek look, but I quickly discovered that understanding your floor’s quirks is just as essential. Recognizing subtle issues early on can save hours of adjustment and avoid costly mistakes. Edge grain direction was another eye-opener for me—aligning wood grain for durability and aesthetic harmony is a simple step many overlook. Finally, I underestimated the power of a well-rounded toolkit—including digital levels and adjustable feet—making all the difference between a sloppy finish and a professional-grade outcome.
Recommended Tools and Resources That Changed My Approach
If you’re serious about elevating your cabinet game, I suggest investing in a high-quality digital laser level such as the Bosch GLL 3-330CB—its precise, long-range accuracy will be your best friend during installation. For understanding advanced storage solutions tailored for modern kitchens, check out Innovative Storage Ideas, which shares innovative ways to maximize space and functionality. When considering hardware or finishes, my trusted resource is Expert Tips on Material Selection. These tools and guides help me deliver results that stand the test of time, combining style with durability and smart organization.
Keep Going: Your Kitchen’s Future Is Bright
Custom cabinets and built-ins aren’t just about creating a beautiful space—they’re about making your daily routines smoother and more enjoyable. With patience, the right knowledge, and a few trusted resources, you have everything you need to craft a kitchen that truly reflects your personality and meets your needs. Start today, and remember, every tweak and adjustment brings you closer to that perfect, functional masterpiece. Want to share your own renovation experience or ask for advice? Feel free to reach out here. Your dream kitchen is within reach—believe in your ability to bring it to life!