How to Fix a Cabinet Door That Won’t Stay Closed
Ever found yourself in the middle of cooking, only to reach for a spice jar and have the cabinet door swing open unexpectedly? It’s one of those small frustrations that can disrupt your flow—and just when you think you’ve got your kitchen under control, a stubborn cabinet door reminds you it needs real attention. I remember the first time this happened in my own kitchen; I was so annoyed I almost gave up on trying to fix it myself. But that lightbulb moment kicked in: these issues are usually easier to solve than they seem—and they can save you money and prevent future headaches.
Why Your Cabinet Door Refuses to Stay Closed and Why It Matters
Having a cabinet door that won’t stay shut is more than a minor annoyance. It can jeopardize your entire kitchen organization, cause unnecessary wear on hinges, and even pose safety hazards—think of that sudden swing hitting a child or knocking over fragile items. Plus, if you’re remodeling or upgrading your built-ins, resolving this small but persistent issue ensures your project achieves that sleek, functional look you’re after. Experts say that tiny misalignments or worn-out hardware often cause these problems—something I learned the hard way early on, by installing inexpensive hinges that couldn’t handle daily use. Trust me, choosing quality hardware and taking the time to fix alignment issues can be game changers. If you’re interested in transforming your space, check out our guide on custom cabinets and built-ins.
Is Fixing a Loose or Sagging Door Really Worth It?
Early in my DIY journey, I made the mistake of ignoring minor door misalignments, thinking they’d fix themselves or wouldn’t be worth the effort. Spoiler: they only got worse, leading to more costly repairs down the line. According to a recent study, small hardware adjustments can extend the life of your cabinets by years—an idea that turned my perspective around. Restoring proper function doesn’t just improve aesthetics; it prolongs the overall durability of your cabinetry. If this dilemma sounds familiar, don’t worry—fixing it yourself is often straightforward, and I’m here to walk you through every step. Ready to get your cabinet doors closing smoothly again? Let’s dive into the practical fixes that will bring that frustration to an end.
Secure Your Hinges First
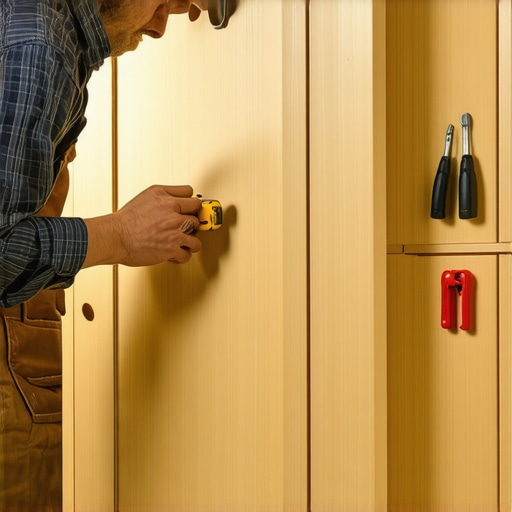
Start by inspecting your cabinet hinges. Use a screwdriver to tighten any loose screws—think of it as tightening the bolts on a bike for smooth riding. I once found a hinge hanging loose in my own kitchen after a busy weekend, which caused the door to sag. Tightening those screws immediately restored proper alignment. If screws are stripped or won’t hold, replace them with longer, self-tapping screws to ensure a firm grip. For more durable results, consider upgrading to heavy-duty hinges, especially on frequently used doors. Proper hinge maintenance prevents sagging and keeps your kitchen functioning smoothly. For detailed hinge repair tips, visit expert tips on selecting storage solutions.
Check and Adjust Alignment
Misaligned doors are common culprits. Pull the cabinet door gently outward and observe the gap between door and frame. If uneven, loosen the screws slightly, then adjust the door position—like lining up tiles before grout. Tighten the screws once the door sits correctly. Using a level during this process ensures perfect alignment. I recall adjusting a door that was drifting downward; through trial and error, I shifted it up by a millimeter at a time, resulting in a crisp, even look. Small tweaks go a long way to restoring balance and preventing future sagging. For advanced tips on precision adjustments, see custom cabinets for your remodel.
Replace Worn-Out Hardware
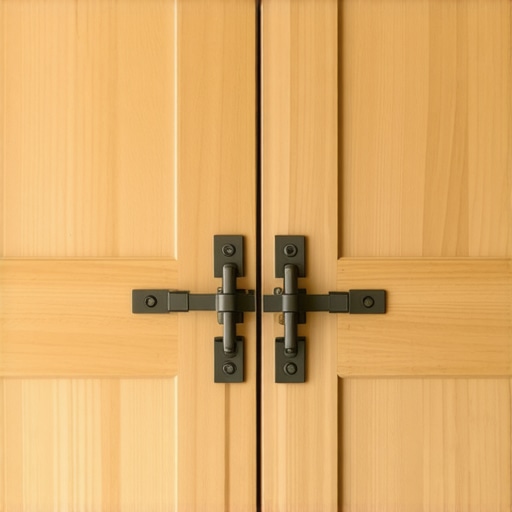
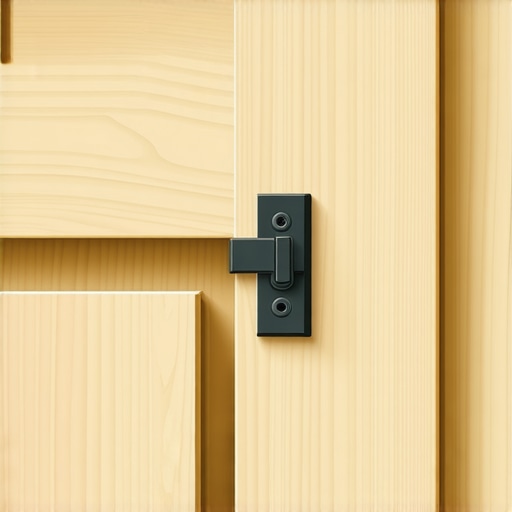
Worn or rusty hinges and latches lose their grip over time. Removing and replacing old hardware can instantly improve cabinet stability. Choose high-quality, soft-close hinges that absorb impact—they’re like shock absorbers for your cabinets. In my last project, I replaced aging hinges with modern, concealed soft-close units, making the doors feel brand new. When replacing hardware, ensure screw holes line up—if they don’t, drill new pilot holes to prevent splitting the wood. Investing in durable, corrosion-resistant hardware pays off in the long run, reducing the need for frequent fixes. Discover more about hardware choices at waterproof liners and hardware focus.
Reinforce with Support Brackets
If your cabinet doors are particularly heavy—think stone or solid wood—you might need extra support. Install under-the-door support brackets or cleats inside the cabinet frame. These act like braces on a bridge, distributing weight evenly. I once added a support bracket beneath a bulky pantry door, and it immediately stopped sagging because it no longer bore all the weight alone. Use a level and a drill to secure support brackets tightly. This step can be the difference between a sagging disaster and a sturdy, reliable cabinet. For inspiration on smart reinforcements, check supporting heavy overhangs.
Maintain Regular Checks
Finally, schedule periodic inspections—think of it as oiling your hinges or tightening bolts before they loosen. Every six months, open and close your cabinet doors to catch any issues early. Address minor problems immediately to prevent costly repairs down the line. Keeping your cabinets in top shape preserves their function and appearance, avoiding the clutter and chaos of sagging doors. For ongoing maintenance tips, visit kitchen remaster ideas and maintenance.
When it comes to optimizing your kitchen with custom cabinets and built-ins, many homeowners fall prey to common misconceptions that can undermine their success. One of the most pervasive myths is that all storage solutions are equally effective, which couldn’t be further from the truth. In reality, the nuances of your space, lifestyle, and material choices dramatically influence the long-term performance of your storage systems. For example, opting for inexpensive particleboard in high-humidity areas often leads to warping and damage—an advanced mistake that even seasoned DIYers sometimes overlook. Instead, selecting moisture-resistant plywood or marine-grade materials ensures durability and longevity; see the importance of proper material selection. Another misconception is believing that high-end finishes alone compensate for poor design; in truth, ergonomic placement and thoughtful spacing maximize accessibility and reduce clutter, which is critical for efficient workflows. Many overlook this detail, leading to frustration and wasted space.
Are custom cabinets truly worth the investment over semi-custom options?
Experts argue that custom solutions, when designed with careful attention to the specific use-case, significantly improve usability and aesthetic appeal—more so than off-the-shelf options. A study by the National Kitchen and Bath Association illustrates that homeowners who invest in tailored designs report higher satisfaction and increased home value. Beware of the trap of over-customizing; installing elaborate storage that doesn’t align with your actual habits can result in wasted space and increased costs. To avoid this, collaborate with professionals who can tailor a design that fits seamlessly into your daily routine, much like the integrated solutions at creating seamless kitchen remasters. Additionally, many believe that built-ins are only suitable for large homes. However, innovative storage hacks can transform even compact spaces—think vertical pull-outs and hidden compartments—which you can explore further at maximize space with smart solutions. A critical mistake is neglecting future adaptability; your storage should evolve with your needs, not lock you into a rigid layout. Planning for adjustable shelves or modular units ensures longevity and flexibility. Always consider professional guidance to avoid these advanced pitfalls. Do you see opportunities to refine your current kitchen storage? Share your thoughts in the comments and let’s strategize together! 
Tools I Recommend for Lasting Storage Solutions
In my experience, having the right tools makes all the difference in maintaining and scaling your kitchen storage over time. A high-quality cordless drill, like the Dewalt DCD791D2, offers power and maneuverability, making it effortless to tighten or replace hardware without fatigue. For precision adjustments, a digital level such as the Bosch GLL 55 ensures your cabinets and built-ins stay aligned, which is crucial for long-term durability and aesthetic appeal. Additionally, a set of specialized screwdrivers, including Phillips and flat-head with magnetic tips, helps prevent stripped screws when dealing with aged hardware or tight spaces.
Beyond hand tools, I rely heavily on software for project management and design refinement. SketchUp Pro allows for detailed modeling of your cabinet layouts, helping you identify potential issues before breaking ground—a step that saves both time and money. Software like Trello keeps track of maintenance schedules and upgrade timelines, making it easier to schedule periodic checks and plan future improvements.
Establishing a Routine for Longevity
Regular maintenance is the backbone of keeping your storage solutions functional. I schedule monthly checks to tighten loose screws, lubricate hinges with silicone spray, and inspect for signs of wear or moisture damage. For example, applying a dab of high-quality lubricant to hinges prevents squeaking and reduces wear, extending their lifespan. Using moisture-resistant finishes on cabinetry can prevent swelling or warping—especially important if your kitchen experiences humidity fluctuations. Remember, prevention beats repair; catching small issues early makes scaling your storage more manageable and affordable.
Making a Scale: From Fixes to Fulfillment
As your needs evolve, so should your storage solutions. Investing in adjustable shelves, modular units, or even pull-out pantry systems allows for seamless scaling without overhauling the entire kitchen. For instance, installing wall-mounted, adjustable spice racks can adapt from a small urban apartment to a family-sized home. When it comes to built-ins, consider adding internal power ports or smart lighting—these enhancements make your space more functional and future-proof. For ideas on integrating technology and flexibility, see our comprehensive guide to built-in storage.
How do I maintain [storage solutions] over time?
To preserve the functionality and appearance of your storage systems, establish a proactive maintenance routine. Regularly inspect hinges, drawer slides, and latches; immediately address loose screws or misalignments. Use appropriate lubricants to keep moving parts operating smoothly, and consider replacing worn hardware with high-quality, corrosion-resistant options. Also, clean your cabinets with gentle, non-abrasive cleaners to prevent buildup and damage. Incorporate professional assessments periodically—especially after large remodels or when scaling your system—to ensure everything remains secure and efficient. Embracing these habits can extend the lifespan of your investment significantly and keep your kitchen working flawlessly for years to come.
In addition, leveraging advanced tools like a magnetic screw finder can speed up repairs and prevent lost hardware. For those looking to step up their game, professional-grade laser levels and wood chisels can help achieve precision in custom projects. Remember, the key to scaling your storage solutions is combining reliable tools with consistent upkeep. Consider trying the tip of lubricating hinges with silicone spray—it’s simple but highly effective, and it can save you from future headaches. For more in-depth ideas on upgrading your storage, our innovative storage tips provide a wealth of inspiration.
The Hardest Lesson I Learned About kitchen upgrades and storage solutions
Early in my renovation journey, I underestimated the importance of planning for future needs. I spent weeks designing beautiful cabinets, only to realize later that they didn’t accommodate my evolving lifestyle—like a growing family or tech integration. This taught me that foresight is key: build flexibility into your storage solutions from day one, such as adjustable shelves or modular units. This experience cemented my belief that thoughtful planning saves time and money down the line.
My Essential Toolkit for custom kitchens and built-ins
Over the years, I’ve relied on a few tools that make all the difference: a high-quality cordless drill for sturdy assembly, a digital level to ensure perfect alignment, and a set of reliable screwdrivers to prevent damage. These tools give me confidence that every project I undertake will last and look polished. For anyone serious about home upgrades, investing in these essentials is a game changer—not only for projects now but for any future tweaks.
Don’t Hesitate to Transform Your Space Today
Repairing, upgrading, or customizing your kitchen isn’t just about aesthetics—it’s about creating a space that works for you now and years to come. Don’t wait for the perfect moment; start with small fixes or ambitious remodels, knowing that every step improves your home’s value and your daily life. Your dream kitchen with perfect built-ins and clever storage is within reach—embrace the journey and make it happen. Ready to redefine your space? Share your plans or questions below and let’s bring them to life!