The 30-Inch Clearance Rule for Ovens and Your Upper Cabinets
I’ll never forget the smell of burning maple. It wasn’t a delicious wood-fired pizza scent; it was the acrid, heart-sinking aroma of $4,000 worth of brand-new upper cabinets getting toasted by my range. I had just finished what I thought was one of those modern kitchen remodels that you see in glossy magazines. In my quest for that perfectly snug, built-in look, I ignored the manual and hung my uppers just 24 inches above the burners. I thought those extra six inches were just a suggestion from lawyers. I was wrong. Within a week, I noticed the finish on the bottom of the cabinet doors starting to peel. It’s a classic case of why your cabinet paint bubbles near the stove, and I learned the hard way that heat doesn’t care about your design aesthetic.
The Hidden Danger of Crowding Your Cooktop
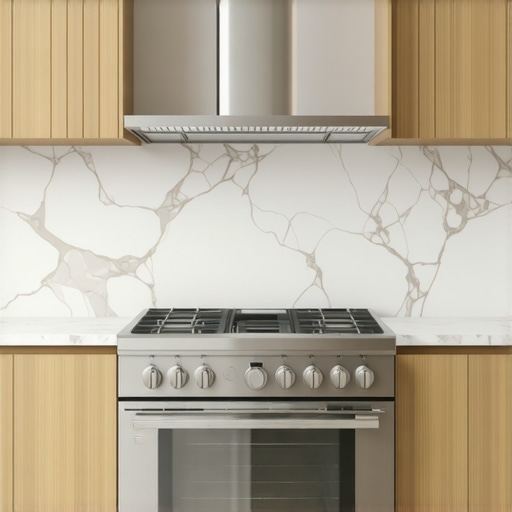
The 30-inch clearance rule exists for a reason, and it’s not just about preventing your favorite spice rack from melting. According to the National Fire Protection Association (NFPA), a significant percentage of home fires start on the stovetop, and having combustible materials too close to the heat source is a recipe for disaster. When you’re planning a stylish kitchen overhaul, it’s tempting to maximize every inch of storage. But those 30 inches of vertical space between the cooking surface and the unprotected wood above are your safety buffer. I’ve seen homeowners try to cheat the system by using heat shields, but even then, you’re playing a risky game with your home’s safety and the longevity of your investment. It is much better to focus on smart storage ideas that respect the layout of your appliances.
Does That Extra Six Inches Really Matter for Safety?
You might be thinking, I’ve seen kitchens with lower cabinets, and they look fine! I thought the same thing. But there’s a massive difference between a kitchen that looks good in a photo and one that survives a Thanksgiving marathon. Heat rises, and it brings steam and grease with it. If your cabinets are too low, they trap that heat. This is especially true if you opted for certain materials; for instance, this is why you should skip cheap thermofoil near the oven. Today, we are going to dive into how to balance the need for innovative storage solutions with the hard-and-fast rules of fire safety. We’ll look at how to get that high-end look without turning your uppers into kindling. Have you ever felt the bottom of your cabinets after boiling a large pot of pasta and wondered if they were supposed to be that hot? Drop a comment or reach out via our contact page—I’d love to hear your near-miss stories.
Measure Twice or Watch Your Woodwork Burn
The first step in any modern kitchen remodel is to throw away the assumption that the floor is your baseline. Floors are often sloped, especially in older homes. When you are planning your upper cabinet height, your starting point must be the highest point of your range’s cooking surface. I once worked with a homeowner who insisted on a gorgeous set of painted maple uppers directly over a professional-grade 48-inch range. She wanted that seamless, built-in look so badly that she almost signed off on a layout that would have voided her cabinet warranty on day one. We pivoted. Instead of the standard uppers, we installed a custom-tapered hood and moved her storage to the sides using a hidden pantry secret that turned a 4-inch gap into a massive spice rack. Measuring from the grate to the cabinet bottom ensures you maintain that critical 30-inch fire-safety gap while keeping the rest of the run aligned. 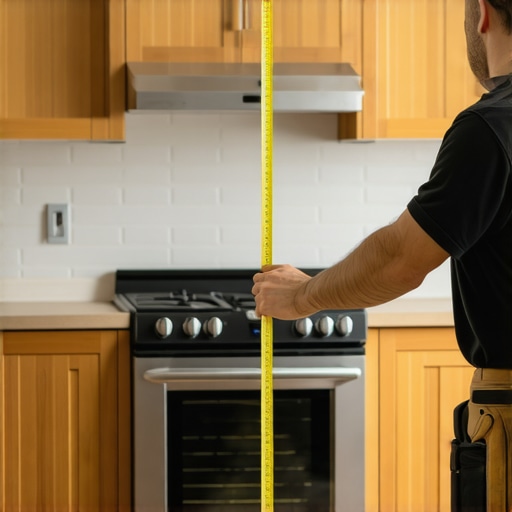
Locate the Highest Point of Your Grates
Take a long level and place it across your range. If your stove isn’t perfectly level, your 30-inch clearance might actually be 29.5 inches on one side. This half-inch difference is exactly why your cabinet paint bubbles near the stove. You need to find the peak and measure up from there. This ensures that even when the heat is cranked to the max, the rising convective currents have enough room to dissipate before hitting your finish. When you’re investing in custom cabinets as a game changer, you cannot afford to skip this technical step.
Recover Every Inch with Smart Pull-Outs
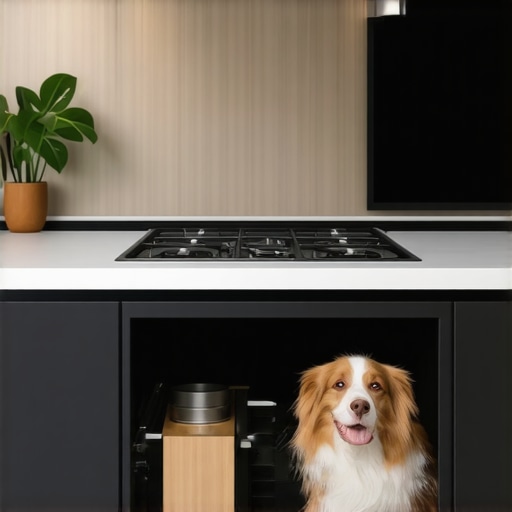
If you feel like you are losing valuable real estate by pushing those cabinets higher, look down. Most people forget that the base cabinets are where the heavy lifting should happen. By using expert tips on selecting storage solutions, you can replace that lost upper-cabinet volume with deep drawers or a specialized pantry pull-out move. This shift in thinking turns your kitchen from a crowded fire hazard into a high-performance workspace. I’ve found that smart storage ideas often work better when they are at waist height anyway—no one likes reaching over a hot stove for a heavy ceramic pot.
Move the Microwave to Save Your Upper Cabinets
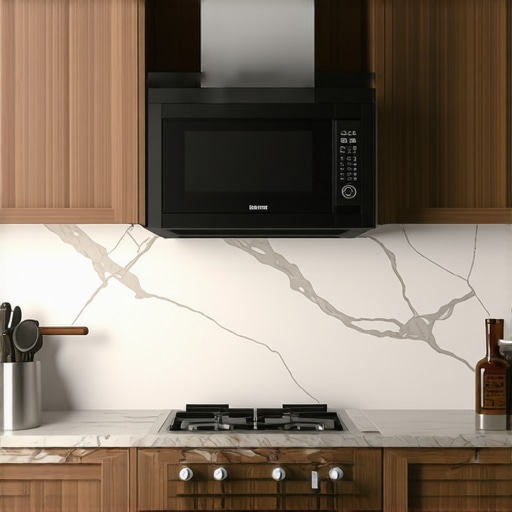
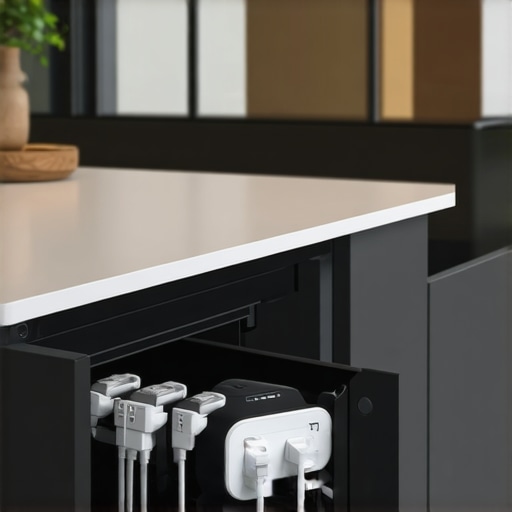
One of the biggest mistakes I see in stylish kitchen overhauls is the over-the-range microwave. Not only does it usually sit too low, but it also traps steam against the surrounding woodwork. We often recommend a kitchen layout fix that relocates the microwave to a base cabinet or a dedicated wall stack. This allows for a much more powerful (and deeper) vent hood, which is the primary defense for your custom cabinetry. By clearing that space, you can even integrate a built-in charging station elsewhere to keep the tech away from the grease splash zone.
There is a persistent myth in the world of high-end home design: the idea that “solid wood” is the only material worthy of a luxury kitchen. While it sounds prestigious, blindly following this rule is a classic rookie mistake. When we talk about modern kitchen remodels, the real experts know that using solid wood for cabinet boxes is often a recipe for structural failure. Wood is a living material; it breathes, expands, and contracts. If you build your boxes out of solid oak or maple, the humidity from your dishwasher will eventually cause those boxes to twist, pulling your expensive stone countertops along with them. This is exactly why plywood box construction still wins over furniture board in wet areas and why it is actually superior to solid wood for the skeleton of your kitchen. The Architectural Woodwork Institute (AWI) confirms that high-grade plywood provides significantly better dimensional stability in the variable humidity of a kitchen environment.
Solid Wood Is Not Always Your Best Friend
I’ve had clients insist on solid wood everything, only to call me six months later because their drawers are sticking. Real expertise means knowing where to use solid timber and where to rely on engineered stability. For instance, why painted maple beats oak for a smooth cabinet finish has more to do with the tight grain than the “solidness” of the board. If you’re planning built-ins and storage hacks for a sleek functional kitchen, you need to prioritize the structural integrity of the case. 
Why does your kitchen’s humidity keep ruining your door alignment?
If you opted for the high-end “inset” look—where the door sits flush inside the frame—you’ve likely noticed the gaps change with the seasons. This isn’t necessarily a sign of bad craftsmanship; it’s physics. However, many homeowners fail to realize that how to align inset cabinet doors that wont close flush often involves more than just a screwdriver. You have to account for the “internal climate” of your home. Without a consistent HVAC strategy, those beautiful custom cabinets will constantly fight you. Have you ever noticed your doors getting “tight” in the summer? I’d love to hear how you’ve managed the seasonal shift in your own home—let me know in the comments.
The Trap of Bolting Down Your Butcher Block
One of the most expensive “oops” factors I see involves the installation of wood countertops. In an effort to make everything “rock solid,” many installers will bolt a butcher block top directly to the cabinet frames with rigid fasteners. This is the butcher block mistake that inevitably leads to the wood splitting right down the middle. Because wood expands across the grain, you must use oversized holes or slotted brackets to allow the top to move independently of the storage solutions beneath it. It’s these tiny, technical nuances that separate a “glossy magazine” kitchen from one that actually lasts twenty years. If you’re feeling overwhelmed by these details, don’t hesitate to reach out via our contact page for a professional perspective on your next project. Using expert tips on selecting storage solutions is about more than just where the forks go; it’s about understanding the engineering of your home.
The One Tool That Saves My Sanity During Every Install
If you ask most DIYers what their most important tool is, they’ll point to a shiny new miter saw. If you ask me, I’ll show you a beat-up, $15 compass I’ve had since 2012. In the world of modern kitchen remodels, the enemy isn’t a dull blade; it’s a crooked wall. I use a dedicated scribing tool for every single end panel and filler strip because, in twenty years, I have never seen a house with a perfectly plumb corner. Knowing how to scribe a built-in bookshelf to a crooked stone wall is what separates a professional finish from a ‘looks-like-I-did-it-myself’ gap filled with caulk. Caulk eventually shrinks and cracks; a scribed piece of wood fits like it grew out of the drywall.
How do I keep my custom cabinets working like new for ten years?
Maintenance is the part of the journey most people ignore until a drawer starts sticking. I’ve found that 90% of ‘broken’ hardware is actually just dirty hardware. Kitchens are high-grease environments. Over time, that atomized cooking oil settles into the tracks of your high-end slides. This is why your soft-close slides are failing and the quick cleaning fix usually involves a simple damp microfiber cloth and a shot of dry silicone lubricant. Never use WD-40 on your cabinet tracks; it’s a dust magnet that will eventually turn into a grinding paste, destroying the nylon rollers. According to the technical specifications from hardware giant Blum, their tandem slides are tested for 100,000 opening and closing cycles, but that durability assumes the environment remains free of abrasive grit and heavy chemical cleaners.
Stop Letting Poor Hardware Choices Ruin Your Luxury Remodel
You can spend $50,000 on custom boxes, but if you choose the wrong pulls or install them poorly, you’ve committed the hardware mistake that makes expensive cabinets look cheap. I personally swear by ‘jigging’ every single hole using the True Position Drill Guide. It’s a precision aluminum tool that ensures every handle is within a hair’s breadth of its neighbor. If your handles are off by even 1/16th of an inch, your eye will catch the misalignment every time you walk into the room. When you are looking for expert tips on selecting storage solutions, remember that the tactile experience—how the drawer feels when you pull that handle—is just as important as the storage volume inside.
Why the Next Decade of Kitchen Design Is All About Movement
Looking ahead, I predict we are going to see a massive shift away from ‘static’ shelving toward dynamic, motorized systems. We are already moving toward built-ins that elevate your living rooms functionality by integrating motorized lifts and hidden sensors. Imagine a world where your heavy mixer or upper cabinets drop down to eye level at the wave of a hand. For your next project, my advanced tip is to plan for ‘reconfigurable’ storage. Use 32mm system boring for all your cabinet interiors so you can move every shelf and rack as your needs evolve over the next decade. If you’re ready to stop guessing and start building a space that truly lasts, head over to our contact page to discuss a design that future-proofs your home.
What Three Decades of Sawdust and Stovetop Fires Taught Me
After years in the shop, I’ve realized that a great kitchen isn’t built in the showroom; it’s built in the moments you’re juggling three boiling pots and a screaming toddler. Here are a few lightbulb moments that changed how I approach every project:
- Prioritize The Reach Over The Look: If you have to grab a stepstool to reach your most-used olive oil because of a specific design aesthetic, the design has failed. Efficiency is the ultimate luxury.
- Light Everything: You can’t appreciate your transform your kitchen with custom cabinets if you’re working in your own shadow. Always over-spec your under-cabinet lighting.
- The One-Touch Rule: Aim for a layout where your most frequent tasks require only one motion. Drawer pulls beat cabinet doors with internal roll-outs every single time for speed.
The Toolkit That Keeps My Kitchens Looking New
You don’t need a warehouse full of machinery to maintain a high-end feel. I always recommend these three specific resources to my clients who want their investment to last:
- The Blum Hardware Guide: It sounds dry, but understanding how your hinges are engineered is the best way to prevent sagging. It’s the gold standard for anyone looking to maximize space with innovative storage solutions.
- Microfiber and Silicone: Skip the harsh chemicals. A simple microfiber cloth and a bottle of high-quality dry silicone spray will keep your slides gliding for a decade.
- A Reliable Level: Houses move. Checking the level of your smart storage solutions for small kitchens once a year can help you catch alignment issues before they become permanent warps.
#IMAGE_PLACEHOLDER_E#
Create a Space That Actually Feels Like Home
A successful remodel isn’t just about avoiding fire hazards or choosing the right grain of wood. It’s about creating a backdrop for your life. When you revolutionize your kitchen remodel, you aren’t just buying boxes; you are engineering a more peaceful morning and a more organized evening. Don’t be afraid to break the rules of what a kitchen should look like if it means the space works better for how you live. If you’re ready to start that journey, my team is always here to help through our contact page. Let’s build something that lasts.
Have you ever regretted a design choice just a month after moving back into your kitchen? Let me know in the comments below!