The Cabinet Scribing Secret for Perfect Gaps Against Uneven Brick
Have you ever stared at your newly installed cabinets, only to be disappointed by uneven gaps where they meet that stubborn brick wall? I remember the first time I faced this issue—months of planning, endless shopping, and then… the mismatch. It was frustrating, and honestly, I felt like giving up. But after some trial and error, I stumbled upon a game-changing technique that transformed my project from a mess into a masterpiece.
Why Uneven Brick Walls Are a Real Challenge in Remodels
Brick walls are charming—they add character and warmth to any home. But their uneven surfaces pose a challenge when installing cabinets or built-ins. Traditional methods often leave you with large, unsightly gaps or forced adjustments that compromise both aesthetics and function. If you’ve experienced this, you’re not alone. Many homeowners andDIY enthusiasts struggle with creating a seamless look when working against irregular surfaces.
Is the Cabinet Scribing Secret Actually Worth the Effort?
Early on, I made the mistake of trying to force my cabinets to fit perfectly without considering the brick’s irregularities. It seemed easier at first, but the gaps only worsened over time. A professional once told me that precise scribing is essential for a clean finish—something I underestimated initially. This technique allows your cabinets to follow the wall’s contours, regardless of how uneven it is, ensuring a tight, neat fit. Research shows that proper cabinet installation techniques can improve overall kitchen aesthetics and increase property value (source).
Now, I’ll walk you through my personal approach to solving this common problem, so your project can finally reach that polished, professional look you’ve been aiming for. Ready to ditch those awkward gaps and achieve a flawless finish? Let’s get started.
Trace and Mark Your Cabinets Precisely
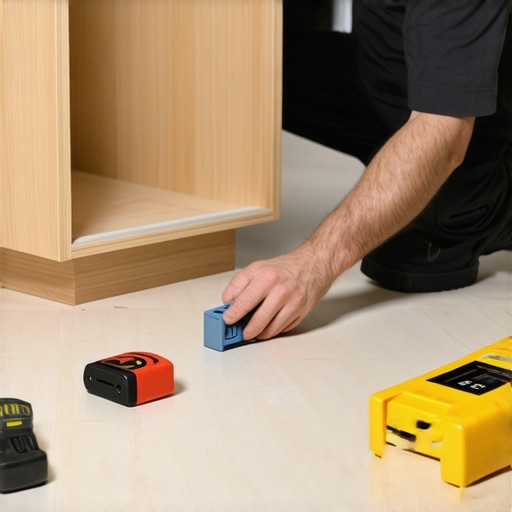
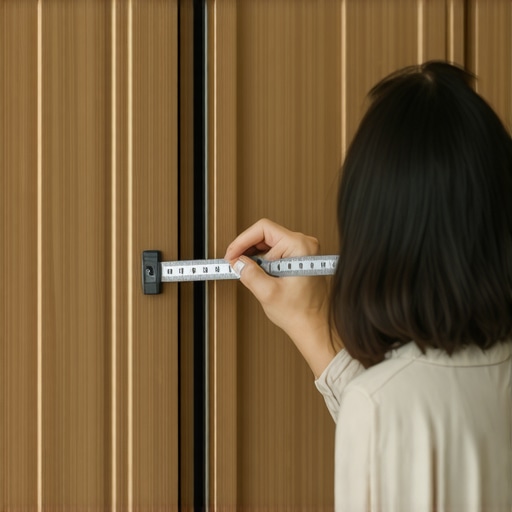
Begin by measuring the exact space where your cabinets will sit, including any unevenness in the brick surface. Use a flexible measuring tape and a level to identify high and low spots. Mark the outline with a pencil or painter’s tape, ensuring your markings follow the wall’s contour. In my experience, a thorough layout prevents surprises during installation and simplifies scribing later. For detailed measurements, check out this resource.
Cut and Prepare Cabinet Sides for Custom Fit
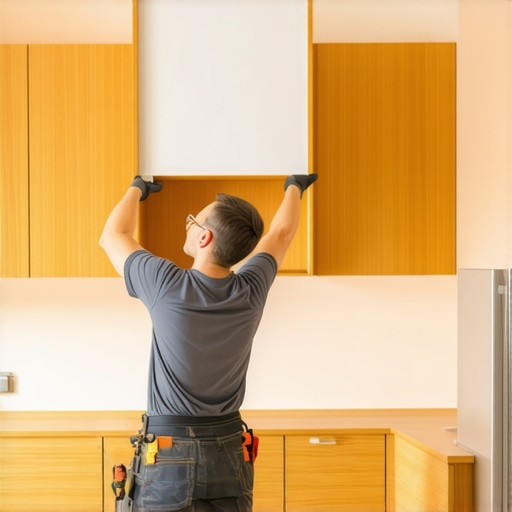
Next, take your cabinets and temporarily position them to identify where gaps exist against the wall. Use a jigsaw or circular saw to trim the sides of your cabinets, following your marked irregularities. Think of it as customizing a puzzle piece—every cut ensures a snug fit that looks professionally crafted. Remember to sand edges smooth for a clean finish. This step was crucial for me when I installed a tall pantry unit—initially messy, but with patience, the result was seamless integration.
Use a Scribing Technique to Follow Wall Contours
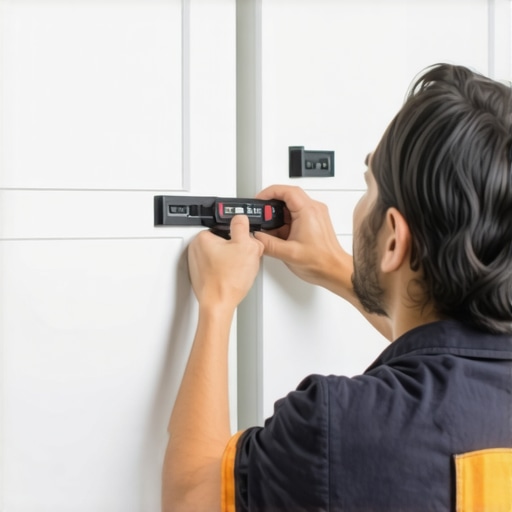
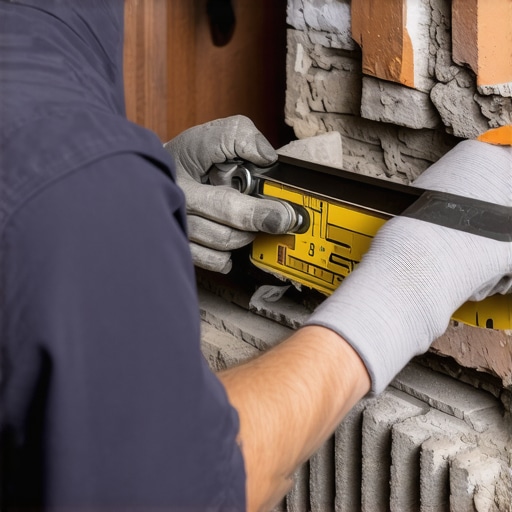
The core of this method is scribing—a technique to match your cabinet edge precisely to the wall’s shape. Attach a contour gauge or a flexible ruler along the cabinet’s side, pressed against the wall. Trace along the wall’s high and low points onto the cabinet side. Cut along this line, creating a custom edge that mirrors the brick surface. This step may sound complicated, but it’s straightforward once you practice. Applying this to my custom built-in was a turning point, transforming an uneven fit into a flawless finish.
Secure Cabinets Carefully, Maintaining Contact with Wall
After customizing the sides, fasten your cabinets using appropriate screws and anchors. Drill pilot holes through the back panels into the brick wall, ensuring the cabinets stay flush. Use shims or spacers to keep everything aligned during securing, especially when walls are uneven. This process is similar to balancing a heavy piece of furniture—patience and small adjustments go a long way. I learned this the hard way when I didn’t use enough shims, leading to doors that didn’t align—so don’t skip this step.
Final Touches and Sealing Gaps
Once the cabinets are mounted, inspect for gaps and unevenness. Fill small imperfections with flexible caulk or foam sealant, which can adapt to wall contours. For larger discrepancies, consider adding quarter-round or custom moldings to hide imperfections and provide a polished look. Don’t forget to sand and paint or stain as needed. This finishing step makes a visible difference, elevating your project from DIY to designer. If you want ideas for optimizing your space further, consult this guide.
Applying these steps requires patience, but the result—a perfectly fitted cabinet against an uneven brick wall—is worth every minute. Remember, it’s about making small, precise adjustments that lead to a professional finish. This approach not only improves aesthetics but also enhances the overall durability and functionality of your install. That’s how you turn a common obstacle into an opportunity for craftsmanship.
,Many homeowners believe that choosing the most visually appealing cabinets or the latest storage gadgets guarantees a successful kitchen upgrade. However, in my experience, this approach overlooks critical nuances that can make or break your remodel. One widespread myth is that bigger, more ornate cabinetry always provides better storage—yet, without considering how the space is used, this can lead to cluttered, inefficient kitchens. A true expert digs deeper to understand how custom cabinets can maximize every inch, not just look impressive.
Another pitfall is neglecting the subtleties of built-in features. For example, many assume all built-ins are equal, but the quality of joinery, materials, and integration with existing structures profoundly affects durability and aesthetic harmony. Cutting corners here often results in expensive repairs or unsightly gaps, especially around irregular surfaces like brick walls. The secret lies in understanding the advanced techniques of scribing and shimming, which many overlook but are essential for a flawless fit. Want to learn more about these methods? Check out this article.
What most people get wrong is rushing into storage solutions without evaluating their actual needs. For instance, installing high-end pantry systems or corner drawers might seem like the pinnacle of convenience, but if you don’t consider accessibility or workflow, these investments can be wasted. Advanced homeowners explore storage design principles that focus on ergonomics and future needs, rather than trendy features. This forward-thinking approach helps avoid costly mistakes and creates a truly functional space.
Why is precise measuring so often underestimated in custom cabinetry projects?
Because even small inaccuracies can lead to misaligned doors or uneven gaps that ruin the visual flow — a mistake that is surprisingly common. This is why meticulous measurement, coupled with expert techniques like scribing and custom trim, is crucial. It’s not just about fitting cabinets; it’s about integrating them seamlessly with irregular surfaces like brick or tile. Skipping this step or rushing the process is a major trap. For a detailed breakdown of advanced measurement practices, visit this resource.
Finally, one often overlooked aspect is the material selection. Many think that choosing trendy finishes or exotic woods alone will elevate the aesthetic, but the durability, environmental condition, and ease of maintenance of materials matter just as much. For example, selecting moisture-resistant plywood for high-humidity areas can prevent warping and cracking over time, saving you money and preserving your design. A knowledgeable approach involves balancing aesthetics with practicality, knowing that not all finishes age well or remain easy to clean.
In sum, truly mastering a kitchen remodel involves understanding these underlying nuances—like the importance of detailed measurements, material choices, and functional layout design—that most homeowners overlook. By addressing these subtle factors, you create a space that is not only beautiful but also highly functional and enduring. Ready to dive deeper into the art of custom cabinets and built-ins? Explore this guide for expert tips. Have you ever fallen into this trap? Let me know in the comments.
Once you’ve invested time and effort into designing and installing your custom cabinets and built-ins, maintaining their pristine condition becomes essential for long-term satisfaction and functionality. A few targeted tools and methods can make this upkeep straightforward and effective, helping your setup remain both beautiful and durable over the years.
Essential Tools for Ongoing Maintenance
First, I recommend investing in a high-quality microfiber cloth and a gentle, pH-balanced cleaner. In my experience, these prevent scratches and preserve the finish, especially on painted or stained surfaces. For hardware, a soft-bristled toothbrush is invaluable for cleaning intricate details like hinges, pulls, and crevices without damaging finishes. When it comes to tightening and adjustments, a precision Phillips screwdriver and a hex key set are must-haves for tightening loose screws or adjusting hinges—these small tweaks go a long way in preventing wear and tear.
For deeper inspections, a digital moisture meter can help monitor humidity levels behind built-ins or within cabinetry cavities, preventing warping or mold growth. I personally use the Extech MO55, which offers accurate readings and alerts me to potentially damaging moisture conditions before issues develop. Maintaining proper humidity not only extends the life of your cabinets but also ensures the integrity of your storage solutions.
Keeping It Working: Regular Checks and TLC
Scheduling quarterly inspections ensures that hinges, drawer slides, and hardware stay in optimal condition. Lubricating moving parts with a silicone-based lubricant (avoiding petroleum-based products) prevents squeaks and sticking, thus improving longevity and ease of use. I prefer using a product likeFimomSil, which I apply with a small brush precisely where needed, avoiding excess buildup.
Furthermore, periodic cleaning of cabinet interiors with a vacuum and a soft cloth helps remove dust and debris that can cause scratches and buildup over time. For drawer guides and hinges, a light spray and wipe with silicone spray keeps everything operating smoothly.
Leveraging Software and Planning for Scalability
As your storage needs evolve, so should your project plan. Digital tools like Cabinet Vision or SketchUp can help visualize future modifications, allowing you to plan small upgrades or expansions without full rebuilds. These programs help identify potential bottlenecks or design flaws, saving time and money when scaling your storage solutions.
Looking ahead, I believe integrated smart systems will increasingly become part of residential cabinetry, allowing remote monitoring and even automated adjustments—imagine having hinges that inform you via app when they need lubrication or replacing. As these technologies develop, staying informed and adaptable will be key to keeping your built-ins functioning flawlessly for decades.
How do I maintain my custom cabinets and built-ins over time?
The key lies in a proactive approach—regular inspections, gentle cleaning, timely hardware adjustments, and staying informed about new tools and technology. Incorporating these practices ensures your investment continues paying off, keeping your space both beautiful and functional for years to come.
If you’re curious about more advanced storage ideas or ways to scale your existing setup, visit this resource. Don’t hesitate to try the tip of setting up a moisture-monitoring plan—it’s a game-changer for preserving your cabinets’ integrity—and enjoy the peace of mind that comes with proactive maintenance.

Reflecting on my journey, I realized that the most valuable lessons stemmed from unexpected challenges—like transforming stubborn brick walls from obstacles into opportunities for craftsmanship. One profound insight was the importance of patience and meticulous attention to detail in every step, from measuring to finishing, especially when working with irregular surfaces. Embracing the unpredictability of brick textures taught me that flexibility and creative problem-solving are crucial for achieving professional results and personal satisfaction in custom cabinetry projects.
What I Wish I Knew When Starting Out
- Never underestimate the power of a contour gauge; it’s the secret weapon for precise scribing against uneven brickwork, saving time and frustration.
- Invest in quality shims and adjustable clamps—they’re invaluable for maintaining alignment during installation, especially on irregular surfaces.
- Don’t rush the finishing touches; filling gaps with flexible sealants and adding decorative moldings can significantly elevate the final look, hiding imperfections gracefully.
- Remember, the devil is in the details—small adjustments in measurement and sanding make the difference between amateurish and impeccable craftsmanship.
Tools and Resources That Elevated My Projects
- Contour gauges: Essential for accurately replicating wall contours; I trust the Creative Contour Tool Kit for durability and precision.
- Flexible sealants and moldings: These materials allow for seamless concealment of gaps and add a finished, polished appearance.
- Digital measurement devices: Investing in a moisture meter like the Pro-Grade Moisture Detector has helped prevent future warping—saving headaches later.
Your Next Step in Crafting Flawless Spaces
Building confidence in custom cabinetry against uneven walls requires a blend of knowledge, patience, and a willingness to refine your technique. By applying these insights and tools, you’ll transform challenging surfaces into showcases of your craftsmanship. Remember, every small adjustment brings you closer to the elegant, seamless finish you envision. Why not start today—your perfect, well-fitted kitchen awaits? Have you faced similar challenges with uneven surfaces? Share your experiences below and let’s learn together.