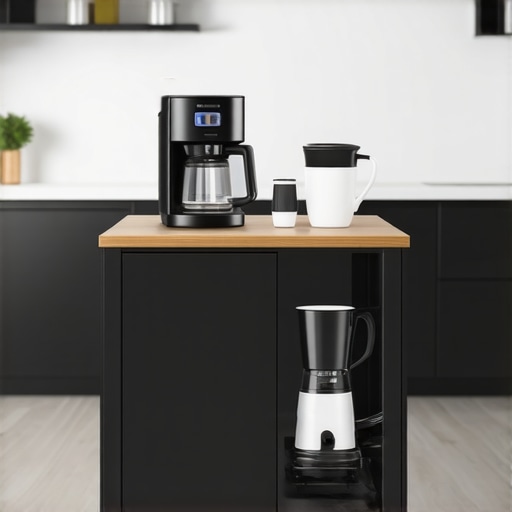
The Coffee Station Slide: Moving Your Brewer Out From Under Cabinets
I remember the first time I tried to fit my coffee brewer under my kitchen cabinets. It looked sleek at first—until I realized every morning, I was battling a bulky, inconvenient appliance that refused to be neatly tucked away. Sometimes, I’d wedge myself in a tight corner, desperately trying to reach my mug without knocking over the entire setup. That lightbulb moment hit hard: there had to be a better way. If you’ve ever faced the frustration of limited counter space or the hassle of tight corners, you know what I’m talking about.
Why Moving Your Coffee Brewer Changes Everything
The core issue isn’t just about aesthetics or space. It’s about operational efficiency and safety. A coffee station that’s tucked away under cabinets might look good in photos, but in real life, it can turn into a daily obstacle. Bumping into cabinets, spilling coffee, or reaching awkwardly for that perfect mug—I’ve been there. And the truth is, improved accessibility can make your mornings smoother and less stressful.
Plus, a well-designed coffee station tailored for your space can double your kitchen’s functionality. According to the Expert Kitchen Storage Guide, custom storage solutions boost usability and aesthetic appeal, transforming how you use your kitchen every day. Moving your brewer out from under cramped cabinets is a vital step in creating that seamless, functional space you’ve been dreaming of.
Are Built-In Solutions Actually Worth the Hype?
Early on, I made the mistake of thinking that a quick shelf or countertop placement would suffice. But that led to cluttered counters and constant rearranging. The real game-changer was integrating a custom-built slide or pull-out system for my coffee maker. If you’re skeptical—trust me—I was too. But once I invested in a thoughtful design, everything changed. My coffee area became a highlight of the kitchen, not an eyesore or obstacle.
If you’re tired of stumbling over appliances or dedicating valuable counter space to a bulky machine, consider exploring built-in storage solutions. They’re not just stylish—they’re practical, and they prioritize your daily routines over clutter.
Ready to ditch that awkward corner? Stay tuned—next, I’ll share the practical steps I took to move my brewer out from under my cabinets and turn that painful space into a smart, accessible coffee nook. Trust me, once you see how simple it can be, you’ll wonder why you didn’t do it sooner.
Measure Your Space Precisely Before Moving Anything
Start by sketching your kitchen layout and noting the current position of your coffee brewer. Use a tape measure to record the exact dimensions of the space where you want to install the new setup. When I did this, I realized that my initial idea of placing the brewer next to the sink wouldn’t work because of limited clearance. Taking precise measurements ensures your new station fits perfectly and avoids costly mistakes.
Choose the Right Location That Prioritizes Accessibility
Select a spot that’s close to outlets and doesn’t obstruct main workflow areas. Think of your kitchen like a well-orchestrated symphony—each component should work harmoniously. I moved my coffee station closer to the dining area and near existing outlets, which made brewing much more convenient. This step saves you from reaching over cluttered counters or scrambling for extension cords.
Plan Custom Storage Solutions to Maximize Space
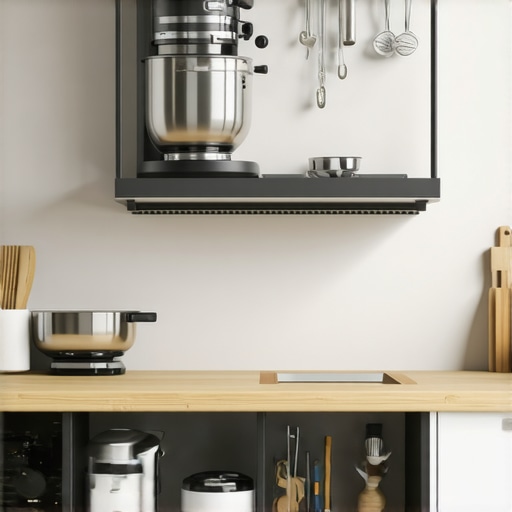
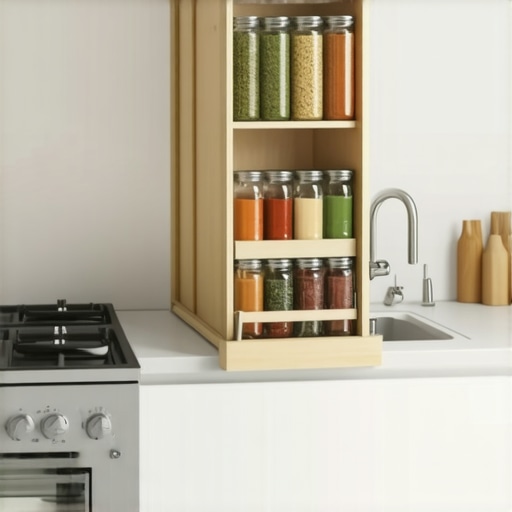
Utilize innovative storage options to create a dedicated, clutter-free zone for your coffee accessories. For example, installing a pull-out shelf or a slide-in cabinet can turn a forgotten corner into a functional nook. I used built-in storage solutions to keep my mugs, filters, and beans organized and within arm’s reach—making mornings smoother and more enjoyable.
Build or Retrofit a Custom Cabinet or Countertop
Decide whether to modify existing cabinetry or build new custom units tailored to your space. For a seamless look, consider scribing your cabinets to the wall—this involves careful measurement and a handsaw to match wall angles precisely. I used a simple scribing jig to fit my cabinet to an uneven wall, which eliminated gaps and created a polished appearance. If you’re unsure how to do this, professional guidance can make the process easier.
Implement Efficient Mounting and Support Systems
Secure your coffee station with heavy-duty brackets or reinforced shelving to support the weight of your appliances and accessories. One mistake I made initially was using lightweight brackets that sagged over time, causing instability. I now use robust steel brackets, similar to those described in heavy-duty bracket strategies, ensuring everything stays sturdy and safe.
Fine-Tune Electrical Connections and Ventilation
Before installing your coffee maker, ensure outlets are conveniently located and GFCI protected. Consider adding a dedicated circuit if you have multiple appliances in one area, reducing overload risks. Additionally, plan for ventilation—especially if your setup involves grinders or steam-generating devices—to prevent moisture buildup and odors. I ran a small vent duct through the cabinet to allow proper airflow, which significantly improved my overall setup’s safety and freshness.
Test and Adjust Your New Coffee Nook
After installation, spend time using your new station to identify any ergonomic issues or space constraints. I found that repositioning a shelf slightly higher made reaching my mugs easier, preventing strain. Remember, small adjustments can make a big difference in daily convenience, turning a straightforward move into a truly optimized coffee corner.
While designing a functional and stylish kitchen, many homeowners get caught up in popular beliefs that might actually hinder their vision. One widespread misconception is that all custom cabinets are prohibitively expensive, leading many to settle for cookie-cutter solutions. However, modern custom cabinetry can be surprisingly affordable, especially when tailored to your needs and space. Moreover, some assume built-in solutions are only suitable for large kitchens, but with innovative storage ideas, even small spaces benefit immensely from strategic built-ins.
A common trap involves overestimating the difficulty of integration. Many believe that installing built-ins requires tearing down walls or extensive remodeling, but in reality, thoughtful planning allows for seamless integration without major upheaval. The hidden nuance to remember is that superior results come from understanding the structural nuances—like wall angles or load-bearing considerations—that influence the success of custom installations. Consulting expert storage hacks can help you avoid these pitfalls.
Furthermore, a myth persists that functional storage must be visible and cluttered, but sophisticated built-in storage solutions allow for concealed, clean spaces that make a kitchen appear uncluttered while maximizing capacity. The key is recognizing that the most effective solutions often involve niche adjustments—like recessed shelving or hidden drawers—that aren’t obvious at first glance.
To illustrate, consider the advantage of custom corner cabinets designed to eliminate dead space entirely, transforming what traditionally is wasted space into highly usable storage. This is where many homeowners’ assumptions about space limitations fall apart. Advanced design techniques and carefully selected hardware can turn awkward corners into prime real estate.
Are you aware of these nuanced details? Or have you fallen into some of these common traps? Share your experiences or questions in the comments—let’s dig deeper into making your kitchen not just beautiful but also brilliantly functional.
Investing in Reliable Tools for Seamless Maintenance
One of the most overlooked aspects of a successful kitchen remodel is maintaining the quality and functionality of your custom cabinets, built-ins, and storage solutions over time. Personally, I rely on specialized tools that ensure precision and longevity. For instance, a high-quality orbital sander like the Festool RO 150 FEQ has become my go-to for refinishing surfaces, thanks to its dust extraction and smooth operation, which keep my workspace clean and results perfect. Additionally, a set of micro brushes helps me keep hinges and hardware free of debris, preventing squeaks and ensuring smooth operation.
What Software Makes Renovation Upkeep Easier?
Beyond physical tools, I recommend using project management software like Houzz or Evernote to track maintenance schedules, upcoming repairs, and renovation notes. For example, documenting the date of your last hardware oiling or hinge check can extend their lifespan significantly. These apps let you set reminders for when to inspect or replace hardware, simplifying long-term upkeep and avoiding costly repairs down the line. A tip from industry expert Family Handyman emphasizes consistent care to sustain your investment.
Tools I Recommend for Long-Term Resilience
When it comes to cleaning and preventative maintenance, I swear by nematic silicone sprays like 303 Aerospace Protectant, which protect surfaces from moisture and UV damage, especially important in humid climates or areas prone to sunlight. Their easy application creates a protective barrier that keeps your custom finishes looking vibrant and new. For hardware, a soft cloth and mild cleaner prevent the buildup of grime—regular cleaning preserves both appearance and function.
In terms of fixing inevitable issues, having a kit with precision screwdrivers, replacement hinges, and touch-up pens saves me time and money. For example, if a hinge becomes loose, tightening it immediately prevents the cabinet door from sagging—a common concern that can escalate if ignored.
How do I maintain my built-in storage over time?
The key is routine inspections—checking for loose screws, ensuring drawer slides operate smoothly, and cleaning dust from concealed compartments. Incorporating a small maintenance checklist into your kitchen routine, perhaps quarterly, can prolong the life of your investment. Remember, consistent care—like applying lubricant to slides or inspecting weatherstripping—protects your kitchen’s beauty and functionality for years to come.
Looking ahead, the trend is moving towards smart maintenance solutions, such as app-connected sensors that monitor hardware wear. Imagine receiving alerts when hinges or slides need attention, making upkeep even more straightforward. As technology advances, integrating these innovations will be the natural next step in keeping your custom kitchen performing at its best.
Now, I challenge you to try just one of these maintenance tips—perhaps setting up a reminder system or giving your hardware a thorough check. Small steps today mean a forever-home quality for your kitchen tomorrow!
Lessons the Blueprint Didn’t Teach Me About Kitchen Storage and Built-ins
One of the biggest surprises I encountered during my kitchen remodel was realizing that quality built-in solutions could drastically cut down my clutter and boost functionality, but only after investing time into understanding the structural nuances. I used to think that custom cabinetry was out of reach financially, yet I discovered affordable options that transformed my space without breaking the bank. The lightbulb moment came when I learned that precise measurements and strategic planning are crucial—skipping these steps led to costly adjustments later. These lessons taught me that patience and proper research can turn a daunting project into a rewarding transformation.
Tools and Reads That Elevated My Kitchen Renovation Game
My go-to resource has become Expert Guides on Custom Cabinets, which demystified the process and set realistic expectations. For tools, a high-quality orbital sander like the Festool RO 150 FEQ has been indispensable for finishing surfaces smoothly, ensuring longevity and professional results. I also rely on project management apps such as Evernote to keep track of measurements, maintenance schedules, and ideas gathered along the way—saving time and preventing oversight. Lastly, primers like 303 Aerospace Protectant have helped me maintain the beauty of my finishes over time, making my investment last.
Your Next Step: Create a Kitchen That Reflects Your Lifestyle
Designing your perfect kitchen is a journey worth undertaking. With careful planning, reliable tools, and insightful resources, you can craft a space that’s not only stunning but also tailored to your daily routines. Remember, every small adjustment you make today can lead to a more enjoyable, functional home tomorrow—so don’t hold back from experimenting with built-ins, storage hacks, and personalized features. Your dream kitchen is within reach, and it’s waiting to become the backdrop of your happiest moments. How will you start your own transformation today? Share your plans or questions below—let’s build that beautiful, efficient kitchen together!