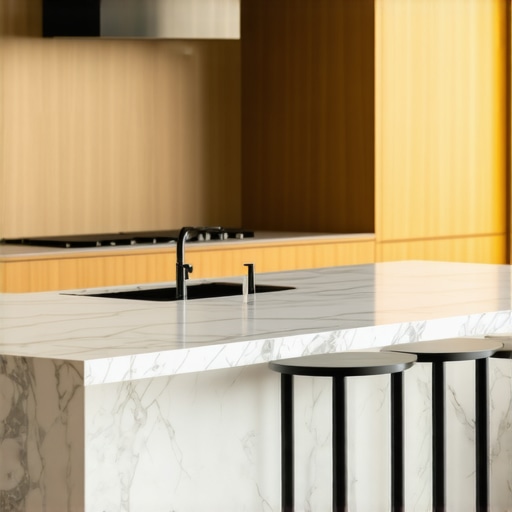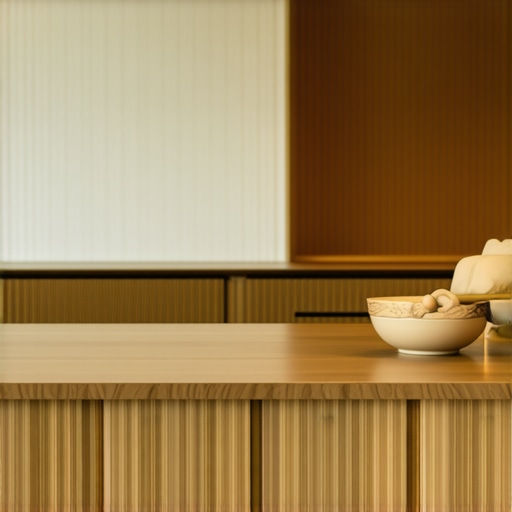
The Fluted Wood Trend: Why This Texture Is Taking Over Kitchen Islands
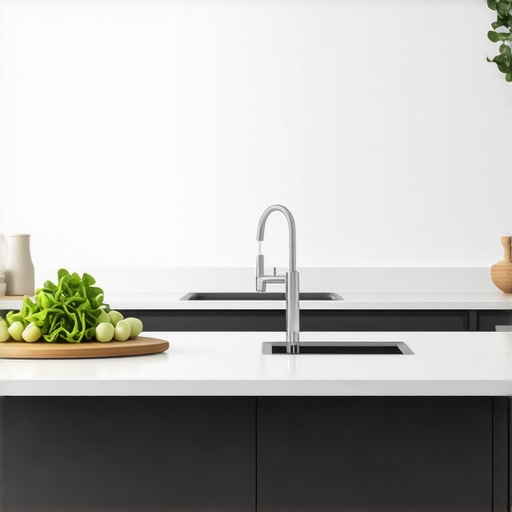
It was a morning like any other. I was standing in my kitchen, contemplating my next move—vintage pots ready for a deep clean, a mountain of recipes to browse through, and a glaring realization: my kitchen island felt dull, uninspired, almost bland. I’d been dreaming of giving it a facelift for months, but nothing seemed quite right. That was until I stumbled upon the fluted wood trend—an elegant, textured look that’s quietly but confidently taking over modern kitchens. Suddenly, my dull island no longer felt like a lost cause but a perfect canvas for this trending texture.
Why Fluted Wood Seems to Be Everywhere in Kitchen Designs Today
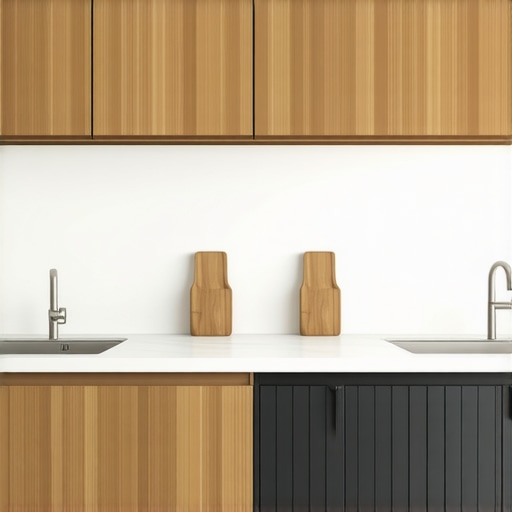
I’ve seen it on Instagram, Pinterest, and even during a recent visit to a high-end showroom—fluted wood paneling, cabinets, and islands are everywhere. It’s like the surface has a heartbeat, a subtle rhythm that adds warmth and visual interest. This texture isn’t just a passing fancy; it’s a strategic choice rooted in both aesthetic appeal and practical benefits. From a design perspective, fluted wood introduces a tactile element that flat surfaces simply can’t match. It captures light differently, creating shadows and depth that make even small kitchen spaces feel greater and more inviting. Plus, in my personal experience, it’s surprisingly versatile—whether paired with sleek modern hardware or vintage-inspired fixtures, it complements a variety of styles.
But what truly caught my attention is how this trend can be more forgiving of everyday wear and tear. The grooves mask minor scratches and fingerprints—an unsung hero for busy kitchens. According to a recent survey by the National Kitchen and Bath Association, textural surfaces like fluted wood are increasingly favored for their blend of beauty and utility, especially in open-concept layouts where sink and island areas get a lot of action.
Have you ever looked at your kitchen and felt that it was missing that special touch—something to add personality without overwhelming the space? That’s how I felt, and I realized I was ready for a change. The good news is, embracing this trend doesn’t mean gutting your entire kitchen. Sometimes, a simple upgrade or accent piece can make all the difference. Want to see how you can incorporate fluted wood into your kitchen projects? Let’s explore the approach that turned my dull island into a showstopper.
Is this textured trend really worth the hype, or just another fleeting fad?
Early on, I made a mistake. I thought I could DIY my way through the project without consulting the experts. Turns out, choosing the right type of wood, grain direction, and finishing technique is more nuanced than it looks. I learned that rushing this process can lead to uneven textures or compromised durability. To avoid such pitfalls, I recommend checking out professional tips on selecting storage solutions—like those found at Artisan Cabinetry—to ensure both form and function are optimized for your kitchen context. Curious about how to make the most of your kitchen upgrade? Feel free to contact me or visit my recommended resources for expert guidance.
Choose Your Wood Carefully and Prepare Your Workspace
Start by selecting the right type of wood for your fluted panels—hardwoods like oak or maple are durable and showcase the textured grooves beautifully. I once made the mistake of rushing this step, which led to uneven grooves and a less polished look. To avoid that, I gently sanded the surface and measured multiple samples before finalizing my choice. Clear your workspace and set up your tools—laser level, router with a fluting bit, and clamps—to ensure clean, consistent cuts. plan your design, opting for vertical or horizontal grooves depending on your kitchen’s style.
Make Precise Grooves with a Router
Using a router equipped with a fluting bit, I carefully traced the groove pattern on the wood, adjusting the depth for a subtle ripple that adds texture without overwhelming. I learned to clamp the wood securely and to run the router in steady, even passes, avoiding rushing or switching directions mid-cut. If you’re new to router work, consider practicing on scrap pieces first—this will save you time and prevent mistakes on your main panels. For clean edges, I used painter’s tape along the cut lines, which helped prevent tear-out, especially on softer woods. Expert tips recommend checking the groove spacing and alignment at regular intervals to ensure uniformity across the panel.
Maintain Consistency with a Jig or Guide
To achieve identical grooves across multiple panels, I set up a simple jig using a straightedge clamped to the wood surface. This acts like a rail, guiding the router for straight, evenly spaced flutes. Once set up, I marked my panels with painter’s tape for the start and end points of the grooves, then worked methodically. This method is akin to following a track—ensuring each groove lines up perfectly creates a cohesive, professional look. If you’re doing a larger project, investing in a dedicated guide or template can make a significant difference in speed and precision.
Finishing and Installing for a Seamless Look
After routing, I sanded the grooves gently to smooth out any rough edges, being careful not to oversand and lose the textured effect. Applying a finish, such as a clear matte sealant, preserved the natural beauty of the wood and enhanced the tactile quality of the fluting. When installing the panels, I aligned them precisely on the cabinet or island surface—using shims if necessary to account for uneven walls or floors—resulting in a sleek, integrated appearance. To finish, I used a matching trim or molding to hide any small gaps, creating a seamless transition between fluted panels and adjoining surfaces.
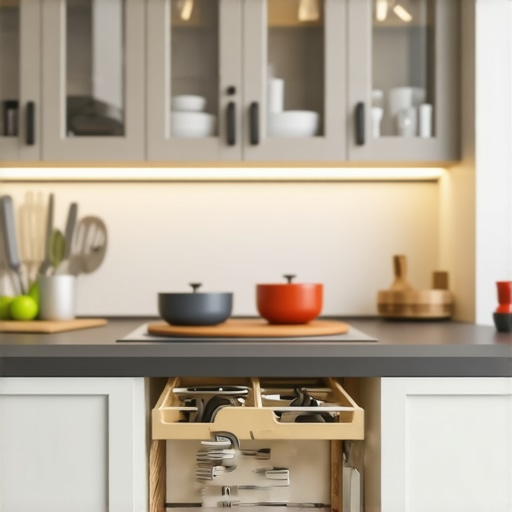
Applying fluted wood isn’t just about aesthetics—it’s a tangible way to elevate your kitchen’s style while gaining practical benefits like hiding fingerprints and scratches. It takes patience and attention to detail, but the end result truly transforms your space into a personalized haven. Thinking about further enhancing your kitchen? Built-in storage solutions can complement your textured surfaces, making your kitchen both stunning and highly functional.
Many homeowners enter a kitchen renovation with preconceived notions, often leading to costly mistakes. One widespread misconception is that selecting standard-sized, off-the-shelf cabinets automatically ensures a perfect fit and optimal storage. In reality, custom solutions, tailored precisely to your space, often outperform generic options by accommodating unique layouts and maximizing every inch of storage. Another common myth is that built-ins are exclusively luxurious or unnecessary—a misconception that overlooks their ability to seamlessly integrate with your design while offering smarter storage. As experts emphasize, understanding the nuances of custom cabinetry can elevate your project from good to extraordinary, especially when considering advanced storage solutions that keep clutter at bay.
How can overlooked details sabotage your kitchen upgrade?
One critical mistake many make is neglecting the importance of detailed planning in cabinetry placement and workflow. For example, positioning a built-in microwave too far from prep areas can cause inconvenience, or misjudging door swing clearance could impede accessibility. These seemingly small oversights can compound, leading to a less functional kitchen. Additionally, selecting materials without considering environmental factors—such as humidity or heat—can cause warping or degradation over time. A study published by the National Kitchen and Bath Association highlights that proactive planning and material choice significantly extend the lifespan of your cabinets and storage solutions. Always invest time in precise measurements and consult with experts to avoid these pitfalls. For more in-depth guidance, visit this resource on selecting storage solutions.Maintaining your custom kitchen cabinets and storage solutions over time requires the right combination of tools, methods, and regular upkeep. In my personal experience, investing in quality equipment not only streamlines the renovation process but also ensures durability and ease of maintenance in the long run. One essential tool I rely on is a high-precision cordless rotary tool, such as the Dremel 4300. It allows me to perform delicate tasks like smoothing out small scratches or refining intricate details on custom woodwork without the need for bulky, cumbersome equipment. Paired with fine grit sanding attachments, it keeps my finishes looking fresh and professional, even after years of use. Additionally, for assessing cabinet alignment and door gaps, I use a digital feeler gauge—an inexpensive but invaluable item that guarantees consistent, precise adjustments during hinge and latch maintenance.
The Hardest Lesson I Learned About Fluted Wood in Kitchen Design
Initially, I believed that following the latest trends would guarantee a timeless look, but I quickly realized that understanding the nuances—like choosing the right grain direction and finish—made all the difference. Patience during selection and craftsmanship can’t be rushed if you want your kitchen to stand out for years.
How Personal Experience Changed My Approach to Kitchen Texture Trends
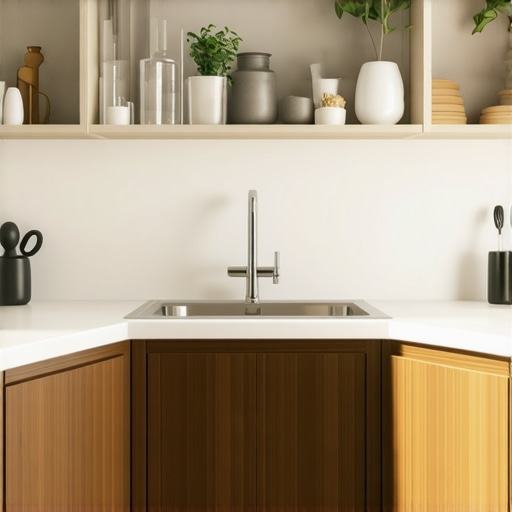
After experimenting with different textures, I discovered that integrating fluted wood subtly—perhaps as a backsplash or island panel—creates a sophisticated warmth without overwhelming the space. Authenticity in material choice and placement turned a trendy idea into a personalized hallmark of my design.
The Importance of Expert Guidance in Choosing Custom Wood Options
Consulting seasoned craftsmen or interior designers provided insights into durability and maintenance that I overlooked initially. Their advice helped me select finishes that resist wear, ensuring that my investment in fluted wood remains beautiful over time. For tailored suggestions, exploring expert tips on selecting storage solutions can be invaluable for your project.