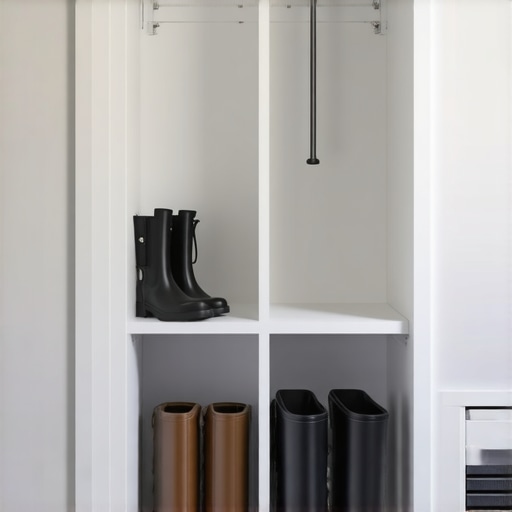
The Mudroom Boot Tray: Why Built-in Cubbies Need Waterproof Liners
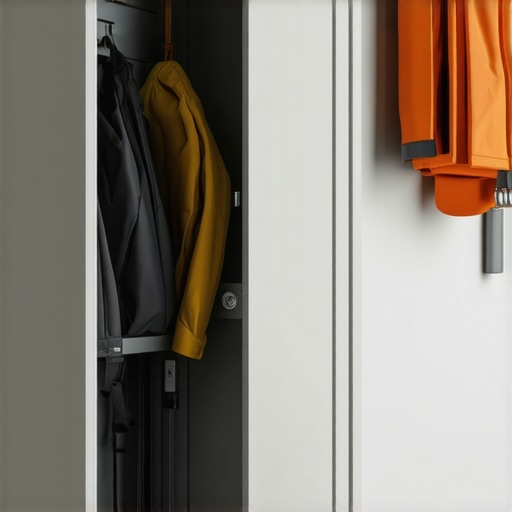
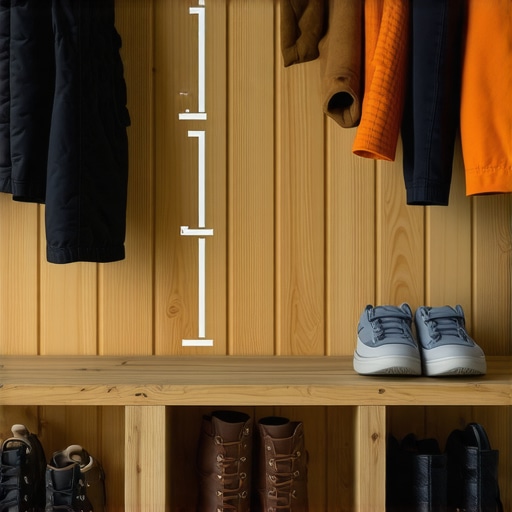
It was a typical rainy morning when I stepped into my mudroom and immediately noticed the soggy, muddy mess spilling out from under my built-in cubbies. Water had seeped through, soaking the stored shoes and creating a musty smell that lingered for days. That lightbulb moment made me realize: building beautiful, functional storage isn’t enough if it’s not protected against moisture.
The Hidden Drain on Your Mudroom’s Durability
If you’re like me, you’ve poured time and money into crafting the perfect built-ins for your home. But what often gets overlooked are the hidden layers that safeguard your investment—like waterproof liners under cubbies. Without them, moisture can infiltrate, leading to warped wood, mold growth, and ultimately, costly repairs. According to a study by the Building Research Establishment, moisture issues are one of the leading causes of cabinet failure in humid environments, underscoring their importance.
Have you faced the frustration of soggy shoes or damp cabinetry after a storm or snow melt?
Early on, I made the mistake of assuming that sealing the surface was enough. I neglected to consider what happened beneath the visible layer. It was a costly oversight that reminded me that a little extra protection—like waterproof liners—can save you a lot in the long run. Now, I always recommend integrating waterproof liners into your built-in systems, especially in areas prone to moisture.
So, if you’re transforming your home with custom cabinets or built-in storage, keep this in mind. The extra step of adding waterproof liners can make your storage solutions not just beautiful but also resilient and long-lasting. In the next sections, I’ll walk you through how to choose and install these liners to protect your space.
Select the Right Waterproof Liner Material
Start by choosing a durable, flexible material like peel-and-stick membrane, rubberized asphalt, or constructed waterproof panels. I once used a peel-and-stick membrane in a mudroom renovation, which handled wet winter boots remarkably well, preventing moisture seepage into the wood.
Prepare Your Space for Installation
Remove all items from the cubbies and clean the surfaces thoroughly. Sand down any rough edges and dry the area completely. In my project, I spent extra time cleaning and drying, which ensured the liner adhered properly and stayed secure after installation.
Cut and Fit the Liner Precisely
Measure the dimensions of each cubby compartment carefully. Cut the liner material with a utility knife, adding a small overlap to ensure full coverage. I found that using a straightedge guide made precise cuts easy, especially when fitting tight corners.
Tip: For corners and edges, trim the liner slightly larger than needed and fold or trim during installation to prevent gaps. This technique helped me avoid water infiltration at tricky junctions.
Adhere the Liner Securely
Apply the adhesive or peel-and-stick backing as per the manufacturer’s instructions, starting from the bottom and working upward to prevent air bubbles. Press firmly to ensure full contact. When I installed liners in my own cabinetry, I used a roller tool to smooth out air pockets, which resulted in a seamless, waterproof barrier.
Seal Joints and Edges
Use waterproof caulk or seam tape to seal all joints, corners, and edges thoroughly. This extra measure is crucial to prevent water intrusion. In my experience, taking an extra 10 minutes to seal every seam paid off when our mudroom faced heavy snowmelt and rain.
Reassemble and Test the Protection
Put the stored shoes and items back into the cubbies after the liner has set. Pour a small amount of water along the top edges to check for leaks. Regularly inspect the liners, especially after storms, to ensure ongoing protection.
While many enthusiasts focus on choosing the right wood or finishing techniques, there’s a common misconception that more elaborate designs automatically equate to better quality or longevity. In reality, complex features can introduce unforeseen vulnerabilities if not executed properly, especially in areas prone to moisture or heavy use. For example, intricate inlays or layered veneers may look stunning but can trap moisture or tarnish over time if not properly sealed and maintained, leading to warping or delamination. Experts emphasize that simplicity often enhances durability, as fewer joints and exposed surfaces reduce potential failure points. According to a study by the American Wood Protection Association, zone-specific treatments and precise sealing outperform elaborate surface treatments in long-term resistance, especially in humid climates.
What advanced mistakes do even experienced remodelers frequently overlook?
A prevalent error is underestimating the importance of structural reinforcement in custom-built storage. Heavy applications, like pull-out shelves or wine racks, require reinforced framing and high-quality slides to prevent sagging or malfunction. Neglecting these nuances may result in costly repairs or replacements down the line. Furthermore, many assume that standard materials suffice for custom designs, but high humidity or temperature fluctuations demand specialized, dimensionally stable materials like HMR (High Moisture Resistant) MDF or plywood with precise core grades—details that are often overlooked in DIY projects. To deepen your understanding, I recommend reviewing advanced cabinetry insights available at this comprehensive resource. Integrating these expert-level considerations ensures your investments in built-ins or kitchen remodels are genuinely resilient. Have you ever fallen into this trap? Let me know in the comments to share your experiences and lessons learned.
Investing in Proper Tools for Routine Care
Maintaining custom cabinets, especially in high-moisture zones like kitchens and mudrooms, requires precision and durability. I highly recommend a high-quality cordless oscillating multi-tool, such as the Dewalt DCS356, because it allows you to make detailed sanding, trimming, or scraping jobs without damaging surrounding surfaces. Its variable speed and interchangeable blades make it versatile for tasks like removing old caulking or sanding down minor scratches. Additionally, a moisture meter like the Tramex Moisture Encounter Plus helps you monitor hidden moisture levels behind panels or within joints, catching issues before they escalate. Investing in these tools ensures your cabinets remain functional and beautiful over time.
Refining Your Maintenance Routine with Software and Planning
Beyond physical tools, adopting a digital maintenance schedule can extend your cabinetry’s life. Apps like Trello or Notion can help you set reminders to inspect seals, tighten hardware, and check for water infiltration periodically. For intricate projects, I use CAD software to plan modifications or repairs, ensuring precision before any physical work begins. In the future, I predict smart home integration will include sensors embedded in cabinetry that alert homeowners to humidity spikes or leaks — keeping your storage solutions smart and responsive. Regularly updating your maintenance plan reinforces the longevity of your investment, especially when combined with the right toolkit.
How do I keep my cabinetry working without surprises long-term?
Applying a durable, water-resistant coating such as General Finishes Exterior 450 Polyurethane on exposed edges and non-porous surfaces adds an extra layer of protection. This sealant is designed to withstand humidity fluctuations and minor spills, reducing the risk of warping or delamination. Remember, sealing gaps and joints annually with waterproof caulks or sealants further prevents water intrusion, which is vital for built-in units in frequently wet areas. By combining these preventive measures, you can enjoy a resilient kitchen that maintains its beauty and function for years. If you want to see high-quality examples of durable built-in solutions, check out this inspiring collection.
Don’t Skip the Maintenance Checks
Set a biannual reminder to inspect your cabinetry’s hardware, seals, and concealed joints. Look for signs of water damage, loose screws, or swelling wood. Using a moisture meter periodically helps catch hidden leaks before they become costly repairs, especially in humid climates. I once found elevated moisture levels behind a kitchen cabinet during a routine check, which prompted early intervention and saved a significant expense. Additionally, keeping hinges and slides lubricated with silicone spray like Klinifast keeps everything operating smoothly. Consistent attention to detail preserves both the aesthetic and structural integrity of your custom cabinetry, making it a worthwhile practice to adopt.
Scaling Up Your Storage System for Long-Term Success
As your storage needs evolve, so should your solutions. Modular systems and adjustable shelving allow you to reconfigure your cabinets without extensive remodeling. Consider installing pull-out shelves, deep drawers, or corner units that optimize space utilization, ensuring your functional design remains efficient as needs change. To stay ahead, I recommend installing high-quality slides like the Accuride 3832-331, which can support heavier loads over time without sagging. Planning for scalability ensures your built-ins continue to serve you well, whether for family expansion or new hobbies. For ideas on how to seamlessly upgrade your storage, visit this resource for creative solutions.
Taking Action Now
Start by selecting one of these advanced maintenance techniques—perhaps applying a water-resistant sealer or setting up a digital checklist—and incorporate it into your routine. Keeping your custom cabinets in prime condition reduces the need for costly repairs and keeps your space beautiful and functional for years to come. If you’d like personalized advice or assistance with scaling your storage systems, don’t hesitate to reach out.
Over the years, I’ve learned that even the most stunning and well-designed custom cabinets can fall victim to moisture damage if we overlook the basics of water protection. My biggest lightbulb moment came when a seemingly minor oversight led to warped wood and mold in a cherished mudroom, reminding me that vigilance and proper preventative measures are essential for lasting beauty and function.
Uncovering Hidden Shortcomings That Cost Me
- I used intricate veneer details thinking they added luxury, but I realized that complexity often introduces moisture traps, emphasizing the value of simplicity backed by proper sealing.
- I underestimated the importance of waterproof liners beneath cubbies, which ultimately saved my cabinetry from long-term decay when water seeped in during heavy rains.
- My belief that surface sealants alone were enough was a mistake; integrating waterproof barriers beneath was the game-changer that prevented extensive repairs.
- I discovered that regular maintenance checks, including moisture testing and sealing, are crucial—something I now prioritize every six months to catch issues early.
Tools and Proven Strategies That Save Time and Stress
- Investing in high-quality moisture meters like the Tramex Moisture Encounter Plus has been invaluable for me to identify hidden leaks before they cause damage.
- Using flexible, durable waterproof liners such as peel-and-stick membranes, I ensure my built-ins are protected from the inside out—perfect for wet zones like mudrooms and kitchens.
- I recommend sealing all joints and edges with waterproof caulk, a simple step that adds an extra layer of defense during humid seasons or storms.
- Maintaining my cabinetry with a combination of silicone-based lubricants and periodic inspections has kept everything operating smoothly and looking pristine.
Small Changes Leading to Big Results
What began as a cautious tweak—adding waterproof liners—transformed my approach to cabinetry. Now, I don’t just focus on aesthetics but ensure durability by integrating these protective layers from the start. This experience also taught me the importance of choosing the right materials, like High Moisture Resistant MDF, especially for humid environments, and reinforcing structural elements to support heavy or frequent-use features.
From my journey, I encourage you to look beyond the surface and think holistically about your storage solutions. Remember, a little extra protective effort today can save you from costly repairs tomorrow. For more insights into designing resilient built-ins and smart storage, explore these innovative ideas.