The Real Reason Custom Cabinets Take 12 Weeks to Build
Ever stood in a kitchen showroom, eyes wandering over sleek, perfectly aligned cabinets, and thought, “Wow, I wish my project could be done this quickly”? Then reality hits: the clock can easily stretch to twelve weeks or more before your custom cabinets are installed. I remember the day I first learned this the hard way—after a three-month wait that felt like an eternity, I finally understood the truth behind that timeline.
The Long Wait That Holds Up Your Dream Kitchen
I had envisioned transforming my space into a sleek, functional haven. But months of waiting, delays, and unforeseen hiccups taught me some eye-opening lessons about the art—and the science—of custom cabinetry. It’s not just a matter of picking a style and waiting a few weeks; there’s a complex choreography behind the scenes involving design, material sourcing, precise craftsmanship, and quality checks. And surprising as it may be, this process ensures longevity and style that stand the test of time. According to industry experts, a meticulous approach to cabinet-making can take upwards of 12 weeks because it guarantees durability and a perfect fit—details that cheap, mass-produced options simply can’t match. So, if you’re feeling frustrated by the length, know you’re part of a process designed to give you lasting beauty and function.
Is the Time Truly Worth It?
I used to think rushing was the way to finish my remodel quickly. I made the mistake early on of choosing a contractor who promised speed over quality, only to end up with cabinets that warped within a year. That experience taught me the importance of patience and understanding the nuances of high-quality craftsmanship. If you’ve ever wondered whether a longer wait is justified, I can tell you: it absolutely is. Better craftsmanship means fewer repairs, greater resilience, and a finish that truly lasts. Want to learn how to manage these timelines and still get your dream kitchen? Keep reading, because I’ll guide you through the reasons behind the wait and what you can do to turn this patience into a smart investment.
Planning your kitchen remodel or storage upgrade can feel overwhelming, especially when progress seems slow. But understanding why custom cabinets take time can transform your frustration into anticipation. Ready to uncover the steps to streamline your project without sacrificing quality? Let’s dive in.
Plan Your Design and Measurements meticulously
Start by sketching your layout, including all storage needs and aesthetic preferences. Use a tape measure and level to mark exact locations for cabinets, considering door swing and appliance access. Once I measured my kitchen’s dimensions, I created a detailed blueprint, ensuring each cabinet would fit perfectly without impeding movement, much like fitting puzzle pieces snugly together.
Choose High-Quality Materials and Hardware
Opt for durable plywood like birch or maple for cabinet carcasses to prevent warping. Select hardware—hinges, handles, and soft-close dampers—and stick with trusted brands to ensure longevity. I learned this when I replaced cheaper hinges that failed within months; investing in quality hardware paid off with smoother operation and lasting appeal.
Prepare the Space for Installation
Clear the workspace, and double-check your measurements. Ensure the wall-mounted brackets or cleats are level and securely anchored into studs or appropriate wall anchors. I used a laser level to guide the installation of wall braces, which prevented crooked cabinets and saved time correcting misalignments later.
Construct and Assemble Cabinets Off-Site
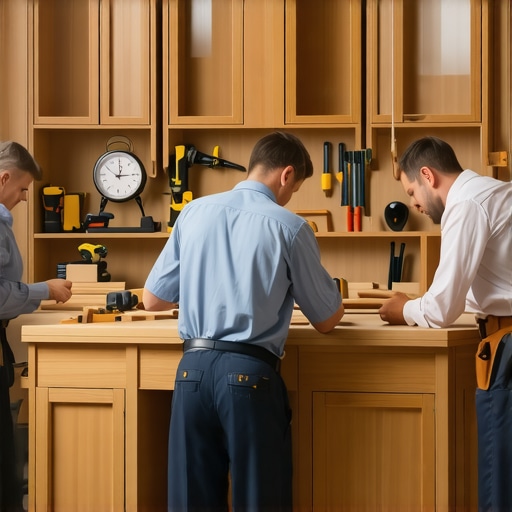
Whenever possible, assemble cabinets in a workshop setting. Use clamps, screws, and finish nails to secure joints tightly. Allow glue to cure fully before transporting. I assembled my cabinets in the garage, which kept dust away and gave me space to work carefully, reducing errors compared to rushed on-site assembly.
Install with Precision and Care
Position cabinets gently, using shims to fine-tune leveling. Secure them into wall studs using appropriate fasteners, taking care to avoid damaging the material. For heavy appliances or countertops, reinforce cabinets with corner blocks or steel straps. I reinforced mine with metal bracing, which supported the weight and prevented future sagging—an essential step for long-term durability.
Finish and Seal the Surfaces
Sand all surfaces smoothly, then apply primer and paint or stain for aesthetic finish. Use a water-based, VOC-free finish to ensure safety and ease of cleanup. During my project, I opted for a semi-gloss paint, which resisted fingerprints and was easier to clean, making daily maintenance less of a chore.
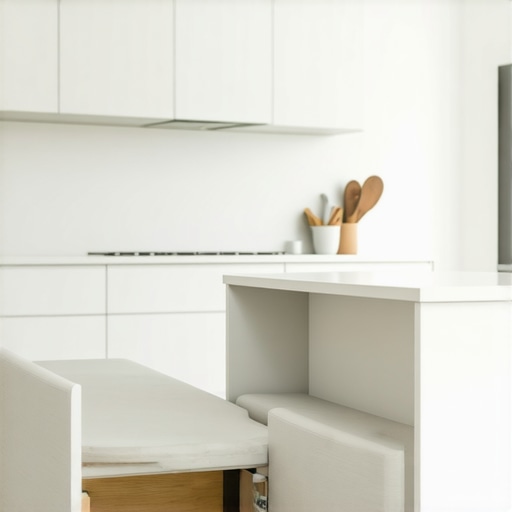
Incorporate built-ins and custom storage solutions by integrating features like pull-out spice racks or toe-kick drawers, optimizing every inch. For innovative storage ideas, visit this guide. Ensuring every component is pre-measured, assembled, and installed with precision guarantees a seamless, functional kitchen that reflects your personal style and maximizes space efficiency.
Many homeowners assume that installing built-ins and custom cabinets is a straightforward process focused solely on aesthetics and basic functionality. However, this misconception overlooks critical nuances that can influence the longevity, practicality, and overall success of your kitchen upgrade. One common myth is that custom solutions automatically lead to better space utilization without considering the specific measurements and usage patterns of your household. In reality, ignoring detailed planning and bespoke design principles can result in wasted space or awkward storage configurations that frustrate daily routines.
Another subtle trap lies in overlooking the importance of materials and hardware choices. While many focus on the visual style, they often neglect that high-quality plywood and soft-close hinges significantly enhance durability and user experience. As explained in industry insights, choosing resilient materials isn’t just about luxury—it’s about ensuring your cabinetry withstands humidity, wear, and tear over time, preventing costly repairs or replacements down the line. You can explore this comprehensive guide to understand how material selection impacts your kitchen’s long-term performance.
Advanced Strategies for Effective Built-Ins
For the sophisticated homeowner, understanding integrated design solutions can elevate a kitchen from functional to truly exceptional. One often underappreciated nuance involves aligning built-in features seamlessly with existing architecture—like ceiling height, ductwork, or uneven walls. This process requires meticulous measurements and creative framing, sometimes employing adjustable or custom-fabricated components to maintain a cohesive look. Failing to account for such details can lead to gaps, misalignments, or the need for unsightly patchwork.
Research, including a recent study by industry experts, confirms that tailored solutions which respect the home’s unique structural elements contribute to both aesthetic harmony and ease of maintenance. If you’re pondering complex built-ins, it’s wise to collaborate with professionals who incorporate these advanced considerations, ensuring high-end results that truly stand the test of time. Discover how innovative storage hacks integrate seamlessly with custom cabinetry for maximum efficiency.
Lastly, beware of the trap of rush decisions driven by aesthetics alone. Opting for trendy finishes or budget options without regard for long-term functionality and environmental factors can backfire. Think beyond immediate visual appeal to durability, ease of cleaning, and adaptability—crucial factors in a kitchen expected to serve daily needs. Investing time in detailed planning, material testing, and expert consultations ensures that your built-ins and cabinets become enduring features rather than fleeting trends.
Have you ever fallen into this trap? Let me know in the comments. The right approach elevates your kitchen remodel from ordinary to extraordinary, blending beauty with resilience for years to come.
Gear Up for Longevity: Essential Tools for Maintaining Built-Ins and Cabinets
Long-lasting kitchen upgrades demand more than just quality craftsmanship—they require the right tools to keep everything performing perfectly over time. Among my favorites is a high-quality cordless detail sander, such as the Bosch PSM 18 Li, which I use for routine surface touch-ups. It allows me to remove minor scratches or scuffs on painted surfaces swiftly, ensuring the finish stays smooth and pristine without the need for full refinishing. Additionally, a digital moisture meter like the Tramex FM3 helps monitor humidity levels, especially important if you live in a region with fluctuating weather. Maintaining optimal moisture prevents warping or swelling of plywood cabinets, a common issue when storage solutions aren’t properly managed.
Another crucial tool is a soft-bristle brush or microfiber cloth for regular cleaning. I prefer microfiber because it attracts dust and debris without scratching delicate finishes. For deeper upkeep, a gentle wood cleaner like Howard Citrus Shield is excellent for maintaining the authentic beauty of wood cabinetry and built-ins. This combination of tools ensures your storage solutions remain resilient and visually appealing for years.
Software That Keeps Your Kitchen Organized and Maintenance-Ready
Digital planning and maintenance tracking make a remarkable difference. I rely on the CAD-based software SketchUp to visualize ongoing care routines—plotting where to place vent panels or reinforce weak points. Additionally, apps like Trello help me schedule routine inspections, such as checking soft-close hinges or tight door connections, preventing small issues from escalating. These digital tools have become indispensable for managing complex custom cabinetry and built-in storage, especially when scaling projects or coordinating with professionals.
Long-Term Benefits of Consistent Care
Implementing a regular maintenance schedule tailored to your cabinetry and built-ins prolongs their life significantly. When I consistently clean and inspect my kitchen storage, I notice minor issues—like loose hinges or small chips—before they become costly repairs. Over time, this proactive approach saves me money and stress, preserving the beauty and functionality of my remodel. Industry experts agree; routine upkeep, when combined with the right tools and software, leads to long-term satisfaction and a better return on investment.
How do I keep my custom storage solutions working smoothly over the years?
Start with routine cleaning using microfiber cloths and gentle cleaners, then schedule periodic inspections with a moisture meter to prevent warping. Adjust hinges and hardware regularly using Allen wrenches or torque drivers to maintain alignment, ensuring doors don’t sag or stick. Adopt digital reminders with apps like Trello or Todoist to keep track of these tasks. Finally, consider professional check-ups every few years to catch issues early—think of it as a health scan for your cabinets and built-ins. Incorporate these practices, and your kitchen will remain stunning and functional for decades. For more advanced strategies, explore this guide on maintaining custom storage. Ready to give your built-ins a tune-up? Start with a microfiber cloth and see how they shine with just a little regular care.
Uncover Hidden Pitfalls That Could Cost You Big
One of the most valuable lessons I encountered during my kitchen upgrade was realizing how easily overlooked details—like precise measurements or material choices—can derail even the most promising design. I once assumed that selecting trendy finishes would cover any missteps, only to find that durability and environmental factors are equally critical. The realization that shortcuts in planning lead to costly fixes was a pivotal moment, urging me to approach each project with patience and meticulous attention to detail.
My Secret Arsenal for Kitchen Longevity
Over the years, I’ve come to depend on tools like a high-quality cordless sander for touch-ups, a reliable moisture meter to prevent warping, and microfiber cloths for routine cleaning. These essentials have helped me maintain the beauty and functionality of my custom cabinetry, making repairs quick and preserving the investment I made. Additionally, I trust digital scheduling apps like Trello to keep track of maintenance routines, ensuring nothing slips through the cracks and prolonging the life of my built-ins.
Embracing a Future Where Your Kitchen Thrives
Remember, creating a kitchen that lasts isn’t just about choosing the right materials or tools—it’s about adopting a mindset of ongoing care and patience. My experience taught me that proactive maintenance and continuous learning are your best allies in safeguarding your remodel. Dive into expert resources, experiment with innovative solutions, and don’t shy away from enlisting professional guidance when needed. To explore advanced storage ideas and transform your space, check out this comprehensive guide. Your dream kitchen is within reach—nurture it wisely and watch it flourish for years to come.