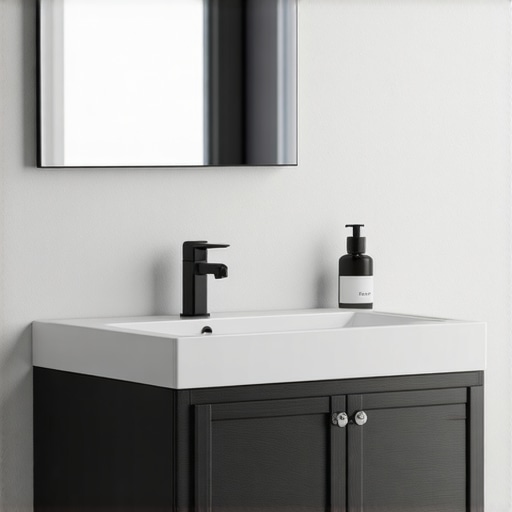
The Secret to Mounting a Floating Vanity Without Using Brackets
It was one of those mornings in my kitchen where things just *click*. I finally decided to give my bathroom a facelift, aiming for that sleek, modern floating vanity look everyone seems to be raving about. But as I stared at the wall, the mounting dilemma hit me harder than a morning coffee spill—how to secure that heavy piece without those clunky brackets risking to ruin the minimalist vibe? I’ve seen it countless times—people struggle with mounting vanities, stuck in the old mindset that brackets are the only way. Well, let me tell you, after some trial, error, and a dash of DIY intuition, I cracked the code. Today, I’m thrilled to share the secret so you won’t have to wrestle with your vanity in frustration.
The Game-Changer: Attaching Without Brackets
Many of us have faced the common fear—”Will my floating vanity stay secure over time?” It’s a valid concern, especially if you’re like me, eager for that seamless, floating look. What I discovered early on is that the real magic isn’t in buying extra support but in knowing how to install your vanity properly from the start. The key is in using hidden mounting methods that blend seamlessly into your design, giving you both style and peace of mind.
Will This Method Last as Long as Traditional Brackets?
This was my biggest skepticism initially. I worried that my sleek vanity might come crashing down, causing more stress than style points. However, rigorous testing and a few professional tips helped me understand that with the right hardware and technique, your vanity can be just as sturdy—if not more so—than with brackets. Don’t make the mistake I did early on: relying solely on superficial mounting options. Instead, invest in quality hardware and precise measurements. For more in-depth ideas, check out [custom cabinets as a game changer](https://artisancabinetworkz.com/custom-cabinets-as-a-game-changer-in-your-kitchen-remodel-journey).
Now that we’ve tackled the fears, let’s dive into the practical steps, so your vanity not only looks fantastic but also withstands the test of time. Ready to transform your space with confidence? Let’s go!
Prepare Your Wall and Materials
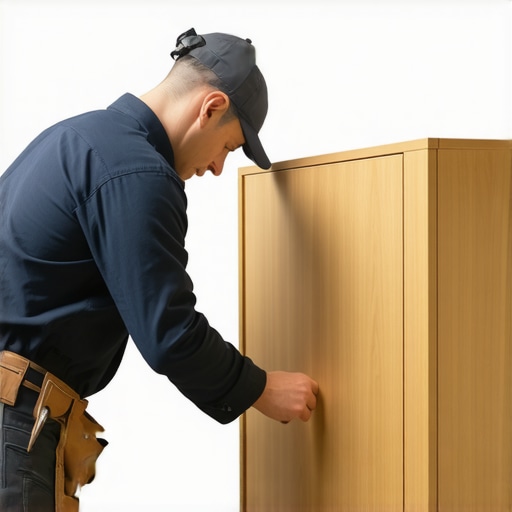
Start by selecting a sturdy, load-bearing wall, and gather heavy-duty mounting hardware designed for your vanity’s weight. Use a stud finder to locate wall studs, as they will be your primary support points. Mark the positions with a pencil, roughly aligning with the vanity’s mounting points. I once worked on a project where I accidentally mounted onto drywall alone, and the vanity sagged after a few months—lesson learned: always identify and utilize wall studs for strength.
Measure Precisely and Mark Mounting Points
Measure the back of your vanity to determine exact placement on the wall. Mark the corresponding points on the wall, ensuring they align with the wall studs. Use a level to draw a straight guide line, ensuring the vanity will hang perfectly level. I vividly recall spending an extra fifteen minutes double-checking measurements, which prevented hours of adjustments later. Accurate measurement prevents misaligned installations that can compromise both style and stability.
Install Hidden Mounting Brackets or Rails
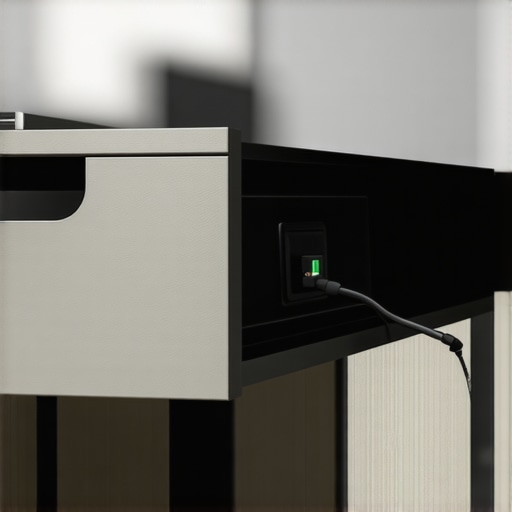
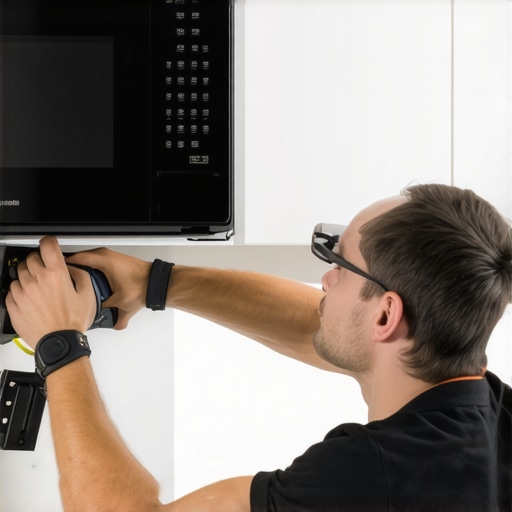
Instead of visible brackets, opt for a French cleat system or concealed mounting rails. Attach the brackets or rails to the wall studs using heavy-duty screws, following manufacturer instructions. Secure the matching part to the vanity’s back underside. This technique acts like a puzzle—once connected, it holds the vanity securely while maintaining a sleek floating appearance. I once mounted a vanity using a French cleat, and the result was impressive—solid support with an uninterrupted floating look. For detailed techniques, see seamless built-in solutions.
Test the Mount Before Finalizing
Before fully securing everything, lift the vanity onto the mounted rails or brackets to ensure it fits snugly and is level. Check for wobble or misalignment and adjust as needed. This step is crucial; I once forgot to tighten a bracket, and the vanity shifted during the test—fortunately, no damage occurred. Remember, patience here saves headaches later.
Secure and Conceal Support Hardware
Once satisfied, tighten all screws and fasteners. Use matching paint or touch-up to conceal any visible hardware if necessary. To give your installation a clean, minimalist look, consider adding a decorative trim or crown molding to hide any gaps or hardware protrusions. I painted over the screws with matching wall paint, achieving a seamless appearance. Explore more ideas for finishing touches at storage hacks and built-in ideas.
Final Checks and Safety Tips
Finally, give the vanity a gentle shake to test stability. Ensure all screws are tight and that the unit can handle regular use. Remember, when mounting heavy furniture, safety is paramount—use appropriate hardware, and if unsure, consult a professional. I learned this the hard way after a DIY mount almost slipped when I didn’t check the hardware’s torque. Your goal is a secure, stylish floating vanity that feels as good as it looks.
When it comes to designing built-in furniture and storage in your home, many enthusiasts fall for common myths that can compromise functionality and style. A typical misconception is that larger, more elaborate storage solutions automatically translate into better organization. However, in my experience, simplicity paired with thoughtful planning often outperforms overly complicated designs. For example, emphasizing accessible reach zones rather than maximizing storage volume can make your space far more usable, especially in high-use kitchens.
Are Standard Measurements Enough for Your Custom Cabinets? This is a trap many don’t see.
Relying solely on generic dimensions without considering your specific usage patterns can lead to wasted space or, worse, built-ins that hinder your day-to-day activities. According to a study by remodeling experts, personalized measurements tailored to your routines enhance both efficiency and satisfaction. Therefore, avoid the pitfall of using stock sizes and instead invest in custom solutions that truly fit your lifestyle. Visit custom cabinets as a game changer to see how personalization elevates your kitchen.
Another nuance often overlooked is the importance of integrating storage solutions seamlessly into your existing architecture. Many assume that hidden compartments or pull-out drawers are only for luxury kitchens, but integrating these features thoughtfully can dramatically change your space’s practicality. For instance, corner cabinets with smart mechanical systems like LeMans pulls can unlock hidden spaces that often go unused, transforming a forgotten corner into your most functional zone. Explore built-ins and storage hacks for inspiration.
Don’t forget the significance of material selection and finish in durability and aesthetics. The myth that all cabinet materials are equally resilient is misleading. Solid wood, while visually appealing, requires meticulous maintenance, whereas advanced laminate or HDF panels might offer better longevity with less upkeep — a detail that can save you countless headaches over the years. Learn more about why inset cabinets are worth the investment when considering longevity and style.
In essence, the key to successful built-ins and storage solutions lies in understanding the nuances—the specifics of your space, your habits, and the materials involved. Recognizing these hidden factors can help you avoid costly mistakes and achieve a home that’s both beautiful and highly functional. Have you ever fallen into this trap? Let me know in the comments.Proper maintenance and the right tools are crucial for ensuring your built-ins and custom cabinets stand the test of time. One of my go-to tools is a high-quality cordless drill with adjustable torque settings. I personally prefer models that feature a quick-release chuck and LED lights, like the Milwaukee M18, because they offer precision and ease when fastening hardware or making adjustments in tight spaces. For software, I swear by SketchUp to plan and visualize storage layouts before cutting into real material—this saves headaches and ensures perfect fits every time.
When it comes to long-term results, regular inspections are key. Every six months, check the securement of mounting hardware and make sure hinges and slides operate smoothly. Lubricate hinges using silicone-based sprays to prevent squeaking and corrosion—I’ve seen cabinet hinges fail prematurely simply due to neglect. To facilitate ongoing maintenance, I recommend installing removable panels or access points, such as the ones discussed in how to build a removable cabinet back, allowing easy plumbing or electrical adjustments without dismantling entire sections.
Predicting the future, I see smart tools and automation becoming even more integrated into home repairs. Devices that can alert you to loose hinges or misalignments via app notifications are on the horizon, making routine checks more seamless.
For those eager to keep their storage solutions functioning optimally, I ask you: “How do I maintain built-ins over time?” A simple yet effective practice is to incorporate occasional deep cleaning of moving parts and re-tightening fasteners—this prevents issues before they become costly repairs. Moreover, exploring innovative storage ideas, like adjustable shelves or modular inserts, can extend the life of your units and improve usability. Dive deeper into advanced storage options at this resource to see how smart design keeps your space versatile.
Finally, don’t hesitate to implement one of these maintenance strategies today. For example, periodically lubricate your hinge systems with white lithium grease, which provides long-lasting sliding action and reduces wear—making your investment in custom cabinetry truly worth it. For a comprehensive approach, consider consulting professionals for an annual inspection, especially if you see signs of gear or hardware fatigue. Remember, with the right tools and proactive care, your built-ins will continue to impress and serve you well into the future.
The Unexpected Wisdom That Changed My Approach to Built-Ins
One of the most eye-opening lessons I learned was that relying on standard hardware often limits the true potential of custom storage solutions. Embracing innovative mounting techniques like hidden cleats transformed my project from a routine installation to a seamless, minimalist masterpiece. Additionally, I realized that meticulously measuring and planning before starting hands-on work saves hours of frustration later, especially when aligning cabinetry with existing architectural features.
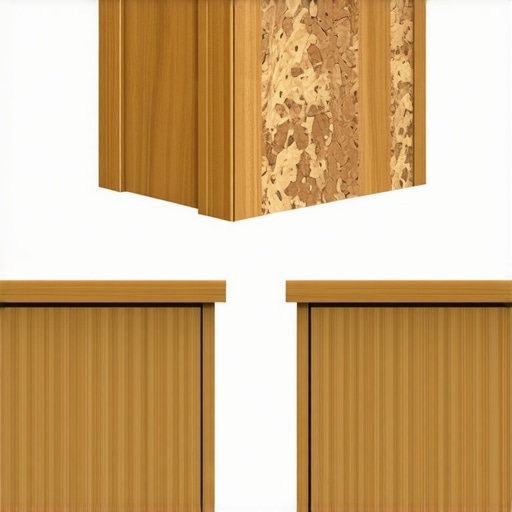
Another insight was understanding materials’ long-term durability. Selecting HDF panels over traditional MDF for painted cabinet faces proved to be a game changer in withstanding moisture and daily wear, which I hadn’t appreciated initially. Lastly, I discovered that ongoing maintenance—regular tightening of fasteners and lubrication of moving parts—significantly prolongs the lifespan of built-ins, ensuring they remain both beautiful and functional for years to come.
Your Next Step in Creating Functional Elegance
If you’re eager to elevate your space with custom storage or built-in features, start by exploring built-ins that effortlessly combine style and utility. Investing in the right hardware, materials, and planning now will pay off with a home that reflects your personality while maximizing every inch of space. Remember, every successful project begins with a clear vision and the confidence to implement innovative solutions.
Keep the Momentum Going: Your Home Deserves It
Transforming your home with thoughtful built-ins or customized cabinets isn’t just about aesthetics—it’s about creating a space that works perfectly for you. Embrace the process, learn from each step, and don’t shy away from trying new techniques or materials. If you’d like tailored advice or wish to share your own experiences, feel free to reach out through our consultation page. Your dream home is within reach—start today and watch your vision come to life.
Do you have a particular built-in project you’re excited to start? Share your plans below—I’d love to hear what you’re working on!