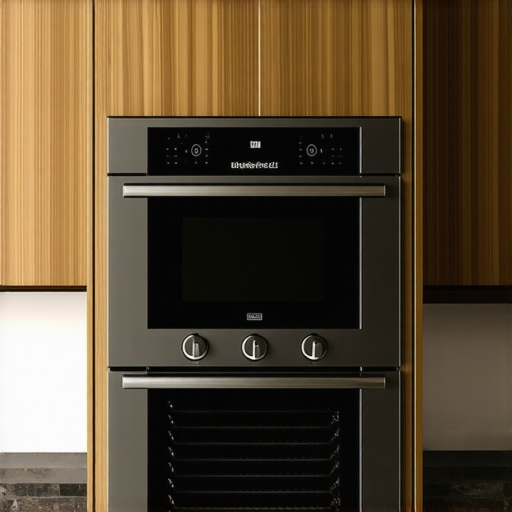
How to Align Double Oven Cabinets for a Perfectly Flush Look
I remember standing in my kitchen with a lukewarm cup of coffee, staring at the double oven I had just “finished” installing. From the doorway, it looked fine. But the moment I stepped closer, my heart sank. The top right corner was protruding just enough to catch the morning light, casting a shadow that made the whole wall look crooked. It wasn’t just a minor gap; it was a neon sign screaming that I’d rushed the job. I’d spent thousands on high-end appliances only to have them look like they were shoved into the wall as an afterthought. If you have ever felt that twitch in your eye when things aren’t perfectly square, you are in the right place.
Stop Settling for Gaps and Uneven Edges
The secret to those magazine-worthy kitchens isn’t just the price tag of the appliances; it is the precision of the cabinet alignment. When you are working with modern kitchen remodels featuring custom cabinets and built-ins, the tolerance for error is razor-thin. A double oven is heavy, awkward, and notoriously unforgiving. If your cabinet box is even slightly racked or tilted, that massive hunk of stainless steel will amplify the mistake for everyone to see. Today, I am going to show you exactly how to prep your cabinet opening so your oven slides in and sits perfectly flush with your face frames or door planes.
Does This Level of Detail Really Matter?
You might be wondering if obsessing over a sixteenth of an inch is overkill. Trust me, it isn’t. According to the National Kitchen & Bath Association (NKBA), improper appliance integration is one of the top reasons homeowners feel dissatisfied with their custom cabinetry after a year. Beyond the aesthetics, an unaligned oven can put uneven pressure on the cabinet floor, leading to structural issues down the road. I learned this the hard way during my first big project when I ignored a slight lean in the base platform. Six months later, the cabinet door below started rubbing because the whole unit had shifted under the weight. Now, I always ensure I integrate built-ins and storage hacks that prioritize structural integrity before the heavy lifting begins.
We are going to tackle the common pitfalls, like how to handle cabinet doors when your walls are out of plumb, which is almost always the case in older homes. Have you ever gotten an appliance halfway into the opening only to realize the cabinet was narrower at the back than the front? Tell me about your most frustrating installation moment in the comments—I’ve likely been there too.
Build a Foundation That Wont Sag Under Pressure
A double oven is basically a 300-pound engine that stays in one spot for twenty years. If you treat the support shelf like a standard pantry shelf, you are asking for a structural failure. I remember a project where I used a single layer of 5/8-inch particle board for a client because I was in a rush to finish. Within six months, the weight of the unit caused the shelf to bow, which in turn pulled the cabinet sides inward and jammed the drawers below. It was an expensive, embarrassing fix. Now, I always build a reinforced bridge. Think of it as a sub-floor for your appliance. I double up 3/4-inch furniture-grade plywood, gluing and screwing them together, and then I support that platform with 2×4 cleats screwed directly into the wall studs behind the cabinet. When you are planning these creating seamless kitchen remasters with built-in storage solutions, the structural integrity must come before the aesthetics.
Level the Platform with Precision Shims
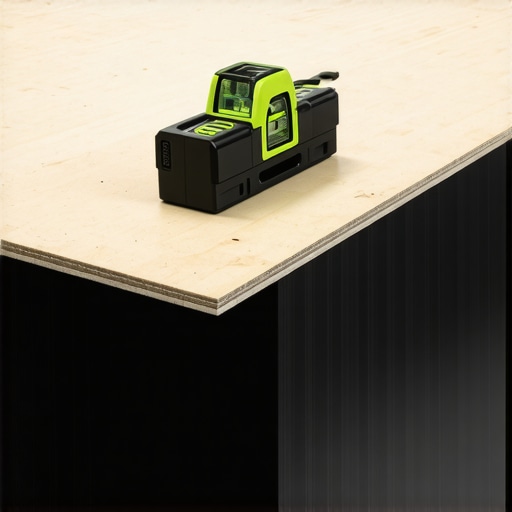
Once your heavy-duty platform is in, you have to get it perfectly level in both directions—front to back and side to side. Walls are rarely plumb and floors are rarely flat, so your cabinet is likely already fighting the architecture of the room. Use a 24-inch level to check the platform. If it is off even by a fraction, the oven door might swing open on its own or stay slightly ajar, wasting energy and ruining the flush look. This is where you need to master the proper way to shim cabinets on a high spot in the floor. Use thin cedar shims to dial in the levelness of the internal platform before you ever lift the oven into place. If the platform isn’t dead-on, the stainless steel face of the oven will highlight every curve in your walls.
The Scribing Secret for Flawless Trim
Even with a perfectly square cabinet, the gaps between the oven and the wood can be uneven. Most high-end ovens come with trim kits, but they don’t always cover the gap perfectly if your cabinet opening is slightly too wide. I treat this the same way I would approach a refrigerator enclosure; you need to know how to fix the gap between your cabinet and the refrigerator to apply those same principles here. If the gap is too large, I rip down small strips of matching hardwood—what we call ‘filler’—and scribe them to the oven’s frame. This creates a custom-fitted look that makes the appliance look like it was cast into the cabinetry rather than just screwed into it. It is the difference between a DIY job and a professional modern kitchen remodel featuring custom cabinets and built-ins.
Manage the Depth for a Flush Finish
One detail people often overlook is the depth of the electrical junction box. If the box is mounted directly behind the oven, the plug and the heavy-duty conduit will often prevent the oven from sliding all the way back. You end up with the oven protruding two inches past the cabinet doors. Always offset your electrical box to the top or bottom of the cabinet opening, or even in an adjacent cabinet if local codes allow. When you store heavy small appliances in a base cabinet, you can usually hide the cords, but with a built-in oven, there is no room for error. I once had to cut out a section of the back of a brand-new custom cabinet because the electrician placed the outlet exactly where the oven’s cooling fan was located. Plan the depth early to ensure your oven sits flush with the door planes for that high-end integrated look.
Most homeowners believe that the tighter the fit, the better the craftsmanship. While that looks great in a Pinterest photo, it is actually a recipe for a service call six months down the line. I call this the Precision Trap. When you are pursuing custom cabinets as a game-changer in your kitchen remodel journey, you have to account for the physics of heat and airflow. Modern double ovens vent an incredible amount of hot air during their self-clean cycles or high-heat roasting. If your cabinet panels are hugging the unit too closely, that heat has nowhere to go but into your cabinet stiles. I have seen beautiful walnut faces charred because the installer forgot to leave the manufacturer-specified ventilation channel. Have you ever fallen into this trap? Let me know in the comments.
Why Does Your High-End Oven Keep Tripping the Thermal Cutoff?
It is rarely a faulty appliance; usually, it is the cabinet geometry. Professional innovative storage solutions for modern kitchen remodels should include a hidden chimney effect behind the unit. This is not just for the oven longevity—it affects everything nearby. According to the Association of Home Appliance Manufacturers (AHAM), restricted airflow and improper venting account for a significant percentage of control board failures in built-in units. I once worked on a kitchen where the double oven was installed so tightly that the spices in the drawer next to it were literally being baked in their jars. Beyond heat, there is the issue of hinge bind. If you are using frameless cabinetry, you must know how to pick the right hinge overlay for frameless cabinets so that the adjacent doors do not clip the oven trim when they swing open. This is a nuance many DIYers miss until they try to open the pantry and the oven door simultaneously.
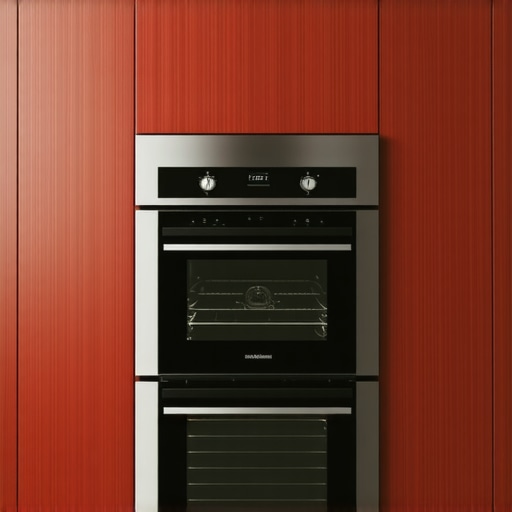
Don’t Assume Your Alignment is Permanent
Another common mistake is assuming that once the oven is level, it stays level forever. Wood is a living, breathing material. Even with the reinforced platforms we discussed earlier, seasonal humidity changes can cause the cabinet carcass to swell or shrink. You might notice the real reason your soft-close drawers are sluggish in winter is the same reason your oven might suddenly look slightly tilted—the wood is moving. When I build these units, I often use a floating trim method. The trim is attached to the cabinet, but the oven is allowed a fraction of a millimeter of movement on its platform. This prevents the rigid metal frame of the oven from putting torque on the wood as the house settles. It is these tiny, invisible adjustments that separate a kitchen that looks good on move-in day from one that looks perfect a decade later.
Ditch the Tape Measure for Laser Precision
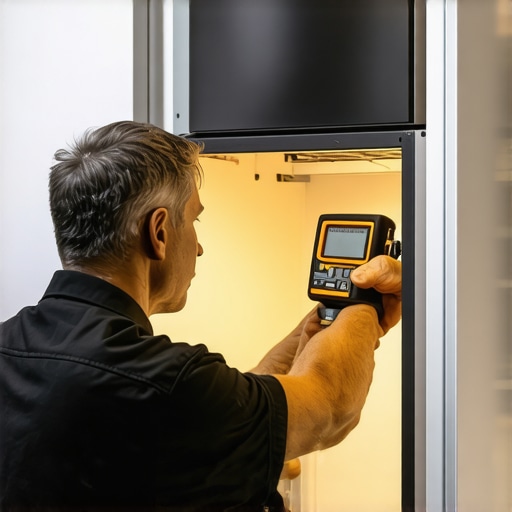
If you want to avoid the ‘settling’ disasters I mentioned earlier, you need to upgrade your toolkit. I’ve stopped relying on my old 25-foot tape for these high-stakes installs. Why? Because even a slight sag in the tape over a 30-inch opening can throw off your cabinet geometry by a vital fraction. Now, I use a digital laser measure because it gives me a reading to the 1/16th of an inch without the user error of a bent tape. When you are looking for expert tips on selecting storage solutions for a perfect kitchen upgrade, start with the tools that measure them. I also swear by a digital angle finder to verify that my cabinet boxes are truly square. If your box is ‘racked’—meaning it’s a trapezoid instead of a rectangle—your oven will never sit flush, no matter how much you shim.
When you are setting up your internal layout, the best way to organize your kitchen tools for efficiency is to group them by ‘frequency of use’ zones. The same logic applies to your built-ins. Items you use once a year shouldn’t be competing for the prime real estate near your heavy-duty appliances. If you have deep cabinets, consider the best way to organize a deep drawer for pots and pans to ensure your heavy cookware is accessible without straining your back or the cabinet’s drawer glides.
How do I keep my custom built-ins looking new for years?
Maintenance isn’t just about cleaning; it’s about managing the environment. According to the USDA Forest Products Laboratory’s Wood Handbook, wood changes dimensions significantly based on the relative humidity of your home. This is the primary reason homeowners see gaps opening up. To protect your investment in modern kitchen remodels featuring custom cabinets and built-ins, you must maintain a consistent indoor humidity level, ideally between 30% and 50%. This prevents the issues behind why your cabinet doors are warping in the summer heat. For the finish itself, stay away from harsh chemicals. I always tell my clients that knowing how to remove grease from wood cabinets without ruining the finish is as simple as using a drop of mild dish soap and a microfiber cloth.
The Next Wave of Kitchen Storage Tech
As we move further into 2025, the trend is shifting toward what I call ‘Active Storage.’ We aren’t just looking at smart storage ideas to maximize your kitchen space this year; we are looking at cabinets that adapt. Think motorized shelves that lower to counter height for accessibility and internal sensors that alert you to moisture buildup behind your appliances. The focus is moving from purely aesthetic custom cabinets as a game-changer in your kitchen remodel journey to functional systems that preserve the life of both the home and the appliances. If you’re ready to take your project to the next level, I challenge you to try this: Before you finalize your oven installation, use a laser level to project a vertical line down both sides of the cabinet face. If the gap between the laser line and the frame varies by more than 1/32nd of an inch, go back and adjust your shims now rather than later. For more help with your setup, you can always contact us for a consultation.
Lessons Learned from the Bottom of a Cabinet Box
After years of installing heavy appliances into high-end wood frames, I have realized that the most expensive tool you own is your patience. One lightbulb moment for me was realizing that ‘flush’ is a moving target. Because wood reacts to the environment, a perfect fit in July might look different in January. That is why I always recommend custom cabinets as a game-changer in your kitchen remodel journey, as they provide the structural density needed to handle these fluctuations. Another hard-won lesson? Never trust the manufacturer’s ‘standard’ cutout dimensions blindly. Always have the physical unit on-site to measure the actual chassis before you make your final cuts. Finally, remember that the smallest details, like knowing the secret to a quiet kitchen, often start with how you anchor these vibration-heavy units to the wall studs.
Tools That Turn a DIY Job into a Masterpiece
You do not need a warehouse full of machinery, but a few specific items are non-negotiable for a professional result. I personally rely on a 360-degree green beam laser level; it is much easier to see against dark wood than the red ones. I also suggest keeping a set of air-bags or ‘air shims’ in your kit. These allow you to lift a 300-pound oven with one hand while you slide a permanent shim underneath with the other. For those looking for expert tips on selecting storage solutions for a perfect kitchen upgrade, I highly recommend picking up a digital angle finder to ensure your cabinet box has not ‘racked’ during the installation of the face frames. #IMAGE_PLACEHOLDER_E#
Build a Kitchen That Stands the Test of Time
It is easy to get overwhelmed by the technical specs and the heavy lifting, but remember why you started this project. You are creating a space where memories are made and meals are shared. When you take the time to align every edge and secure every cleat, you are not just installing an appliance; you are perfecting a modern kitchen remodel featuring custom cabinets and built-ins that will serve your family for decades. Don’t be afraid to pull the unit back out if it is not sitting quite right—your future self will thank you every time the morning light hits that perfectly flush frame. If you run into a snag or need a professional eye on your layout, feel free to contact us anytime. Have you ever struggled with a heavy appliance that just would not sit flush in the opening? Let me know in the comments below!