Why Dovetail Joints Fail: The Humidity Error Most Cabinet Shops Ignore
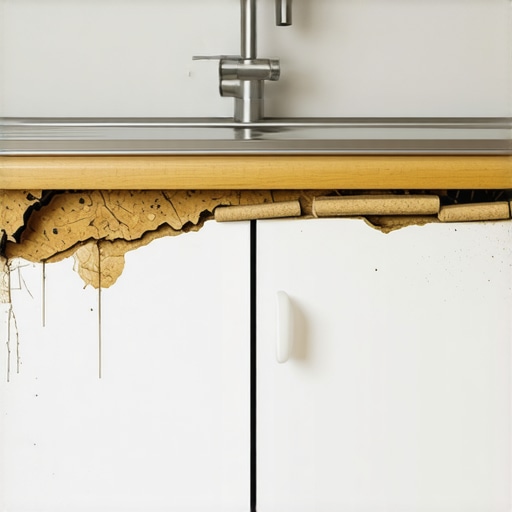
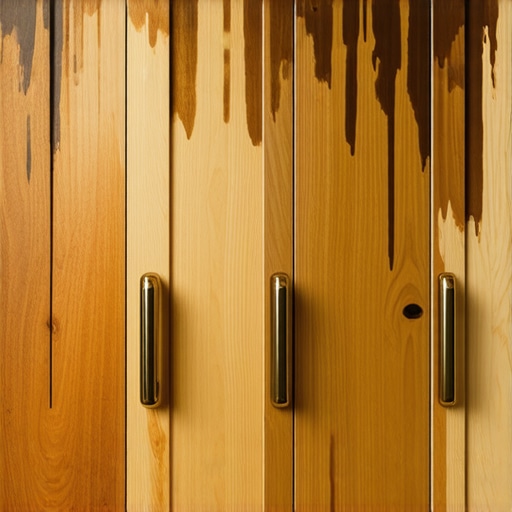
I’ll never forget the moment I opened a brand-new set of built-in cabinets in a client’s home and found them warped beyond recognition. The dovetail joints, supposed to be the hallmark of quality craftsmanship, were separating, sagging, and looking downright damaged. It was a lightbulb moment for me: humidity and moisture are silent enemies that can undermine even the most carefully crafted wooden projects. Have you ever faced similar frustrations with cabinet joints that just won’t hold up over time? You’re not alone, and today’s post promises to shed light on an often-overlooked culprit—humidity—that could be your project’s hidden nemesis.
How Humidity Turns Your Perfect Joints into a Sloppy Mess
When I first started in woodworking, I naively believed that choosing the right wood was all it took. I didn’t fully grasp how environmental factors like humidity could cause my beautiful dovetail joints to fail prematurely. As I learned through personal trial and error, moisture levels can cause wood to swell or shrink. These dimensional changes put stress on joints, leading to separation, warping, or even cracking. What surprised me most was how many cabinet shops ignore this factor, assuming that their material suppliers have already sent them properly cured wood. But without proper climate control during storage and installation, even the best materials can buckle under humidity’s relentless influence.
Is Humidity Control Really Necessary for Long-Lasting Joints?
Early in my career, I overlooked the crucial step of managing humidity. I remember my first custom cabinet project—beautiful cherry wood, perfectly assembled, and ready for installation. But within months, I noticed gaps forming at dovetail joints. It was a costly mistake, and I learned the hard way that humidity isn’t just a minor inconvenience—it’s a fundamental factor that can make or break your woodworking success.
Industrial experts confirm this reality. According to the Wood Database, fluctuating moisture levels are among the leading causes of wood movement, resulting in joint failure (source: Wood Database). This realization motivated me to dive deeper into environmental control and harness better storage and workspace climate management techniques, which we’ll explore in upcoming sections.
Now that we understand why humidity is a silent threat, the question becomes: how can you safeguard your dovetail joints and ensure your cabinets withstand the test of time? Let’s move beyond the pitfalls and explore practical solutions that keep moisture in check and joints tight, beautiful, and lasting.
**Would you like to discover step-by-step methods to control humidity in your workshop or home?** Let’s begin with the basics of environmental management that can make all the difference.
Maintain Steady Climate Conditions in Your Workspace
Start by investing in a good-quality dehumidifier and humidifier combo, especially if your workshop or storage area fluctuates often. Set the humidity level between 40-45%—think of it as keeping your wood’s ‘comfort zone.’ I recall a time I borrowed a dehumidifier from a local hardware store for a week during a particularly humid summer. The difference was night and day; my veneer paneling glued up perfectly without warping, saving me time and materials. Use a digital hygrometer to monitor levels constantly, just like a thermometer. This proactive approach prevents moisture from sneaking into your wood before it causes damage.
Seal and Insulate Storage Areas to Prevent Fluctuations
Treat your storage zone like a climate-controlled vault—use airtight containers and insulation to minimize environmental swings. I once stored freshly milled oak in open bins, thinking it would cure naturally. Months later, the joints started loosening because moisture slowly seeped in and out with temperature changes. After boxing my wood in sealed, insulated bins—similar to a wine cellar—I noticed a significant reduction in movement. For larger projects, consider dedicating a small room with controlled climate: add weather stripping around doors, and install foam insulation panels on walls. The key is consistency—avoid large swings in temperature and moisture.
Implement Proper Humidity During Assembly
When working on your cabinet frames, ensure the environment is as stable as possible. Use portable humidifiers or dehumidifiers during glue-ups and assembly. I learned this the hard way; during a winter project, I assembled a set of birch cabinets in my chilly workshop. The dried glue joints cracked within weeks because the environment dried out and contracted the wood unexpectedly. By maintaining consistent humidity—using a humidifier during winter—I kept the wood’s moisture content stable, preventing stress on joints. Additionally, control airflow to reduce rapid drying, which can cause surface cracks or warping. Keep the workspace temperature steady at 65-70°F, similar to a comfortable room temperature, to support stable joint formation.
Optimize Your Storage for Long-Term Stability
Design your storage solutions to keep humidity levels stable. For example, if you’re using a storage closet, install a small, quiet dehumidifier inside, much like a mini climate chamber. For cabinets in high-humidity areas like kitchens or basements, include moisture barriers such as vapor-tight sealants on walls, floors, and ceiling edges. A friend of mine retrofitted his kitchen pantry with moisture-resistant paint and added a dehumidifier. After a year, his dovetail joints remained tight, and his cabinetry showed no signs of warping or separation. Also, avoid stacking wood directly on concrete floors; elevate materials on pallets or shelving to prevent moisture absorption from the ground.
Use Quality Materials Built to Resist Moisture
Choosing the right materials makes a difference. Consider engineered woods or composites treated to resist moisture, such as bio-polymer cabinetry which outperforms traditional options in humid environments (more info). If working with solid wood remains your preference, select kiln-dried lumber thoroughly treated to stabilize moisture content. During a renovation, I selected reclaimed walnut that had been kiln-dried and sealed. Despite the remodel being in a damp basement, the cabinets held their joints tight, thanks to superior material prep. These choices add an extra layer of protection against humidity-induced failures, ensuring your craftsmanship endures over the years.
Regular Maintenance and Inspection
Finally, schedule periodic checks—like routine health exams—for your cabinetry. Look for signs of moisture intrusion, such as discoloration or swelling. Address issues immediately: re-seal surfaces with moisture-resistant finishes or add small dehumidification devices if needed. Once, I noticed a corner of my home-built bookshelf starting to warp after a particularly rainy season. I removed the affected section, applied a sealant, and improved ventilation in the room. These quick interventions can prevent small problems from escalating into full joint failures, preserving your hard work and investment.
When it comes to kitchen renovations and custom cabinetry, many homeowners fall prey to popular myths that can lead to costly mistakes and less functional spaces. One pervasive misconception is that more storage always equals better design. In reality, quality and strategic placement trump sheer volume. Oversized cabinets might seem appealing but can overwhelm a space and hinder accessibility. Instead, focusing on *smart storage solutions*, like those discussed in compact, innovative storage ideas, yields better usability.
Another common error is believing that custom cabinets are inherently more durable than ready-made options. While customization offers tailored aesthetics, without proper material selection and installation, they can suffer from the same issues as stock cabinets. Advanced techniques, such as integrating heavy-duty hinges, can dramatically extend lifespan. Additionally, many underestimate the importance of environmental control during installation, which impacts joint longevity and material stability.
A hidden nuance often overlooked is the significance of appropriate layout planning to prevent future clutter. Rushing to pick stylish cabinets without considering workflow or storage needs can leave you with beautiful but inefficient spaces. For instance, incorporating features like pop-up counters or optimized corner units maximizes every square inch, avoiding the common trap of wasted space.
But perhaps the biggest misconception is that refurbishment projects always mean tearing out existing structures. In truth, many innovative built-ins can be integrated seamlessly, enhancing functionality without massive demolition. For example, adding built-in storage solutions elevates your home’s efficiency while preserving architectural integrity.
When designing and executing a remodel, it’s critical to dissect these myths and implement nuanced strategies for superior results. For example, understanding the balance between aesthetics and practicality can prevent future frustrations and ensure your investment adds real value. Are you taking these factors into account in your upcoming project? Let me know in the comments!
And remember, inspecting your current setup with a critical eye can reveal these hidden pitfalls early, saving you time and money. For detailed insights on creating a truly functional kitchen, explore our latest remodeling ideas or contact us for personalized advice.
Investing in Precision: My Favorite Tools for Durable Cabinetry
When it comes to maintaining the longevity of your kitchen remodel, having the right tools is just as crucial as choosing quality materials. I personally rely on a digital moisture meter to regularly monitor the moisture content of wood, ensuring it stays within the optimal 6-8% range. This habit helps prevent warping or joint failure down the line. Additionally, I use a high-quality orbital sander with variable speed settings when touch-up sanding is necessary, allowing me to remove imperfections without damaging the finish or surface integrity. For aligning and fastening, a cordless drill with a set of titanium core cabinet hinges, like the 4 Titanium Core Cabinet Hinges, guarantees longevity and resistance to sagging over years of use.
Software That Streamlines Storage Solutions
One of the most effective ways to keep your cabinets functioning smoothly over time is strategic planning. I recommend using 3D modeling software such as SketchUp or Cabinet Vision for designing and visualizing storage solutions before installation. These programs enable you to simulate space utilization and identify potential issues like door swing conflicts or inaccessible compartments. For example, when designing a pull-out spice rack, these tools help me optimize placement, minimizing future frustration. Incorporating software into your workflow not only enhances precision but also saves time and money by avoiding costly rework.
Future Trends in Maintenance and Durability
Looking ahead, the integration of smart sensors into cabinetry could revolutionize maintenance routines. Imagine monitoring humidity, structural integrity, and wear through connected devices—prompting proactive repairs before minor issues escalate. Companies are already developing moisture-sensitive sensors that can alert homeowners about environmental fluctuations threatening their cabinetry. Embracing these innovations could mean extending the lifespan of your cabinets well beyond traditional expectations, especially as kitchen designs become more technologically integrated.
How do I keep my cabinets lasting over time?
To truly keep your cabinetry in top shape for years, regular inspections combined with preventive measures are vital. Schedule seasonal checks using your moisture meter and, if needed, apply protective finishes or sealants recommended for your material. Remember, maintaining a stable environment—guided by tools like hygrometers and dehumidifiers—reduces stress on joints and surfaces. Try adopting a routine of quarterly visual and moisture inspections, and consider investing in smart monitoring systems to get early warnings before issues develop. These small but consistent efforts will pay off with long-term durability and preserved beauty.
By integrating these specialized tools and techniques, you’ll ensure that your kitchen cabinetry remains both beautiful and functional for years to come. Don’t hesitate to experiment with advanced moisture monitoring or design software—these steps are proven to prolong the life of built-ins and custom cabinets.
Behind Closed Doors: The Unexpected Lessons I Learned about Humidity and Cabinets
One of my most enlightening experiences was realizing that even the most skilled craftsmanship can’t shield your cabinets from nature’s subtle forces. I once underestimated how vital controlled environments are, only to see beautiful finishes peel and joints loosen in months. That hard-earned lesson became the foundation of my approach—embracing environmental stewardship as part of cabinetry success.
Tools and Insights That Revolutionized My Approach to Durable Cabinets
Over the years, I’ve relied on key resources that have profound impacts. My trusted digital moisture meter keeps my wood at optimal levels, preventing costly warping. I swear by SketchUp for planning storage layouts that maximize space and minimize stress points. And consulting expert articles like those on innovative storage solutions continually broadens my perspective. These tools and insights are invaluable for crafting cabinets that stand the test of time.
You’re Equipped to Create Cabinets That Last a Lifetime
Now it’s your turn to take these lessons and resources to heart. By maintaining a stable environment, choosing the right materials, and leveraging the right tools, your cabinet projects can resist the unpredictable influences of humidity and wear. Don’t let your efforts be undone by oversight—embrace these strategies and watch your craftsmanship flourish over years. What environmental control step will you implement first in your next project? Share your plans below, and let’s build durable, beautiful spaces together!