Why Painting Thermofoil Cabinets Usually Ends in Peeling
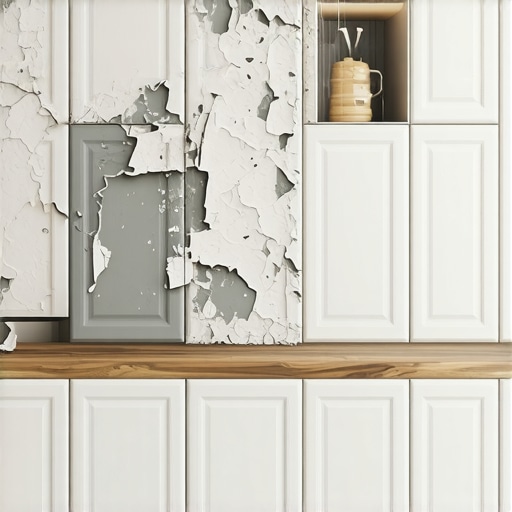
Have you ever taken on a kitchen upgrade, only to find your freshly painted thermofoil cabinets peeling just months later? I remember the moment vividly—standing in my own kitchen, peeling strips of paint from my cabinets like a sticky layer of bad glue. Frustrating doesn’t even begin to cover it. I was convinced I had done everything right—primer, the proper paint, careful application—but the peeling persisted. That lightbulb moment made me realize something crucial: painting thermofoil cabinets isn’t as straightforward as it might seem, and without the right approach, you’ll be chasing your own reflection in a sea of peeling paint.
Why Do Thermofoil Cabinets Usually End Up Peeling After Painting?
The core issue comes down to the nature of thermofoil itself. These cabinets are wrapped in a plastic laminate, which isn’t meant to be painted over regularly or without proper preparation. The reason peeling occurs is that the paint doesn’t adhere well to the slick, non-porous surface—especially if the surface hasn’t been prepared meticulously. Early on, I made the mistake of skipping the essential step of etching the surface to give the paint something to latch onto. That oversight led to my paint blistering and peeling faster than I expected. If you’ve faced the same problem, you’re not alone.
Most people assume repainting is an easy fix for outdated cabinets. But without understanding the unique challenges of thermofoil, you’re setting yourself up for disappointment. A study by the HGTV reports that peeling paint on cabinets is often due to improper surface prep or incompatible paint types, both common pitfalls amateurs fall into.
What’s at Stake? Why This Matters Right Now
If you’re like me, your kitchen is the heart of the home—a place for family gatherings, cooking, and making memories. The last thing you want is for your facelift to turn into a peeling nightmare, undoing all your hard work and money. Plus, peeling cabinets can lead to hidden mold or bacteria buildup, posing health risks. So, understanding how to properly paint thermofoil is more than just aesthetics; it’s about maintaining a safe and beautiful home.
Next, I’ll walk you through the practical steps to successfully paint (or avoid painting altogether) thermofoil cabinets, including proven methods that I wish I knew from the start. Interested? Let’s dive into how you can make over your kitchen with confidence instead of frustration.
Prep the Surface Properly to Ensure Better Adhesion
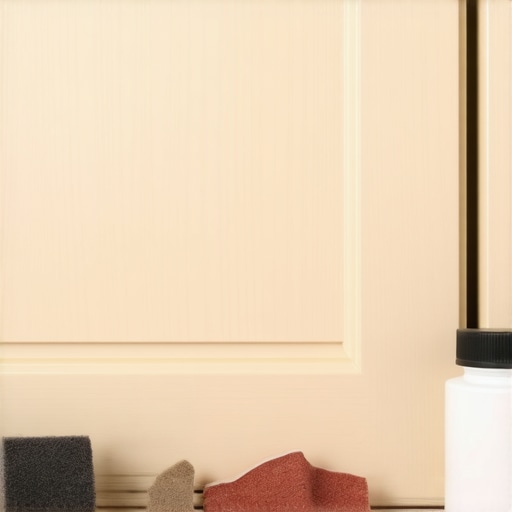
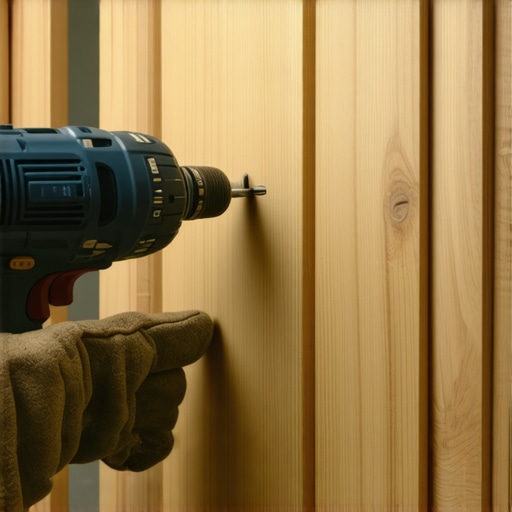
Start by removing all hardware and cleaning the cabinet surfaces thoroughly with a degreaser. Use a fine-grit sanding sponge to lightly scuff the thermofoil, which creates tiny abrasions for the paint to grip. I once skipped this step, thinking a quick wipe was enough, but the paint blistered within weeks. Sanding is non-negotiable for lasting results.
Use the Right Tools and Paint Types
Select a high-quality, bonding primer designed for slick surfaces, followed by a durable acrylic or epoxy paint. I prefer using a roller and foam brushes for smooth application. Applying thin, even coats helps prevent drips and ensures good coverage. Remember, thicker coats tend to peel faster, especially on non-porous surfaces like thermofoil.
Employ Techniques That Promote Stronger Adhesion
After priming, lightly sand the surface again once it’s dry to improve adhesion further. Use a tack cloth to remove dust before applying the topcoat. During my own project, I used a heat gun to gently warm the surface, which helped the paint cure faster and adhere better. Be cautious with heat; too much can damage the laminate.
Allow Adequate Curing Time and Finish Carefully
Let the final coat cure for at least 72 hours before reattaching hardware or exposing the cabinets to moisture. This patience pays off — I rushed my first DIY, and the paint started peeling within a month. For added durability, consider applying a clear water-based sealer or topcoat designed for kitchen cabinets, sealing in the paint layer against moisture and heat.
Consider Alternatives to Painting and Improve Your Storage with Built-ins
If your thermofoil cabinets are too problematic or you want a more reliable upgrade, exploring built-in storage solutions can make a dramatic difference. Custom cabinets and built-ins not only enhance aesthetics but also improve functionality — transforming your kitchen into a sleek, organized space.
To see how these solutions can elevate your home, check out modern kitchen remodels with custom cabinets or learn more about maximizing space at storage innovations.
Many homeowners assume that simply choosing trendy cabinets or maximizing storage will guarantee a successful kitchen remodel, but the reality is far more nuanced. One widespread misconception is that all storage solutions are created equal, leading many to overinvest in pricey built-ins or custom cabinets without understanding their potential pitfalls. In my experience, one of the most overlooked aspects is how the structural integrity and material choices of custom cabinetry greatly influence long-term durability and performance. For instance, opting for particleboard for heavy-use areas might save money initially, but it’s prone to warping and damage in humid environments—a mistake I made early on, which cost me both time and money. Experts emphasize that selecting high-quality plywood or solid wood for load-bearing components ensures longevity and reduces maintenance headaches, a point highlighted in a recent study by the American Institute of Architects.
Keeping Your Kitchen in Top Shape Over Time
Once you’ve invested time and resources into your kitchen remodel, maintenance becomes essential to preserve its beauty and functionality. Having the right tools on hand can make ongoing upkeep smoother and more effective. I personally rely on a few key pieces of equipment that have proven their worth in my own projects.
First, a high-quality orbital sander is indispensable. I prefer the Dura-Grit Random Orbital Sander because of its vibration control and dust collection system, which keeps my workspace cleaner and reduces fatigue. Regular sanding helps maintain painted or sealed surfaces, preventing the buildup of scratches or chips that could lead to larger issues down the line. The orbital sander makes touch-up jobs quick and easy, especially for areas prone to wear, such as cabinet edges and high-traffic surfaces.
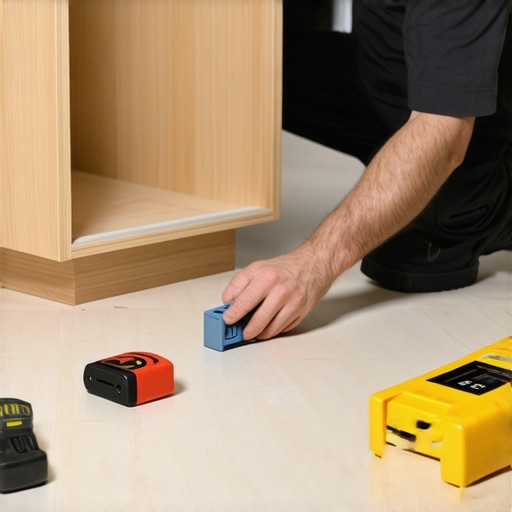
Next, I swear by a digital moisture meter, like the Protimeter Surveymaster. In environments like kitchens where humidity fluctuates, this tool lets me monitor moisture levels in wood and drywall, helping prevent warping or mold before it becomes visible. Keeping your space well-ventilated and dry extends the life of your cabinetry and built-in storage solutions, ensuring long-term durability.
Applying a quality, water-based polycrylic topcoat with a spray gun can be a game-changer as well. I personally use the Wagner Control Pro 130– with its adjustable pressure settings—facilitating smooth, even finishes over cabinets and built-in units. Regular topcoats serve as a barrier against moisture, heat, and everyday wear, making maintenance less of a chore and prolonging the aesthetics of your remodel.
Future-Proof Your Kitchen with Smart Solutions
As technology advances, integrated smart storage and automation will become standard. I predict a rising trend in voice-activated cabinet lighting and sensor-based pull-out shelves, which not only improve accessibility but also ease upkeep. For example, installing smart storage solutions now can future-proof your space, allowing for remote maintenance alerts or automated organization adjustments.
How do I keep my cabinetry looking fresh after years of use?
The key is routine inspections and preventive maintenance. With tools like the orbital sander for minor touch-ups and moisture meters to monitor environmental conditions, you can proactively address issues. Reapplying protective finishes periodically, especially in high-moisture zones, keeps cabinets from deteriorating. For a cleaner, more organized space, consider adding built-in storage enhancements that reduce clutter and make cleaning easier—these can be tailored to your specific needs and will extend the longevity of your remodel. To explore such options, visit revolutionize your kitchen with built-ins. Don’t forget—keeping your kitchen in top shape isn’t just about tools; a mindful routine is essential. Try integrating a moisture check every few months and reapplying a protective finish annually for best results.
Embarking on a kitchen remodel can be both exciting and daunting, especially when faced with the tricky task of updating thermofoil cabinets or selecting the right storage solutions. Over the years, I’ve learned valuable lessons that go beyond the basics, transforming what seemed like insurmountable challenges into opportunities for stunning, durable results.
Lessons Hidden in Plain Sight About Kitchen Renovations
- Skip the surface, risk the peel: I once thought sanding was optional, but that small step made a massive difference in paint adhesion and longevity. Fail to prepare, prepare to fail—especially with glossy surfaces like thermofoil.
- Not all paint sticks alike: Choosing a high-quality bonding primer designed for slick surfaces prepared my cabinets for a successful transformation. Without it, paint simply won’t hold, leading to inevitable peeling.
- Patience is a virtue—especially curing: Rushing the drying process almost always guarantees peeling. Allowing ample curing time and adding a protective sealer kept my cabinets looking fresh for years to come.
- Embrace smarter storage alternatives: While painting offers a quick facelift, investing in built-ins or custom cabinets tailored to your space can deliver long-term durability and aesthetic harmony. Explore options that maximize space and functionality for a truly personalized kitchen.
- Maintenance saves money: Regular inspections with tools like moisture meters and periodic reapplication of protective finishes extend the life of your remodel, saving you time and cost down the line.
Gear Up with My Tried-and-True Picks for Kitchen Success
- High-quality orbital sander: I rely on the Dura-Grit Random Orbital Sander for flawless surface preparation—less dust, less fatigue, better results.
- Moisture meter: The Protimeter Surveymaster has been indispensable in preventing warping and mold, especially in humid months.
- Quality sprayer: I achieve smooth, even finishes using the Wagner Control Pro 130. A professional touch at home makes a noticeable difference.
- Smart storage ideas: To future-proof your kitchen, investigate smart storage solutions that integrate seamlessly with your lifestyle and tech preferences.
Go Forth and Remodel, Confident and Inspired
Transforming your kitchen isn’t just about choosing the right materials or tools; it’s about cultivating a mindset of patience, precision, and innovation. Whether you’re painting thermofoil cabinets with carefully selected primer and paint or exploring custom-built solutions that reflect your personal style, the key is to stay informed and motivated. Every upgrade is a step toward a more beautiful, functional home—so don’t hold back from making your vision a reality.
What’s the biggest challenge you’ve faced in your kitchen renovation journey? Share your story below—I’d love to hear how you’re turning your space into something extraordinary!