Why You Need a Waterproof Mat Under Your Kitchen Sink Today
It was a typical Saturday morning when I finally decided to tackle the cluttered under-sink area of my kitchen. But as I reached in to grab the cleaning supplies, I was met with a soggy surprise—all over my brand-new flooring. That lightbulb moment hit hard. Before I knew it, my carefully planned remodel was at risk of turning into a nightmare, all because of a simple oversight I hadn’t considered: the importance of a waterproof mat under the kitchen sink.
Stop Water Damage Before It Starts
Water leaks are sneaky culprits. They hide behind pipes, seep into cracks, and can cause extensive damage—think warped cabinets, stained floors, and even mold. Early on, I missed the signs. A small drip here, a tiny puddle there. But over time, that tiny leak became a major headache, costing me hundreds in repairs. According to the National Kitchen & Bath Association, water damage ranks among the top causes of costly kitchen repairs.
Is a Waterproof Mat Really Necessary?
Initially, I thought, “This is just extra stuff I don’t need.” But my mistake was underestimating how often minor leaks happen—especially in high-traffic or age-prone plumbing setups. A waterproof mat acts as a first line of defense, catching drips and protecting your subfloor and cabinetry. It’s a simple upgrade that offers peace of mind, especially if your sink is older or if you’re planning a big renovation.
Thinking about that soggy kitchen day? You’re not alone. I’ve been there, and I learned the hard way. But the good news is, it’s an easy fix that can save you a ton of trouble down the line.
Ready to prevent water damage from sneaking up on you? Let’s dive into how a waterproof mat can be a game-changer for your kitchen safety—and how to pick the best one for your space.
Lay the Foundation with a Waterproof Mat
Start by selecting a high-quality waterproof mat designed for under-sink placement. Measure the sink’s footprint accurately, then cut the mat to fit snugly, ensuring it covers the entire area beneath the pipes. During installation, clean the subfloor thoroughly to remove dust and debris, then lay the mat flat without wrinkles to prevent tripping or bunching. Regularly inspect the mat for signs of wear or moisture buildup, replacing it annually to maintain optimal protection.
Choose the Right Storage Innovations for Your Space
Plan Precise Cabinet Dimensions
For a seamless look, avoid standard sizes. Measure your available space meticulously, accounting for door clearances and appliance placements. When ordering [custom cabinets](https://artisancabinetworkz.com/transform-your-kitchen-with-custom-cabinets-expert-guide-for-2025), specify exact dimensions to fit your measurements, avoiding awkward gaps and ensuring maximum storage efficiency. This approach minimizes adjustments during installation, saving time and cost.
Maximize Storage with Built-Ins and Shelving
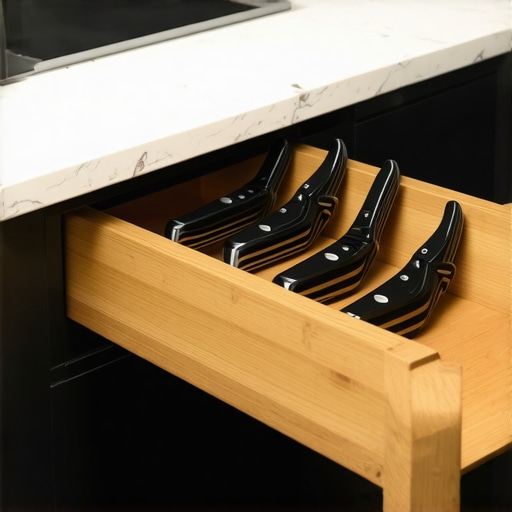
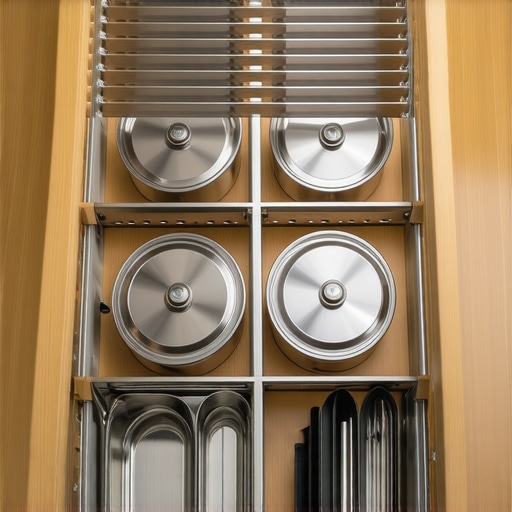
Integrate built-in features like sliding trays or vertical dividers within cabinets to optimize storage capacity. Use clever solutions such as pull-out shelves for hard-to-reach corners—these turn dead space into accessible storage. For example, I added a [built-in spice rack](https://artisancabinetworkz.com/how-to-install-a-pull-out-spice-rack-in-a-three-inch-gap) behind a false panel, which kept my countertops clutter-free and made cooking more efficient. Incorporate adjustable shelving systems to adapt to changing needs over time.
Implement Smart Organization Techniques
Group similar items together—pots with lids, baking sheets, or cleaning supplies—to prevent clutter. Use clear containers or labeled bins to identify contents quickly. Installing dedicated zones for specific functions, like a coffee station or baking area, enhances workflow. Consider [custom cabinets](https://artisancabinetworkz.com/custom-cabinets-as-a-game-changer-in-your-kitchen-remodel-journey) with specialized compartments for utensils, snacks, or small gadgets. This not only elevates aesthetics but also streamlines daily routines.
Opt for Durable Hardware and Finishes
Choose finishes that resist fingerprints and stains, such as semi-gloss or satin, to maintain a clean appearance. Hardware styles like brass or matte black add character and are less prone to fingerprints—[select the right finish](https://artisancabinetworkz.com/why-brass-hardware-is-making-a-comeback-and-how-to-choose-the-right-finish) based on your kitchen’s style. Use high-quality hinges and slides, like full-extension soft-close models, to ensure longevity and ease of use—these prevent slamming and damage over time. Proper hardware installation is critical; follow manufacturer instructions and double-check alignments during setup.
Refine and Customize for Unique Spaces
Every kitchen has quirks—uneven walls, sloping floors, or awkward corners. Address these with tailored solutions, such as shimmed cabinets or scribing to create perfect gaps. I once custom-cut a toe kick drawer to fit under a sloped floor, turning a challenging space into handy storage. For larger remodels, consider [integrating niche features](https://artisancabinetworkz.com/revolutionize-your-kitchen-remodel-using-built-ins-and-creative-storage) that reflect your lifestyle, from hidden trash bins to charging stations. Precise measurements and skilled craftsmanship make a tangible difference in the final look and function of your kitchen.Many homeowners operate under misconceptions when redesigning their kitchens, especially concerning custom cabinets, built-ins, and storage ideas. A common myth is that choosing high-end materials alone guarantees durability and functionality. In reality, the *nuances of installation*, such as precise measurements and expert alignment, play a critical role in long-term performance. For instance, improperly scribed cabinets that don’t account for uneven walls can result in gaps and misalignments, undermining even the most costly upgrades. According to a study by Houzz, over 35% of remodel failures stem from overlooked details in measurements and installation rather than material quality, emphasizing that craftsmanship is just as essential as design.
Essential Tools for Ongoing Kitchen Care
Maintaining a pristine and functional kitchen after a remodel requires the right tools on hand. I personally swear by a high-quality cordless orbital sander for touch-up paint and refinishing cabinet surfaces. It’s lightweight and delivers smooth results without leaving swirl marks, making it ideal for minor refinishing tasks. For detailed cabinet alignment and adjustment, a digital laser level has become indispensable; it ensures perfect alignment of new built-ins and prevents those annoying gaps that develop over time. Additionally, I rely on a multi-tool oscillating tool equipped with various attachments to address small repair tasks like tightening loose hardware or removing seized-up hinges, saving me trips to the hardware store.
Keep Storage Solutions Sharp and Effective
When it comes to long-term storage organization, investing in modular, adjustable shelving systems is a game-changer. I prefer systems that allow easy reconfiguration, so I can adapt to changing storage needs, especially as my collection of gadgets and utensils evolves. An example of a reliable system is the pull-out component for corner cabinets, which prevents wasted space and maintains easy access—a frequent problem solved by innovative [built-ins and storage hacks for a sleek, functional kitchen](https://artisancabinetworkz.com/built-ins-and-storage-hacks-for-a-sleek-functional-kitchen). Regularly inspecting and lubricating sliding hardware with a silicone-based lubricant prolongs the life of these mechanisms, ensuring smooth operation over years of use.
Scheduled Maintenance Practices for Longevity
Establishing a routine maintenance schedule keeps your custom cabinetry and built-ins functioning flawlessly. I recommend cleaning cabinet hardware every three months with a gentle vinegar solution to prevent tarnish and buildup. For doors and drawers, applying a high-quality soft-close damper lubricant periodically ensures they close softly and don’t slam over time, extending the life of hinges and slides. Periodic caulking checks around countertops and backsplashes prevent water intrusion that could damage the underlying structure. Following a consistent routine not only preserves the aesthetic appeal but also saves money by avoiding costly repairs down the line.
How do I maintain my custom cabinets over time?
Maintaining your custom cabinets requires attention to finish preservation and hardware function. Use a soft, damp cloth for regular cleaning, avoiding harsh chemicals that can degrade finishes. For stubborn spots, a mixture of mild dish soap and water works well. Periodically check for loose hardware—tightening screws prevents misalignment or damage, especially with heavy-use drawers. Applying a light coat of furniture wax or mineral oil to the wood surfaces can restore shine and add a layer of protection against moisture and stains. Remember, consistent care extends the lifespan and beauty of your investment, especially if you’ve opted for premium materials like quarter-sawn oak or painted finishes that need gentle handling. For specialized advice, consulting sources like Technical Documentation for Cabinet Finish Care can provide detailed guidance.
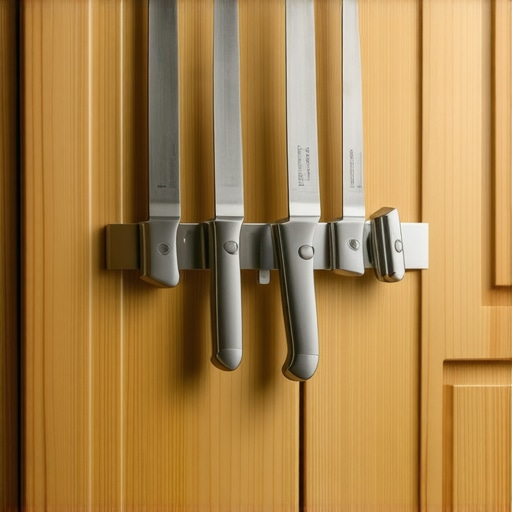
One advanced maintenance tip I recommend trying is installing a magnetic strip or soft-close dampers on cabinet doors to prevent slamming, which reduces wear and noise. These simple upgrades can dramatically improve functionality and extend hardware longevity. Ready to elevate your maintenance practices? Visit our contact page for expert assistance in implementing these tips and ensuring your kitchen stays beautiful for years to come.
The Hardest Lessons I Learned About Kitchen Remodeling
One of the most valuable lessons I discovered was that rushing through measurements can lead to costly mistakes—precise measurements are the backbone of a successful remodel. I once underestimated how uneven walls could throw off cabinet alignment, which taught me to trust my tools and take extra time planning areas that seem straightforward. Additionally, I found that choosing hardware isn’t just about style; durability and functionality are equally crucial, saving me from frequent replacements and repairs. Lastly, overlooking the importance of a waterproof under-sink mat almost cost me a flooded disaster, reaffirming the principle that small details can make or break your project’s longevity.
My Essential Arsenal for a Flawless Kitchen Makeover
To tackle my renovation confidently, I relied on a set of trusty tools: a digital laser level for perfect alignment, a cordless orbital sander for refinement, and a multi-tool oscillating device for adjustments. These tools gave me the precision and flexibility needed when working with custom cabinets and built-ins, allowing me to adapt on the fly. For resources, I turned to trusted guides like The Ultimate Guide to Custom Cabinets, which demystified complex choices and inspired my design. My advice? Invest in quality tools and educate yourself through credible sources—that combination transforms a daunting project into a manageable and rewarding experience.
Kickstart Your Kitchen Transformation Today
Embarking on a kitchen remodel might feel overwhelming, but with the right knowledge and preparation, you can create a space that’s both beautiful and functional. Remember, the journey is about learning, adapting, and personalizing your space to fit your lifestyle. Don’t wait for the perfect moment—start small, plan carefully, and take pride in every step of the process. Your dream kitchen is within reach, and the satisfaction of crafting it yourself will be worth every effort.