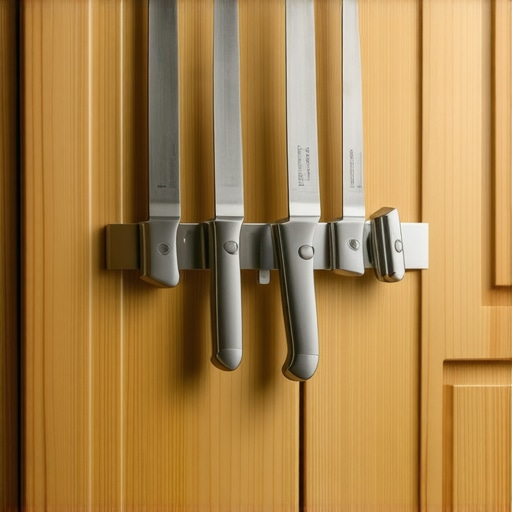
How to Install a Magnetic Knife Strip Inside a Cabinet Door
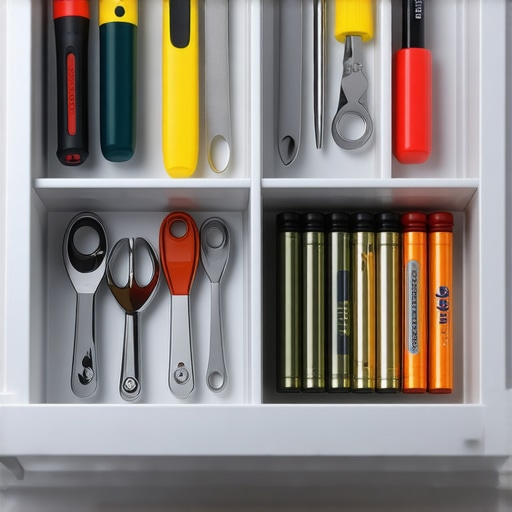
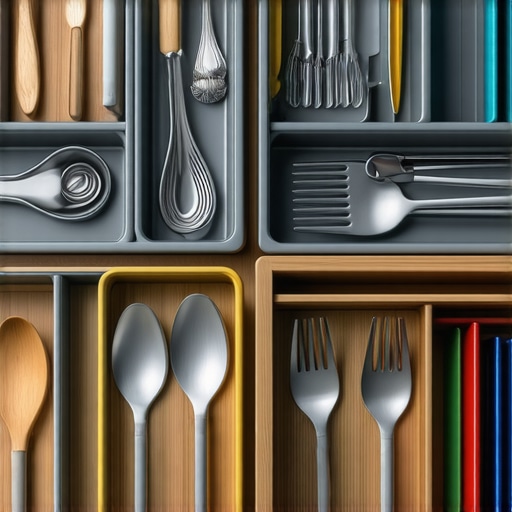
It happened on a Tuesday night while I was rushing to mince garlic for a pasta sauce. I reached into that ‘everything’ drawer—you know the one—and felt the cold, sharp edge of my chef’s knife brush against my knuckles. My heart skipped. Beyond the safety hazard, my expensive blades were getting nicked and dull from bumping into measuring spoons and whisks. I could practically hear the ‘clack-clack-clack’ of the steel losing its edge every time I opened the drawer. That was the ‘enough is enough’ moment for me. I looked at my beautiful custom cabinets and realized I was wasting prime real estate right under my nose. Today, I am going to show you exactly how to reclaim your counter space and protect your fingers by mounting a magnetic strip where it belongs: tucked away on the inside of your cabinet door. This isn’t just about tidying up; it is about creating a workspace that actually works for you.
Why Your Knife Block Deserves the Boot
When I first started looking into innovative storage solutions, I made a classic rookie mistake. I grabbed some heavy-duty mounting tape and slapped the magnet bar onto the door. Three days later, at 2 AM, I heard a terrifying crash from the kitchen. The weight of the knives was too much for the adhesive, and I spent the morning buffing scratches out of the wood. Trust me, you need a mechanical connection—screws are your friends here, but you have to be extremely careful about the length. If you go too deep, you will poke a hole right through the face of your door, and that is a kitchen remodel budget nightmare nobody wants. Moving your knives to the door is one of those built-ins and storage hacks that feels like a small win but changes the whole flow of your meal prep. Suddenly, your most-used tools are at eye level and ready to go.
Will my heavy knives actually stay put?
It is the first thing everyone asks me. The fear is that a heavy cleaver will go flying every time you shut the door. But here is a surprising fact: according to the Kitchen Cabinet Manufacturers Association (KCMA), most modern cabinet hinges are rated for significantly more weight than we give them credit for, provided the load is balanced and the door is not slammed. I have had my professional-grade knives hanging on a strip for two years now, and the cabinet hinges haven’t squeaked once. The trick is all about the placement relative to the hinge and the strength of the magnet you buy. You want a strip that is specifically designed for the best way to store your knife set safely, featuring high-strength neodymium magnets rather than a generic tool holder from the hardware store. Have you ever opened your cabinet only to find a jumbled mess of utensils staring back at you? Drop a comment and tell me your worst kitchen drawer horror story! We are going to fix that today with a solution that is both stealthy and incredibly functional.
Check Your Clearances Before You Drill
Before you even pick up a screwdriver, you need to play a game of spatial Tetris. Open your cabinet door and look at where the internal shelves sit. If your innovative storage solutions involve thick magnetic bars, they might hit the shelf edge when the door closes. I learned this the hard way during my first custom cabinets project. I had everything perfectly centered, but the second I tried to shut the door, ‘thunk’—the magnet hit the middle shelf. I had to shift the entire strip down three inches. To avoid this, hold the strip (with a knife attached!) against the door and slowly close it to see exactly where the ‘dead zones’ are. You want at least a half-inch of breathing room between the handles and any internal components.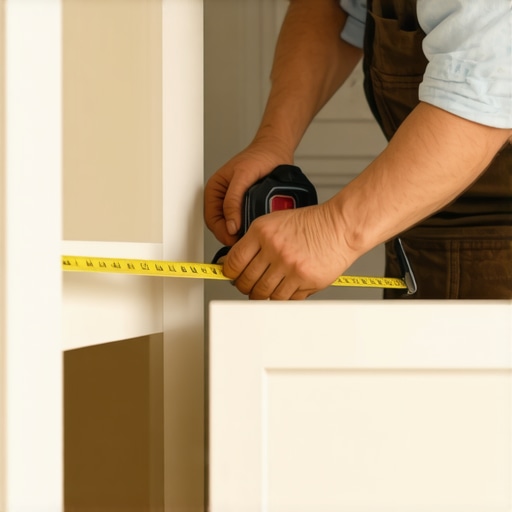
Don’t Let the Drill Bit Win
Once you have your location marked, the biggest technical hurdle is the depth of the door. Most shaker-style doors have a thin center panel, and if you are not careful, you will have a tip of silver poking through your beautiful paint job. Use a piece of painter’s tape to wrap around your drill bit as a depth gauge. It is a simple trick: stop drilling the moment the tape touches the wood. This is the best way to drill holes for new cabinet hardware or storage strips without risking a disaster. Think of the tape like a seatbelt for your power tools; it keeps you from going further than is safe.
Anchor the Strip for the Long Haul
When it comes time to drive the screws, do it by hand. Impact drivers are great for building a deck, but they are far too aggressive for the delicate hinges of built-ins and storage hacks. I remember helping a neighbor who had stripped out the wood on her brand-new oak doors because she went full-throttle with a cordless drill. If you do find yourself with a hole that won’t grab, you can learn how to fix a stripped screw hole in a solid wood cabinet door using a toothpick and a dab of wood glue, but it is better to just avoid the mess by using a manual screwdriver from the start.
Organize for Speed and Safety
Now that the strip is rock solid, you need to arrange the blades. This is about more than just aesthetics; it is the best way to organize your kitchen tools for efficiency. Place your most-used chef’s knife closest to the handle side of the door and the less-frequent serrated blades toward the hinges. Always point the tips downward. This ensures that if a knife ever did shift, it would slide toward the floor rather than toward your reaching hand. Using smart storage ideas to maximize your kitchen space this year is all about these tiny, intentional choices that make the ‘work’ part of the kitchen feel like a breeze.While speed is great, I see one huge mistake that even ‘pro’ DIYers make when setting up their storage. Most people think the strongest magnet you can find is the gold standard. I actually disagree. If the magnet is too powerful, you end up having to ‘fight’ the door every time you want a paring knife. This repetitive yanking creates a micro-vibration that eventually works those mounting screws loose. It is the same principle behind how to fix a stripped screw hole in a solid wood cabinet door—prevention is much better than the toothpick-and-glue cure.
Why Your Shaker Panel is Lying to You
If you have custom cabinets with a recessed center panel, do not mount the strip directly in the middle. That panel is often surprisingly thin, sometimes only a quarter-inch thick. If you drill there, you are begging for a blowout on the front of the door. Instead, you need to bridge the gap and mount the strip into the vertical stiles—the solid wood frame on the sides. This is where expert tips on selecting storage solutions really matter; look for a magnetic bar that allows you to adjust the screw positions to match your door’s specific frame width. 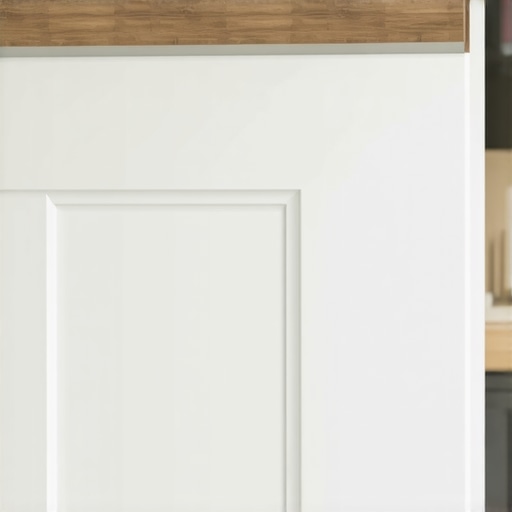
Will the extra weight warp my cabinet doors?
This is the ‘advanced’ concern I hear from homeowners who invested heavily in high-end modern kitchen remodels featuring custom cabinets and built-ins. The concern is valid: wood is a living material. However, according to the National Kitchen & Bath Association (NKBA), standard cabinet doors can typically support up to 5-8 pounds of additional weight without compromising structural integrity or hinge alignment, provided the weight is distributed closer to the hinge side. If you are worried about movement, keep in mind why your cabinet doors are warping in the summer heat is usually about humidity, not the three pounds of steel you just added.
Protecting Your Professional Investment
When we talk about how to revolutionize your kitchen remodel using built-ins and creative storage, we have to talk about the ‘why.’ Many people settle for cheap strips that scratch the finish of their knives. If you have invested in why your custom cabinets should feature dovetail drawers, you clearly care about quality. Do not ruin it by using a raw metal magnet. Look for a wood-faced magnetic strip. It provides a softer landing for the blade and keeps the aesthetic of your kitchen cohesive. Using smart storage solutions for small kitchens in 2025 doesn’t mean compromising on the beauty of your wood grain. Have you ever fallen into this trap where a ‘simple’ storage hack caused a bigger headache than it solved? Let me know in the comments below!To avoid the headaches that come with poorly planned storage, you have to think like a builder, not just a decorator. After you have avoided the rookie mistakes of adhesive strips, the real secret to longevity is the hardware choice. I swear by using #6 stainless steel pan-head wood screws. They have a flat underside that sits perfectly against the magnetic strip’s mounting holes. I have seen people use countersink screws on flat strips, and they always wonder why the metal starts to flare or the strip wobbles after a month of use. If you are investing in modern kitchen remodels featuring custom cabinets and built-ins, you want that connection to be surgical. I also keep a bottle of Titebond II wood glue nearby. It is a trick from the pros: a tiny drop of glue on the screw threads acts as a ‘lock’ that prevents the constant vibration of the door from backing the screw out over time. It is far more effective than just tightening it and hoping for the best.
Precision Tools for a Professional Finish
I never start a storage project without a high-quality self-centering drill bit, often called a Vix bit. It ensures your pilot hole is dead-center in the mounting bracket. If your hole is even a millimeter off, the magnetic strip will sit crooked, and every time you see those cabinet handles installed horizontally, the misalignment of your interior tools will drive you crazy. According to technical documentation from Blum, a global leader in cabinet hardware, the weight capacity of a hinge is significantly compromised if the load is not distributed correctly. By mounting your heaviest knives closest to the hinge side, you are adhering to these engineering standards, ensuring your door stays square for decades. 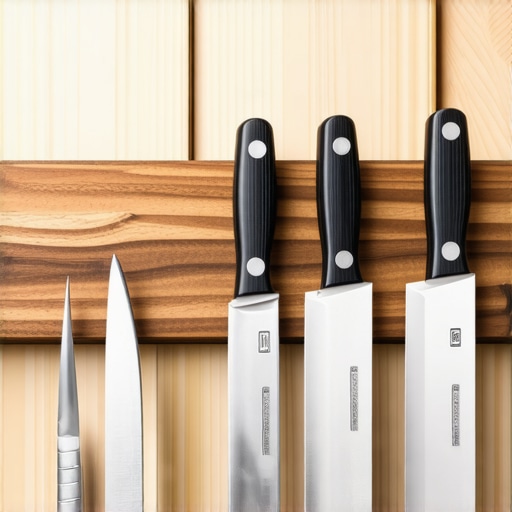
How do I maintain my magnetic storage over time?
Every six months, I recommend a ‘torque check.’ Open the door and give the strip a gentle wiggle. If there is any play, you might need to apply the same logic used when you fix a loose cabinet knob that keeps spinning—once the wood fibers are compressed, you need to reinforce the hole. Also, clean the strip regularly! Metal-on-metal contact creates microscopic filings that can eventually scratch your blades. I use a microfiber cloth dampened with the same mild solution I suggest for the best way to clean your new granite countertops. Looking forward, I predict we will see more ‘invisible’ systems where high-powered magnets are embedded directly behind the wood veneer of custom cabinets during the build process, eliminating the need for external bars entirely. If your drawers are currently a mess, I challenge you to measure your door clearances tonight; you might find you have enough room to revolutionize your kitchen remodel using built-ins and creative storage with just one afternoon of work. If you find your hardware is too far gone or the wood is grinding, you should look into why your drawer slides are grinding to ensure the rest of your kitchen is as smooth as your new knife storage. For more personalized advice on high-end storage, feel free to contact us directly.
Hard Truths from the Back of the Cabinet Door
After years of tweaking my own kitchen and helping others with theirs, I have realized that the most innovative storage solutions often come with a learning curve. First, never underestimate the power of ambient humidity. If your kitchen isn’t climate-controlled, that wood will move, and those tiny #6 screws might need a quarter-turn every season to stay snug. I’ve also learned that the sound of a knife vibrating against a door can be annoying, which is why I always suggest dampening your cabinet doors with extra-thick silicone bumpers. It stops the ‘ringing’ of the steel against the wood. Lastly, consider the visual flow; a bright silver metal bar inside a dark walnut cabinet looks out of place. Match your materials to keep the ‘hidden’ part of your kitchen as beautiful as the front.
The Gear That Keeps My Knives and Fingers Safe
When you are ready to tackle this, don’t just grab whatever is in the junk drawer. I swear by wood-faced magnetic bars—they look like they belong in a stylish kitchen overhaul and are much gentler on your expensive blades than raw metal. You also need a Vix bit (self-centering drill bit); it is the only way to ensure your pilot holes are perfectly straight in those narrow stiles. For a truly professional finish, I recommend reading through an expert guide for 2025 to see how modern hardware is evolving. Finally, keep a high-quality neodymium magnet on hand to test the pull strength before you drill anything.
A Future Where Your Countertops Stay Clear
Stepping back and seeing a completely clear countertop for the first time is a feeling every home cook deserves. By moving those bulky blocks into your built-in storage solutions, you are not just cleaning up; you are upgrading your daily workflow. Don’t let the fear of a drill bit stop you from making your kitchen more functional. Start small, measure twice, and remember that innovative storage solutions for every room begin with one brave project. Have you ever tried to hide a tool and ended up making it harder to reach? Let me know in the comments below!