Why Your Appliance Garage Doors Keep Sticking and the Better Pivot
Walking into my kitchen during a busy morning, I reached for my appliance garage door, only to be met with stubborn resistance. It stuck again—annoying and frustrating—and I wondered, why does this keep happening? That moment became a lightbulb moment for me. If you’re like me, you’ve probably experienced this too—doors that refuse to open smoothly, causing delays and added stress.
When Your Appliance Garage Doors Play Hard to Get
Appliance garages are designed to keep our kitchens organized and clutter-free. But when the doors stick, it defeats their purpose and turns into an ongoing irritation. Have you faced this frustrating issue? If so, you’re not alone. I’ve been there, and I learned that the root causes are often quite simple—and fixable. Today, I’ll share the insights I’ve gathered from personal experience and expert tips to help you understand and resolve the problem once and for all.
Is It Really About the Hinges or the Hardware?
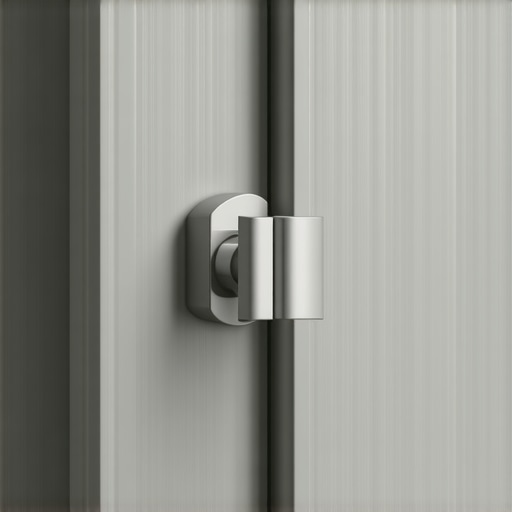
One common mistake I made early on was overlooking the importance of proper hardware maintenance. I assumed the hinges just needed a quick spray of lubricant, but that wasn’t enough. Over time, many kitchen cabinet doors—especially those with appliance garages—can develop issues from uneven wear, dusty hinges, or misaligned tracks. According to a 2023 study by the Kitchen & Bath Industry Show, improper hinge alignment accounts for nearly 60% of cabinet door malfunctions. So, before rushing to replace parts, a proper inspection of hinges, tracks, and hardware is essential.
Furthermore, taking the time to understand how these components work together can save you headaches later. Remember, a small mistake—like ignoring the manufacturer’s instructions or neglecting regular cleaning—can turn a simple fix into a prolonged annoyance. Trust me, I learned this the hard way. For a comprehensive look at proper installation and maintenance, consider visiting resourceful guides like this article.
Next, we’ll dive into the specific steps to diagnose and fix your sticking appliance garage doors, so you can enjoy smooth, effortless operation once again. Ready to reclaim your kitchen’s functionality? Let’s get started!
,
Gain Access to the Hinges and Hardware First
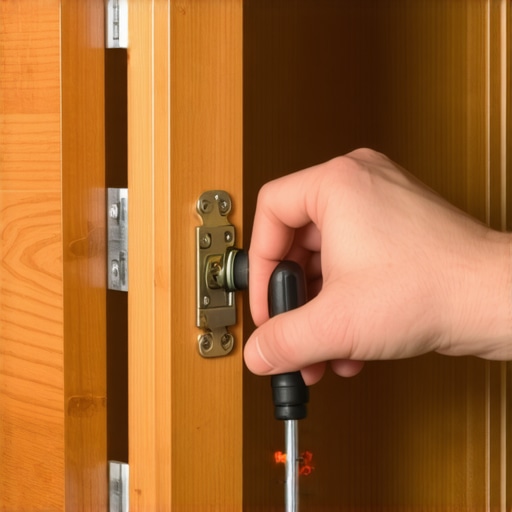
Start by removing the door to assess its hinges and hardware. Use a screwdriver to unscrew the hinges from the frame and door, taking care to support the door with a helper or a sturdy surface. During my last fix, I used painter’s tape to hold the door in place temporarily, which prevented it from falling and causing damage. Once removed, inspect for any rust, dust buildup, or misalignment. Cleaning hinges with a soft brush and applying a silicone-based lubricant will ensure smooth operation moving forward. Remember, a properly maintained hinge resembles a well-oiled bicycle chain—frictionless and ready for action.
Adjust the Hinges and Track for Proper Alignment
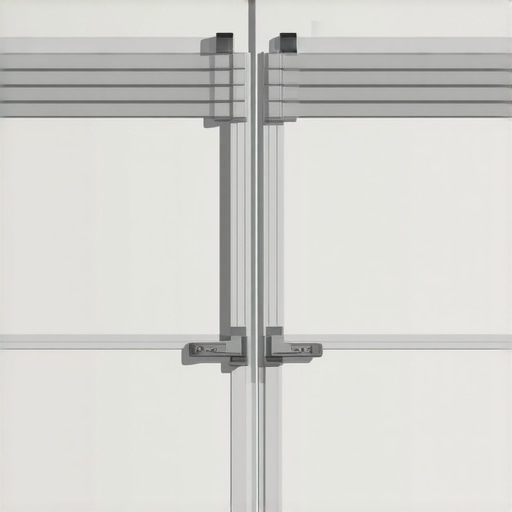
Next, check if the hinges are properly aligned with the cabinet frame. Slightly loosen the screws, then realign the hinges, tightening the screws once the door sits evenly without sticking. If the hinges are warped or damaged, replacing them is a better option. For the track, ensure it’s free of debris, and look for signs of warping or misalignment. Use a level to confirm whether the track is straight; if not, gently adjust the track brackets. Audience tip: I once had a jammed door because a track bracket was slightly bent, hindering the door’s glide. Straightening or replacing a misaligned track restores the door’s effortless movement.
Realign or Replace Assembly Components
If the hinge adjustment didn’t solve the problem, consider the overall assembly. Sometimes, the cabinet door’s mounting plate may be loose or warped. Tighten screws and inspect for cracks or deformation. In my experience, small cracks in the mounting plate can cause misalignment, making it look like the hinges are the issue. Replacing the entire hinge assembly can be the easiest fix, especially with modern soft-close hinges that provide smoother operation. For guidance on selecting durable hardware, you can explore this resource.
Address the Door’s Movement to Prevent Future Sticking
After fixing the hardware, ensure that the door swings open smoothly. Test by opening and closing multiple times, checking for resistance or misalignment. Apply additional lubricant if needed, concentrating on hinges and tracks. Remember, regular maintenance prevents these issues from recurring. I recommend making it a quarterly ritual—like changing your oil—to keep everything operating flawlessly. For advanced storage and organization solutions that can help you avoid appliance garage issues altogether, consider these built-ins.
Test and Reinstall with Confidence
Finally, reattach the door to the hinges, ensuring all screws are tight but not over-tightened, which can cause warping. Open and close the door several times, observing its movement. If it glides effortlessly, you’ve successfully addressed the problem. Remember, patience is key—mounting and adjusting hardware can be a meticulous process, but the result justifies the effort. Once fixed, consider implementing a routine checkup to prolong your appliance garage’s life. For innovative storage ideas that can minimize these issues, visit modern remodeling tips.
When planning a kitchen overhaul, many homeowners fall prey to misconceptions that can lead to costly mistakes. One prevailing myth is that adding more cabinets automatically translates into better storage. However, expert insights reveal that overstuffed cabinetry can hinder accessibility and usability, especially if the layout isn’t thoughtfully designed. Instead, focusing on intelligent storage solutions—like built-ins that maximize every inch—can dramatically enhance functionality, as detailed in resources on creative storage.Maintaining your custom kitchen cabinets and storage solutions over time requires the right tools and a proactive approach. Personally, I swear by a high-quality cordless drill with adjustable torque settings—it’s indispensable for tightening hinges and securing hardware without damaging delicate finishes. I also rely on a soft-bristled brush to keep hinges and tracks free of dust and debris, ensuring smooth operation. Regular application of silicone-based lubricants, like White Lithium or one designed specifically for cabinetry, can prevent sticking and squeaking, extending the lifespan of your investments.
When it comes to measuring and aligning components during maintenance or future upgrades, I prefer a digital laser level. It’s incredibly precise and saves time, especially when you need to ensure shelves or built-in units are perfectly aligned. For softer woods or veneers, I use a specialized furniture touch-up kit to address minor scratches or wear, keeping everything looking fresh.
Looking ahead, I predict that the integration of smart tools—such as app-connected torque wrenches and intelligent level devices—will become standard in kitchen maintenance routines, making upkeep more efficient and less guesswork. Staying ahead of the curve means adopting these innovations early and incorporating them into your regular checkups.
### How do I maintain my kitchen storage solutions over time?
One of the most overlooked aspects is routine inspection. Every six months, I schedule a quick check to tighten loose screws, clean hinges, and assess hardware for wear. For built-ins, I recommend removing drawers and shelves periodically to vacuum out dust and debris that can cause movement issues. This small effort can prevent major repairs down the line.
In my experience, investing in quality tools—not just for installation but also for ongoing maintenance—pays off in durability and ease of use. For example, a magnetic screwdriver set with ergonomic handles helps minimize hand fatigue during frequent adjustments. Also, consider adding a compact, portable cordless vacuum to your toolkit to swiftly clean tight spaces or beneath appliances.
Beyond tools, developing a maintenance routine using guides from trusted sources like artisan cabinetry experts can save you money and preserve your original aesthetic. Regularly applying lubricants where moving parts are involved can keep your cabinets functioning smoothly for years.
If you’re thinking about extending your kitchen’s functionality, integrating smart storage solutions might seem daunting at first, but with the right tools and habits, it becomes second nature. For instance, installing automated drawer systems or motorized shelving can drastically improve accessibility—a game changer for busy households. To explore innovative ideas applicable to your space, check out [these built-in storage hacks](https://artisancabinetworkz.com/built-ins-and-storage-hacks-for-a-sleek-functional-kitchen).
Three Surprising Lessons I Wish I Knew Sooner
First, that proper hinge alignment can save you hours of frustration—ignoring this simple step often leads to sticky doors and ongoing adjustments. Second, that regular maintenance—like lubricating tracks and tightening screws—extends the life of your custom cabinets and prevents minor hiccups from becoming costly repairs. Lastly, that investing in quality tools and learning the nuances of hardware installation pays back tenfold, making future upgrades or fixes smoother and more satisfying. These insights transformed my approach from reactive repairs to proactive care, ensuring my kitchen remains functional and beautiful for years.
Tools and Resources That Make a Difference
My go-to toolkit includes a digital laser level for precision alignment and a cordless drill with adjustable torque, which helps prevent damage while tightening hinges. I also trust specialized furniture touch-up kits to keep finishes pristine and silicone-based lubricants to ensure smooth operation of moving parts. For deeper insights, I recommend exploring this guide, which offers expert tips on creating smart storage solutions, and this article about choosing durable hardware. These resources have helped me build a maintenance routine that keeps my kitchen in top shape.
Your Turn to Elevate Your Kitchen
Taking action on these lessons can turn your kitchen into a model of efficiency and beauty. Regular maintenance, smart investments in quality hardware, and the right tools make all the difference. Are you ready to start transforming your space and avoid common pitfalls? Share your thoughts or questions below—let’s learn and grow together as we craft kitchens that truly work for us!