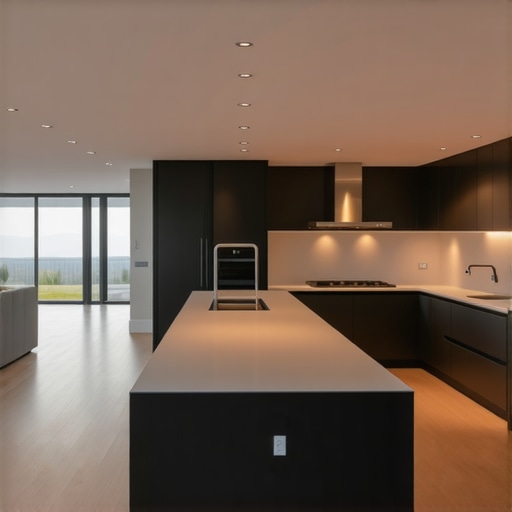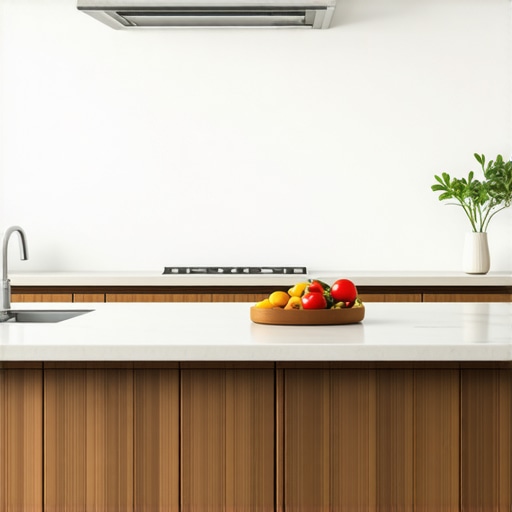
Why Your Kitchen Island Needs a 12-Inch Overhang for Real Knee Room
Imagine this: after months of planning, your dream kitchen is finally taking shape. The cabinets are pristine, the countertops gleam, but then you sit down at the island for a quick breakfast… and realize you can’t comfortably sit or stand without bumping your knees. It hits you—the overhang isn’t just about looks; it’s about truly enjoying your space comfortably.
Creating a Kitchen That Feels as Good as It Looks
In my own kitchen remodel journey, I learned the hard way that a tiny oversight can turn a beautiful space into an uncomfortable one. The problem? I overlooked how much knee room I’d need at the island. What seemed like a minor detail turned into a major annoyance. That’s when I discovered the magic of a well-designed 12-inch overhang.
But why is this specific measurement so critical? Well, it turns out that an overhang of at least 12 inches provides ample legroom for everyone, whether you’re sitting to eat or standing to prep. Without it, you’re cramped—literally—and it can ruin your kitchen experience. Studies show that ergonomic design isn’t just a luxury; it’s a necessity for creating spaces that truly serve us.
If you’ve ever felt sore after a meal prep session or noticed your family constantly bumping knees, you’re not alone. Many homeowners miss this small but significant detail when planning their island, leading to unnecessary discomfort.
So today, I’ll share practical insights and tips on how to incorporate a 12-inch overhang into your kitchen island design, making it both functional and inviting.
Is Overcharging Your Kitchen Island Really Worth the Hype?
When I first tackled my kitchen redesign, I assumed that any overhang would do. I thought about aesthetics, not comfort. Big mistake. I later realized that skimping on the overhang’s depth cost me dearly in everyday usability. Early on, I made the mistake of assuming a 6-inch overhang was enough—big misconception that I had to correct later. Learning from that, I sought expert advice and discovered that a 12-inch overhang strikes the perfect balance between style and function.
In this post, I’ll guide you through the reasons why this measurement matters, how to measure it properly, and what you need to consider before making your new kitchen island a true joy to use.
Are you tired of bumping knees or feeling cramped at your current island? Keep reading—I’ve been there, and I’m here to help you get it right the first time.
Measuring Your Overhang Precisely
Start by determining the ideal 12-inch overhang for your island. Use a tape measure from the edge of the countertop to the desired extension, then mark the point on your cabinetry or support brackets. I once made the mistake of eyeballing this measurement, which resulted in uneven overhangs. To avoid this, I lined up a straight edge or a level with the countertop edge and marked multiple points to ensure consistency across the entire length. Proper measurement prevents awkward gaps and ensures uniformity, making your island both functional and sleek. Remember, accuracy in this step saves you from costly adjustments later.
Choosing Support Structures That Guarantee Stability
Once you’ve marked the overhang, think about the support. For a 12-inch overhang, installing sturdy corbels or brackets is essential. I recommend steel or hardwood brackets mounted directly into the wall studs beneath the countertop for maximum strength. When I replaced flimsy supports with custom-built brackets during my remodel, I noticed immediate stability improvements. Prioritize support placements at every 16-24 inches along the overhang, especially at endpoints, to prevent sagging or wobbling. This approach is critical for durability, especially if you plan to use your island for dining or heavy prep. For more on custom solutions, explore custom cabinets.
Designing Built-ins for Seamless Storage
Integrate your support with smart storage options to maximize space. Built-in shelves, drawers, or cabinets beneath the overhang can hide clutter and make efficient use of every inch. During my project, I installed shallow drawers under the overhang, perfect for utensils and napkins. Use built-in storage solutions that match your kitchen’s style, ensuring they don’t compromise aesthetics. Precise measurements are key: consider the cabinet depth and the clearance needed for doors to open without obstruction. Think about whether you want pull-out drawers, lazy Susans, or fixed shelves—each offers distinct convenience. Taking the time to plan and measure ensures your storage is both accessible and neat.
Implementing Storage Hacks for Small Spaces
If space is tight, incorporate floating shelves or hidden compartments within your island. I added a concealed drawer with a push-to-open mechanism to store small appliances, freeing up counter space. For innovative storage ideas, review smart storage hacks. Use adjustable shelving or vertical dividers to accommodate larger items without cluttering. When installing built-in features, double-check clearances and hardware compatibility to ensure smooth operation. By tailoring storage to your needs, you turn a simple kitchen update into a highly personalized, efficient workspace.
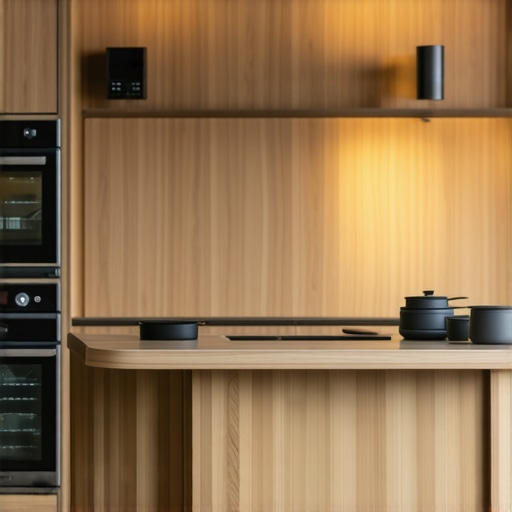 While many homeowners focus on choosing trendy countertops or eye-catching backsplash tiles, there’s a less obvious but equally critical aspect that often gets overlooked: the subtle nuances that can make or break the functionality of your kitchen. One widespread misconception is that custom cabinets are always the best choice for maximizing storage, but in reality, many fall prey to poor planning and execution that limit reachability and efficiency. For instance, installing deep cabinets without considering pull-out shelves or smart dividers can turn your storage into a cluttered nightmare rather than a well-oiled system. Expert designers emphasize that thoughtful integration of hardware and internal organizers often delivers far better results than simply opting for premium finishes. In fact, according to a study by the National Kitchen and Bath Association, kitchens equipped with tailored storage solutions see a 30% increase in usability and user satisfaction.
Many assume that the highest-priced custom cabinetry guarantees durability, but without proper materials and construction methods, even expensive units can sag or warp over time. This is especially true if the cabinets are built with low-quality plywood or veneer instead of solid hardwood or quality MDF. To avoid this common mistake, always inquire about the core materials and joinery techniques used in your custom pieces. Furthermore, a surprising number of homeowners underestimate the importance of precise measurements when designing built-ins. Miscalculations in depth or height can restrict appliance access or interfere with other fixtures, leading to costly modifications later.
Advanced Remodelers ask: How can innovative storage hacks elevate your kitchen beyond the basics? The answer lies in creative approaches like hidden compartments, vertical dividers, or integrated charging stations that streamline workflow and reduce clutter. Incorporating these features requires meticulous planning and understanding of your specific needs — a process that benefits from consulting with seasoned pros or referring to comprehensive guides such as creating seamless kitchen storage. Remember, a well-designed kitchen isn’t just about aesthetics; it’s a carefully orchestrated space where every inch contributes to your comfort and efficiency.
Have you ever fallen into this trap? Let me know in the comments. Properly understanding these nuanced details can transform a basic kitchen remodel into a truly personalized and functional masterpiece.Maintaining a beautifully remodeled kitchen requires more than just initial upgrades; it demands regular upkeep and the right tools to ensure longevity. Investing in quality equipment can save you time and money down the line, keeping your storage solutions, built-ins, and custom cabinets looking and functioning their best.
Essential Tools for Lasting Kitchen Performance
One of my go-to tools is a high-quality cordless drill with a variety of drill bits and screwdrivers. I personally prefer an impact driver like the Makita XDT131 to handle the frequent tightening and loosening of cabinet hardware or support brackets. Its power and compact size make it indispensable for home maintenance. Additionally, a digital laser level ensures your built-ins and shelving remain perfectly aligned over time, preventing sagging or tilting that can compromise both aesthetics and function.
For cleaning and routine upkeep, a soft microfiber cloth paired with a gentle but effective cleaner like Krud Kutter helps protect your cabinets from grime and moisture. Regularly inspecting and tightening screws or brackets with a precision screwdriver set maintains stability, especially in high-traffic or damp areas prone to wear.
How do I maintain my storage solutions and built-ins over time?
Consistent maintenance starts with understanding the materials used in your cabinets and storage units. For wooden components, applying a furniture-grade polish every few months helps preserve their finish and prevent cracking. Silicone-based lubricants can be used on hinges and hardware to keep drawers and doors operating smoothly. It’s also wise to periodically check support brackets and supports, tightening or replacing them if you notice any wobbling or looseness.
Incorporate routine inspections into your cleaning schedule—visually examine for signs of moisture, warping, or pests. Addressing issues early can prevent costly repairs or replacements. When installing support structures for your custom cabinets, using an impact driver ensures screws are driven securely without stripping, maintaining the integrity of your built-ins for years to come.
Predicting Future Trends in Kitchen Maintenance
Looking ahead, I believe smart maintenance technology will become increasingly popular. Devices equipped with sensors can notify you when hardware needs tightening or replacement before issues escalate, integrating seamlessly with smart home systems. This proactive approach ensures your kitchen storage solutions, built-ins, and cabinets stay at peak performance longer, reducing downtime and costly repairs.
For those keen on staying ahead, I recommend exploring smart leak detectors or IoT-enabled hardware that can alert you to slow leaks or hardware malfunctions early. Implementing these systems today can elevate your kitchen’s performance and give you peace of mind.
Try upgrading your hardware support brackets with impact-rated screws and quality brackets this weekend. Regularly inspecting your built-ins with a laser level and addressing any issues promptly will keep your kitchen functional and beautiful for years to come. For comprehensive guidance, check out https://artisancabinetworkz.com/creating-seamless-kitchen-remasters-with-built-in-storage-solutions, and take your maintenance game to the next level.
Three Lessons That Changed My Approach to Kitchen Renovation
One unexpected insight was how crucial it is to visualize the daily flow rather than just focusing on aesthetics. Remember, a beautiful kitchen doesn’t automatically mean it’s practical. I learned to walk through my space, imagining every movement, which revealed hidden inconveniences and transformed my planning process.
Another lesson was the importance of materials that age gracefully. I used to think choosing the trendiest finish was best, but I soon realized that durability and ease of maintenance trump fleeting styles. Integrating quality hardware and finishes made my kitchen stay beautiful longer and reduced ongoing upkeep.
Lastly, involving specialists early on saved me time and money. I once tried DIY support bracket installations, only to realize later that expert advice ensures safety and longevity. Building relationships with experienced craftsmen or designers means your investment turns into an enduring masterpiece.
Tools and Resources That Elevated My Kitchen Journey
My go-to support in designing and maintaining my kitchen has been the comprehensive guides at Creating Seamless Kitchen Storage. It offers detailed plans for built-ins that are both stylish and functional. Additionally, a quality laser level like the Bosch GLL 3-80 helps me verify perfect alignments, preventing sagging and misfits over time. For hardware tweaks, a reliable impact driver such as the Makita XDT131 has been invaluable for quick, secure installations without damaging cabinets. These tools and resources combined have given me confidence that my kitchen remodel will stand the test of time and usage.