Why Your Cabinet Pulls Are Getting Loose and the Five-Minute Fix
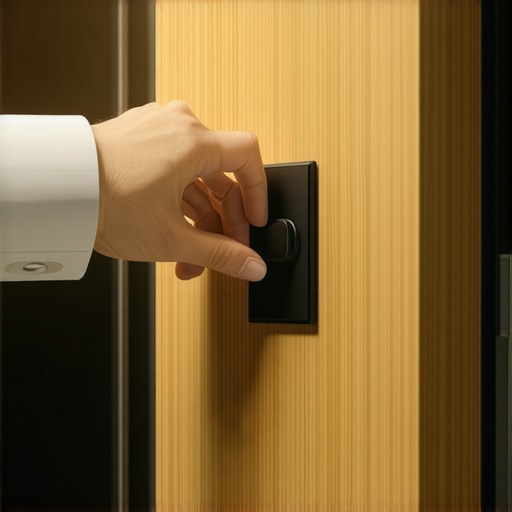
Imagine this: you’re mid-supper, reaching for a spice jar, and suddenly your cabinet pull pops loose again—just as you’ve been meaning to fix it for weeks. Frustrating, right? I’ve been there, tightening pulls only to find them loose again within days. It’s a small annoyance that can quickly turn into a lingering frustration, especially when your kitchen is the heart of your home.
That Lightbulb Moment About Loose Cabinet Pulls
The day I realized that fixing these pulls doesn’t have to be a chore was a game-changer. I started paying close attention to how I installed them and learned that most of us don’t realize how a tiny mistake can turn into repeated visits to the toolbox. Turns out, it’s not just about tightening the screws—it’s about doing it correctly from the start and knowing a simple trick that takes just five minutes. And believe me, this quick fix has saved me countless trips and gnarly handiwork.
Is Fixing Loose Cabinet Pulls Worth the Hype?
Early on, I made the mistake of assuming that snugging a screw was enough—until I watched a friend fix his kitchen cabinets with a bit of added prep work. That’s when I learned that a little extra effort ensures the pull stays tight for the long haul. According to experts, small details matter immensely—missing them can lead to ongoing problems. Not fixing these properly or ignoring the signs can cause more damage over time, like stripped screw holes or wobbly handles, which complicate future repairs. So yes, taking a few minutes to do it right is absolutely worth it. Are you tired of dealing with loose pulls? Let’s get into the step-by-step process that will make this quick and easy.
If you’re ready to finally put an end to this annoying issue, keep reading. I’ll guide you through the simple steps to restore your cabinet pulls, and you’ll be amazed at how a small tweak can make a big difference. And if you’re curious about how to improve your entire kitchen’s storage and style, I recommend exploring some excellent ideas on creative storage solutions that can prevent future hardware headaches. Ready to make your kitchen feel brand new? Let’s dive into the fix that takes less than five minutes but brings long-lasting results.
Step 1: Gather Your Tools and Replace Old Screws
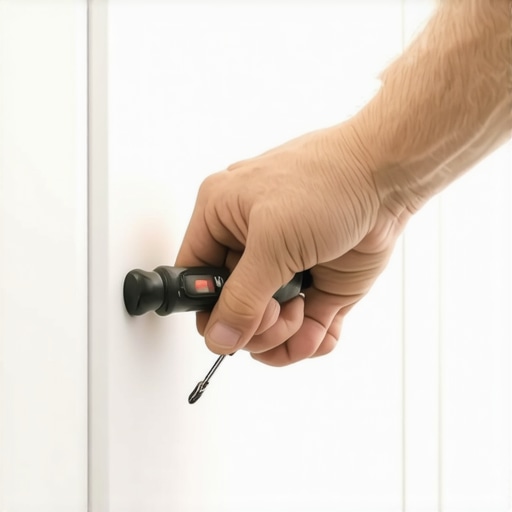
Start by collecting a Phillips-head screwdriver, a fresh set of screws matching your pulls, and some wood filler if needed. I once faced a stubborn loose pull, and replacing the screw was simple—just unscrew, remove the old screw, and keep it aside. This initial step prevents further damage caused by stripped or worn screws, ensuring a solid grip for your next fix.
Step 2: Tighten and Check the Existing Hardware
Loosen the screw slightly, then tighten it back securely. As I did this on my kitchen cabinet, I noticed the screw was a bit stripped, which led me to reinsert a slightly longer screw to get a firmer grip. This prevents pull loosening from daily use and is a quick, effective method for handles that don’t wobble but feel a little loose.
Step 3: Use a Toothpick or Matchstick for Loose Holes
If the screw穴 keeps enlarging, insert a toothpick or a matchstick coated with wood glue into the hole. Once glued and dry, reinsert the screw. I applied this trick when my cabinet pulls kept spinning, and it worked like magic—restoring tightness without replacing the hardware. This technique fills the gap in worn-out screw holes, providing grip and stability.
Step 4: Fill Stripped Holes with Wood Filler
For bigger problems, remove the pull and fill the hole with wood filler, then allow it to cure according to package instructions. Afterward, drill a small pilot hole and reattach the pull with a new screw. During my own repair, this method made the handle feel brand new, especially when dealing with stripped or cracked holes—saving time and money versus replacing entire pulls.
Step 5: Consider Reinforcing with Metal Threaded Inserts
If pulls are frequently coming loose, install threaded inserts into the hole. These metal sleeves provide a new, durable thread for the screw. I did this in my workshop after noticing constant loosening, and it significantly prolonged the life of my handles. For ongoing issues, this professional fix offers a long-term solution rather than temporary fixes.
By applying these straightforward techniques, you extend the life of your cabinet hardware and maintain a sleek, functional kitchen. For more ideas on optimizing your space with creative storage solutions or upgrading your cabinetry, check out the detailed guides available on Artisan Cabinetworkz. Remember, a stable cabinet pull isn’t just about aesthetics—it keeps your kitchen safe and efficient every day.
Many homeowners and even some designers fall into the trap of oversimplifying built-in and storage solutions, believing that choosing the right materials or the latest trends automatically guarantees a successful remodel. However, the reality is far more nuanced. One widespread misconception is that all built-ins are essentially the same, regardless of their placement or purpose. In fact, the subtle differences in construction techniques, material choices, and integration methods can significantly impact the longevity and functionality of your installation. For example, opting for glued rather than mechanically fastened joints can lead to premature loosening, especially in high-traffic or humid areas, which is a mistake many overlook until repairs become unavoidable.
Do Custom Cabinets Just Make a Space Look Better?
While custom cabinets are often praised for their aesthetic appeal, many get wrong that the real benefit lies in how they optimize space and facilitate workflow. An advanced misconception is assuming that a standard design can meet unique kitchen needs, leading homeowners to opt for off-the-shelf solutions. This can result in inefficiencies like wasted corner space or awkward appliance placements. Wall and base cabinets should be tailored not only to match your style but also to your habits, storage requirements, and even future plans. In fact, a 2021 study from the National Kitchen & Bath Association reveals that customized storage solutions improve daily usability by up to 30%. For expert guidance on perfecting your specific needs, visit this guide on custom cabinets.
Another common trap involves ignoring the importance of proper ventilation or climate considerations in cabinet construction. For instance, using solid wood in humid environments without proper sealing can lead to warping and joint failure over time. This is where advanced techniques, like incorporating moisture-resistant materials or using specialized finishes, become crucial. Sitting back and assuming that “all wood is the same” is a mistake that can cost you dearly in the long run.
Why Bigger Isn’t Always Better When It Comes to Built-Ins
It’s tempting to overbuild or pack in every ounce of storage space, but this often leads to a cluttered and inaccessible kitchen. Smarter design benefits from strategic planning rather than maximum capacity. For example, lightweight pull-out shelves equipped with soft-close mechanisms can improve access to deep corner cabinets, making your space more efficient. Moreover, integrating hidden compartments or specialized drawers can provide dedicated spaces for spices, cutlery, or even charging stations—functional features that homeowners often overlook in favor of larger, more conspicuous solutions.
Don’t forget that the foundation of a successful kitchen remodel is understanding the advanced nuances—like proper load distribution in cabinetry to prevent sagging or choosing materials that balance aesthetics with durability. These details often make the difference between a design that lasts and one that needs costly repairs sooner than expected. Want to avoid these pitfalls? Check out expert tips on storage solutions to ensure your project is built to last.
In conclusion, it’s vital to look beyond the surface and understand the intricacies underpinning successful built-ins and storage solutions—especially if you’re aiming for a remodel that stands the test of time. Have you ever fallen into this trap? Let me know in the comments.
Maintaining the functionality of built-ins and custom cabinets requires precision tools and strategic practices. Over the years, I’ve refined my toolkit, opting for equipment that delivers consistency and durability. One essential tool I rely on is a high-quality cordless drill with variable speed control—this allows me to make delicate adjustments, especially when re-tightening or replacing screws in tricky areas. Additionally, I prefer a set of fine-tip screwdrivers for cleaning debris from hinge plates and adjusting hardware without damaging the finish. Regularly, I use a soft microfiber cloth combined with a gentle, formulated cleaner to prevent dust buildup and preserve cabinet finishes, especially in high-humidity environments that accelerate wear.
Embracing the Power of Digital Organizers
Beyond physical tools, digital software has become invaluable for long-term maintenance. I recommend using a project management app tailored for home renovations to track hardware upgrades, hinge adjustments, or restaining schedules. For instance, using a dedicated calendar with reminders about annual inspections of hinges and locks can ensure longevity. These digital methods help me stay proactive, instead of reactive, prolonging the lifespan of my cabinetry and built-ins.
Predicting the Future of Maintenance Strategies
Looking forward, I anticipate a rise in smart hardware with integrated sensors that alert you when maintenance is due—think hinges with built-in wear sensors or screws with embedded microchips that notify you via a smartphone app. This shift towards intelligent hardware will make upkeep more intuitive, reducing the risk of sudden failures. As technology evolves, staying updated with the latest innovations in hardware and digital monitoring will be essential for serious DIY enthusiasts and professionals alike.
How do I keep my built-ins and cabinets working seamlessly over time?
To ensure your storage solutions stand the test of time, dedicate routines such as annual hinge lubrication, inspecting for loose screws, and refreshing finishes. Incorporating advanced tools like a dedicated hinge press or a precision screwdriver set makes these tasks manageable. For example, a professional-grade hinge press enables accurate alignment of doors, preventing uneven wear and misalignment over years. Additionally, exploring modern finishes—like scratch-resistant coatings—can reduce maintenance efforts significantly. For more expert advice on customizing your storage, check out these storage tips.
If you’re ready to take your cabinet maintenance to the next level, try applying a routine hinge lubrication with a silicone-based spray—this simple step can cut down creaking and sticking issues while extending hardware lifespan. Keep your tools organized using a magnetic screwdriver holder attached near your workspace, ensuring everything is within arm’s reach when needed. Remember, consistent upkeep not only preserves the beauty of your cabinetry but also saves you from costly repairs down the line—the secret lies in being proactive, not reactive. For detailed steps on hinge maintenance, visit this guide.
Three Critical Mistakes I Wish I Avoided Early On
One of the most valuable lessons I learned about built-ins and custom cabinets is that rushing the planning stage can lead to costly tweaks later. I once designed a kitchen without considering future appliance upgrades, resulting in awkward space utilization. Now, I always think ahead, factoring in potential changes and growth. Additionally, I underestimated the importance of proper material selection, which affected durability and maintenance, especially in humid environments. Choosing the right finishes and materials from the beginning saves a lot of headaches down the line. Lastly, I neglected to incorporate easy access features early in the design, making daily tasks more cumbersome. Seamless storage solutions, like pull-out shelves and soft-close hardware, truly enhance usability and longevity.
Tools and Resources That Really Make a Difference
My go-to resource for crafting durable and stylish built-ins is Expert tips on selecting storage solutions. It offers insights into materials, hardware, and sizing that have saved me countless hours. For professional-grade tools, I trust my cordless drill with variable speed control to ensure precision and reduce user fatigue. To stay organized and proactive with maintenance, I rely on digital project management apps, which let me track hinge lubrication schedules and hardware updates—keeping everything running smoothly. Lastly, reading through guides like modern kitchen remodels has inspired innovative ideas and kept me aware of the latest trends and techniques.
Seize the Moment and Elevate Your Space
Designing and maintaining built-ins and storage solutions is a rewarding journey that continuously evolves. Embrace the learning process, and don’t be afraid to try new ideas or experiment with materials and layouts—you’ll be surprised how small adjustments can make a big difference. Every kitchen or room you upgrade adds character, functionality, and a personal touch that reflects your style and needs. If you’re considering a remodel or just want to refine your current space, remember that the magic is in the details. Why wait? Start planning your next smart storage solution today and transform your environment into a space you’re proud of. Ready to dive into your own project? Share your ideas or questions below, and let’s make your dream built-ins a reality.