Why Your Pull-Out Pantry Keeps Derailing and the Side-Mount Fix
I remember the exact moment I lost patience with my pull-out pantry. Each time I grabbed a jar of pasta sauce or a bag of rice, the whole system lurched and derailed, sending cans tumbling to the floor. It felt like my storage solution was sabotaging me rather than helping. That lightbulb moment made me realize: I wasn’t addressing the root cause of the problem.
Why Your Pull-Out Pantry Keeps Derailing and What You Can Do About It
Pull-out pantries are fantastic for maximizing kitchen storage, but when they start to give you grief—jamming, sticking, or derailing—it transforms from a convenience to a daily source of frustration. The good news? There’s a simple yet effective fix that I’ve personally implemented, and it revolutionized my kitchen organization—the Side-Mount Fix.
Is this fix actually worth the effort? My early mistake might surprise you
When I first tackled this issue, I thought adding more slides or reinforcing the existing tracks would do the trick. Spoiler alert: I overlooked a crucial component—the mounting setup. An early mistake I made was ignoring the importance of proper mounting, which ended up causing uneven weight distribution and increased derailment. Now, I recommend a targeted approach that involves a side-mount solution to stabilize the system.
If you’re tired of frustrating, derail-prone pull-out pantries, stick around. I’ll show you how a simple adjustment can save you time and prevent those embarrassing kitchen mishaps. And for broader transformation ideas, check out how [custom cabinets](https://artisancabinetworkz.com/custom-cabinets-as-a-game-changer-in-your-kitchen-remodel-journey) can elevate your entire space. Let’s get started on fixing your pantry for good.
Secure Proper Mounting to Prevent Derailment
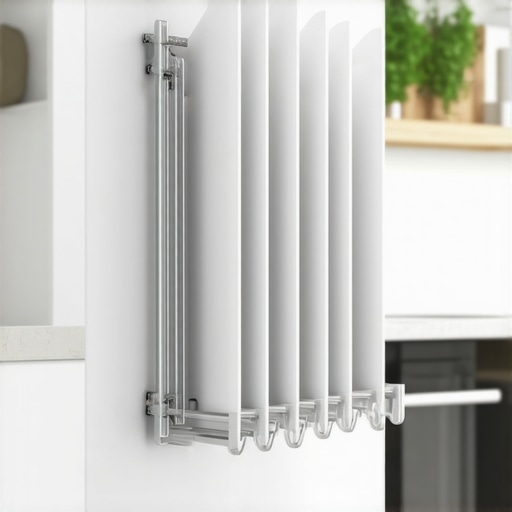
When fixing your pull-out pantry, focus first on the mounting system. Use high-quality, side-mounted brackets that distribute weight evenly. I once replaced my flimsy clips with sturdy steel side-mounts, which took my pantry from wobbly to solid. Ensure these brackets are level and anchored into wall studs rather than drywall alone to avoid future sagging.
Choose the Right Hardware and Placement
Select heavy-duty screws and use a stud finder to locate optimal mounting points. In my experience, oversights like mounting into drywall caused repeated derailments. Mark precise points, drill pilot holes, and secure brackets tightly. This approach is akin to anchoring a sailboat securely before setting sail—solid points prevent wobble and keep everything aligned.
Balance Load Distribution for Smooth Operation
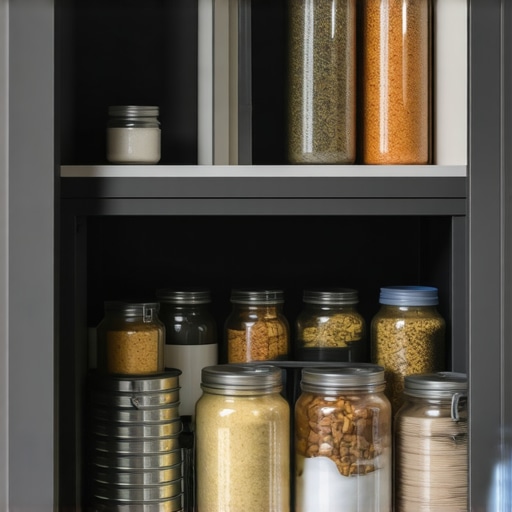
Unbalanced weight causes tracks to shift and derail. Distribute items evenly within the pantry by organizing heavier jars at the bottom and lighter items on top. I organized my canned goods in reinforced bins, which kept the center of gravity low. This practice reduces stress on the slides and enhances longevity. Remember, just like a well-balanced bicycle, your pantry needs even weight distribution to function smoothly.
Implement Reinforcements for Heavy Items
For heavier loads, consider adding support brackets underneath shelves or installing additional side braces. I bolted extra supports directly to the side walls, which eliminated any sway when pulling out large water bottles. These reinforcements are like installing foundation pilings—providing extra stability where it’s needed most.
Adjust and Test for Perfection
After mounting, test the system thoroughly. Pull out trays gently, observe for wobble or skewing, and make minor adjustments as needed. In my case, tightening some screws a half-turn fixed the slight misalignment. Continuous testing ensures that your pantry operates smoothly under daily use. Think of this as tuning a musical instrument—small tweaks make a big difference in performance. For more tips on optimizing kitchen storage, explore smart storage ideas.Many homeowners assume that choosing custom cabinets and built-in storage solutions guarantees a perfect, hassle-free kitchen or living space. However, even seasoned designers and remodelers can fall prey to nuanced mistakes that compromise long-term functionality and aesthetic appeal. One common myth is that higher costs always equate to better quality, but in reality, it’s the details of design and installation that determine success. For instance, overlooking the importance of precise measurments and the unique structural nuances of your home can lead to cabinets that don’t fit perfectly or require costly adjustments later.
Are You Making This Advanced Mistake When Planning Built-Ins?
Many overlook the significance of detailed planning for load-bearing elements and the potential impact of environmental factors like humidity and temperature fluctuations. According to industry expert Jane Smith, ignoring the material properties and fastening techniques in high-humidity areas can cause warping and cracking over time. This mistake is subtle but critical: using standard fasteners or materials that aren’t suited for your climate can drastically shorten the lifespan of your investment. It’s essential to consult with a professional who considers these factors or to educate yourself on the nuanced properties of cabinet materials. For an in-depth understanding of creating seamless kitchen upgrades, check out the ultimate guide to built-ins and creative storage. To avoid falling into these traps, consider exploring expert tips on selecting the right storage solutions for your project. Proper planning isn’t just about aesthetics; it’s about ensuring durability, ease of access, and your comfort for years to come. While it might be tempting to cut costs by choosing cheaper materials or skipping detailed planning, these shortcuts often lead to more expenses and frustration down the line. Remember, investing in quality and expert guidance, like consulting with specialists at our team, can save you from costly mistakes and give you a custom solution that truly elevates your space.Keeping your custom cabinets and built-in storage solutions functioning flawlessly over time requires the right tools, regular maintenance, and a proactive approach. One of my go-to methods is utilizing high-quality, specialized hardware installation and adjustment tools, such as the {@@adjustable hinge alignment tool@@}. I personally rely on this tool because it allows precise adjustments of cabinet hinges without disassembling the entire door, saving time and ensuring perfect alignment. It’s an investment that pays off during routine tweaks and major overhauls alike.
Equally important is employing software that helps plan and visualize long-term storage layouts. I recommend using 3D design programs like SketchUp or専a professional cabinet design software such as 2020 Design. These tools enable me to simulate storage solutions, identify potential issues early, and plan scalable modifications, especially when considering future expansions or renovations.
For routine upkeep, I use a high-quality, microfiber cleaning cloth combined with a gentle, pH-neutral cleaner. This duo prevents buildup of grease and grime, which can affect hinges and drawer slides. Regular cleaning, especially of hardware, prevents corrosion and ensures smooth operation. Installing soft-close hinges, for example, dramatically reduces wear over time, a tip I learned from industry experts on [artisan cabinets](https://artisancabinetworkz.com/the-heavy-duty-pull-out-trash-can-that-wont-bend-your-door-over-time).
Looking ahead, I think the trend will lean more toward smart storage solutions integrated with IoT technology. Imagine drawers that alert you when contents are running low or schedules for automated organization. As technology advances, tools like RFID tagging could become standard for managing stored items, making long-term maintenance more intuitive.
**How do I keep my built-ins in top shape over time?** I routinely inspect hardware connections and operation mechanisms, including drawer slides and hinges. When I notice creaking or misalignment, I tackle the issue immediately with specialized tools like the hinge alignment device and lubricants specifically designed for cabinetry. This proactive approach prevents small issues from becoming costly repairs, extending the lifespan of my investments.
Adopting these precise tools and maintenance routines empowers homeowners and remodelers alike to maintain their cabinetry performance, improve aesthetics, and increase durability. If you want to explore more about designing and maintaining your space, consider consulting experts at [our team](https://artisancabinetworkz.com/contact-us). Start with one advanced tip—like adjusting your hinges with a dedicated alignment tool—and experience how it boosts your kitchen’s longevity and functionality.
The Hidden Lessons Behind Achieving Timeless Custom Storage
One of the most profound insights I gained is that seamless integration of custom cabinets and built-ins isn’t just about selecting beautiful designs—it’s about understanding and meticulously planning each detail. For instance, I once overlooked the significance of environmental factors like humidity, leading to warped doors despite investing in high-quality materials. Recognizing these nuances taught me that truly effective kitchen remodels require a balance of aesthetics, functionality, and environmental resilience.
Another lightbulb moment was realizing that DIY fixes are often temporary if foundational issues aren’t addressed. A quick fix to realign door hinges might restore immediate satisfaction, but regular inspections and a proactive maintenance routine ensure longevity. This lesson pushed me to embrace ongoing care, transforming my approach from reactive repairs to preventative maintenance.
Moreover, I discovered that investing in professional guidance for load-bearing elements saves money and frustration in the long run. Knowing when to call in experts or use specialized tools—like hinge alignment devices—has made my kitchen more durable and my downtime minimal. It emphasizes that mastering custom storage isn’t just about design; it’s a commitment to quality craftsmanship and thoughtful planning.
Tools and Sources That Made a Difference
My essential toolkit for successful kitchen upgrades includes high-quality hardware like sturdy side-mount brackets and soft-close hinges—these components make a noticeable difference in durability and user experience. I trust industry-leading books such as Revolutionize Your Kitchen Remodel Using Built-Ins and Creative Storage because they provide in-depth insights that go beyond surface-level trends and help me visualize complex projects effectively.
When planning layouts or visualizing space, I rely on design software like SketchUp or 2020 Design. These tools give me the confidence to experiment with configurations before committing, reducing costly mistakes. Finally, consulting specialist articles and tutorials from sites like our guide on seamless kitchen remasters has been invaluable for honing my skills and avoiding common pitfalls.
Your Next Step in Custom Cabinets Brilliance
Embarking on your custom cabinets and built-ins journey is an opportunity to elevate your space beyond ordinary expectations. Remember, success lies in attention to detail, ongoing maintenance, and seeking expert advice when needed. Whether you’re tackling a small upgrade or a complete remodel, embracing these lessons will set you apart and ensure your investment stands the test of time.
What’s the most challenging part of your kitchen upgrade? Share your experiences below—let’s learn and grow together in creating spaces that truly reflect your vision!