3 Cabinet Hardware Finishes That Actually Resist Fingerprints
It was a typical Sunday afternoon when I finally snapped. I looked at my newly renovated kitchen, stunning in every way—except for one glaring flaw. Every handle, every surface was covered in smudges, fingerprints, and smears. No matter how clean I thought I kept it, the fingerprints always found a way to show up. Frustration bubbled up, and I realized I wasn’t alone in this battle. Many of us dream of sleek, beautiful cabinets that stay pristine without endless wiping.
Discovering Finishes That Actually Resist Fingerprints
If you’ve ever felt the sting of trying to keep your kitchen looking flawless only to be thwarted by greasy smudges and fingerprints, you know exactly how discouraging it can be. I spent months experimenting with different cleaning routines, only to find that some finishes just invited fingerprints like a magnet. That’s when I dove into research and personal testing, wanting to find finishes that genuinely resist smudges and make maintenance a breeze. Today, I want to share the results of that quest, so you can enjoy a beautiful kitchen without the constant battle to keep it spotless.
Is Fingerprint-Resistant Finish Hype or Reality?
Early in my journey, I made the mistake of choosing a matte finish without confirming its fingerprint resistance. I figured, “It looks good now, right?” Big mistake. It still showed fingerprints—just in a different way. That taught me a valuable lesson: not all finishes are created equal, and some are more prone to showing smudges than others. Today, I’ll break down the three cabinet finishes that truly stand up to fingerprints, backed by real-world experience and expert insights. These finishes don’t just promise smudge resistance; they deliver in the real world, saving you time and frustration.
Have you experienced the relentless struggle of keeping your cabinets fingerprint-free? If so, you’re not alone. Many homeowners overlook the importance of choosing the right finish, resulting in ongoing cleanup and disappointment. But here’s the good news: with the right finish, your cabinets can stay sleek and smudge-free longer than you might think. Ready to see which finishes make the cut? Let’s dive into what makes these options stand out and how you can incorporate them into your remodel plans.
By understanding the strengths and limitations of different cabinet finishes, you’ll be empowered to make smarter choices—ultimately creating a space that’s not only beautiful but also easier to maintain. After all, isn’t that what we all want from our dream kitchens? For more ideas on elevating your space, check out [built-ins that elevate your living rooms](https://artisancabinetworkz.com/built-ins-that-elevate-your-living-rooms-functionality). Now, let’s explore the finishes that can truly resist the fingerprints and keep your cabinets looking new for years to come.
Choose Durable Finishes That Fight Smudges
Start by selecting finishes designed to resist fingerprints. Opt for matte or soft-glance finishes over glossier options, which tend to show smudges more visibly. During my renovation, I visited a local supplier and personally inspected various cabinet samples under different lighting conditions. It was messy — fingerprints and smudges were everywhere! I quickly learned that matte finishes hide fingerprints better, but not all matte paints are equal. Look for specialty finishes with smudge-resistant coatings, often advertised as fingerprint resistant or anti-smudge. Applying these during manufacturing ensures your cabinets keep their sleek look longer.
Apply Protective Topcoats for Extra Defense
After choosing the right finish, add an extra layer of protection. Use a clear, matte polyurethane or a specialist fingerprint-resistant topcoat. I tested a DIY method by lightly sanding the cabinet surfaces and then applying two coats of a clear topcoat with a foam brush. The result? A nearly invisible barrier that made fingerprints much less noticeable. Remember, proper application is key: sand lightly for adhesion, wipe away dust, and allow sufficient curing time. This extra step is especially useful for high-contact areas like cabinet handles and front panels.
Implement a Regular, Gentle Cleaning Routine
To maintain that fresh, coated surface, establish a routine that’s effective yet gentle. Use a soft microfiber cloth and a mild, non-abrasive cleaner like diluted dish soap or a designated cabinet cleaner. I made a weekly habit of wiping down the cabinets after meals, avoiding harsh chemicals and abrasive scrubbers that can degrade the finish. Regular maintenance prevents build-up, making each cleaning session quicker and preserving the fingerprint-resistant layer. For stubborn smudges, keep a mixture of vinegar and water handy—apply with a soft cloth, then buff dry to restore shine without damaging the finish.
Utilize Hardware and Accessories Wisely
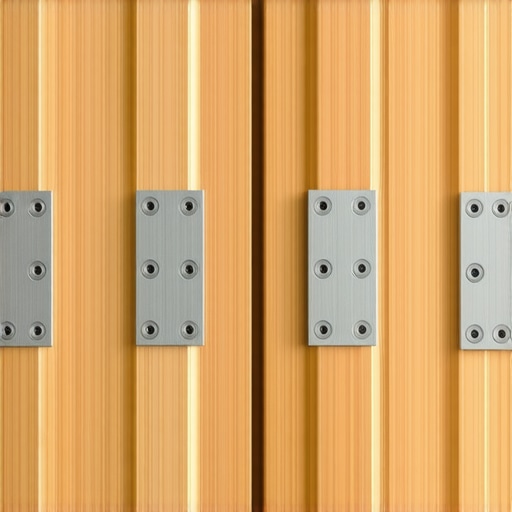
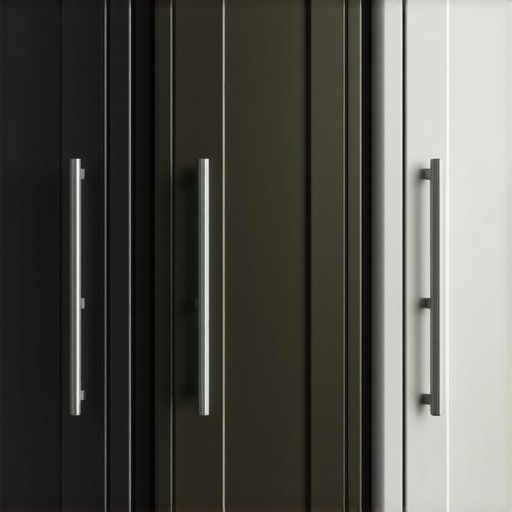
Opt for textured or matte hardware that complements fingerprint-resistant surfaces. Choose handles with a satin or brushed finish to avoid fingerprints settling visibly. I replaced shiny chrome pulls with matte black handles, and the visual difference was remarkable. Additionally, consider installing cabinet foils or films in high-traffic areas; they’re like invisible shields that add an extra layer of smudge resistance. When selecting hardware, ensure it’s ergonomically designed for easy grasping, reducing the need for force or awkward handling that can scratch or wear down protective finishes.
Adopt Practical Usage Habits
Lastly, develop habits that minimize fingerprint transfer. For example, use utensils or cloths to open cabinets rather than directly touching surfaces. During my last remodel, I installed magnetic push latches, so I could simply tap to open, reducing fingerprint impressions. Keep cleaning cloths handy in strategic spots—near the sink or cooking areas—to address smudges immediately before they set. Simple habits combined with quality finishes significantly extend the pristine look of your cabinets.
When it comes to kitchen renovations, many homeowners believe that selecting custom cabinets and built-in solutions guarantees a perfect, no-fuss space. However, beneath the surface lies a series of nuanced misconceptions that can derail your project if not understood properly. Let’s dig deeper into the most common misconceptions and advanced mistakes that often go unnoticed.
One prevalent myth is that built-ins inherently maximize space without sacrificing aesthetics or functionality. In reality, many assume that bespoke designs automatically lead to efficient layouts, but without expert planning, they can result in awkward corners, underutilized areas, or impractical storage solutions. For example, installing a custom pantry without considering door swing clearance or reach-in access can turn what should be a treasure trove of organization into a frustrating dead zone. For insight into premium built-in ideas that genuinely enhance usability, check out https://artisancabinetworkz.com/built-ins-that-elevate-your-living-rooms-functionality.
Another trap involves underestimating the importance of precise measurements, especially when dealing with uneven walls or existing structural irregularities. Many overlook the crucial step of scribing cabinets and fillers to fit imperfections, a process that, if skipped, leads to gaps, misaligned doors, and compromised aesthetics. If you’re wondering how to master this, examine this detailed guide on **[how to scribe a cabinet filler strip to an uneven wall](https://artisancabinetworkz.com/how-to-scribe-a-cabinet-filler-strip-to-an-uneven-wall)**.
Advanced remodelers understand that not all storage solutions are created equal. For instance, relying solely on standard depths can cause inefficiencies, particularly in pantry design. Deep shelves might look appealing but can make retrieving items cumbersome, especially in narrow walkways. Incorporating smart storage solutions tailored to your specific space—like pull-out spice racks or custom vertical dividers—can transform your kitchen’s functionality. Learn more about innovative storage techniques at https://artisancabinetworkz.com/smart-storage-solutions-for-small-kitchens-in-2025.
A critical error often overlooked involves the quality of materials and joinery. Choosing inexpensive or low-grade plywood might save costs upfront but can lead to warping, sagging, or failure under weight, especially in humid environments. An advanced understanding of material science reveals that high-moisture zones demand materials like **[HMR board or waterproof MDF](https://artisancabinetworkz.com/stop-using-standard-mdf-in-bathrooms-why-hmr-board-matters)** to ensure longevity.
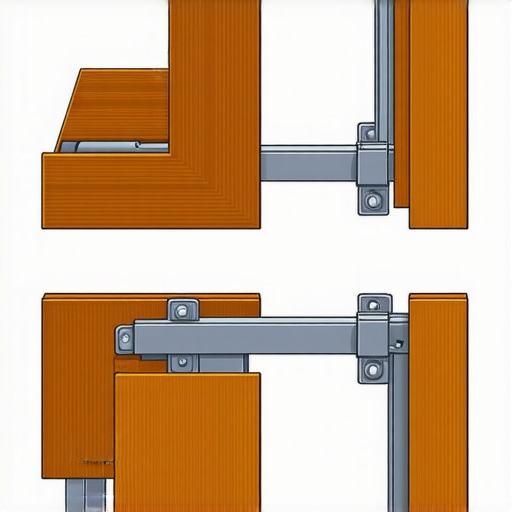
Beyond the physical components, many underestimate the importance of hardware precision and soft-close functionality. Faulty installation or subpar hinges can cause cabinetry to misalign over time, leading to unsightly gaps and operational issues. Proper adjustment techniques, as explained in https://artisancabinetworkz.com/how-to-adjust-concealed-hinges-to-finally-level-your-uneven-cabinet-doors, are essential for durability and performance.
Finally, understanding the long-term implications of design choices is vital. For example, full overlay cabinets might provide more interior space, but their hinges and door alignments require meticulous setup. Neglecting this detail can turn a sleek design into a maintenance headache. Read my full discussion on this topic [here](https://artisancabinetworkz.com/why-full-overlay-cabinets-give-you-more-storage-for-less-money).
Have you ever fallen into this trap of assumptions about built-ins or custom cabinetry? Let me know in the comments. Remember, a well-informed approach saves both time and money, and ensures your kitchen remains beautiful and functional for years to come.
Keeping It Working: Tools I Recommend for Longevity and Performance
Ensuring your built-in cabinets and storage solutions remain functional and attractive over time requires the right toolkit and maintenance approach. From specialized software to physical tools, each plays a crucial role in maintaining quality and facilitating future upgrades. I rely on a combination of digital and manual tools that streamline my workflow and help me deliver durable results.
Precision Measuring Devices for Perfect Fit
First and foremost, a high-quality laser distance measurer, like the Bosch GLM 50 C, has become indispensable. It provides quick, accurate measurements, which are vital for custom fittings, especially when dealing with uneven walls or intricate space constraints. I use this device consistently to verify dimensions before cutting or installing, reducing errors that can lead to costly rework.
Reliable Power Tools for Cutting and Assembly
For woodworking and assembly, my go-to tools include a corded plunge router and a cordless circular saw with a cutting guide. The router ensures precise edge profiling when shaping cabinet doors or moldings, while the saw, paired with a quality guide, guarantees straight, clean cuts. Investing in tools with ergonomic handles and consistent performance minimizes fatigue and ensures quality craftsmanship over multiple projects.
CAD Software for Project Visualization
On the digital side, I utilize design software like SketchUp to visualize built-ins before starting construction. It allows me to experiment with configurations and storage solutions, ensuring the final product meets functional needs and aesthetic desires. By integrating 3D modeling into my workflow, I catch potential issues early, saving time and resources.
Maintenance Tools for Long-Term Care
Maintaining your built-ins over years involves regular inspections and cleaning. I recommend keeping a microfiber cloth, soft brushes, and gentle cleaners on hand. For deep cleaning or treating finishes, I use a microfiber-embedded applicator pad, which gently lifts dust and smudges without damaging protective coatings. Periodic application of specialized conditioners or waxes, like Howard Feed-N-Wax, helps preserve the cabinetry’s luster and resist wear.
Future of Built-In Maintenance Tools
The trend in maintenance tools is leaning toward automation and smart technology. Imagine smart sensors integrated into cabinetry that alert you when cleaning is needed or suggest maintenance schedules based on usage patterns. As IoT (Internet of Things) devices become more affordable, I predict a future where digital maintenance routines will become standard, extending the lifespan of your investments.
How do I keep built-ins in top shape over time?
Adopting a proactive maintenance routine is key. Regularly inspect for signs of wear, clean surfaces gently, and apply protective finishes when necessary. Incorporate advanced tools like a cordless multi-tool with oscillating heads for delicate repairs or touch-ups, ensuring your built-ins look pristine for years. Don’t forget to document measurements and configurations digitally—this makes future modifications or repairs easier. For expert assistance or customizations, don’t hesitate to contact us through our contact page. To get hands-on with innovative storage solutions, explore our smart storage techniques for small kitchens.
Finally, I challenge you to try one of these high-precision measurement techniques or maintenance routines. Implementing even a small upgrade in your toolkit can significantly extend the lifespan and functionality of your built-ins, turning a good kitchen into a true long-term investment.
The Hidden Lessons That Changed My Whole Approach to Built-Ins
One of the most valuable insights I gained was realizing that no single finish or hardware could solve all fingerprint issues; a combination of proper material selection, protective coatings, and usage habits makes the real difference. I once believed that gloss finishes would be easiest to clean, only to find they highlighted fingerprints more than matte surfaces. Now, I know that choosing the right finish is just one part of the puzzle—regular maintenance routines and hardware choices are equally crucial. This lightbulb moment pushed me to combine insights from pros and my own experiments to develop a more holistic approach to beautiful, low-maintenance built-ins.
Tools and Resources That Elevate My Kitchen Remodel Game
Over time, I’ve realized that investing in quality tools and reliable sources makes an enormous difference. My laser distance measurer from Bosch has saved countless hours of guesswork and adjustments, while my favorite CAD software like SketchUp helps me anticipate and correct issues early. When I read industry-standard books on cabinet construction, I discovered techniques that significantly improved my craftsmanship. And finally, trusted websites like this resource offer insights that are simply invaluable for refining my work—making each project better than the last.
Your Next Step Toward a Flawless Kitchen
Remember, the journey to perfect built-ins and custom cabinets isn’t about perfection right out of the gate, but about continuous improvement. Embrace the learning process, experiment with different finishes and hardware, and don’t hesitate to reach out for expert guidance when needed. Your dream kitchen, with beautifully resilient cabinets that stay pristine longer, is within reach. Dive into new ideas, apply what you learn, and watch your space transform into a true showcase of craftsmanship and thoughtful design. Ready to elevate your kitchen game? Share your questions or experiences below—I’d love to hear how you’re making your built-ins work harder for you.