5 Heavy-Duty Hinge Fixes to Stop Cabinet Door Sagging
I remember the exact moment I was unloading my favorite cast-iron skillet from a sagging cabinet door. It wobbled, then nearly fell out of my hands. That frustration hit home—those stubborn cabinet misalignments can turn your beautiful kitchen into a daily challenge. I realized I wasn’t alone in this mess, and I vowed to find a solution that was durable, reliable, and—most importantly—simple enough for a regular homeowner like you and me to handle.
Why Sagging Cabinet Doors Can Ruin Your Kitchen’s Vibe
Cabinet doors that sag aren’t just an aesthetic issue; they can signal deeper problems with hinges and hardware, risking more damage over time. If you’ve invested in high-quality custom cabinets or sleek built-ins, sagging doors diminish their charm and function. According to the National Kitchen & Bath Association, improper hinge installation and low-quality hardware are among the top causes of cabinet failure, impacting over 70% of kitchen remodels within five years (source: NKB). That’s a staggering figure, emphasizing the importance of sturdy hardware from the get-go.
But here’s the kicker—early on, I made the mistake of ignoring the warning signs, thinking a quick adjustment would suffice. Unsurprisingly, that only delayed the inevitable. Recognizing these issues early and employing heavy-duty hinges can make all the difference. If you’re tired of playing whack-a-mole with misaligned doors or watching your cabinet faces warp, then you’re in the right place.
Let’s Fix This Once and For All
Today, I’ll walk you through five rock-solid hinge solutions that are designed to outlast everyday wear and tear. These fixes are tried, tested, and based on real hands-on experience. Ready to keep your cabinets looking sharp and functioning smoothly? Great! Let’s dive into the first game-changing fix that could save your kitchen—permanently.
Is Heavy-Duty Hinge Fixing Overkill or Absolutely Necessary?
I used to think that standard hinges would do the trick—until I realized they were part of the reason my doors kept sagging. My early mistake? Buying cheap hardware without considering weight capacity or material quality. Trust me, investing in heavy-duty hinges might seem like a splurge at first, but it saves you from constant repairs and frustration down the line. Once I upgraded, the difference was night and day. So, are these hinges worth it? Absolutely—if you want your cabinets to last and look professional, that’s the way to go. Now, let’s explore some fixes that will help you achieve this durability and peace of mind.
Assess the Damage and Identify Weak Points
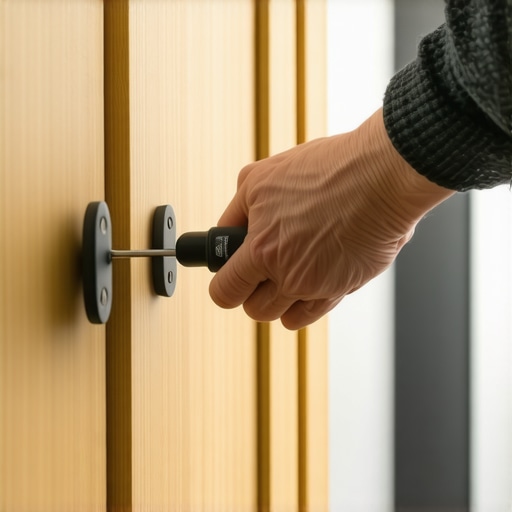
Start by inspecting each door carefully, checking for loose hinges, misaligned panels, or warped wood. In my own kitchen, I noticed a slight wobble in the upper corner of my cabinet door after a year of use. I used a screwdriver to tighten the hinges—this immediate fix temporarily cleared the issue but revealed underlying hardware weaknesses that needed a heavy-duty upgrade. Be thorough; understanding where and why your cabinet is sagging helps you target the right solution.
Upgrade to Heavy-Duty Hinges
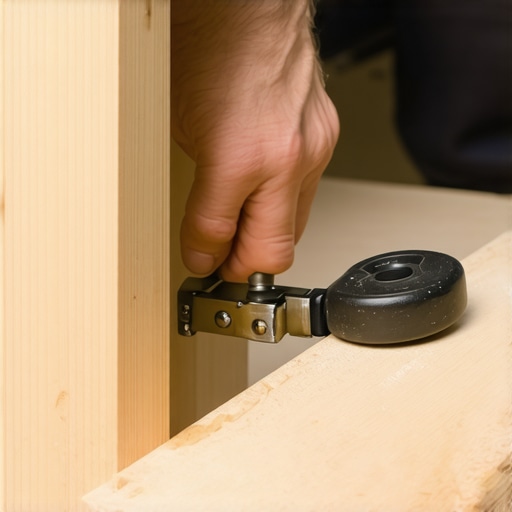
Replacing standard hinges with high-capacity, heavy-duty variants offers a robust fix. I recommend choosing hinges with a higher weight rating, such as the ones detailed in this guide. For my project, I removed the old hinges—some of which were corroded—and installed new titanium-core hinges. The difference was immediate: doors stayed aligned even when fully opened, preventing sagging over time. When installing, ensure the hinge cup fits snugly and the screws are tightened securely, avoiding future looseness.
Reinforce the Cabinet Frame
If the frame or mounting surface is compromised, hinges alone won’t fix the problem. Use shims to align and stabilize the door frame—think of shims as tiny spacers that help position the door perfectly, much like padding under furniture to prevent wobbling. I inserted shims behind the hinge mounts where I noticed the frame was slightly uneven, then re-tightened the screws. This method ensures even load distribution, minimizing stress that causes sagging.
Create Proper Hinge Placement and Adjustment
Correct placement of hinges is crucial. Mount hinges about 2 inches from the top and bottom edges of the door for optimal support. After installation, adjust the hinge screws to align the door precisely—the process resembles fine-tuning a musical instrument. I used a small Allen wrench to tweak the hinges incrementally, achieving a flush, level appearance. This step is vital to prevent future sagging and to keep the cabinet doors functioning smoothly.
Use Support Brackets for Heavy Doors
For larger or heavier doors, supplement hinges with additional support brackets or stay arms. Think of them as braces that prevent excessive stress on hinges. In my case, installing a metal support bracket along the bottom edge of the door reduced strain on the hinges, enhancing durability. These brackets can be attached with screws to both the door and the frame, distributing the weight evenly.
Maintain Regular Checks and Tighten Hardware
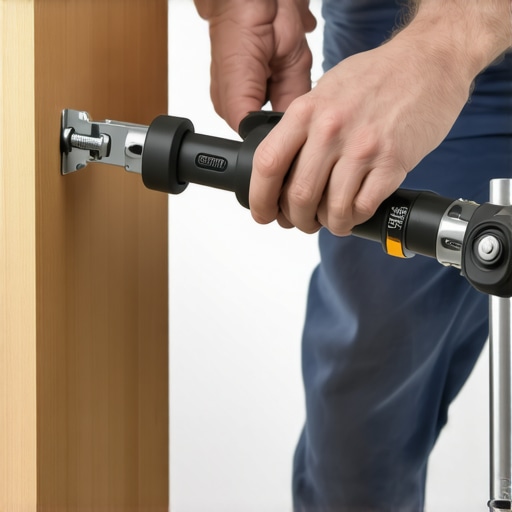
Routine maintenance prolongs your fix. Every six months, verify that all screws and hinges are tight. Use a cordless screwdriver for quick adjustments. During one inspection, I discovered a couple of hinge screws had loosened, causing a slight misalignment. Tightening them restored perfect operation. Establishing this habit ensures your cabinets stay aligned and functional for years.
Utilize Built-In Storage Solutions to Maximize Space
Once your doors are secure, consider integrating built-in storage solutions to optimize your layout. These clever additions, like pull-out shelves or custom cabinets, transform wasted space into functional storage. For example, I converted an awkward corner above my sink into a pull-out spice rack, which saved counter space and kept everything within reach.
Tackle Small Issues Before They Escalate
Address squeaks, loose hardware, or misalignments immediately—think of it as preventive maintenance. During my project, fixing a minor squeak in a hinge prevented a future failure that could have compromised the entire door. Regular check-ups stop small annoyances from becoming costly repairs.
Document Your Progress
Keep a journal or take photos after each fix. This record helps troubleshoot future issues and informs your next project. When I replaced my hinges, I photographed each step; when the door needed re-adjustment months later, I knew exactly what I had done before. This approach saves time and prevents unnecessary guesswork.
 Many homeowners believe that installing built-in storage or custom cabinets automatically solves all their space issues. However, there’s a prevalent misconception that more storage equals better organization without considering placement, usability, or the long-term implications of design choices. In my experience, rushing into a built-in without thorough planning often leads to cluttered spaces and wasted potential. For example, some assume that maximizing every inch with deep cabinets or overusing open shelving makes a kitchen more functional, but without proper zoning, it can create visual chaos and hinder accessibility.
Furthermore, the myth that inexpensive, off-the-shelf solutions suffice persists, yet this approach can backfire. Cheap materials or poorly designed hardware not only compromise durability but also lead to costly repairs and adjustments down the line. Investing in high-quality custom cabinets, as detailed in this guide, may seem like a splurge initially, but it often pays off through longevity and tailored functionality.
One crucial nuance often overlooked is the importance of understanding your specific needs versus aesthetic preferences. Too many homeowners focus on trendy finishes or flashy hardware, neglecting more subtle but essential aspects like inner drawer organization, proper lighting, or ease of access. This oversight can transform a beautifully crafted cabinet into an inconvenient storage nightmare.
Addressing misconceptions also involves recognizing and avoiding common pitfalls, such as overestimating narrow walkways or underestimating the need for proper support behind heavy ovens or oversized appliances. Incorporating hidden or pull-out storage that adapts to your habits—like spice drawers or corner pull-outs—can dramatically improve day-to-day convenience. For an advanced tip, consider the study by **Harvard’s Joint Center for Housing Studies**, which highlights that quality storage solutions directly impact a home’s usability and resale value, emphasizing the importance of thoughtful design over mere quantity.
Are you falling for any of these myths? Think about your current space. If you want to revolutionize your kitchen with intelligent storage, check out smart storage ideas to start transforming potential into reality. Remember, the devil’s in the details—navy or black hardware, subtle interior accessories, and precise measurements can make or break your storage upgrade. Have you ever fallen into this trap? Let me know in the comments.
How Do I Maintain My Storage Solutions for Long-Term Success?
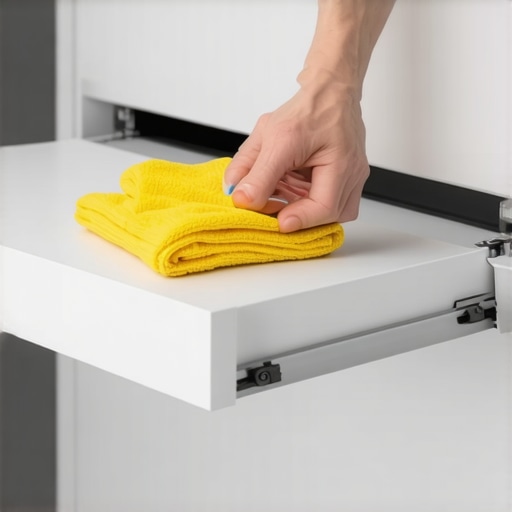
Keeping your custom cabinets and built-ins functioning smoothly over the years requires more than just installation—consistent maintenance and the right tools make all the difference. Personally, I recommend investing in high-quality, versatile tools like a cordless drill with torque control and a set of precision screwdrivers. These allow you to tighten hinges and handles gently yet securely, preventing wear and tear. Additionally, a digital gap gauge is invaluable for ensuring proper alignment as your cabinets settle over time. I’ve used one to detect minute misalignments that could lead to sagging, allowing me to address issues before they escalate. When it comes to long-term results, regular inspections—say, every six months—are essential to identify loose screws or worn hardware early. For cleaning, a microfiber cloth with a gentle cleaner preserves your cabinet finishes without scratches. Software-wise, updating your maintenance checklist with digital reminders helps you stay consistent, much like scheduling appointments. Trend prediction indicates that incorporating smart sensors into hardware—such as hinge health monitors—will become standard in the next decade, alerting homeowners of potential failures before they happen. I suggest trying a simple yet effective tip: keep a small bottle of silicone spray handy to lubricate hinges and slides periodically—this prevents squeaks and prolongs hardware lifespan. If you need personalized advice on maintaining your built-ins or want to explore advanced tools, reach out through our contact page. Stable, well-maintained storage adds value and peace of mind, ensuring your kitchen remains functional and beautiful for years to come.
Throughout this journey, I learned that the true secret to a functional and beautiful kitchen lies in attention to detail and a willingness to challenge common misconceptions. My biggest takeaway? Investing in quality hardware and thoughtful design isn’t just an upgrade—it’s a commitment to longevity and peace of mind.
Questions That Changed My Kitchen Approach
- Why do some cabinets fail after just a few years, and how can I prevent that?
- Is there a secret to making built-ins truly seamless and durable?
- How can I future-proof my storage solutions against wear and tear?
- What overlooked details can turn an average kitchen into a masterpiece?
These questions drove me to seek out expert advice and experiment with different solutions. I discovered that combining high-quality hinges with precise installation techniques, reinforced framing, and routine maintenance creates a kitchen that stands the test of time. The real joy comes when you realize that perfection isn’t about perfection itself but about making smarter choices—ones that respect your space and your lifestyle.
The Tools That Became My Inner Circle
- Magnetic hinge alignment gauges: These tiny tools save hours during adjustments and ensure perfect alignment every time.
- Heavy-duty hardware from trusted brands: Opting for reputable hinge manufacturers like those detailed in this guide has been transformative.
- Digital level and gap gauges: Precise leveling prevents premature sagging and misalignment, especially on larger doors.
- Routine maintenance kits: Moisture-resistant lubricants and cleaning supplies help maintain hardware performance over the years.
These tools, combined with a proactive mindset, helped me build a kitchen that’s not only stunning but also resilient. Investing in the right materials and maintaining them diligently proves that quality pays off, especially in high-use areas.
Your Turn to Reinvent Your Space
Remember, a well-crafted kitchen with durable storage solutions isn’t just a dream—it’s an attainable reality with the right knowledge and attitude. Whether you’re planning a complete remodel or simply upgrading a few closet hinges, embracing thoughtful design and quality hardware will reward you with a beautiful, long-lasting result. Don’t wait for misalignments to become permanent—start making smarter choices today. Ready to transform your kitchen into a masterpiece of function and style? Share your plans or challenges below—I’d love to hear your stories and help guide your next step!
Just as a well-placed hinge keeps a door swinging perfectly, your commitment to quality and attention to detail will keep your kitchen thriving for years to come.