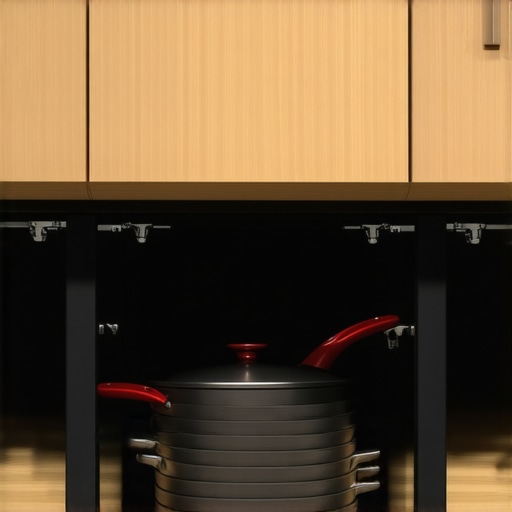
The Heavy-Duty Slide Trick for Storing Your Cast Iron Collection
It was a chilly Saturday morning when I finally faced the chaos that had taken over my kitchen corner. Pans stacked high, squeaking loudly each time I reached for a lid—my cast iron collection had become a tangled mess. That lightbulb moment hit me: I needed a better way. If you’re nodding along because you’ve struggled with similar clutter, I promise, there’s a solution that combines practicality with a bit of ingenuity. Today, I want to share my experience with the Heavy-Duty Slide Trick, a simple yet effective method that transformed my storage chaos into organized bliss.
Revolutionize Your Cast Iron Storage with Heavy-Duty Slides
For years, I was frustrated by how difficult it was to access my cast iron pans without dislodging everything around them. I knew I needed a system built for strength and ease of use. That’s when I discovered the magic of heavy-duty slides. These slides allow you to create pull-out shelves or drawers that support the weight of your heaviest cookware, making storage more accessible and safe.
The key is choosing the right slides that can handle the robust weight of cast iron, which can easily surpass 10 pounds each. Installing these slides beneath a custom cabinet or built-in unit made a world of difference. Not only did I prevent my collection from tumbling every time I reached in, but I also gained extra space and a cleaner look overall. If you’ve been hesitant because you think it’s complicated or costly, rest assured—modern heavy-duty slides are surprisingly affordable and straightforward to install, especially if you visit a trusted cabinetry specialist. Plus, they’re durable enough to last a lifetime.
Are Heavy-Duty Slides Worth the Hype? Here’s My Take
When I first read about these slides, I was skeptical. I’d made the mistake early on of underestimating the importance of quality hardware, buying cheap slides that warped under weight. That mistake taught me a valuable lesson: investing in sturdy, heavy-duty hardware pays off in the long run. If you’re wondering whether these slides are really a game-changer, let me assure you, they are—especially when fully supported with the right mounting and installation tips. Curious about this upgrade? You can find some fantastic options to enhance your storage solutions by exploring ideas for maximizing space with innovative storage.
So, if you’ve faced that familiar frustration—digging through a jumble of pans, risking a spill, wasting time—you’re not alone. My promise today is to guide you step-by-step through implementing this heavy-duty slide trick, so your cast iron collection becomes a showcase of convenience and style. Ready to make clutter a thing of the past? Let’s dig into the exact steps to set this up in your kitchen.
Select the Right Heavy-Duty Slides to Support Your Cast Iron Collection
First, measure the weight and dimensions of your heaviest pans to choose compatible slides. I recall pulling out my old, flimsy slides and encountering a sagging drawer—it was a mess. Make sure to select slides rated for at least 75 pounds for safety. Visit your local hardware store or trusted cabinet supplier to compare options. Remember, quality matters; cheap slides may warp or fail under heavy load, which can lead to clutter and safety hazards.
Prepare Your Cabinet Frame and Mark Mounting Points
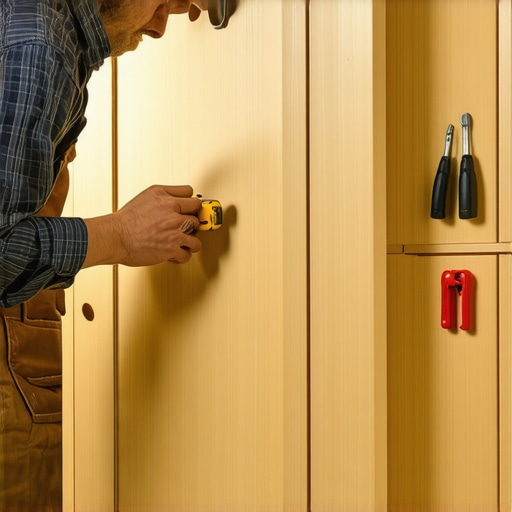
Next, identify the desired location for your pull-out shelf or drawer. Use a tape measure and a level to mark the positions for the slides. I used painter’s tape to outline where the slides would go, ensuring perfect alignment. This step is crucial because misalignment causes the drawer to stick or wobble. Keep in mind that the slides need to be installed perfectly parallel for smooth operation; using a carpenter’s square helps achieve this.
Attach Slides to the Cabinet Framework
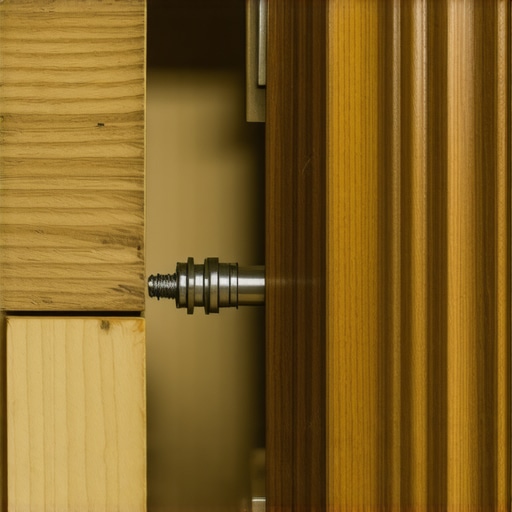
Remove the slides from packaging and attach the mounting brackets to the cabinet’s interior along your marked lines. Clamp the slides temporarily to prevent shifting. Drill pilot holes before screwing to avoid splitting the wood. I got comfortable with this step after a few tries, realizing that steady hands prevent crooked installation. Ensuring the slides are flush with the cabinet front is vital for a seamless look and proper function.
Secure the Drawer or Shelf to the Slides
Now, attach the corresponding part of the slide mechanism to your custom shelf or pan tray. Use the alignment marks on the slides for precise placement. Before fully tightening, slide the components in and out to check for smooth motion. I once installed a shelf slightly crooked, which caused it to jam; testing the movement avoids such mistakes. If necessary, adjust the mounting screws for perfect alignment.
Insert the Drawer and Test Functionality
Carefully slide the assembled shelf or drawer into the mounted slides. Apply gentle pressure to seat it fully, then operate the slide mechanism several times. I spent extra time doing this, observing that any resistance could indicate misaligned components. Make adjustments as needed, tightening or loosening screws to optimize operation. This step ensures that your cast iron pans glide effortlessly, preventing any future frustration.
Final Tips for Longevity and Safety
To maximize durability, regularly check the mounting screws and lubricate the slides with a silicone spray—avoiding oil-based lubricants that can attract dirt. Also, consider installing soft-close mechanisms to prevent slamming, which can damage the heavy-duty slides over time. When in doubt, consulting experts like the team at Artisan Cabinetworks can provide personalized advice for complex setups. Remember, employing high-quality hardware and precise installation will transform your storage system into a reliable, elegant feature of your kitchen—making access to your cast iron collection easier than ever.Many homeowners believe that designing a kitchen simply involves choosing trendy cabinets or clever storage hacks. However, as an expert in custom cabinetry and built-ins, I’ve seen how these misconceptions can lead to costly mistakes. For instance, there’s a widespread myth that standard hardware is sufficient for heavy-duty storage needs. In reality, selecting inferior slides or hinges can jeopardize the longevity and safety of your investment, especially when supporting things like cast iron collections or heavy appliances. Additionally, many assume that all custom cabinets are equal; but overlooking the importance of material choice and joinery techniques can result in warping or premature wear—disasters no homeowner wants.
One common misstep is neglecting the finer details during installation, like ensuring perfectly level and aligned doors. A study by the National Kitchen & Bath Association highlights that precision in hardware placement extends the lifespan of cabinetry and enhances aesthetic appeal. An advanced nuance often missed by DIYers is understanding the specific weight ratings of hardware components. Using slides rated for lighter loads on substantial items will cause sagging over time, reversing the efficiency gains you aimed for. This is why working with professionals who understand load capacity and proper hardware support can save you headaches later.
Furthermore, I caution against simplistic solutions that ignore spatial dynamics. For example, in small kitchens, the temptation to cram every inch with storage might seem efficient but can hinder usability. Innovative solutions like pull-down shelves or vertical dividers—ideas explored in our articles on smart storage—offer smarter, more accessible options.
**What advanced considerations should you prioritize in a high-end kitchen remodel?** Making choices about moisture-resistant finishes, seamless hardware, and durable materials tailored for your specific usage ensures a functional and long-lasting environment. Remember, the devil’s in the details—small overlooked nuances can undermine your entire project. Instead of falling for superficial trends, consult experts at Artisan Cabinetworks who can guide you through the intricacies of premium craftsmanship.
Have you ever fallen into this trap? Let me know in the comments.
Keep Your Storage Systems Working Smoothly
Maintaining your custom kitchen storage and built-ins is crucial to ensuring they continue to serve you well over the years. I rely heavily on specific tools and techniques that allow me to troubleshoot and refine these systems without the need for complete replacements. A high-quality cordless drill with adjustable torque settings, for instance, is indispensable for making precise adjustments to hinges and hardware. I personally prefer models with LED lights, which illuminate tight spaces, making adjustments safer and more accurate. Additionally, a digital level ensures that all installations and adjustments keep cabinets and shelves perfectly aligned, preventing future sagging or misalignment.
Alongside tools, I utilize specialized cleaning products such as silicone-based lubricants for slides and hinges, which maintain smooth operation without attracting dust or dirt. These lubricants are easy to apply with a small, precision applicator that fits into tight spots—a handy accessory I always keep in my toolkit. Regular maintenance—like tightening loose screws or inspecting for wear—prevents small issues from evolving into costly repairs. Incorporating these practices prolongs system longevity and ensures that your investments in custom cabinetry and built-in solutions remain functional and attractive.
What Are the Future Trends in Kitchen Storage Maintenance?
Advances in smart hardware and materials are making maintenance more intuitive. Future systems might feature self-lubricating joints or sensors that notify you when components need attention, much like the innovations discussed in modern kitchen remodeling articles. Embracing these upcoming technologies can streamline long-term care and keep your storage solutions performing at their best.
If you haven’t yet, try integrating one of these advanced tools—perhaps a digital level or a high-quality lubricant—to see immediate improvements in operation and ease of maintenance. Being proactive with your maintenance routine now will save you time and money in the future, and keep your kitchen both beautiful and functional for years to come.
Throughout this journey, I’ve uncovered that the real magic lies in attention to detail and a willingness to learn from missteps. One of the hardest lessons I faced was undervaluing the importance of supporting hardware; investing in high-quality heavy-duty slides prevented future sagging and accidents, saving me time and unforeseen costs. Additionally, I discovered that precise measurements and patient installation are crucial—small misalignments can turn a smooth glide into a frustrating jam. The most profound insight, however, was understanding that effective storage isn’t just about space—it’s about accessibility and safety, especially when supporting heavy cast iron cookware. Real progress came when I embraced expert guidance, like consulting with professionals at Artisan Cabinetworks, to refine my setup and ensure durability. Let these lessons remind you that tailored solutions and quality hardware transform cluttered kitchens into harmonious spaces where every item has its place.