Why Your Kitchen Island Needs an Outlet and the Best Way to Hide It
It was a Sunday afternoon, and I was scrambling to prepare a family brunch. As I reached for my mixer on the kitchen island, I realized the power cord was draped awkwardly, threatening to trip someone or yank the entire unit off balance. That lightbulb moment hit me—why hadn’t I planned for an outlet in this central hub of my kitchen?
Since then, I’ve come to understand how critical it is to incorporate outlets into kitchen islands, especially as our gadgets and appliances multiply. An outlet in your island isn’t just about convenience; it’s about safety, functionality, and future-proofing your space.
Making Room for Power: Why Your Kitchen Island Needs an Outlet
Having an outlet built directly into your kitchen island transforms the way you use your space. Imagine charging your tablet while following a recipe, plugging in a blender for a quick smoothie, or powering your smart devices—all without cluttering your countertops or crawling behind cabinets.
According to a recent survey, nearly 85% of homeowners wish their kitchens had more accessible outlets, especially in multifunctional areas like islands. This trend is driven by the increasing number of kitchen gadgets and the surge in smart home integration.
However, many people overlook the importance of planning for outlets early in their remodeling process. That’s a mistake I made—assuming that standard outlets would suffice, I neglected to consider placement and concealment. The result? Unattractive cords dangling in sight or awkwardly hidden behind appliances.
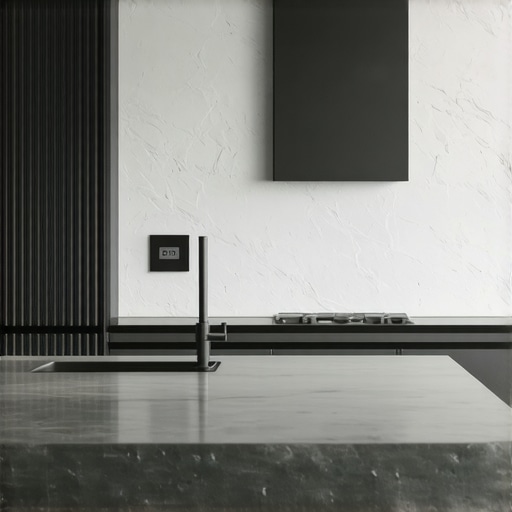
By integrating outlets thoughtfully, you can maintain a clean look and safe environment. Today, we’ll explore how to install outlets that blend seamlessly with your island design and practical ways to hide them effectively.
Ready to solve this common kitchen dilemma? Let’s dive into the best strategies to incorporate outlets into your island without sacrificing style.
Is an outlet in your kitchen island genuinely necessary, or just a trend?
I initially doubted the need for a dedicated outlet, thinking it might be an unnecessary luxury. But after experiencing the inconvenience firsthand, I realized how much it streamlined my cooking and cleaning routines. A crucial mistake I made early on was placing a standard outlet on the side of my island without considering future needs or design harmony, leading to clutter and visual distraction. Learning from this, I’ll show you how to avoid similar pitfalls and create a sleek, functional, and stylish solution.
Choose the Ideal Location for Your Outlets
Start by identifying practical spots on your kitchen island where outlets will be most useful—near prep areas, seating zones, or above counter height. Use painter’s tape to mark these spots and visualize accessibility versus aesthetic impact. I once marked a spot too close to a corner, which caused the cord to hang awkwardly; I learned to prioritize functionality and clearance.
Determine the Power Source and Wiring Path
Decide whether you’ll tap into an existing circuit or install a dedicated line. For a seamless look, run conduit or flexible wiring through your island’s cabinetry or framing. When I installed outlets in my island, I used flexible conduit hidden behind panels, which kept the wiring out of sight and protected from damage.
Cut the Surface and Frame Openings Carefully
Using a jigsaw or hole saw, cut precise openings in the countertop surface for the outlets. Simultaneously, cut corresponding holes in the side or inside panels of the island. Accuracy is key—measure twice, cut once. I once misaligned an opening, leading to a tight fit; double verification saved me time and effort.
Install the Electrical Boxes Securely
Mount electrical boxes that are compatible with your wiring setup. Use mounting brackets for stability, especially if you’re placing outlets on unframed surfaces. Ensuring the boxes are flush with the surface prevents uneven surfaces and creates a professional look. I used foam shims to level boxes on uneven cabinetry during my project.
Connect Wiring and Attach Outlets
Follow electrical codes—connect hot, neutral, and ground wires securely using wire nuts and terminal screws. Test all connections with a voltage tester before securing the outlets. In my experience, labeling wires beforehand simplified troubleshooting and ensured safe, correct connections.
Conceal and Access Wires Seamlessly
Use cord management clips, wire sleeves, or conduit to route cords neatly behind cabinetry or within the island structure. Installing outlets with a raised cover plate can also help hide wiring. I once concealed cords behind decorative panels, which kept the area looking tidy and reduced tripping hazards.
Finish and Test the Installation
Replace the countertop, ensure all covers are tight, and test outlets with a device to confirm proper wiring. Also, verify that no cords are strained or exposed. Proper testing prevented future issues and gave me peace of mind about safety and functionality.
Remember, if you’re not confident assembling electrical systems, it’s wise to consult a licensed electrician. Proper installation not only enhances your kitchen’s utility but also ensures safety and compliance with local codes.
For design ideas that integrate outlets seamlessly into custom cabinetry, check this guide.
 Many homeowners believe that choosing the most popular or trending kitchen cabinets guarantees a timeless and functional design, but in my experience, this approach often overlooks critical nuances. For instance, while flat-panel cabinets are widely favored for their modern look, they can be more prone to visible fingerprints and scratches, especially in high-use areas, unless finished with durable, stain-resistant coatings. This is a detail often missed by standard selections, leading to increased maintenance over time.
Another common misconception is that larger, more elaborate built-ins always provide better storage. However, improperly proportioned or overly complex cabinetry can impede accessibility and make spaces feel cluttered rather than organized. The key lies in understanding how to balance aesthetics with function—an area where many DIY enthusiasts falter. To avoid falling into this trap, I recommend exploring built-in solutions that truly elevate your living space by emphasizing user-friendly design and seamless integration.
Are You Falling for Oversimplified Kitchen Myths?
It’s tempting to think that the latest trendy finishes or hardware innovations are the ultimate upgrade, but neglecting to consider factors like climate, humidity, or overall maintenance can lead to costly mistakes. For example, soft-close hinges are popular, but in high-humidity environments, they may wear out faster if not specified with the right material or coating. A study from the National Kitchen and Bath Association highlights that improper material choices contribute significantly to remodel failure rates, especially in humid climates. Therefore, understanding the precise material properties and their behavior in your environment is essential for durable results.
Storage solutions often get oversimplified with the assumption that more compartments or shelves always translate into better organization. In reality, incorrect placement or size of storage units can impede workflow and access. Implementing smart storage, such as innovative storage solutions tailored to your space, can prevent these pitfalls. Properly planned storage enhances functionality and minimizes clutter, leading to a more enjoyable kitchen experience.
In conclusion, being aware of these hidden nuances and avoiding common myths can significantly improve your renovation outcome. By focusing on materials, proportion, and smart design, you ensure a space that’s not only beautiful but also practical and long-lasting. Have you ever fallen into this trap? Let me know in the comments, and I can help you avoid it in your next project.
Choosing Tools That Stand the Test of Time
Investing in high-quality, purpose-built tools has made a huge difference in my remodeling projects. For example, I rely on a Milwaukee M18 Fuel Cordless Caulk and Adhesive Gun because its power and battery life prevent me from hiccups mid-job, ensuring smooth application of sealants and adhesives. Over the years, I’ve found that a DeWalt Reciprocating Saw with variable speed control proves invaluable for precision cuts on cabinetry and framing.
For measuring and layout, I prefer a Bosch GLM 50 C Laser Measure. Its accuracy and Bluetooth functionality facilitate transferring measurements directly to my digital planning apps, helping maintain consistency across iterations. These tools streamline the process and reduce errors, saving time and money in the long run.
Utilizing Software to Visualize and Plan
My workflow now hinges on 3D design platforms like SketchUp Pro, which lets me model custom cabinets and built-ins with astonishing detail. This reduces miscommunication with contractors and ensures my vision is crystal clear. Additionally, I check material simulations using tools like Chief Architect to predict how different finishes and storage solutions will look in my space, minimizing costly mistakes.
Implementing Routine Maintenance for Longevity
One mistake I often see in remodeling is neglecting maintenance protocols after the project wraps up. For example, regular inspection of soft-close hinges ensures they function smoothly and prevent slamming noise over time. Applying a tiny drop of silicone spray periodically keeps moving parts lubricated without attracting dust or grime, extending their lifespan. Similarly, maintaining countertops with appropriate sealants (especially quartz-infused options) preserves their appearance and prevents damage.
Scaling Up and Long-Term Results
As I plan to expand my storage with smart solutions like automated pantry doors and modular shelving, I rely on smart storage solutions that adapt to future needs. These innovations promise not only improved organization but also increased home value. By establishing a maintenance routine—checking hinges, seals, and hardware every six months—I keep my kitchen functioning optimally and avoid costly repairs later.
How do I maintain my custom storage and cabinets over time?
Regular cleaning with gentle, non-abrasive products coupled with periodic hardware inspections ensures my storage solutions stay in top shape. Tightening loose screws and lubricating hinges keeps everything operating smoothly. Remember, a proactive upkeep schedule prevents small issues from escalating—saving money and time in the long run.
If you’re ready to make your kitchen last longer and perform better, start by investing in a quality laser measure for accurate planning, and commit to routine hardware checks. Small, consistent efforts today result in a beautifully functional kitchen for years to come. For more expert insights, explore our latest remodeling ideas or reach out through our contact page.
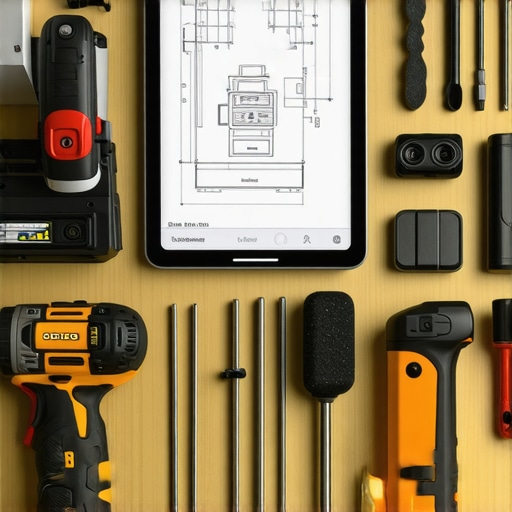
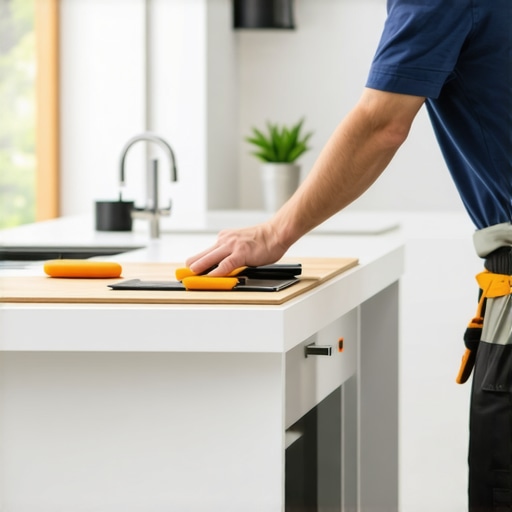
Image prompting a well-equipped workshop with high-quality tools like laser measures, cordless drills, and digital planning software used during kitchen remodeling.
The Hidden Truth About Perfecting Your Kitchen Island Power Strategy
One of the most valuable lessons I learned is that planning outlet placement shouldn’t be an afterthought—it’s the backbone of a functional kitchen island. I once overlooked this and faced the disappointment of tangled cords and limited access, which could have been avoided with careful foresight. Prioritize electrical planning early, and consider future gadget needs; it will save you time and frustration down the line.
My Secret To Avoiding Kitchen Cabinet Compatibility Mistakes
It’s tempting to select trendy cabinets without assessing their long-term performance, especially in high-humidity environments. I learned the hard way that materials like solid wood can warp if not chosen carefully. Instead, I now rely on durable, tested finishes and innovative solutions like built-in design insights that blend aesthetics with resilience. This approach keeps my cabinets looking pristine for years.
Why Overestimating Storage Can Lead to Chaos
Initially, I thought more shelves meant better organization, but I quickly realized poorly placed or oversized compartments hindered accessibility. Incorporating smart storage solutions, like hidden pull-outs or vertical dividers, makes a significant difference. Exploring tools like innovative storage options transformed my kitchen, turning clutter into clarity with minimal effort.
How I Learned to Balance Style and Function in Cabinets
Choosing finishes and hardware is more complex than picking the latest trend. I discovered that finishes like matte black hide fingerprints better, and hardware choices impact usability. Sometimes, traditional designs outperform modern ones if they suit your lifestyle. I recommend experimenting with custom cabinet ideas that elevate both form and function, ensuring your space remains inviting and practical.