The Heavy Mixer Move: Why a Built-In Lift Saves Your Back and Countertops
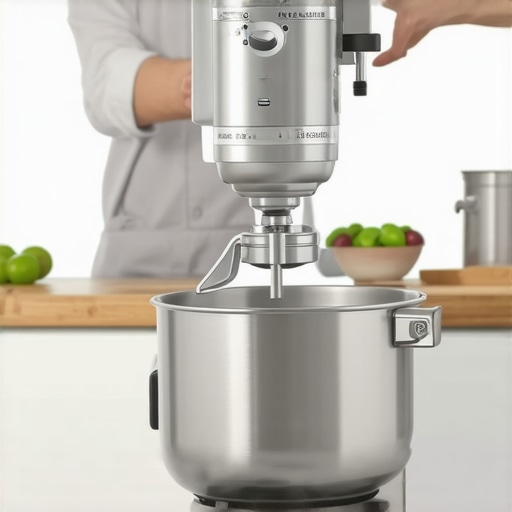
It was a typical Saturday morning in my kitchen, and I was juggling a heavy stand mixer out of a cramped cabinet. Suddenly, I felt that sharp tug in my lower back—a familiar ache I knew all too well after years of slinging appliances around and trying to keep my precious countertops pristine. That moment was my lightbulb moment: there had to be a better way.
The Struggle Is Real: Why Your Back and Counters Suffer
I realized I wasn’t alone. Many homeowners and remodeling enthusiasts face the same struggle—our kitchens are often designed more for aesthetics than practical ease. I used to think that stacking my mixer on the counter was convenient until I paid the price with sore muscles and scratched countertops. And the worst part? I kept damaging my surfaces because I lacked a proper solution.
Fortunately, I discovered a game-changing fix: building a built-in mixer lift. This simple upgrade didn’t just protect my back—it transformed my entire kitchen workflow, making baking days less about strain and more about enjoyment. So, if you’re tired of tossing your arm around or worried about damaging your countertops, stay with me. We’re going to decode how a built-in lift can save you time, effort, and pain.
Is a Built-In Lift Truly Worth the Investment?
Before you dismiss this as just another fancy kitchen gadget, I want to share a mistake I made early on: I prioritized looks over function. I thought I could get by with temporary fixes, but eventually, my aches and scratched surfaces proved otherwise. After installing a built-in lift, I realized I should have invested in this smarter, earlier. These lifts aren’t just convenient—they’re a long-term investment in your health and home’s integrity, especially if you cook or bake regularly.
Research shows that proper ergonomics in the kitchen can reduce fatigue and prevent chronic pain, saving both your body and your countertops from unnecessary wear and tear. If the idea of lifting heavy appliances repeatedly feels daunting or leads to injury, you’re not alone. Keep reading—things are about to get practical.
Preparing Your Space for the Lift
Begin by clearing out the cabinet where you’ll install the lift. Remove all contents and measure the internal dimensions carefully. Use a level to ensure your cabinet walls are straight—uneven walls will complicate the installation, so plan to shim or adjust as needed. Mark the exact location where the lift will be positioned, considering the height of your mixer and ease of access. For guidance on customizing cabinet interiors, visit custom cabinets ideas.
Choosing the Right Built-In Lift
Select a lift compatible with your mixer and cabinet size. I recommend one with adjustable brackets and a weight capacity exceeding your mixer’s weight—this prevents sagging. Read reviews and verify the lift’s dimensions beforehand. For a variety of options, explore built-in lift options.
Constructing the Support Framework
Build a sturdy support platform using 3/4-inch plywood, cut to fit the interior dimensions. Screw the plywood to the cabinet floor securely, ensuring it can support the entire weight of the mixer and lift. Think of this as creating a strong foundation for a skyscraper—your support needs to be rock-solid. Use wood screws and countersink them for a flush finish. That way, the lift mechanism will operate smoothly without obstruction. For tips on enhancing cabinetry support, see support strategies.
Installing the Lift Mechanism
Position the lift brackets according to the manufacturer’s instructions, aligning them with your marked locations. Secure the brackets to the support platform with screws, making sure they are level and tightly fastened. Attach the lift arm to the brackets, and then secure the mechanism to the underside of your mixer. Use a helper if necessary, as the lift components can be awkward to handle alone. Test the lift’s movement to ensure smooth operation and adjust as needed. For detailed installation steps, check installation guide.
Finishing Touches for Safety and Functionality
Once installed, secure the lift’s mounting points and double-check all screws for tightness. Add a stop block if your lift doesn’t have built-in limits, preventing the mixer from overextending. Seal any exposed edges with caulk to prevent dust buildup, and consider painting or finishing the plywood for a seamless look. Remember, integrating this lift into your kitchen remodel enhances both safety and convenience. Discover more innovative solutions at modern kitchen remodels.
While it’s common to focus on aesthetic appeal and the basic layout when planning custom cabinets or a kitchen remodel, many overlook subtle yet impactful details that can make or break the entire project.
Why Experts Disagree on Standard Storage Solutions
Many assume that off-the-shelf storage ideas are sufficient, but seasoned renovators know that these solutions often ignore specific kitchen workflows and user habits. For example, a standard pantry might seem fine until it’s filled with clutter, making access cumbersome. Instead, tailored interior organizers designed by professionals can maximize space and efficiency, a concept backed by studies emphasizing personalized storage’s impact on usabilityhttps://artisancabinetworkz.com/smart-storage-solutions-for-small-kitchens-in-2025. Don’t fall into the trap of settling for generic options that look good but hinder daily functionality.
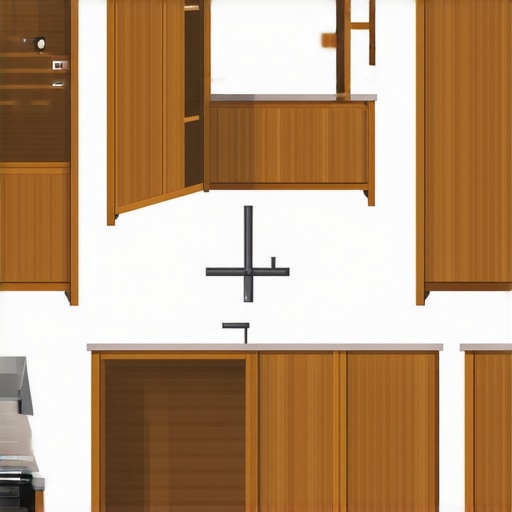
Illustration of customized storage solutions optimizing kitchen space and accessibility.
Maintaining Your Kitchen Cabinets for Long-Term Performance
Investing in custom cabinets and built-ins is a smart move, but ensuring they stay functional and beautiful over the years requires the right tools and a proactive approach. One indispensable item I personally swear by is a high-qualityelectric screwdriver with torque control. Unlike standard screwdrivers, this tool allows for precise tightening, preventing damage to delicate cabinet hinges and soft-close mechanisms. I’ve used a Dewalt DCF887 independent of many projects, and its adjustable torque setting has saved countless hinges from stripping—and me from frustration.
Beyond basic tools, integrating smart maintenance solutions can streamline long-term care. For example, installing soft-close hinge upgrades with built-in dampers minimizes wear from repeated slamming, preserving cabinet integrity and reducing noise. Regular lubrication with a silicone-based spray—like WD-40 Specialist Silicone Lubricant—ensures hinges and slides stay smooth, preventing sticking and squeaking that can lead to faster deterioration.
Software can also enhance your upkeep routine. I recommend using a digital project management app to schedule quarterly inspections of hinges, drawer slides, and finish surfaces. This proactive approach catches small issues before they escalate, saving big bucks later. Over time, these simple but effective practices help maintain the pristine look and functionality of your kitchen environment.
How do I keep my kitchen storage solutions working flawlessly?
Consistency is key. This involves cleaning hinges and tracks regularly—at least twice a year—with a soft cloth and mild cleaner to remove dust and grease. Additionally, checking that all mounting screws are tight prevents components from loosening and causing misalignments. Upgrading old hardware to heavy-duty hinges and slides can make a noticeable difference in durability, especially in high-usage areas. As the trend toward modular and reconfigurable cabinetry continues, investing in quality hardware ensures your setup adapts seamlessly without unexpected failures.
Looking ahead, I see the integration of smart cabinet sensors becoming routine. These devices can alert you if a door or drawer is left open or if a hinge begins to fail—an invaluable feature for busy households. Incorporating such technologies now will future-proof your kitchen investments, making maintenance more intuitive and less time-consuming.
Try implementing one of these advanced maintenance tools or routines this month. A simple upgrade like using a torque-controlled electric screwdriver or scheduling preventive inspections can extend your cabinets’ lifespan significantly. For more insights, don’t hesitate to reach out or explore additional strategies at our latest remodel ideas.
The Hardest Lesson I Learned About Custom Cabinets and Kitchen Remodels
One of the most significant realizations I had was that wire racks and off-the-shelf solutions rarely fit the unique demands of my kitchen workflow. Customization isn’t just about aesthetics; it’s about crafting a space that works for you—reducing strain and preventing damage. Embracing tailored solutions taught me the importance of measuring twice and planning ahead to avoid costly reworks later.
Tools That Transformed My Approach to Kitchen Makeovers
Investing in quality tools like a torque-controlled electric screwdriver and smart hinge sensors revolutionized how I maintain and upgrade my kitchen cabinets. These tools ensure precise assembly and proactive maintenance, extending the lifespan of your custom-built spaces. For comprehensive upgrades, I highly recommend exploring smart sensor hinges that add both safety and convenience to your renovation.
Empowering Your Kitchen Journey with Specific Strategies
Your kitchen remodel is more than just selecting beautiful cabinets—it’s about creating a seamless, ergonomic environment. Incorporating features like a built-in mixer lift not only saves your back but also elevates your cooking experience. Maintaining these innovations with scheduled inspections and quality hardware ensures your kitchen remainsfunctional and stunning for years. Remember, small proactive steps now yield long-term rewards—so why not start today?