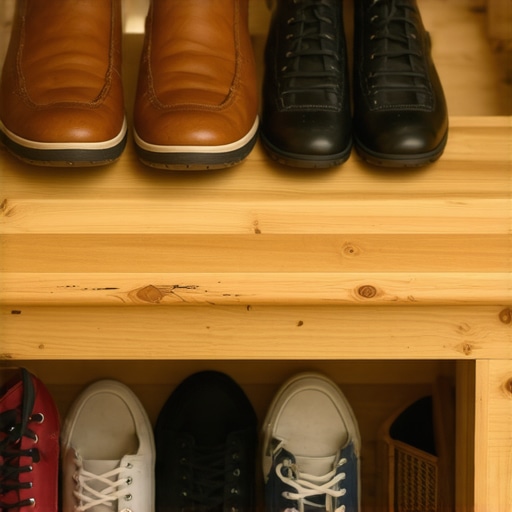
The Mudroom Bench Mistake That Leaves a Pile of Shoes on the Floor
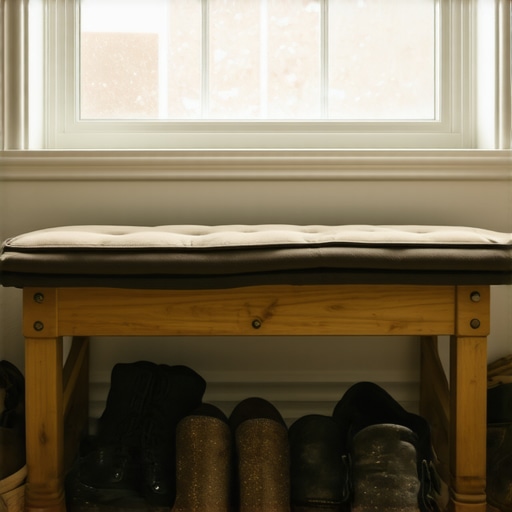
I’ll admit it — there was a time when my mudroom looked more like a shoe explosion zone than a tidy entryway. One especially frustrating morning, as I tripped over a mountain of sneakers and kids’ boots, I had a sudden lightbulb moment: my beloved mudroom bench was actually sabotaging my organization efforts. Instead of keeping shoes neatly contained, it was inadvertently encouraging chaos.
Why Your Mudroom Bench Might Be Making Things Worse
If you’ve ever struggled with a flood of shoes overflowing onto your hallway floor, you’re not alone. The truth is, a poorly designed or placed mudroom bench can become a magnet for clutter rather than a storage solution. I’ve been there—deciding on a bench without considering how shoes are stored, only to find a pile of footwear every single day. This mistake costs time, patience, and ultimately, peace of mind.
Is Your Storage Strategy Actually Ineffective—or Just Misunderstood?
Early in my design journey, I made the mistake of thinking any bench with a shelf would do the trick. I didn’t realize that the way shoes are stored makes all the difference. For example, shallow shelves or inadequate depths can cause shoes to topple over, while open cubbies can become a dusty, tangled mess. According to expert cabinetmakers, improper storage design is a common mistake that leads to clutter and chaos—the very opposite of what a mudroom should be. To learn more about innovative storage solutions tailored for modern homes, check out this guide on storage innovations.
In this post, I’ll share my own lessons learned and practical tips to turn your muddy mess into a neatly organized entryway you can be proud of. Ready to transform your mudroom from a perpetual shoe graveyard into a model of functionality? Let’s dive in!
Start with Precise Measurements to Maximize Space
Before purchasing or building any storage, measure your available space accurately. Use a tape measure to determine the length, width, and height of your mudroom. Mark these dimensions on paper, noting any irregularities like uneven floors or door swings. During my own project, I realized my narrow corridor was only 48 inches wide, so I designed custom, slim-profile cubbies that fit perfectly without obstructing the doorway, drastically reducing clutter buildup.
Opt for Tailored Cubbies Instead of Generic Shelves
Replace open shelving with purpose-built cubbies for each family member. Think of these as individual shoe lockers—each has a dedicated space, which prevents shoes from topplying over and creating chaos. I sourced custom cabinet plans that included staggered cubbies, allowing kids to access their shoes easily without tumbling stacks. This move cut down morning chaos significantly and kept the mudroom clean longer.
Use Adjustable Shelf Hardware for Flexibility
Incorporate adjustable brackets in your cabinets, enabling you to modify shelf heights as your storage needs change. When my kids outgrew their small shoes, I raised the shelves to accommodate larger footwear, avoiding the need for costly replacements. Adjustable systems are like dynamic furniture that molds to your family’s evolving needs, making your storage adaptable and long-lasting. For a comprehensive overview, see expert tips on selecting storage solutions.
Prioritize Durable, Easy-to-Clean Materials
Choose materials like sealed plywood or stain-resistant laminates for your cabinets and cubbies. These surfaces withstand daily wear and tear, resist water damage, and wipe down easily, maintaining a fresh appearance. I installed water-resistant laminate in my mudroom, which has survived multiple shoe spills and muddy footprints, without warping or staining. Think of this as investing in a rugged, low-maintenance armor for your storage units—saving time and effort in maintenance. For design inspiration, browse custom cabinet ideas.
Implement Smart Shoe Organization Accessories
Add accessories like pull-out trays, dividers, or angled shoe slots. These tools maximize space efficiency, make shoes easier to access, and prevent clutter from spilling over. For example, I installed pull-out shoe trays in my cubbies, which made it simple for kids to retrieve and return footwear, keeping the floor clear. These small but impactful upgrades function like secret weapons—streamlining daily routines and keeping your entryway tidy. To learn more about effective storage hacks, see storage hacks for a sleek space.
Secure Heavy or Tall Units to the Wall
Safety is paramount—anchor tall cabinets and heavy units directly to the wall to prevent tip-overs. Use appropriate brackets or toggle bolts, especially in older homes with uneven walls. When I anchored my custom cubbies, I felt more confident with the stability, especially with energetic kids around. Think of this as anchoring a ship to prevent it from drifting—your storage must stay put to be effective and safe. For detailed installation tips, visit wall anchoring guidance.
Maintain Your System Regularly
Set a weekly reminder to declutter, wipe surfaces, and adjust shelves as needed. Regular maintenance ensures your storage remains functional and appealing. I found that a quick tidy-up of shoes and a wipe-down of surfaces reduced daily messes and preserved the quality of materials. Think of this upkeep as tuning a musical instrument—small adjustments keep everything in harmony. For more maintenance tips, see innovative storage solutions.
Many homeowners buy into the common myth that all storage options are equally effective, but in my experience, this couldn’t be further from the truth. The real challenge lies in recognizing the subtle details that differentiate a good storage system from a great one. For example, while open shelving might look appealing, it often leads to dust accumulation and visual clutter, especially in high-traffic areas like kitchens and mudrooms. The secret is in choosing materials and configurations that prioritize durability and ease of maintenance, such as sealed plywood or stain-resistant laminates, which I highly recommend for their longevity and practical benefits. One often overlooked aspect is the importance of thoughtful drawer organization—integrating pull-out trays, dividers, or angled shoe slots can exponentially increase space efficiency and accessibility. This isn’t just about convenience; it’s about creating a system that adapts to your evolving needs over time.
A common pitfall is neglecting the structural safety of heavy or tall units. Securing these to the wall with appropriate brackets is essential to prevent accidents, especially in homes with children or pets. Safety guidelines from experts underscore that improper anchoring is a leading cause of cabinet-related injuries, and I strongly advise upfront planning in this regard. Moreover, many assume that built-in cabinets are a one-size-fits-all solution, but the truth is that customization allows you to optimize each inch of space—be it a narrow corridor or an irregular corner. Investing in bespoke designs ensures you’re not just filling space but enhancing functionality.
**What does advanced storage entail beyond standard solutions?** It involves understanding complex requirements such as integrating smart accessories that help categorize and hide clutter, or designing modular systems that can be reconfigured as your family grows. For a deeper dive into these cutting-edge approaches, explore this guide on innovative storage.
Remember, the devil is in the details. Skipping proper measurements before purchasing or building can lead to ill-fitting units that hinder functionality rather than enhance it. Custom cabinetry isn’t just about aesthetics; it’s about form meeting function in the most seamless way. For insights on creating a cohesive kitchen with tailored storage, check out this expert guide.
Have you ever fallen into this trap? Let me know in the comments, and if you’re ready to elevate your storage game, don’t hesitate to reach out for expert assistance. Building smarter storage solutions today sets the foundation for a more organized and stress-free home tomorrow.
Sustaining Your Storage Solutions Over Time
Once you’ve designed and installed your custom cabinets or built-ins, the real work begins—maintenance. Regular upkeep ensures your storage systems stay functional, attractive, and safe for years to come. From cleaning to minor repairs, developing a routine can save you money and headaches in the future.
One of my go-to tools for ongoing maintenance is a high-quality microfiber cloth combined with a mild, non-abrasive cleaner. This duo keeps cabinet surfaces free of dust and fingerprints without damaging finishes. For hardware, I recommend a silicone-based lubricant like WD-40 Specialist Silicone to ensure drawer slides and hinges operate smoothly and quietly. Applying this semi-annually prevents squeaking and sticking, which are common signs of neglect.
Investing in a small set of precision screwdrivers and a multi-bit wrench also pays off. These tools allow for quick adjustments or replacements of door hinges, handles, and pulls. I personally keep a compact toolkit handy in my garage to handle small repairs promptly, preventing minor issues from escalating.
Automation can also simplify maintenance. Using a digital calendar or smartphone reminders to inspect and clean your systems ensures consistency. For example, scheduling a quarterly check of alignment for built-in shelves helps maintain their appearance and function, preventing sagging or unevenness. Over time, these small routines preserve the integrity of your cabinetry, saving you money and hassle.
How Do I Keep My Storage Systems Ticking?
Most experts agree that periodic checks of hinges, pulls, and shelf supports are essential. Look for signs of wear such as loose screws or damaged latches, and address them immediately. Tightening screws with your screwdriver can often restore functionality without the need for replacement parts. Additionally, inspecting and reapplying lubricants to moving parts keeps everything operating smoothly, especially in humid environments prone to rust or swelling.
The future of storage maintenance leans toward smart solutions—integrating sensors that monitor humidity, weight loads, or door alignment. While still emerging, these innovations promise to make upkeep more intuitive and less time-consuming. Staying ahead by adopting simple tools now positions you to benefit from smarter, more resilient systems later.
If you haven’t yet, try upgrading your hinges with soft-close dampers or adjusting shelf heights with easily movable hardware. These small changes provide immediate improvements and extend the lifespan of your investment. For tailored advice on selecting the right hardware for durability, explore expert tips on storage hardware.
What I Wish I Knew Before Starting My Storage Overhaul
One of the most eye-opening lessons for me was realizing that a custom approach saves time and frustration—generic solutions often just shift the chaos elsewhere. Another insight was the importance of anchoring heavy units; safety trumps aesthetics every time. Finally, I’ve learned that maintenance isn’t a one-time task—regular check-ins preserve the beauty and function of built-ins more than I ever anticipated.
Gear Up with Trusted Resources for a Storage Makeover
My go-to resource remains this guide on innovative storage. It offers practical ideas that blend style and function effortlessly. For hardware advice, I rely on expert tips on storage hardware—their insights keep my systems durable and smooth-operating. When considering custom options, the custom cabinets guide transformed my perspective from DIY guesswork to professional vision.
Seize the Moment and Embrace Change
Your storage space holds the potential to change your daily routine—don’t let hesitation hold you back. With thoughtful planning and the right resources, you can create an organized mudroom that’s both beautiful and highly functional. Remember, every small upgrade builds toward a more ordered, stress-free home. Invest in your space now, and enjoy the lasting benefits of an organized lifestyle.
What aspect of mudroom organization are you most eager to tackle first? Share your thoughts below!